How to Use Adafruit MPR121 Capacitive Touch Shield: Examples, Pinouts, and Specs
Introduction
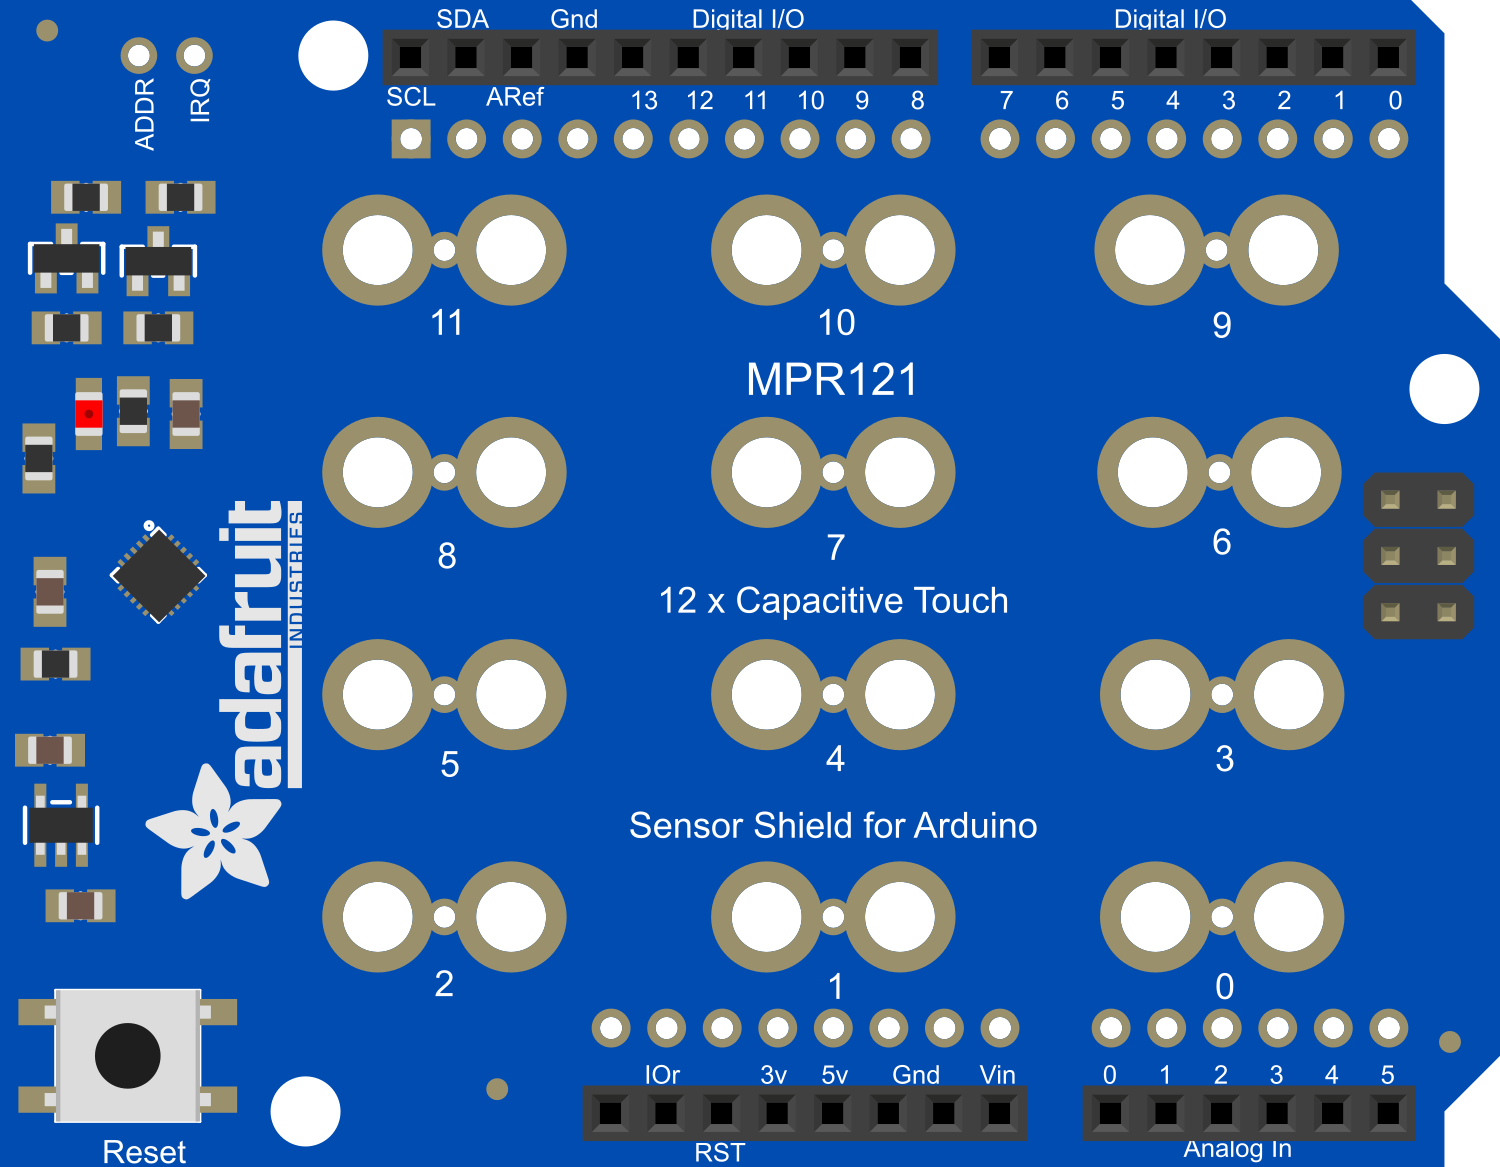
The Adafruit MPR121 Capacitive Touch Shield is an add-on for Arduino boards that enables capacitive touch sensing. This technology is commonly used in touchscreens and touchpads, allowing users to interact with electronic devices through touch. The shield is based on the MPR121 integrated circuit, which can handle up to 12 individual touch pads. Common applications include touch interfaces, interactive installations, and prototypes that require user input without mechanical buttons.
Explore Projects Built with Adafruit MPR121 Capacitive Touch Shield


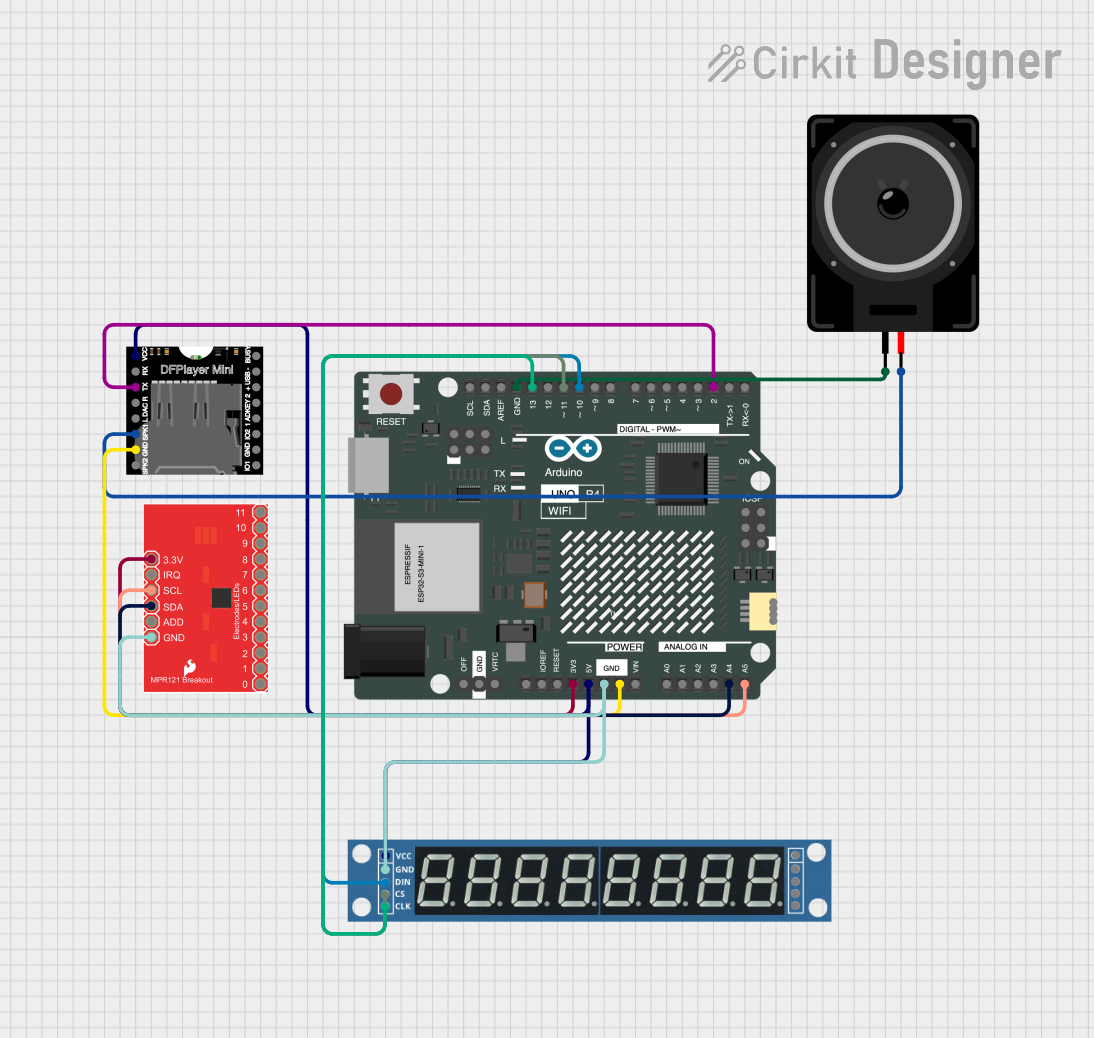
Explore Projects Built with Adafruit MPR121 Capacitive Touch Shield
Technical Specifications
Key Technical Details
- Operating Voltage: 2.5V to 3.6V
- Input Voltage (to Arduino): 5V
- Number of Inputs: 12 Capacitive Touch Pads
- Communication: I2C Interface
- I2C Addresses: 0x5A (default), 0x5B, 0x5C, 0x5D (selectable with jumpers)
- Interrupt Output: Yes, configurable
- Sensitivity: Adjustable with internal registers
Pin Configuration and Descriptions
| Pin Label | Description |
|---|---|
| GND | Ground connection |
| 5V | Power supply from Arduino (5V) |
| SCL | I2C clock line |
| SDA | I2C data line |
| IRQ | Interrupt request (active low) |
| ADDR | I2C address select (connect to GND or 3.3V) |
Usage Instructions
Integration with Arduino
- Mounting the Shield: Place the MPR121 Shield onto your Arduino board, ensuring all pins are aligned and seated properly.
- Library Installation: Install the Adafruit MPR121 library via the Arduino Library Manager or download it from the Adafruit GitHub repository.
- I2C Address Configuration: The default I2C address is 0x5A. If you need to use multiple shields, solder the jumpers on the back to change the address.
Circuit Considerations
- Power Supply: Ensure that the Arduino board is powered with a stable 5V supply.
- Touch Pads: Connect conductive materials to the touch pad inputs to create custom touch interfaces.
- Grounding: For best performance, ensure that the user is grounded or the device is in a grounded enclosure.
Best Practices
- Calibration: Calibrate the touch sensitivity according to your application's needs.
- Electrode Design: Design electrodes with a large enough surface area for reliable touch detection.
- Avoid Noise: Keep the touch sensor away from noisy power sources and high-frequency signals.
Example Code
Here is a simple example to read touch inputs from the MPR121 shield using an Arduino UNO:
#include <Wire.h>
#include <Adafruit_MPR121.h>

// You can have up to 4 on one i2c bus (connecting ADDR to 3V, SDA or SCL)
// but one is enough for testing!
Adafruit_MPR121 cap = Adafruit_MPR121();

void setup() {
  Serial.begin(9600);
  while (!Serial) { // Necessary to wait for Serial connection on some boards
    delay(10);
  }

  if (!cap.begin(0x5A)) {
    Serial.println("MPR121 not found, check wiring?");
    while (1);
  }
  Serial.println("MPR121 found!");
}

void loop() {
  // Get the currently touched pads
  uint16_t touched = cap.touched();

  for (uint8_t i=0; i<12; i++) {
    // Check if each pin is touched
    if (touched & (1 << i)) {
      Serial.print("C"); Serial.print(i); Serial.println(" touched!");
    }
  }

  // Optional: add a delay between reads to limit data to the serial output
  delay(100);
}
Troubleshooting and FAQs
Common Issues
- MPR121 Not Detected: Ensure the shield is properly seated on the Arduino and the solder joints are solid. Check the I2C wiring and address settings.
- Inconsistent Touch Detection: Calibrate the sensitivity settings and ensure that the electrodes are designed correctly and are not too close to each other.
- No Response to Touch: Verify that the interrupt pin (IRQ) is not floating and is configured correctly in the code.
FAQs
Q: Can I use the MPR121 shield with a 3.3V Arduino board? A: Yes, the MPR121 can operate at 3.3V, but ensure that the logic levels are compatible.
Q: How can I change the sensitivity of the touch inputs? A: Sensitivity can be adjusted by configuring the internal registers of the MPR121. Refer to the datasheet and the Adafruit library for detailed instructions.
Q: What materials can be used for the touch pads? A: Conductive materials such as copper tape, conductive ink, or even fruits can be used as touch pads.
Q: How do I use the interrupt feature? A: Connect the IRQ pin to an interrupt-capable pin on your Arduino and configure it in your sketch to trigger when a touch event occurs.
For further assistance, consult the Adafruit forums or the extensive online community resources dedicated to Arduino and Adafruit products.