
How to Use Adafruit AMG8833: Examples, Pinouts, and Specs
 Design with Adafruit AMG8833 in Cirkit Designer
Introduction
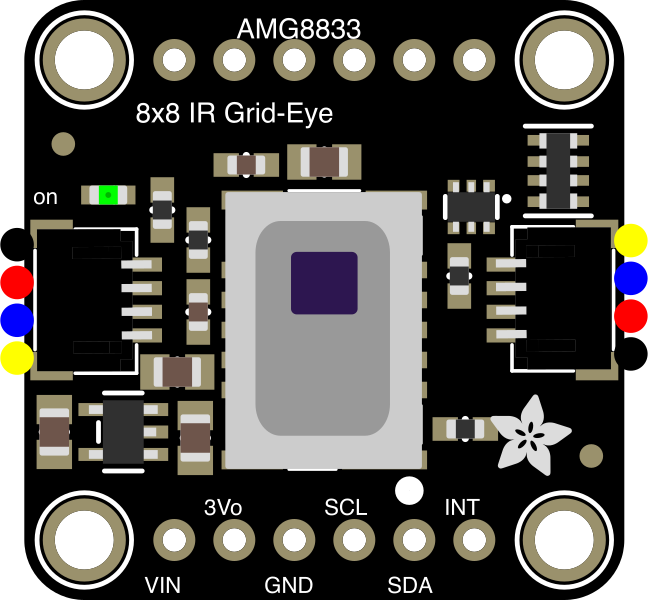
The Adafruit AMG8833 (Manufacturer Part ID: 3538) is an advanced 8x8 thermal imaging sensor capable of detecting infrared radiation and providing temperature readings for each of its 64 pixels. This sensor is ideal for applications requiring thermal monitoring, human detection, and environmental sensing. Its compact design and high sensitivity make it a popular choice for projects involving thermal cameras, motion detection, and temperature mapping.
Explore Projects Built with Adafruit AMG8833
 Open Project in Cirkit Designer
 Open Project in Cirkit Designer
 Open Project in Cirkit Designer
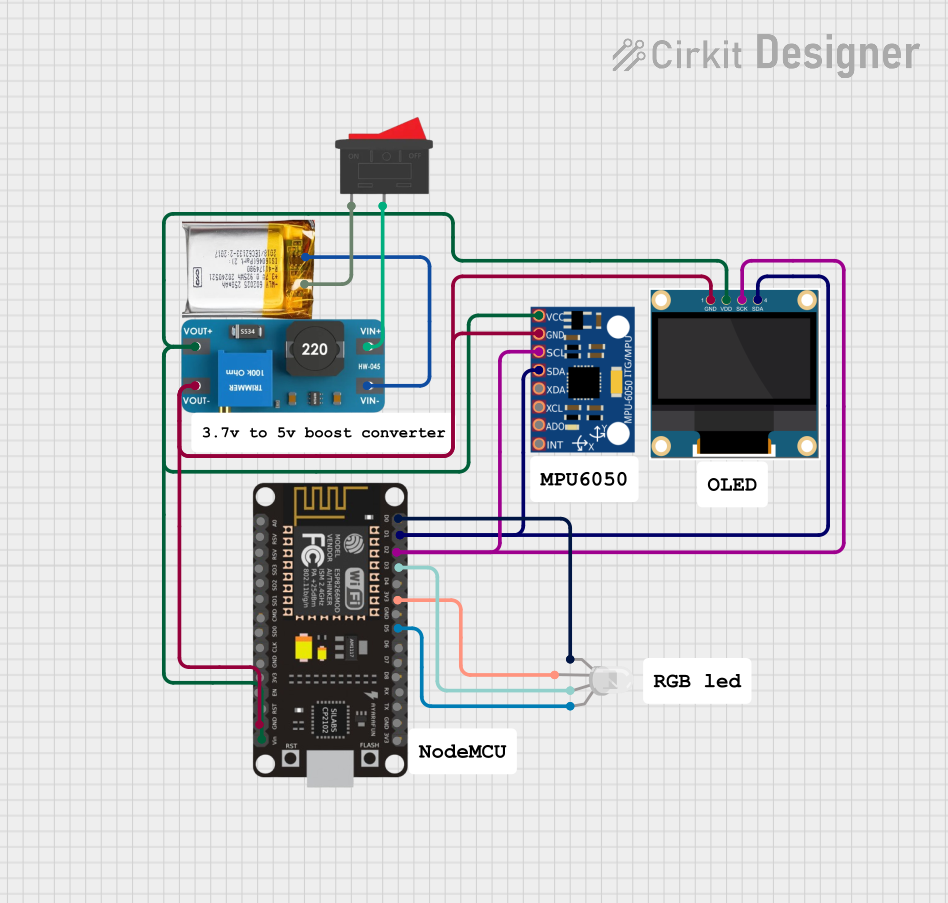 Open Project in Cirkit Designer
Explore Projects Built with Adafruit AMG8833
Open Project in Cirkit DesignerOpen Project in Cirkit DesignerOpen Project in Cirkit DesignerOpen Project in Cirkit DesignerCommon Applications
- Thermal imaging cameras
- Human presence detection
- Environmental temperature monitoring
- Robotics and automation
- Home automation and smart devices
- Medical and industrial diagnostics
Technical Specifications
The Adafruit AMG8833 is a high-performance sensor with the following key specifications:
| Parameter | Value |
|---|---|
| Operating Voltage | 3.3V (logic and power) |
| Operating Current | ~4.5mA |
| Temperature Range | 0°C to 80°C |
| Accuracy | ±2.5°C |
| Resolution | 8x8 pixels (64 pixels total) |
| Field of View (FoV) | 60° x 60° |
| Communication Protocol | I²C |
| I²C Address | 0x69 (default), configurable to 0x68 |
| Frame Rate | 10 FPS (frames per second) |
| Dimensions | 17.8mm x 17.8mm x 5.0mm |
Pin Configuration
The Adafruit AMG8833 has a simple pinout for easy integration into your projects:
| Pin Name | Description |
|---|---|
| VIN | Power input (3.3V recommended) |
| GND | Ground connection |
| SDA | I²C data line |
| SCL | I²C clock line |
| INT | Interrupt output (optional, for motion detection) |
Usage Instructions
Connecting the AMG8833 to an Arduino UNO
To use the Adafruit AMG8833 with an Arduino UNO, follow these steps:
Wiring:
- Connect the
VINpin of the AMG8833 to the 3.3V pin on the Arduino. - Connect the
GNDpin of the AMG8833 to the GND pin on the Arduino. - Connect the
SDApin of the AMG8833 to the A4 pin on the Arduino (I²C data line). - Connect the
SCLpin of the AMG8833 to the A5 pin on the Arduino (I²C clock line).
- Connect the
Install Required Libraries:
- Open the Arduino IDE and go to
Sketch > Include Library > Manage Libraries. - Search for "Adafruit AMG88xx" and install the library.
- Also, install the "Adafruit BusIO" library if prompted.
- Open the Arduino IDE and go to
Example Code: Use the following example code to read temperature data from the AMG8833:
#include <Wire.h>
#include <Adafruit_AMG88xx.h>

// Create an instance of the AMG8833 sensor
Adafruit_AMG88xx amg;

// Array to store temperature readings for all 64 pixels
float pixels[64];

void setup() {
  Serial.begin(9600);
  Serial.println("Adafruit AMG8833 Thermal Camera Test");

  // Initialize the sensor
  if (!amg.begin()) {
    Serial.println("Failed to initialize AMG8833 sensor!");
    while (1); // Halt execution if initialization fails
  }
  Serial.println("AMG8833 initialized successfully.");
}

void loop() {
  // Read temperature data from the sensor
  amg.readPixels(pixels);

  // Print the temperature readings for all 64 pixels
  for (int i = 0; i < 64; i++) {
    Serial.print(pixels[i]);
    Serial.print(", ");
    if ((i + 1) % 8 == 0) {
      Serial.println(); // Print a new line after every 8 pixels
    }
  }
  Serial.println();
  delay(100); // Delay to control the frame rate
}
Important Considerations
- Power Supply: Ensure the sensor is powered with 3.3V. Supplying higher voltages may damage the component.
- I²C Pull-Up Resistors: The AMG8833 breakout board includes pull-up resistors for the I²C lines. If you experience communication issues, ensure no additional pull-ups are causing conflicts.
- Thermal Stability: Allow the sensor to stabilize for a few seconds after powering it on to ensure accurate readings.
- Interrupt Pin: The
INTpin can be used for motion detection, but it is optional and not required for basic temperature readings.
Troubleshooting and FAQs
Common Issues
Sensor Not Detected:
- Ensure the wiring is correct and matches the pin configuration.
- Verify that the I²C address (default: 0x69) is correct in your code.
- Check for loose connections or damaged wires.
Incorrect Temperature Readings:
- Allow the sensor to stabilize for a few seconds after powering it on.
- Ensure the sensor is not exposed to direct sunlight or extreme environmental conditions.
I²C Communication Errors:
- Verify that the Arduino and AMG8833 share a common ground.
- Check for conflicting I²C devices on the same bus.
FAQs
Q: Can the AMG8833 detect humans?
A: Yes, the AMG8833 can detect humans based on their thermal signature. It is commonly used for human presence detection and motion sensing.
Q: What is the maximum distance for accurate readings?
A: The sensor is most effective at distances of up to 7 meters, but accuracy may vary depending on environmental conditions.
Q: Can I use the AMG8833 with a 5V microcontroller?
A: Yes, but you must use a logic level shifter to convert the 5V signals to 3.3V to avoid damaging the sensor.
Q: How can I increase the frame rate?
A: The AMG8833 has a fixed frame rate of 10 FPS. This cannot be increased, but you can optimize your code to process data more efficiently.
By following this documentation, you can successfully integrate the Adafruit AMG8833 into your projects and leverage its powerful thermal imaging capabilities.