
How to Use Adafruit Ethernet FeatherWing: Examples, Pinouts, and Specs
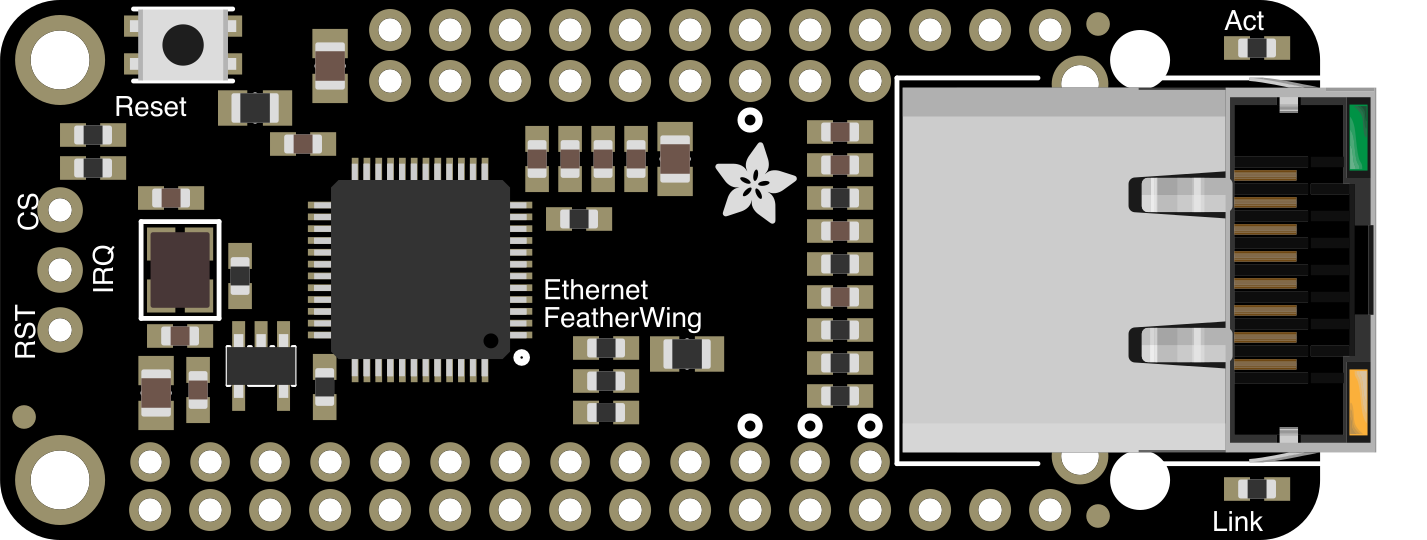
 Design with Adafruit Ethernet FeatherWing in Cirkit Designer
Introduction
The Adafruit Ethernet FeatherWing (Part ID: 3201) is a compact add-on board designed to provide Ethernet connectivity to Feather microcontrollers. This FeatherWing is based on the WIZnet W5500 Ethernet module, enabling reliable and high-speed wired network communication. It is ideal for projects requiring stable internet access, such as IoT devices, web servers, or data logging systems.
Explore Projects Built with Adafruit Ethernet FeatherWing
 Open Project in Cirkit Designer
 Open Project in Cirkit Designer
 Open Project in Cirkit Designer
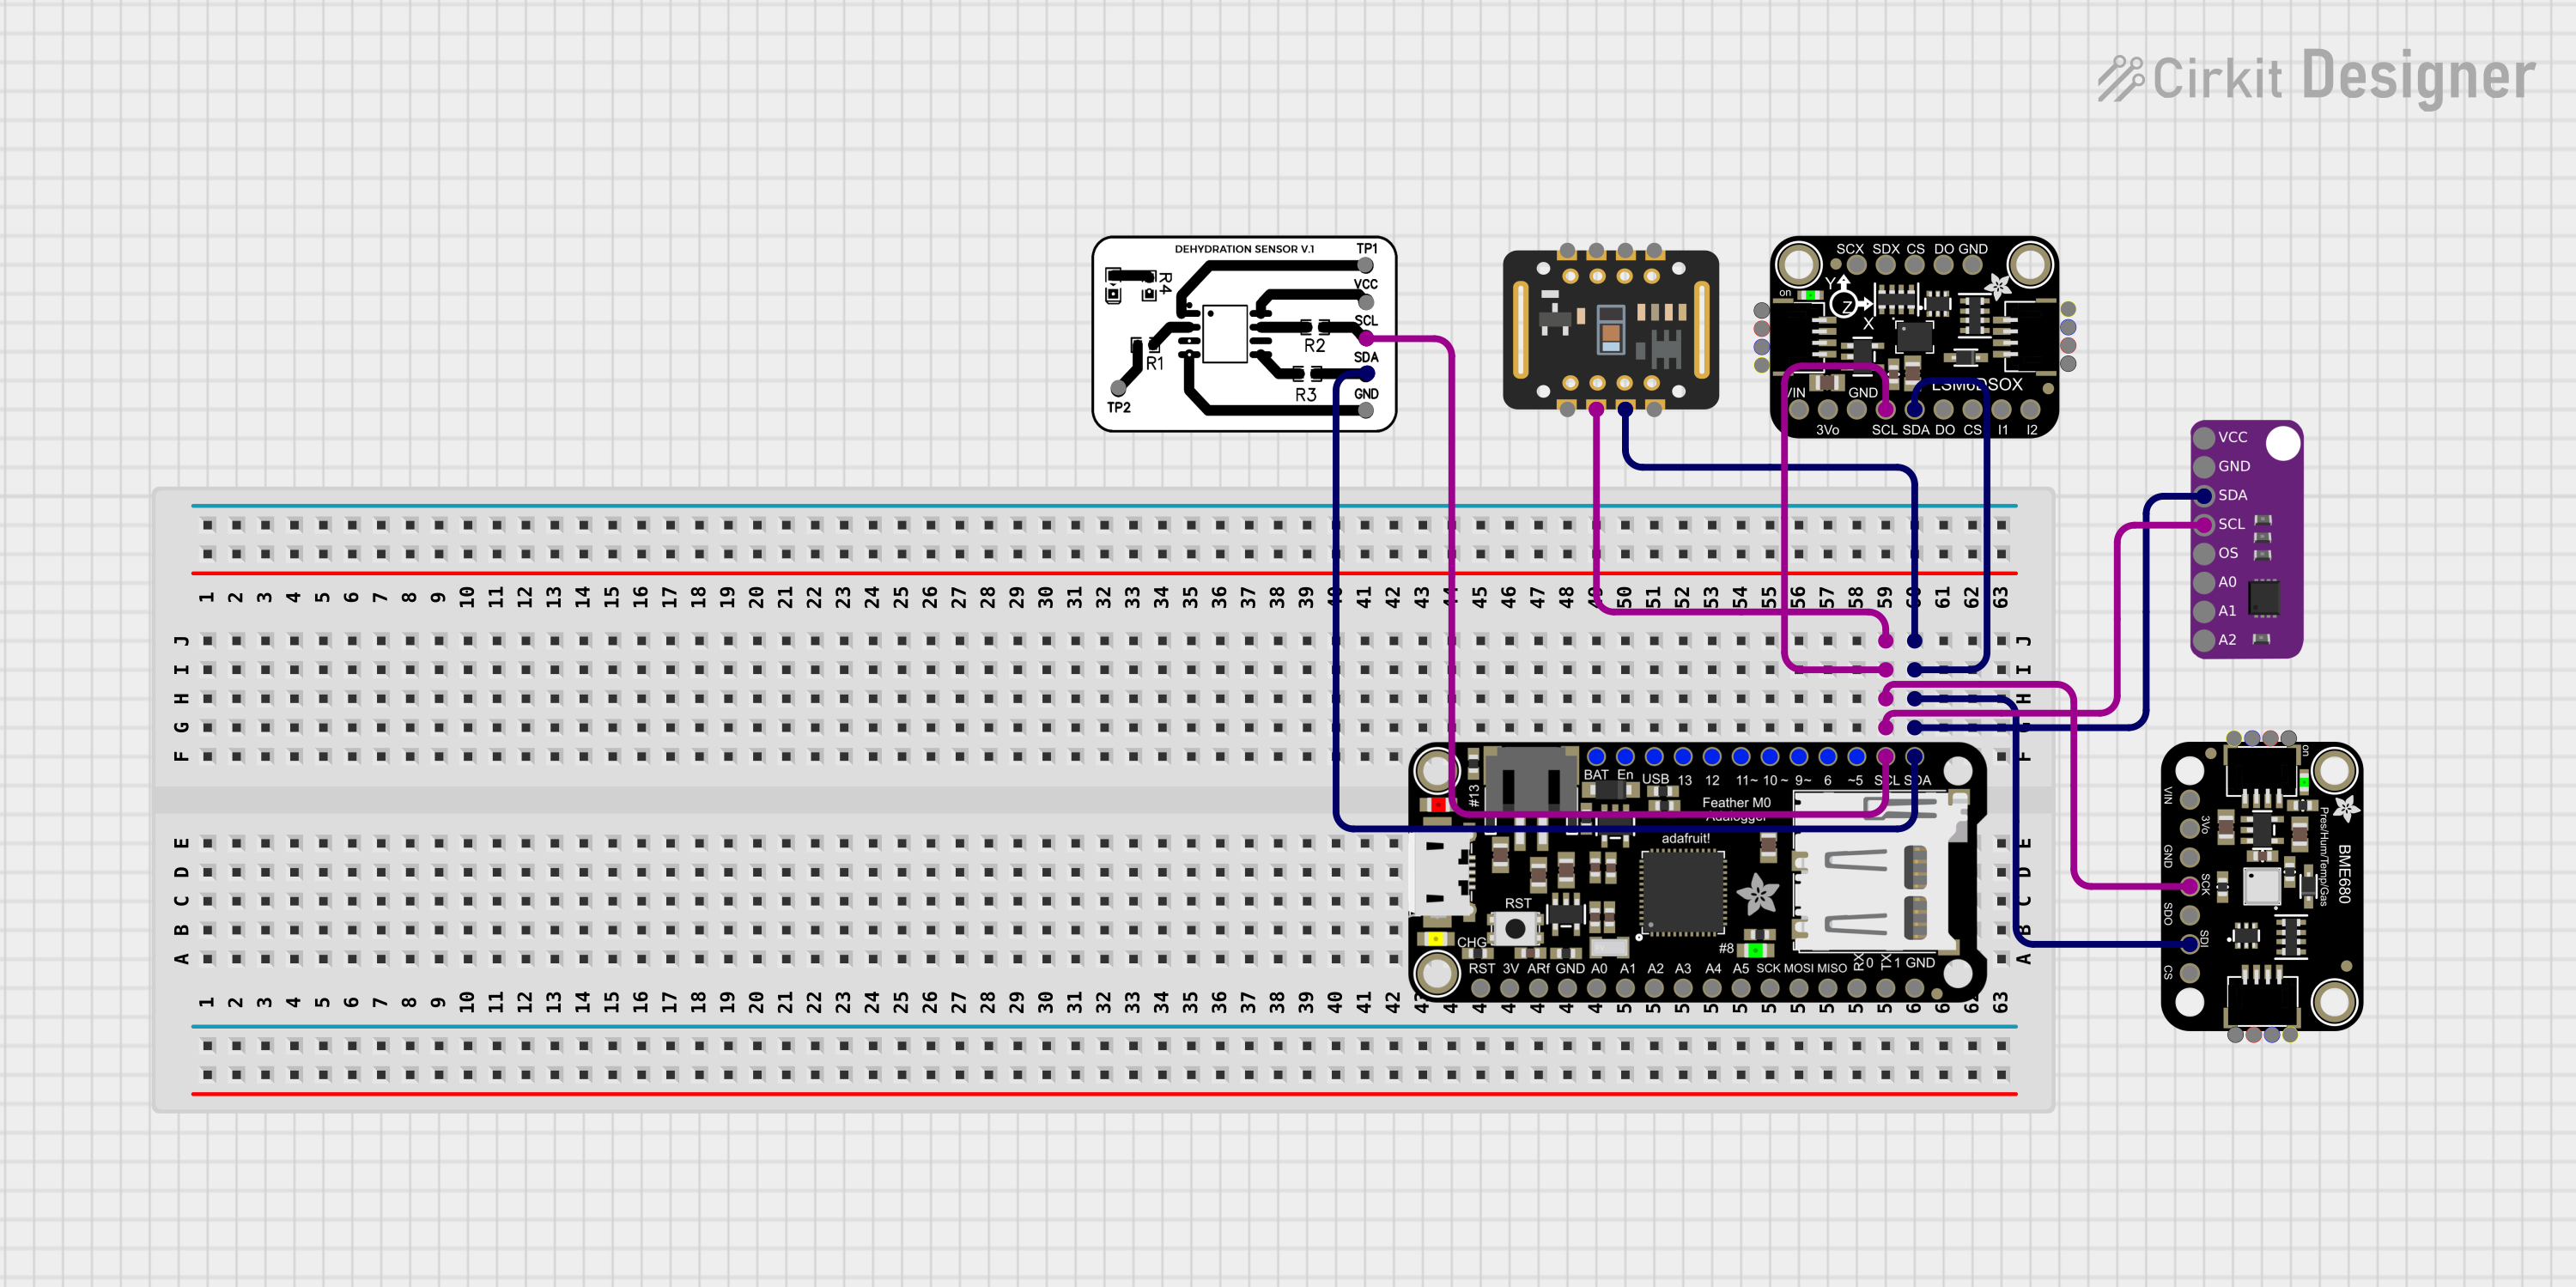 Open Project in Cirkit Designer
Explore Projects Built with Adafruit Ethernet FeatherWing
Open Project in Cirkit DesignerOpen Project in Cirkit DesignerOpen Project in Cirkit DesignerOpen Project in Cirkit DesignerCommon Applications and Use Cases
- IoT (Internet of Things) devices requiring wired network connections
- Home automation systems
- Remote data logging and monitoring
- Web servers hosted on microcontrollers
- Industrial automation and control systems
Technical Specifications
The Adafruit Ethernet FeatherWing is designed to seamlessly integrate with Feather microcontrollers. Below are its key technical details:
Key Technical Details
| Parameter | Specification |
|---|---|
| Ethernet Controller | WIZnet W5500 |
| Network Speed | 10/100 Mbps |
| Operating Voltage | 3.3V (logic level) |
| Power Supply Voltage | 5V (via Feather headers) |
| Current Consumption | ~180mA (typical during operation) |
| Connector Type | Standard RJ45 Ethernet jack |
| Dimensions | 51mm x 23mm x 18mm |
| Weight | 10g |
Pin Configuration and Descriptions
The FeatherWing connects to the Feather microcontroller via its headers. Below is the pin configuration:
| Pin Name | Description |
|---|---|
| 3V | 3.3V power supply input (logic level) |
| GND | Ground connection |
| MOSI | SPI Master Out Slave In (data input to W5500) |
| MISO | SPI Master In Slave Out (data output from W5500) |
| SCK | SPI Clock |
| CS | Chip Select for the W5500 Ethernet module |
| RST | Reset pin for the W5500 module |
| INT | Interrupt pin (optional, for advanced use cases) |
Usage Instructions
The Adafruit Ethernet FeatherWing is easy to use with Feather microcontrollers. Follow the steps below to integrate it into your project:
Step 1: Hardware Setup
- Attach the FeatherWing: Stack the Ethernet FeatherWing onto your Feather microcontroller using the provided headers.
- Connect Ethernet Cable: Plug a standard Ethernet cable into the RJ45 jack on the FeatherWing.
- Power the Feather: Supply power to the Feather microcontroller via USB or a battery.
Step 2: Software Setup
- Install Required Libraries:
- Open the Arduino IDE.
- Go to Sketch > Include Library > Manage Libraries.
- Search for and install the
Ethernet2library (compatible with the W5500 module).
- Load Example Code:
- Navigate to File > Examples > Ethernet2 > WebServer.
- Modify the example code to match your network settings (e.g., IP address, gateway).
Example Code
Below is a simple example to set up a web server using the Ethernet FeatherWing:
#include <SPI.h>
#include <Ethernet2.h>

// Network configuration
byte mac[] = { 0xDE, 0xAD, 0xBE, 0xEF, 0xFE, 0xED }; // MAC address
IPAddress ip(192, 168, 1, 177); // Static IP address
EthernetServer server(80); // Create a server on port 80

void setup() {
  // Start serial communication for debugging
  Serial.begin(9600);
  while (!Serial) {
    ; // Wait for serial port to connect
  }

  // Initialize Ethernet connection
  if (Ethernet.begin(mac) == 0) {
    Serial.println("Failed to configure Ethernet using DHCP");
    Ethernet.begin(mac, ip); // Use static IP if DHCP fails
  }

  // Print the assigned IP address
  Serial.print("Server is at ");
  Serial.println(Ethernet.localIP());

  // Start the server
  server.begin();
}

void loop() {
  // Listen for incoming clients
  EthernetClient client = server.available();
  if (client) {
    Serial.println("New client connected");
    boolean currentLineIsBlank = true;
    while (client.connected()) {
      if (client.available()) {
        char c = client.read();
        Serial.write(c); // Echo data to serial monitor

        // Check for end of HTTP request
        if (c == '\n' && currentLineIsBlank) {
          // Send HTTP response
          client.println("HTTP/1.1 200 OK");
          client.println("Content-Type: text/html");
          client.println("Connection: close");
          client.println();
          client.println("<!DOCTYPE HTML>");
          client.println("<html>");
          client.println("<h1>Hello from Ethernet FeatherWing!</h1>");
          client.println("</html>");
          break;
        }
        if (c == '\n') {
          currentLineIsBlank = true;
        } else if (c != '\r') {
          currentLineIsBlank = false;
        }
      }
    }
    // Give the client time to receive data
    delay(1);
    client.stop();
    Serial.println("Client disconnected");
  }
}
Step 3: Upload and Test
- Connect your Feather microcontroller to your computer via USB.
- Upload the example code to the Feather using the Arduino IDE.
- Open the Serial Monitor to view the assigned IP address.
- Access the web server by entering the IP address in a web browser.
Important Considerations and Best Practices
- Ensure the FeatherWing is securely connected to the Feather microcontroller.
- Use a reliable Ethernet cable to avoid connection issues.
- If using a static IP, ensure it does not conflict with other devices on your network.
- Avoid powering the FeatherWing from a low-capacity power source, as the W5500 module requires stable power.
Troubleshooting and FAQs
Common Issues and Solutions
Ethernet Connection Fails:
- Ensure the Ethernet cable is properly connected.
- Verify that your network settings (e.g., IP address, gateway) are correct.
- Check if your router or switch is functioning properly.
No Serial Output:
- Confirm that the Serial Monitor is set to the correct baud rate (9600 in the example).
- Ensure the Feather microcontroller is properly powered and connected to your computer.
Web Server Not Accessible:
- Verify the IP address assigned to the FeatherWing.
- Check for firewall or network restrictions that may block access.
FAQs
Q: Can I use the Ethernet FeatherWing with non-Adafruit Feather boards?
A: Yes, as long as the board supports 3.3V logic and SPI communication, it should work. However, additional configuration may be required.
Q: Does the FeatherWing support Power over Ethernet (PoE)?
A: No, the Ethernet FeatherWing does not support PoE. It must be powered through the Feather microcontroller.
Q: Can I use the FeatherWing with Arduino Uno or other non-Feather boards?
A: While designed for Feather boards, it can be used with other microcontrollers that support SPI, but additional wiring and configuration are needed.
Q: How do I update the W5500 firmware?
A: The W5500 module does not require firmware updates, as it is a hardware-based Ethernet controller.
By following this documentation, you can easily integrate the Adafruit Ethernet FeatherWing into your projects and enable reliable Ethernet connectivity.