
How to Use Generic Air-Core Inductor (400 mil Lead Spacing): Examples, Pinouts, and Specs

 Design with Generic Air-Core Inductor (400 mil Lead Spacing) in Cirkit Designer
Introduction
The Generic Air-Core Inductor is a passive electrical component designed to store energy in a magnetic field when an electric current flows through it. Unlike inductors with a ferromagnetic core, this air-core inductor eliminates core saturation and hysteresis losses, making it ideal for high-frequency applications. With a lead spacing of 400 mils (10.16 mm), it is compatible with a wide range of circuit boards and prototyping setups.
Explore Projects Built with Generic Air-Core Inductor (400 mil Lead Spacing)
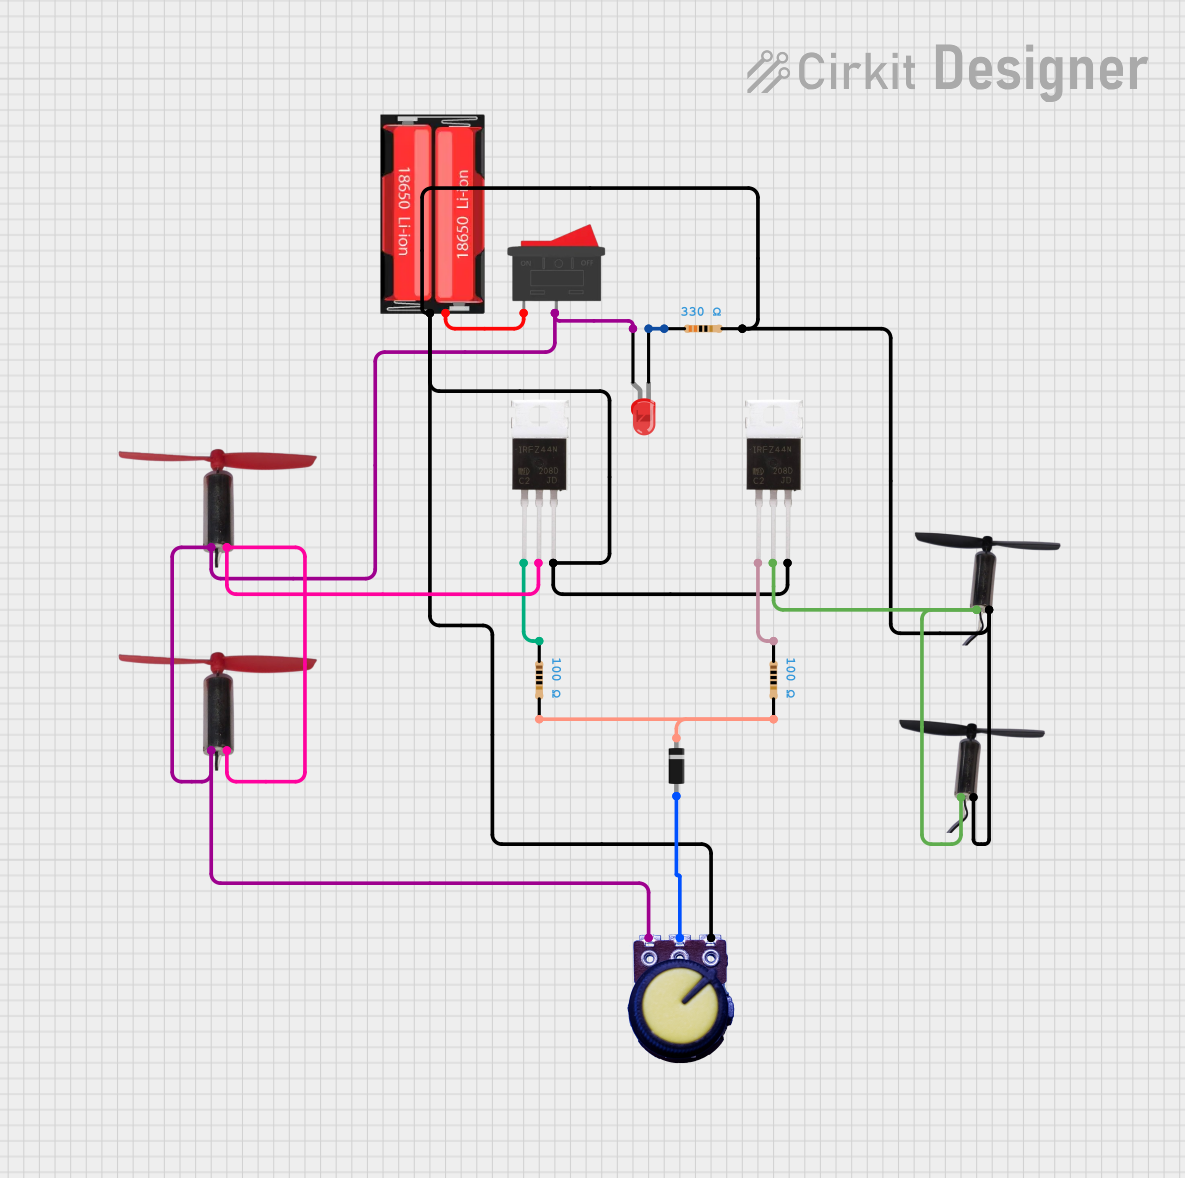 Open Project in Cirkit Designer
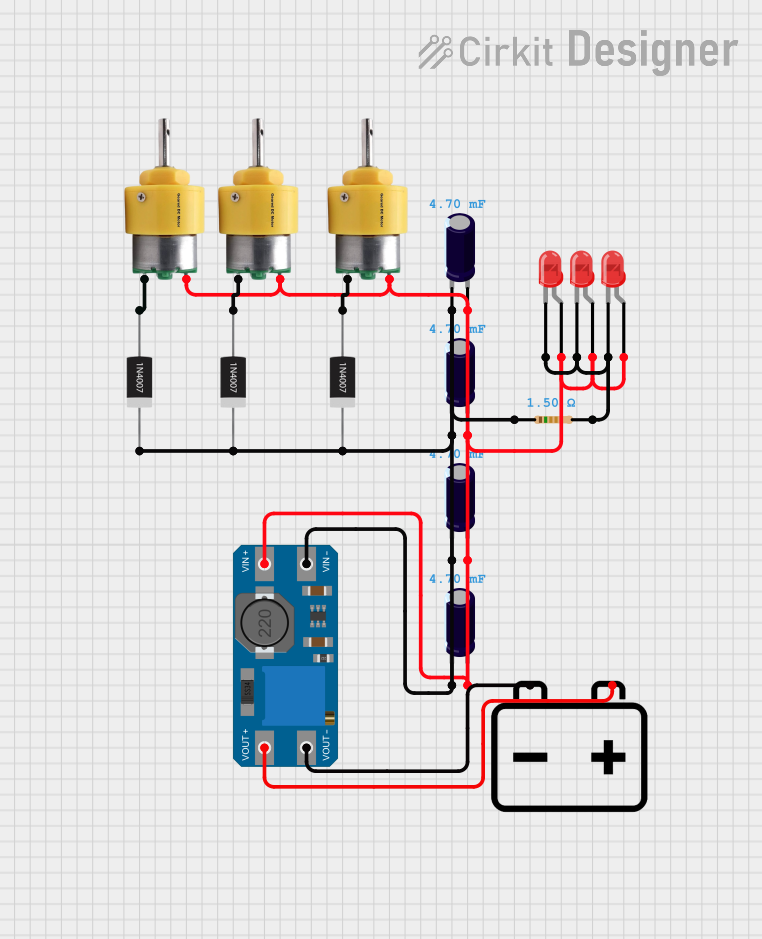 Open Project in Cirkit Designer
 Open Project in Cirkit Designer
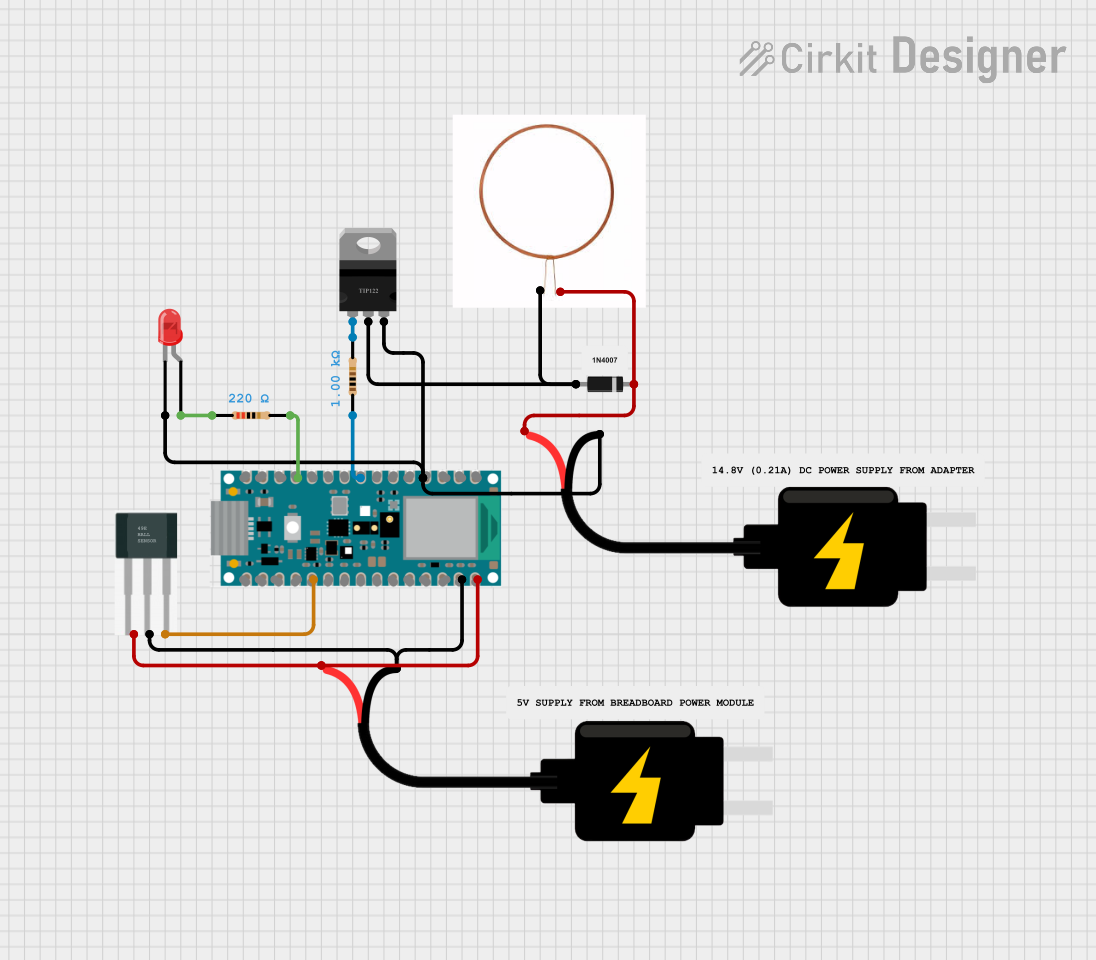 Open Project in Cirkit Designer
Explore Projects Built with Generic Air-Core Inductor (400 mil Lead Spacing)
Open Project in Cirkit DesignerOpen Project in Cirkit DesignerOpen Project in Cirkit DesignerOpen Project in Cirkit DesignerCommon Applications and Use Cases
- High-frequency RF circuits
- Filters (low-pass, high-pass, band-pass)
- Oscillators and resonant circuits
- Impedance matching in antennas
- Educational and experimental electronics projects
Technical Specifications
Below are the key technical details of the Generic Air-Core Inductor:
| Parameter | Value |
|---|---|
| Inductance Range | 1 µH to 100 µH (varies by model) |
| Tolerance | ±5% to ±10% |
| Maximum Current | 1 A to 5 A (depending on model) |
| DC Resistance (DCR) | 0.1 Ω to 1 Ω |
| Operating Frequency | Up to 100 MHz |
| Lead Spacing | 400 mils (10.16 mm) |
| Core Material | Air (no magnetic core) |
| Operating Temperature | -40°C to +125°C |
Pin Configuration and Descriptions
The Generic Air-Core Inductor has two leads, which are not polarized. This means it can be connected in either orientation. Below is a description of the leads:
| Pin | Description |
|---|---|
| Lead 1 | Connects to one side of the circuit |
| Lead 2 | Connects to the other side of the circuit |
Usage Instructions
How to Use the Component in a Circuit
- Determine the Required Inductance: Calculate the inductance value needed for your circuit using design equations or simulation tools.
- Select the Appropriate Inductor: Choose an air-core inductor with the desired inductance, current rating, and tolerance.
- Insert into the Circuit:
- Place the inductor on the PCB or breadboard, ensuring the 400 mil lead spacing matches the layout.
- Solder the leads securely if using a PCB.
- Connect to Other Components: Wire the inductor in series or parallel with other components as per your circuit design.
Important Considerations and Best Practices
- Avoid Magnetic Interference: Since the inductor has no magnetic shielding, keep it away from other inductors or magnetic components to prevent mutual inductance.
- Check Current Ratings: Ensure the current flowing through the inductor does not exceed its maximum rating to avoid overheating.
- Minimize Parasitics: At high frequencies, parasitic capacitance and resistance can affect performance. Use short, direct connections to minimize these effects.
- Test in Circuit: Use an LCR meter or oscilloscope to verify the inductor's performance in your circuit.
Example: Using the Inductor with an Arduino UNO
Below is an example of using the Generic Air-Core Inductor in an LC filter circuit connected to an Arduino UNO for signal processing:
/*
  Example: Using an Air-Core Inductor in an LC Filter with Arduino UNO
  This code generates a PWM signal and filters it using an LC filter
  to produce a smoother analog-like output.
*/

const int pwmPin = 9; // PWM output pin on Arduino UNO

void setup() {
  pinMode(pwmPin, OUTPUT); // Set the PWM pin as output
}

void loop() {
  // Generate a PWM signal with 50% duty cycle
  analogWrite(pwmPin, 128); // 128 corresponds to 50% duty cycle (0-255 range)

  // The LC filter connected to the PWM pin will smooth the signal
  // Ensure the inductor and capacitor values are chosen to match
  // the desired cutoff frequency for the filter.
}
Note: In this example, the air-core inductor is used in conjunction with a capacitor to form a low-pass filter. Select the inductor and capacitor values based on the desired cutoff frequency using the formula:
[ f_c = \frac{1}{2\pi\sqrt{L \cdot C}} ]
Where ( f_c ) is the cutoff frequency, ( L ) is the inductance, and ( C ) is the capacitance.
Troubleshooting and FAQs
Common Issues Users Might Face
Inductor Overheating:
- Cause: Excessive current flowing through the inductor.
- Solution: Verify the current rating of the inductor and ensure it matches the circuit requirements.
Unexpected Circuit Behavior:
- Cause: Parasitic capacitance or mutual inductance with nearby components.
- Solution: Reposition the inductor to reduce interference and use shorter leads.
Incorrect Inductance Value:
- Cause: Manufacturing tolerance or incorrect selection.
- Solution: Measure the inductance with an LCR meter and replace if necessary.
Signal Distortion in High-Frequency Applications:
- Cause: Parasitic effects or improper component selection.
- Solution: Use simulation tools to optimize the inductor and circuit design.
FAQs
Q: Can I use this inductor for DC applications?
A: Yes, but the inductor will primarily act as a wire with minimal resistance in DC circuits. Its primary function is in AC or time-varying signal applications.
Q: How do I calculate the required inductance for my circuit?
A: Use design equations specific to your application, such as filter or oscillator formulas. For example, in an LC filter, use ( f_c = \frac{1}{2\pi\sqrt{L \cdot C}} ).
Q: Can I use this inductor with other types of cores?
A: No, this is an air-core inductor. If you need a different core material, select an inductor specifically designed for that purpose.
Q: What happens if I exceed the maximum current rating?
A: Exceeding the current rating can cause the inductor to overheat, potentially damaging it or affecting circuit performance.
By following this documentation, you can effectively integrate the Generic Air-Core Inductor into your electronic projects!