How to Use Non contact water level sensor: Examples, Pinouts, and Specs
Introduction
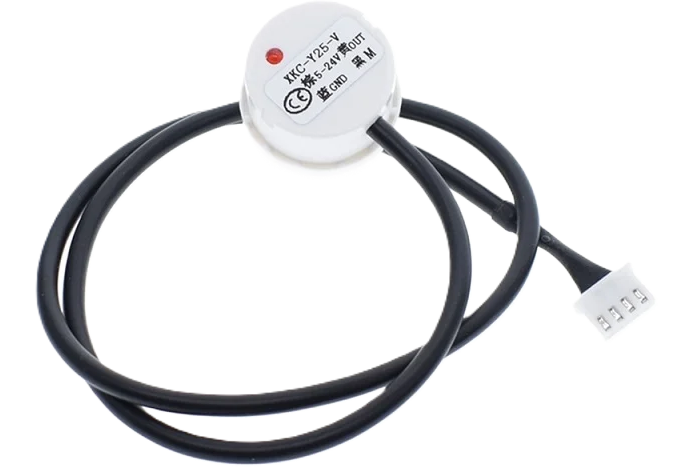
A non-contact water level sensor is an electronic device that uses ultrasonic technology to measure the distance to the water surface. This sensor provides accurate water level readings without requiring any physical contact with the liquid, making it ideal for applications where traditional contact-based sensors may be impractical or unsanitary. Common applications include water conservation systems, fluid tanks in industrial processes, and household appliances like coffee makers or washing machines.
Explore Projects Built with Non contact water level sensor

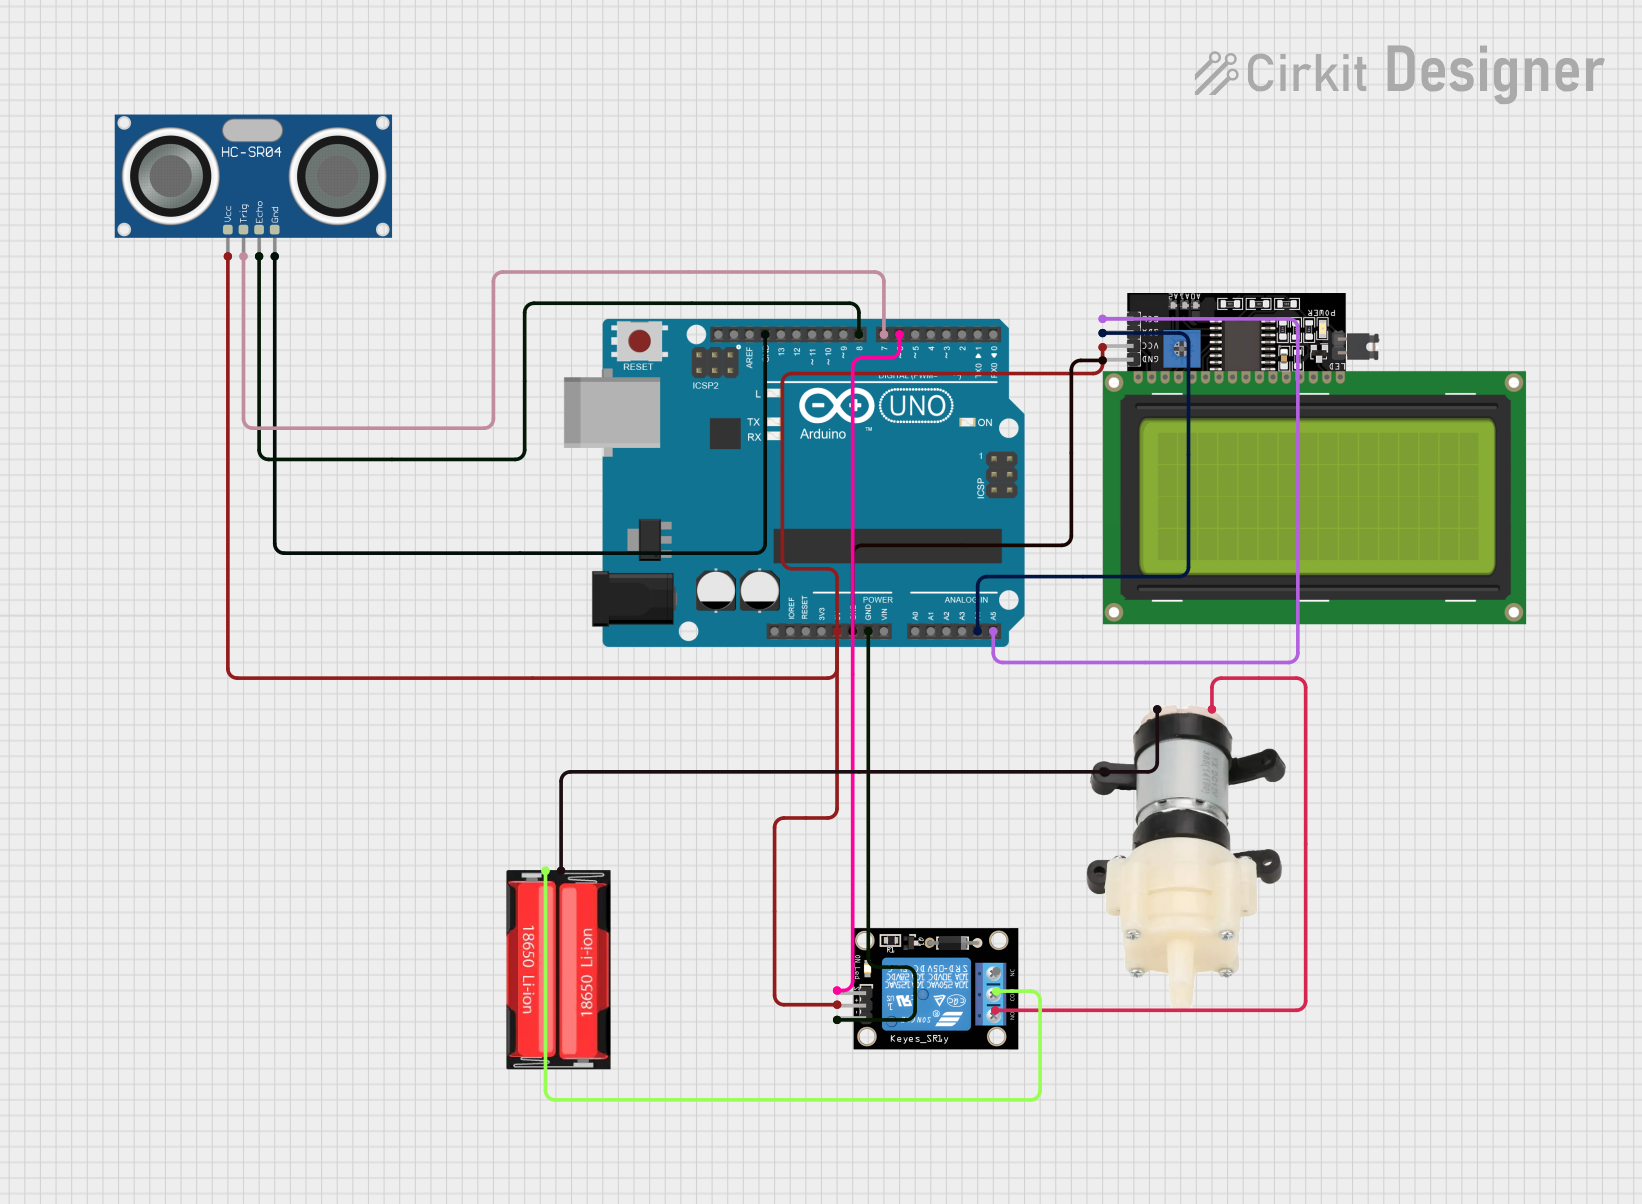

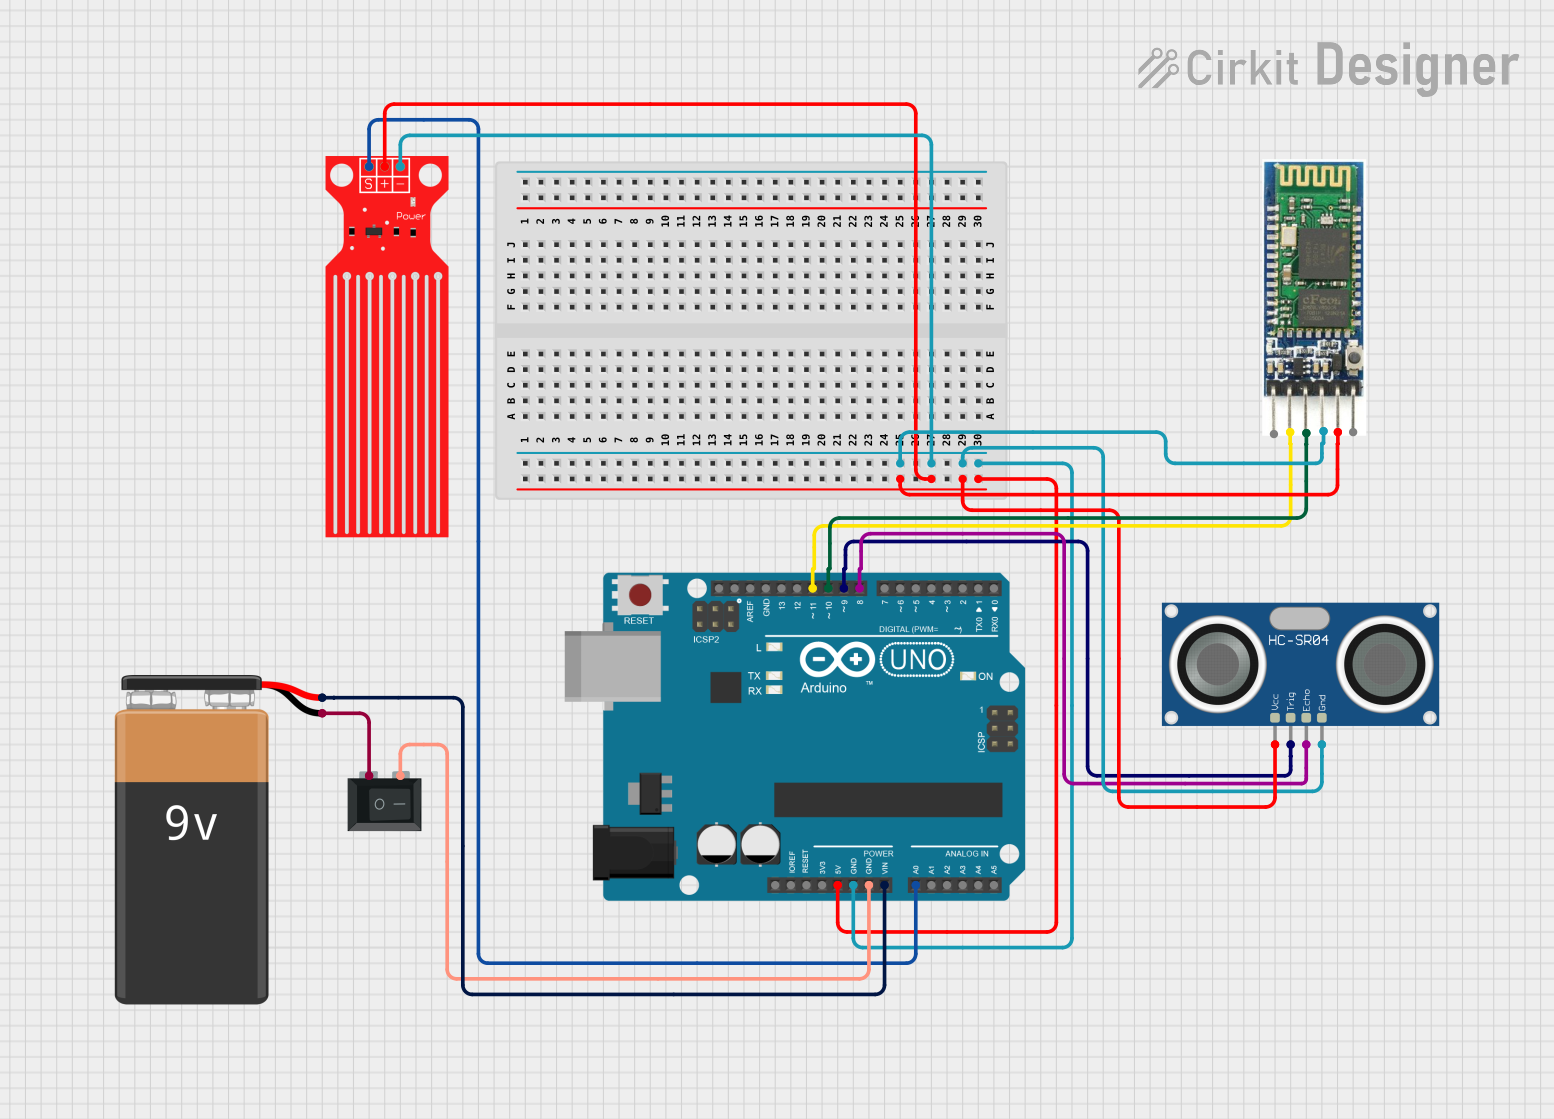
Explore Projects Built with Non contact water level sensor
Technical Specifications
Key Technical Details
- Operating Voltage: Typically 5V DC
- Current Consumption: 15 mA (average)
- Measurement Range: 2 cm to 450 cm
- Resolution: 0.3 cm
- Accuracy: ±0.25%
- Operating Temperature: -20°C to +70°C
- Output Signal: PWM, Voltage, or Serial (depending on model)
Pin Configuration and Descriptions
| Pin Number | Name | Description |
|---|---|---|
| 1 | VCC | Power supply (5V DC) |
| 2 | GND | Ground |
| 3 | TRIG | Trigger input (TTL level) |
| 4 | ECHO | Echo output (TTL level) |
| 5 | OUT | Analog or digital output (model dependent) |
Usage Instructions
How to Use the Component in a Circuit
- Power Supply: Connect the VCC pin to a 5V power supply and the GND pin to the ground.
- Signal Pins: Connect the TRIG pin to a digital output on your microcontroller and the ECHO pin to a digital input.
- Output: Depending on the model, the OUT pin may provide an analog voltage proportional to the distance or a digital signal.
Important Considerations and Best Practices
- Ensure that the sensor is mounted perpendicular to the water surface for accurate measurements.
- Avoid placing the sensor directly above water turbulence or bubbles, as this can interfere with the ultrasonic signal.
- Keep the sensor away from obstacles that might reflect the ultrasonic waves and cause incorrect readings.
- Use a pull-up resistor on the ECHO pin if the microcontroller input is not TTL compatible.
Example Code for Arduino UNO
// Define the Arduino pins connected to the sensor's TRIG and ECHO pins
const int trigPin = 9;
const int echoPin = 10;

void setup() {
  // Initialize serial communication
  Serial.begin(9600);
  // Define the TRIG pin as an output and the ECHO pin as an input
  pinMode(trigPin, OUTPUT);
  pinMode(echoPin, INPUT);
}

void loop() {
  // Clear the TRIG pin by setting it LOW
  digitalWrite(trigPin, LOW);
  delayMicroseconds(5);
  // Trigger the sensor by setting the TRIG pin HIGH for 10 microseconds
  digitalWrite(trigPin, HIGH);
  delayMicroseconds(10);
  digitalWrite(trigPin, LOW);

  // Read the time duration of the returned ECHO signal
  long duration = pulseIn(echoPin, HIGH);

  // Calculate the distance based on the speed of sound (34300 cm/s)
  // and the time duration of the ECHO signal. Since the sound wave travels
  // to the water surface and back, we divide the duration by 2.
  float distance = duration * 0.0343 / 2;

  // Print the distance to the Serial Monitor
  Serial.print("Distance: ");
  Serial.print(distance);
  Serial.println(" cm");

  // Delay between measurements
  delay(1000);
}
Troubleshooting and FAQs
Common Issues
- Inaccurate Readings: Ensure that the sensor is properly aligned and there are no obstacles or turbulence.
- No Readings: Check the wiring and ensure that the power supply is stable and within the specified range.
- Intermittent Readings: Verify that the ECHO pin is connected correctly and that there is no electrical noise interfering with the signal.
Solutions and Tips for Troubleshooting
- If the readings are unstable, try adding a capacitor between VCC and GND near the sensor to stabilize the power supply.
- Use shielded cables for the TRIG and ECHO pins to reduce the impact of electrical noise.
- Implement software filtering techniques like averaging multiple readings to smooth out any fluctuations.
FAQs
Q: Can the sensor be used with liquids other than water? A: Yes, but the sensor's accuracy may vary depending on the liquid's surface properties.
Q: Is the sensor waterproof? A: The sensor's body is typically water-resistant, but the component should not be submerged unless specified by the manufacturer.
Q: How can I extend the sensor's range? A: The range is determined by the sensor's design and cannot be extended beyond its maximum specified limit.