How to Use vrx 3.3: Examples, Pinouts, and Specs
Introduction
The VRX 3.3 is a voltage regulator designed to provide a stable output voltage of 3.3 volts, ensuring consistent power supply for electronic circuits and components. It is widely used in applications requiring a reliable 3.3V power source, such as microcontrollers, sensors, and communication modules. The VRX 3.3 is particularly valued for its simplicity, efficiency, and ability to protect sensitive components from voltage fluctuations.
Explore Projects Built with vrx 3.3


Explore Projects Built with vrx 3.3
Common Applications
- Powering microcontrollers like Arduino, ESP32, and Raspberry Pi peripherals
- Supplying stable voltage to sensors and communication modules (e.g., Wi-Fi, Bluetooth)
- Voltage regulation in battery-powered devices
- General-purpose voltage regulation in embedded systems
Technical Specifications
The VRX 3.3 is a linear voltage regulator with the following key specifications:
| Parameter | Value |
|---|---|
| Input Voltage Range | 4.5V to 15V |
| Output Voltage | 3.3V ± 2% |
| Maximum Output Current | 800 mA |
| Dropout Voltage | 1.1V (typical at full load) |
| Quiescent Current | 5 mA (typical) |
| Operating Temperature | -40°C to +125°C |
| Package Type | TO-220, SOT-223, or similar |
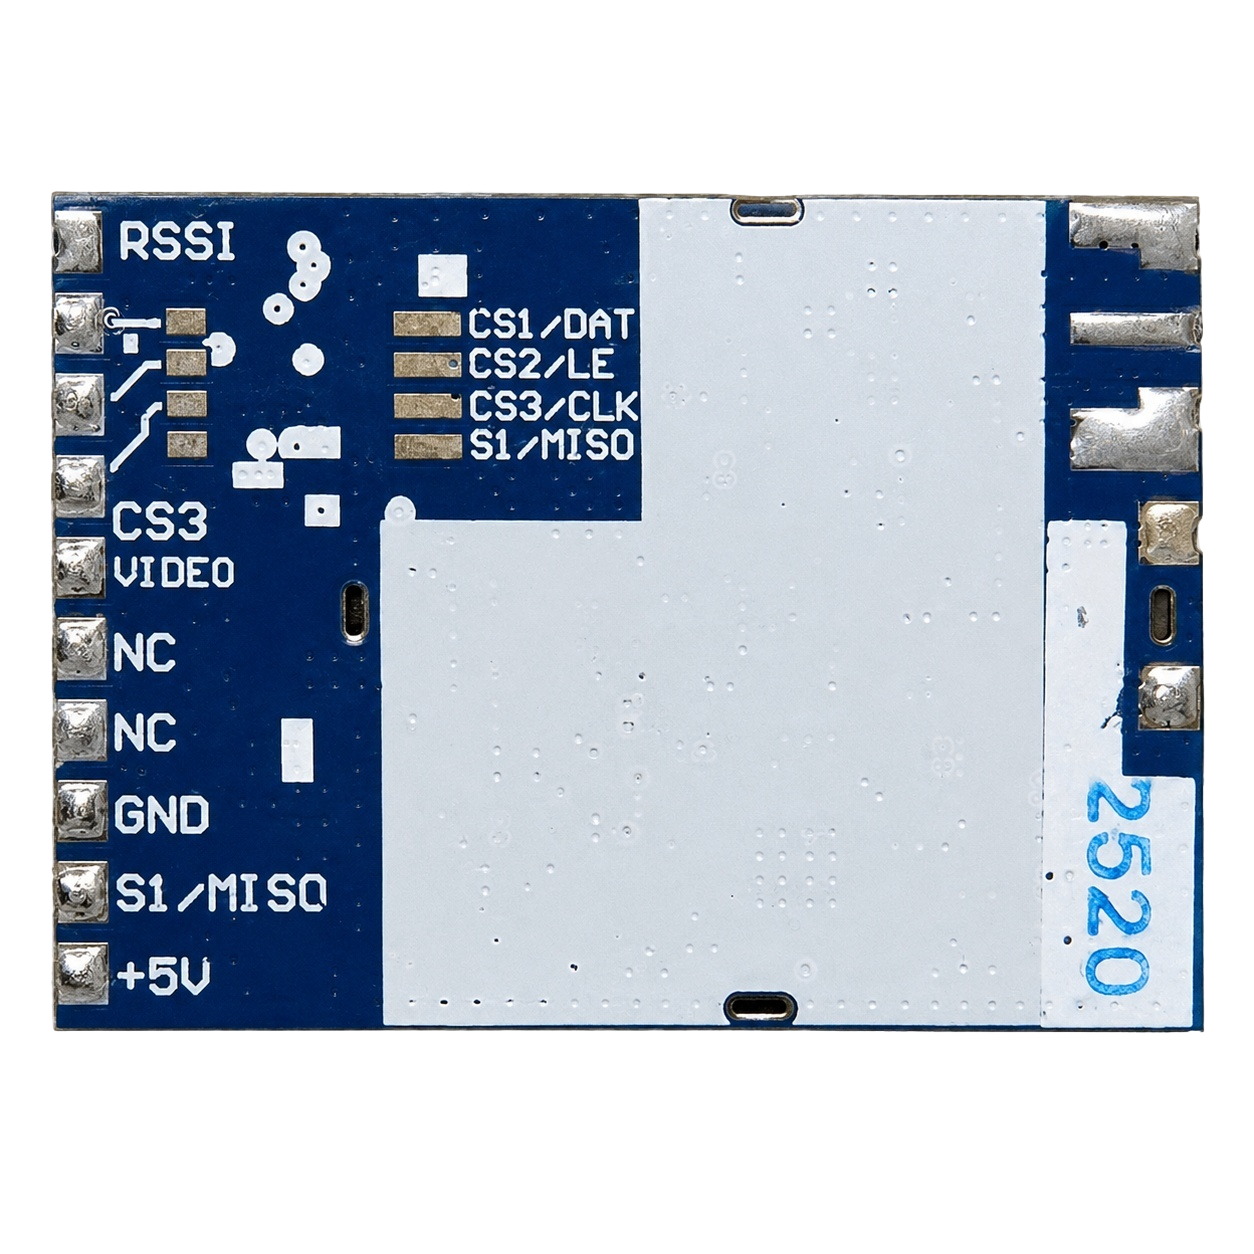
Pin Configuration
The VRX 3.3 typically comes in a 3-pin package. Below is the pinout description:
| Pin | Name | Description |
|---|---|---|
| 1 | Input (IN) | Connect to the unregulated input voltage source |
| 2 | Ground (GND) | Common ground for input and output |
| 3 | Output (OUT) | Provides the regulated 3.3V output voltage |
Usage Instructions
How to Use the VRX 3.3 in a Circuit
- Input Voltage: Connect the input pin (IN) to a DC voltage source within the range of 4.5V to 15V. Ensure the input voltage is at least 1.1V higher than the desired 3.3V output (dropout voltage).
- Output Voltage: Connect the output pin (OUT) to the load requiring a 3.3V power supply.
- Ground Connection: Connect the ground pin (GND) to the common ground of the circuit.
- Capacitors: For stable operation, use decoupling capacitors:
- Place a 0.33 µF ceramic capacitor between the input pin and ground.
- Place a 0.1 µF ceramic capacitor between the output pin and ground.
Example Circuit
Below is a simple circuit diagram for using the VRX 3.3:
   +4.5V to +15V
        |
        |
       [C1]  0.33 µF
        |
        |---- IN (Pin 1)
        |         VRX 3.3
        |---- OUT (Pin 3) ----> +3.3V to Load
        |
       [C2]  0.1 µF
        |
       GND (Pin 2)
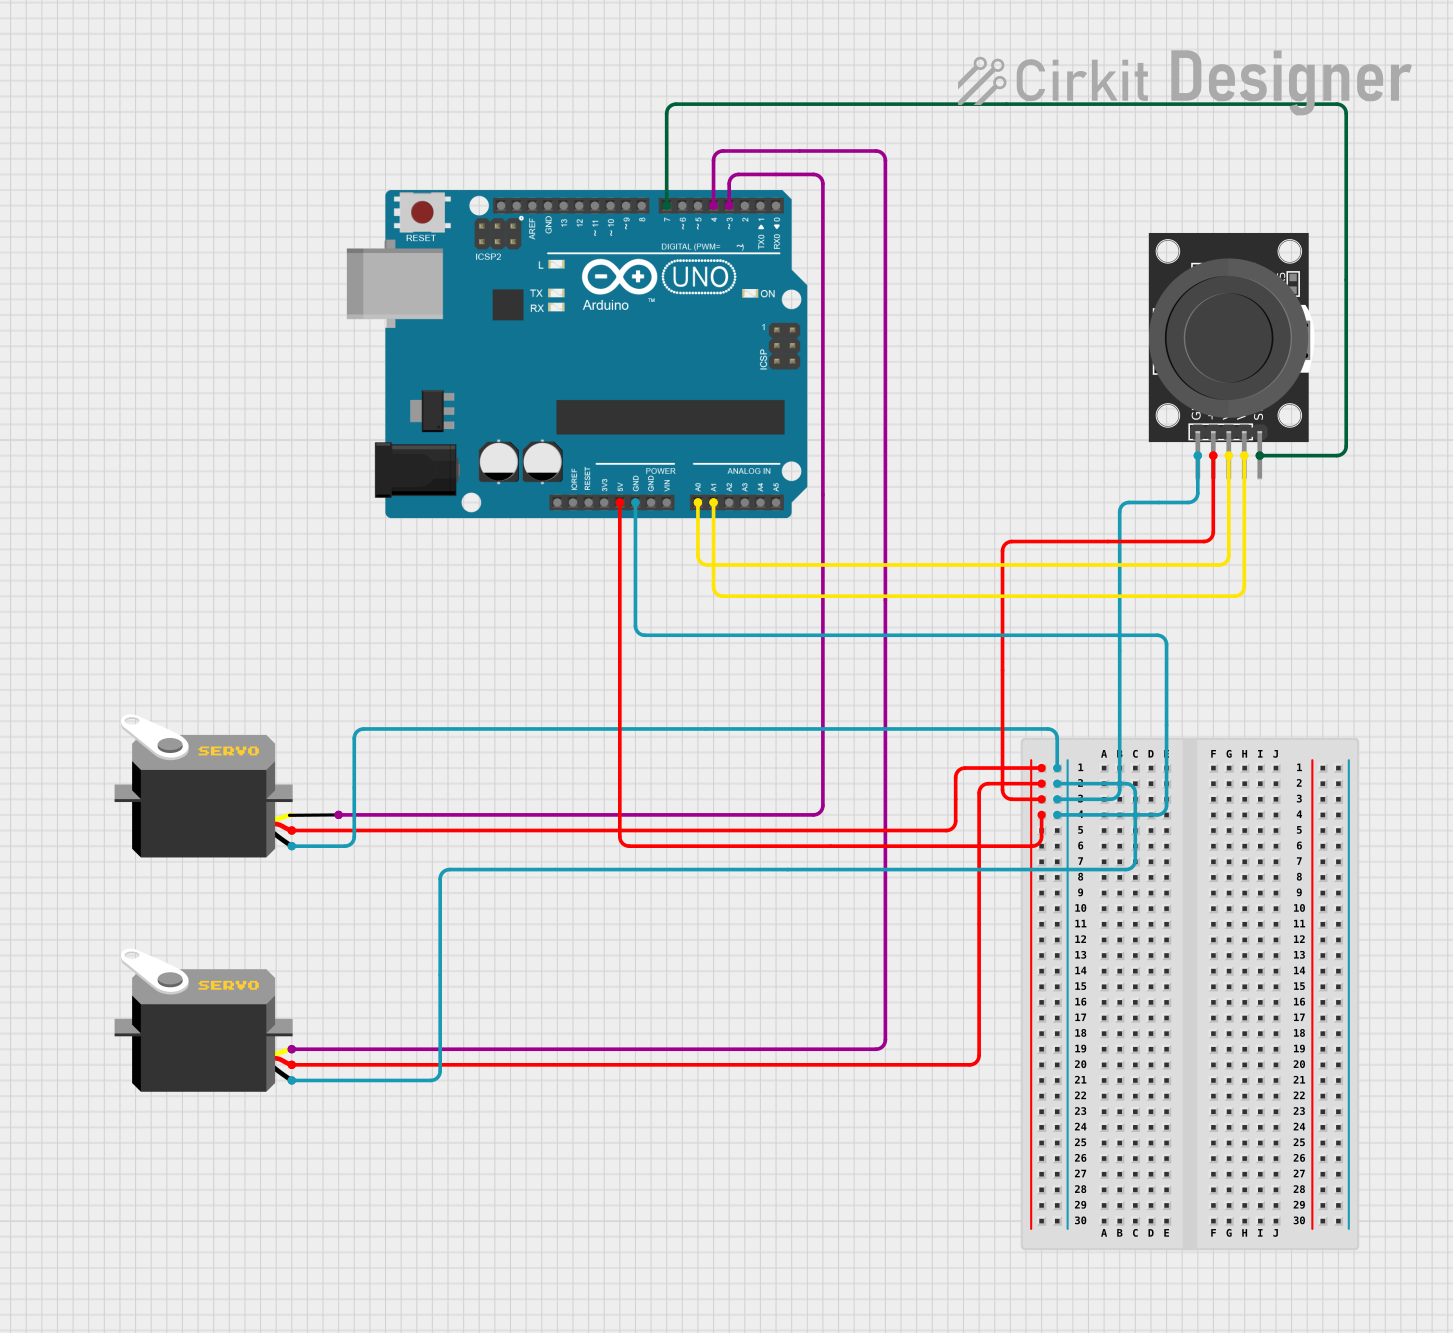
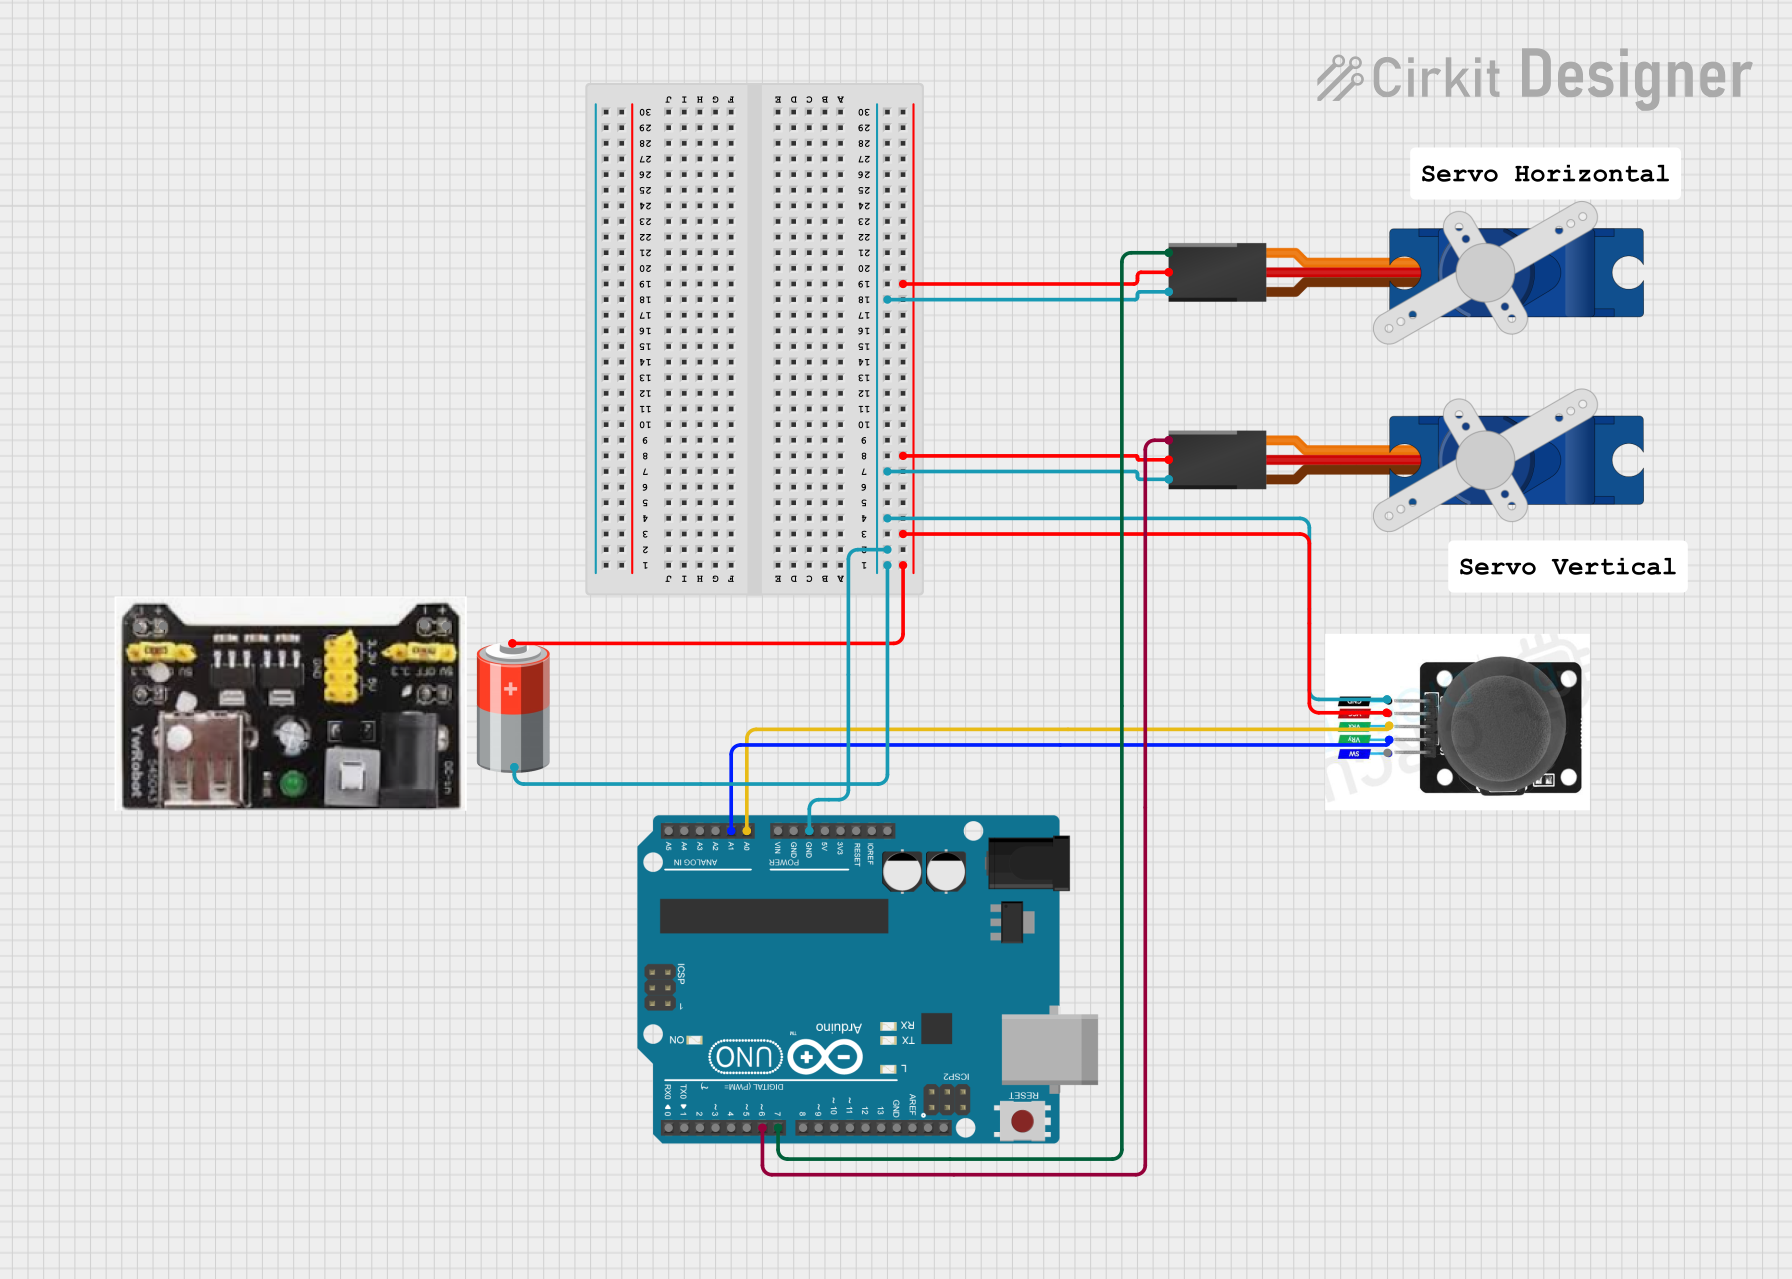
Using VRX 3.3 with Arduino UNO
The VRX 3.3 can be used to power 3.3V sensors or modules connected to an Arduino UNO. Below is an example code snippet for reading data from a 3.3V sensor:
// Example: Reading data from a 3.3V sensor using Arduino UNO

const int sensorPin = A0; // Analog pin connected to the sensor output

void setup() {
  Serial.begin(9600); // Initialize serial communication
  pinMode(sensorPin, INPUT); // Set the sensor pin as input
}

void loop() {
  int sensorValue = analogRead(sensorPin); // Read the sensor value
  float voltage = sensorValue * (3.3 / 1023.0);
  // Convert the analog reading to voltage (3.3V reference)

  Serial.print("Sensor Voltage: ");
  Serial.print(voltage);
  Serial.println(" V");

  delay(1000); // Wait for 1 second before the next reading
}
Best Practices
- Always use the recommended input and output capacitors to ensure stability.
- Avoid exceeding the maximum input voltage (15V) or output current (800 mA).
- Use a heatsink if the regulator operates at high currents or in high-temperature environments.
- Ensure proper grounding to minimize noise and interference.
Troubleshooting and FAQs
Common Issues and Solutions
Output Voltage is Incorrect or Unstable
- Cause: Missing or incorrect capacitors.
- Solution: Ensure a 0.33 µF capacitor is connected to the input and a 0.1 µF capacitor is connected to the output.
Regulator Overheats
- Cause: Excessive input voltage or current draw.
- Solution: Use a heatsink or reduce the input voltage and load current.
No Output Voltage
- Cause: Incorrect wiring or damaged component.
- Solution: Verify the connections and ensure the input voltage is within the specified range.
Noise or Ripple on Output
- Cause: Insufficient decoupling or noisy input source.
- Solution: Add larger capacitors (e.g., 10 µF electrolytic) to the input and output.
FAQs
Q1: Can I use the VRX 3.3 with a 5V input?
A1: Yes, the VRX 3.3 can regulate a 5V input to 3.3V, as long as the input voltage is at least 1.1V higher than the output voltage.
Q2: What happens if I exceed the maximum output current?
A2: Exceeding 800 mA may cause the regulator to overheat or shut down. Use a heatsink or reduce the load.
Q3: Can I use the VRX 3.3 for battery-powered devices?
A3: Yes, the VRX 3.3 is suitable for battery-powered devices, provided the battery voltage is within the input range.
Q4: Is the VRX 3.3 suitable for high-frequency circuits?
A4: The VRX 3.3 is a linear regulator and may not be ideal for high-frequency circuits. Consider using a switching regulator for such applications.