How to Use Adafruit Micro Lipo Charger: Examples, Pinouts, and Specs
Introduction
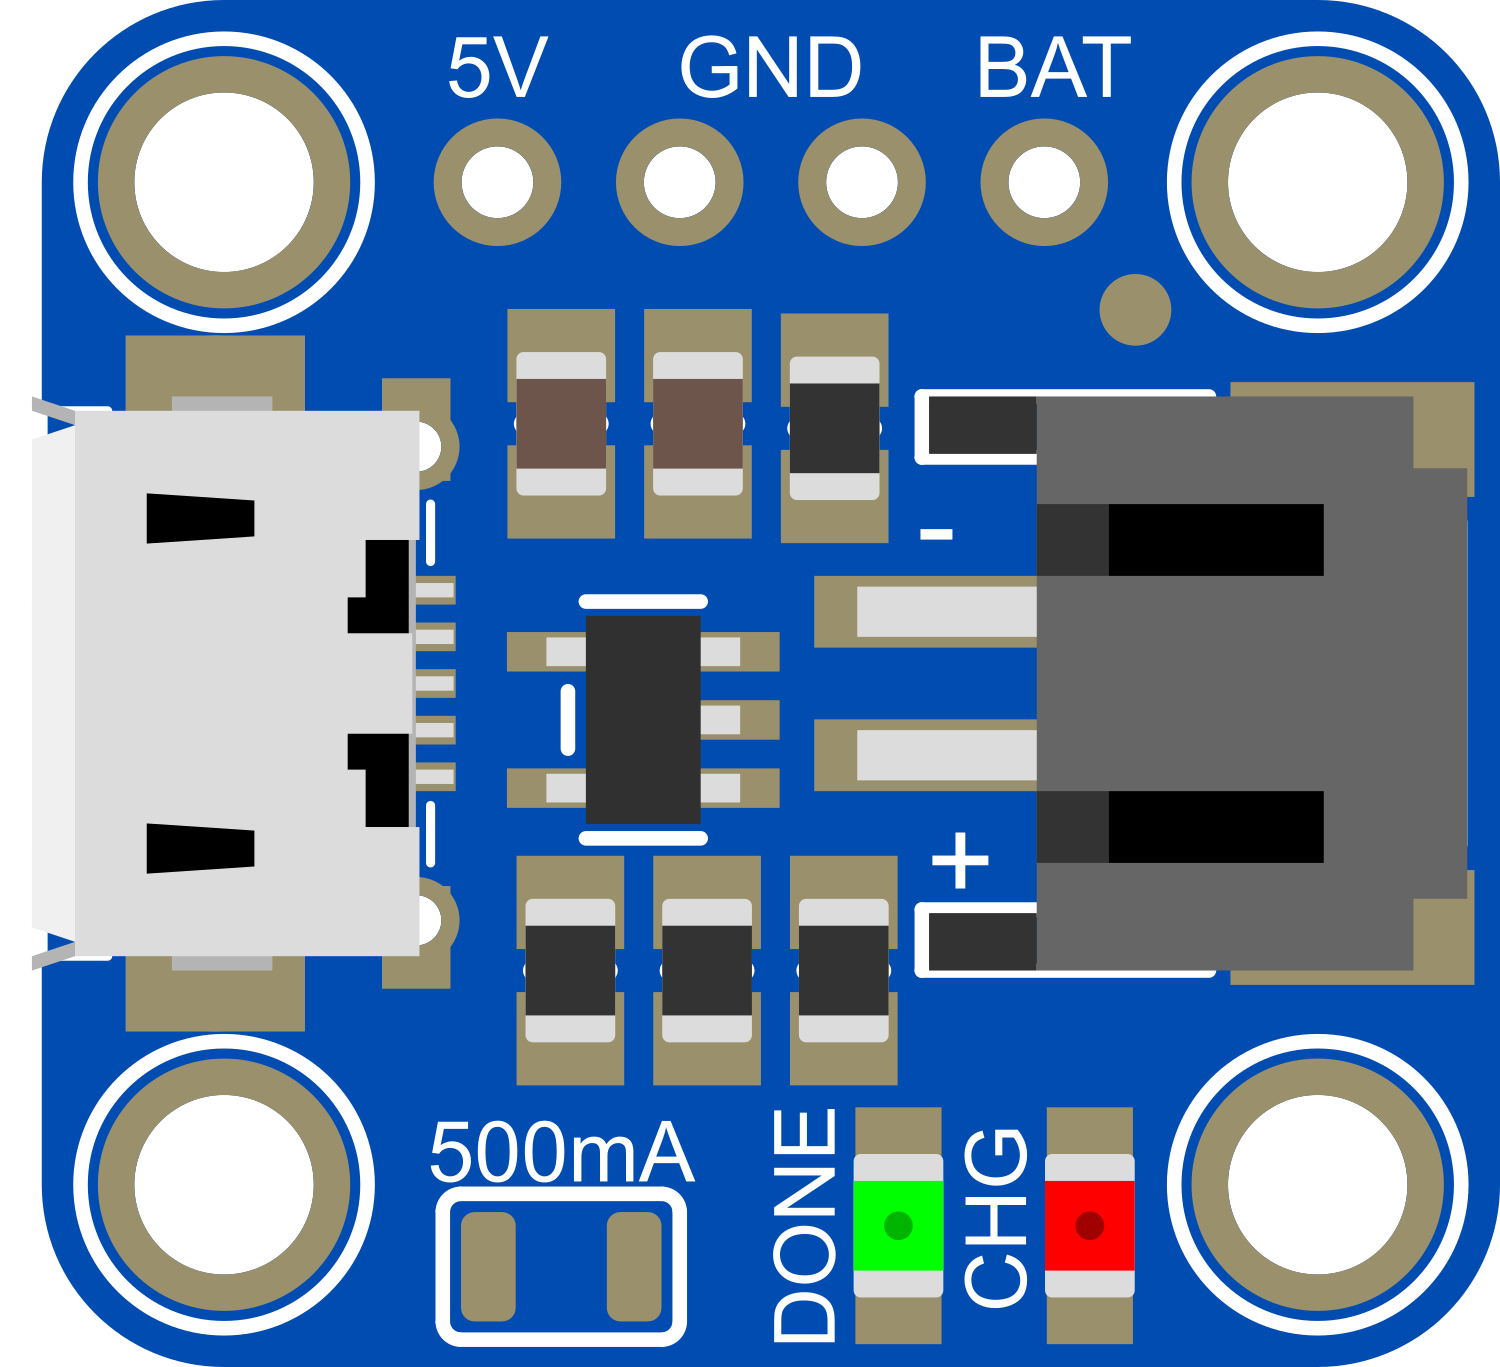
The Adafruit Micro Lipo Charger is a compact, versatile charging module specifically designed for lithium polymer (LiPo) batteries. This user-friendly device simplifies the process of charging small LiPo batteries by integrating power management circuitry and enabling charging through a USB connection. It is ideal for DIY electronics enthusiasts and professionals who require a reliable power source for portable projects.
Explore Projects Built with Adafruit Micro Lipo Charger

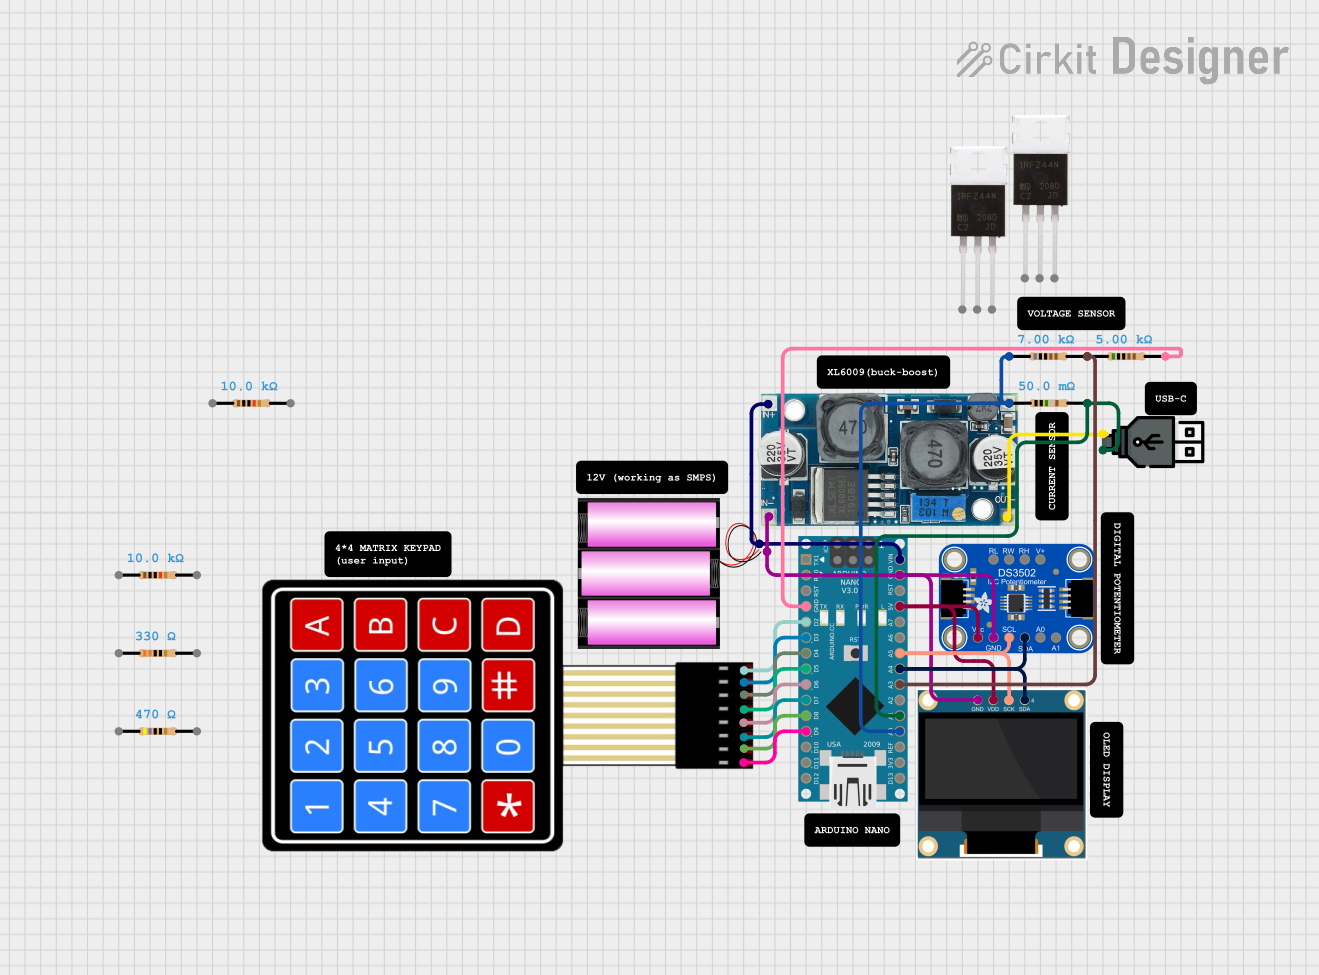
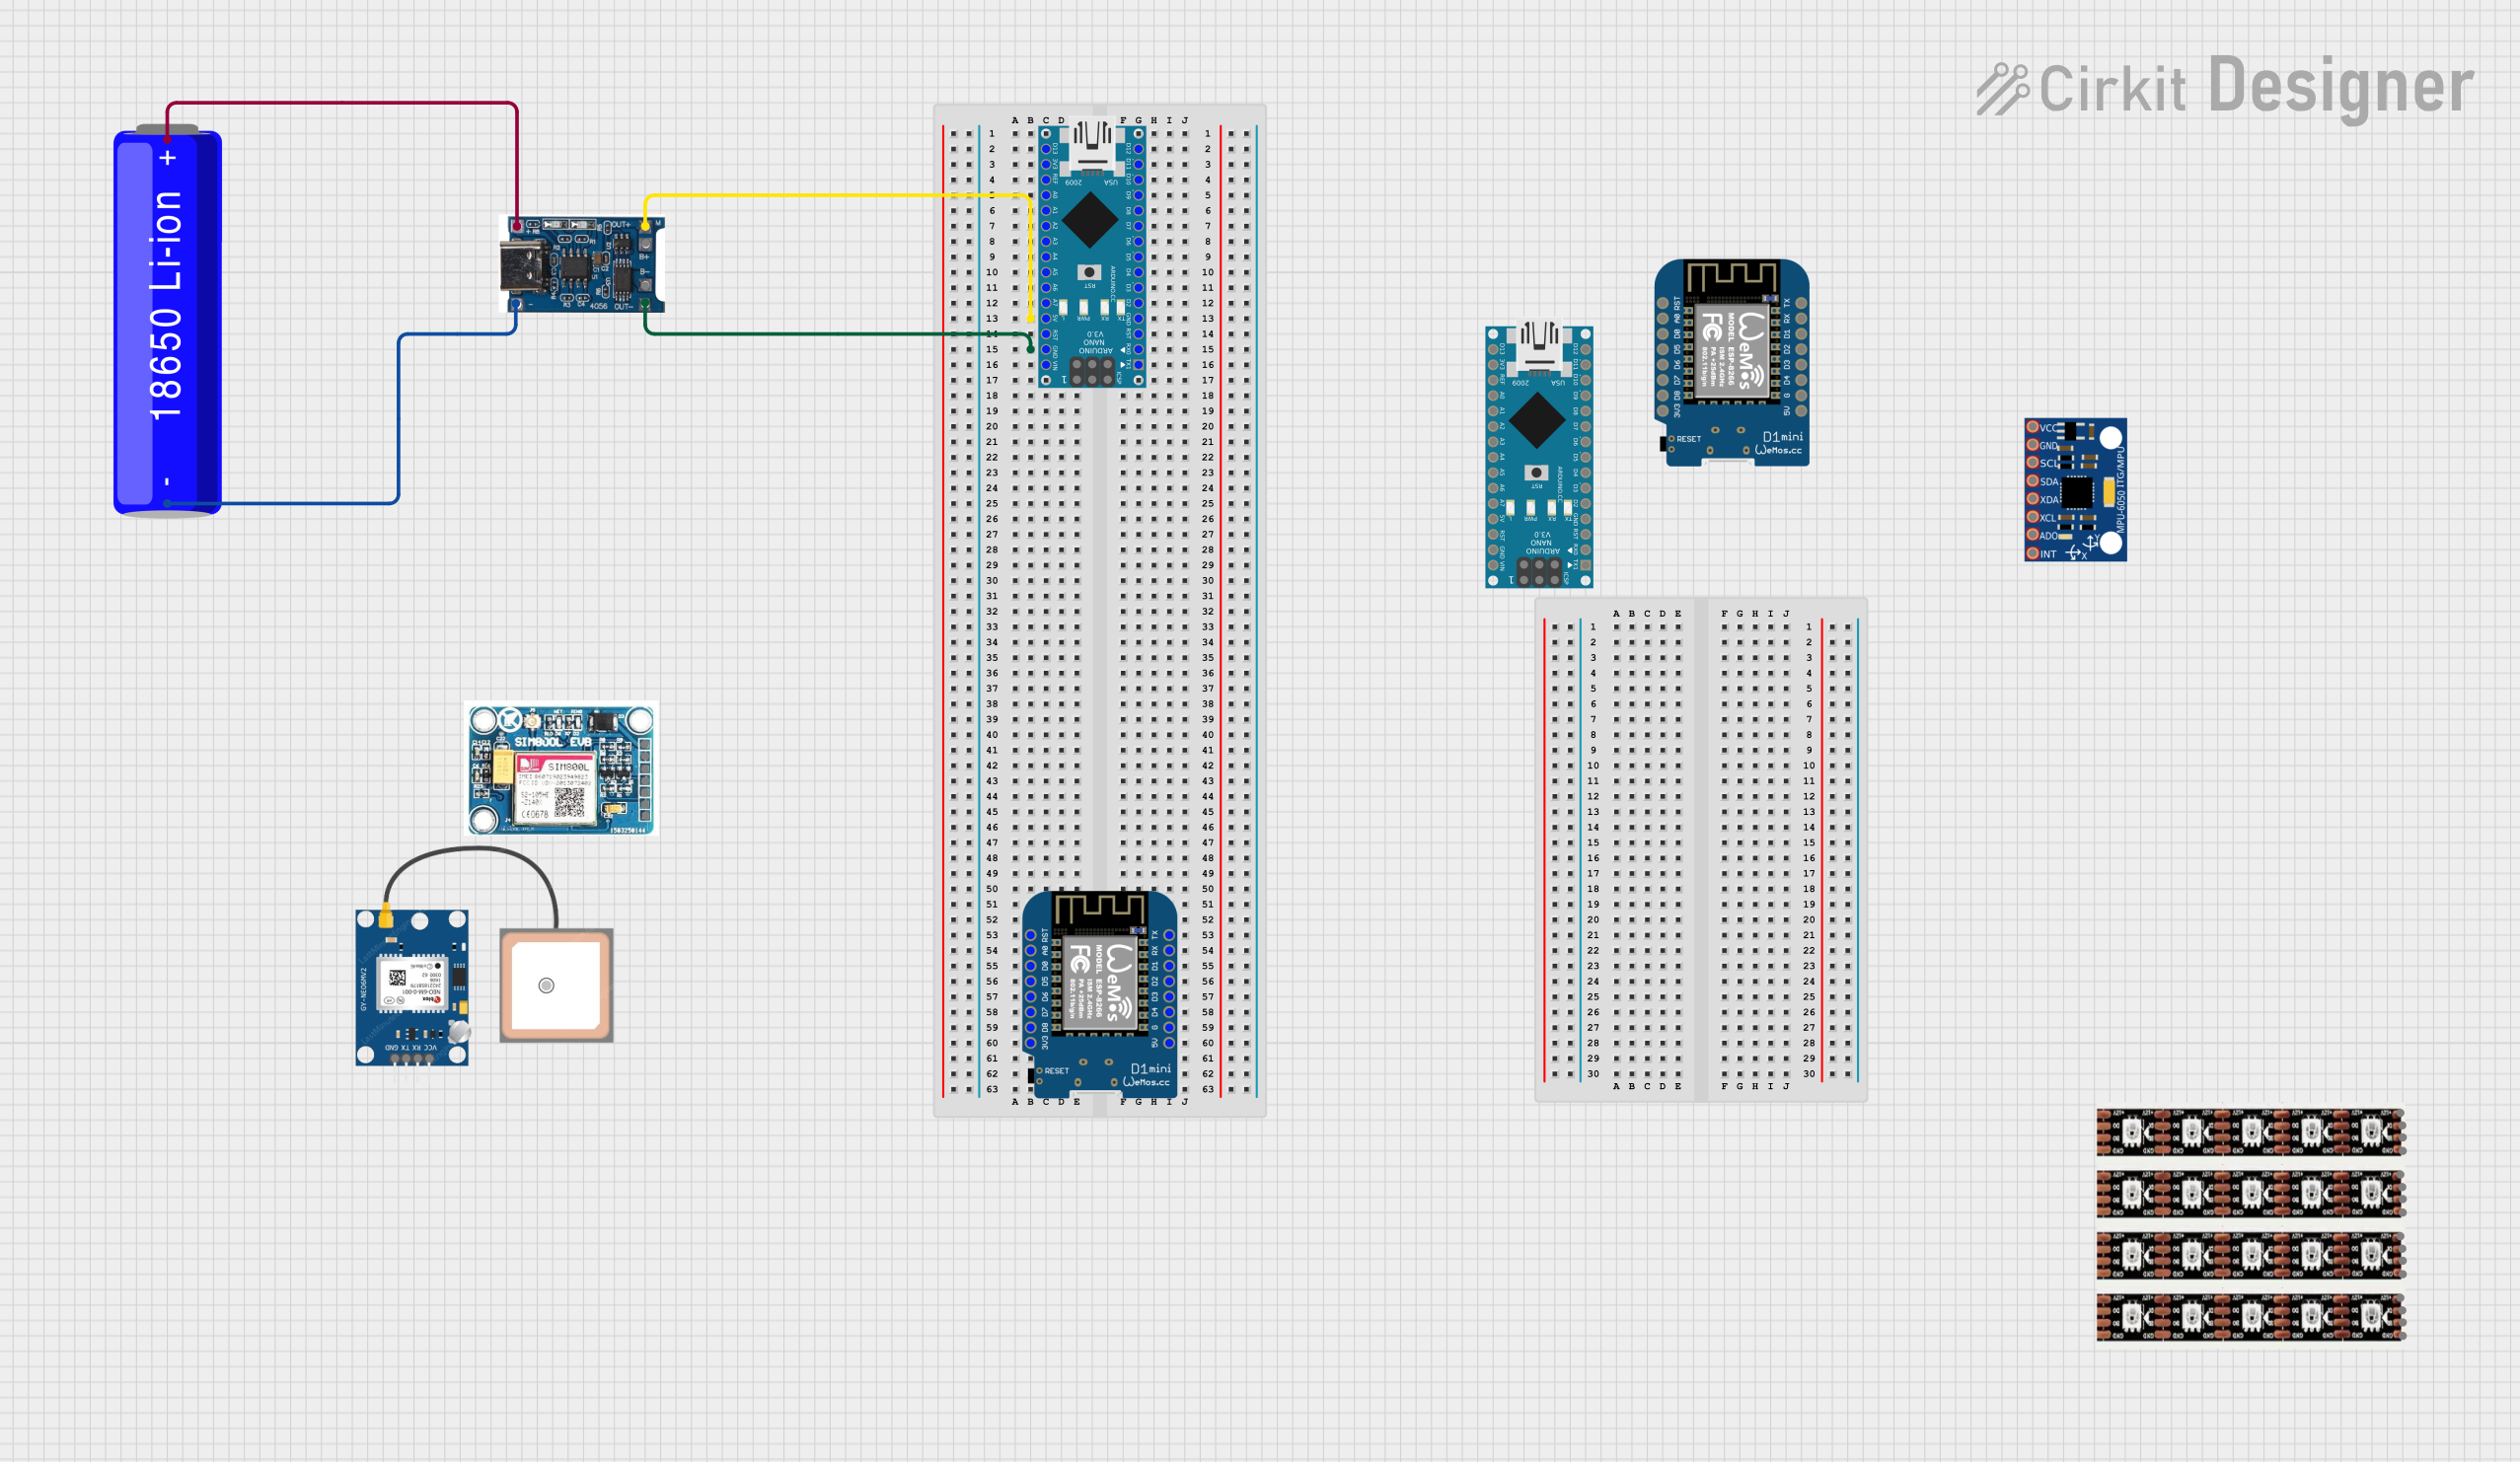
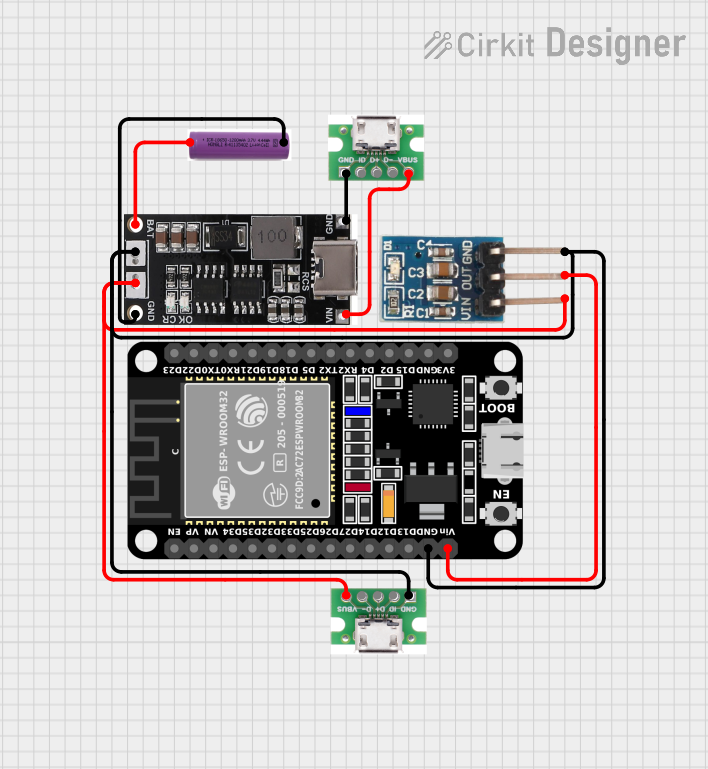
Explore Projects Built with Adafruit Micro Lipo Charger
Common Applications and Use Cases
- Portable electronics
- Wearable devices
- DIY projects
- Drones and RC vehicles
- Prototyping battery-powered gadgets
Technical Specifications
Key Technical Details
- Input Voltage: 3.7V to 5.5V via USB
- Charge Current: 100mA (default) or 500mA (selectable)
- Battery Voltage: 3.7V nominal (single cell)
- Charge Cutoff Voltage: 4.2V ± 1%
- Operating Temperature: -40°C to +85°C
Pin Configuration and Descriptions
| Pin Number | Name | Description |
|---|---|---|
| 1 | BAT | Battery connection terminal (+) |
| 2 | GND | Ground connection |
| 3 | 5V | USB power input (5V) |
| 4 | GND | Ground for USB power |
| 5 | STAT | Status pin (charging indicator) |
Usage Instructions
How to Use the Component in a Circuit
Connect the Battery:
- Attach the positive terminal of the LiPo battery to the
BATpin. - Connect the negative terminal of the battery to the
GNDpin.
- Attach the positive terminal of the LiPo battery to the
Power the Charger:
- Supply 5V to the
5Vpin from a USB power source. - Connect the ground of the power source to the
GNDpin adjacent to the5Vpin.
- Supply 5V to the
Select Charge Current:
- The default charge current is set to 100mA. To select 500mA, solder the closed jumper provided on the board.
Monitor Charging Status:
- The
STATpin can be connected to an LED or a microcontroller to monitor the charging status.
- The
Important Considerations and Best Practices
- Ensure the polarity of the battery is correct to prevent damage.
- Do not exceed the recommended input voltage range.
- Avoid charging batteries that are not rated for the selected current.
- Use a quality USB power source to ensure stable charging.
- Do not leave batteries unattended while charging.
Troubleshooting and FAQs
Common Issues
LED Not Lighting Up:
- Check the USB power source and connections.
- Ensure the battery is properly connected with correct polarity.
Battery Not Charging:
- Verify that the battery is in good condition and within its lifecycle.
- Check if the solder jumper for charge current is properly set.
Solutions and Tips for Troubleshooting
- Double-check all connections for solid contact and correct orientation.
- Use a multimeter to verify the voltage at the
BATandGNDpins. - If the
STATpin does not indicate charging, ensure the battery voltage is below the charge cutoff voltage.
FAQs
Q: Can I charge multiple batteries at once?
- A: No, the charger is designed for single-cell LiPo batteries.
Q: What does the
STATpin indicate?- A: The
STATpin can be used to indicate the charging status. When charging, it can be connected to an LED that will light up; when charging is complete, the LED will turn off.
- A: The
Q: Is it safe to leave the battery connected to the charger after charging is complete?
- A: Yes, the charger has built-in power management that prevents overcharging.
Example Code for Arduino UNO
// Example code to monitor Adafruit Micro Lipo Charger's STAT pin using Arduino UNO

const int STATpin = 2; // Connect STAT pin to digital pin 2 on Arduino

void setup() {
  pinMode(STATpin, INPUT); // Set STAT pin as input
  Serial.begin(9600); // Start serial communication at 9600 baud
}

void loop() {
  int chargingStatus = digitalRead(STATpin); // Read the STAT pin status

  if (chargingStatus == HIGH) {
    // If STAT pin is HIGH, battery is still charging
    Serial.println("Battery is charging...");
  } else {
    // If STAT pin is LOW, battery is fully charged
    Serial.println("Battery is fully charged.");
  }

  delay(1000); // Wait for 1 second before reading the status again
}
Remember to keep the code comments concise and within the 80 character line length limit. This example demonstrates how to use an Arduino UNO to monitor the charging status of a LiPo battery connected to the Adafruit Micro Lipo Charger.