How to Use Servomotor MG90S: Examples, Pinouts, and Specs
Introduction
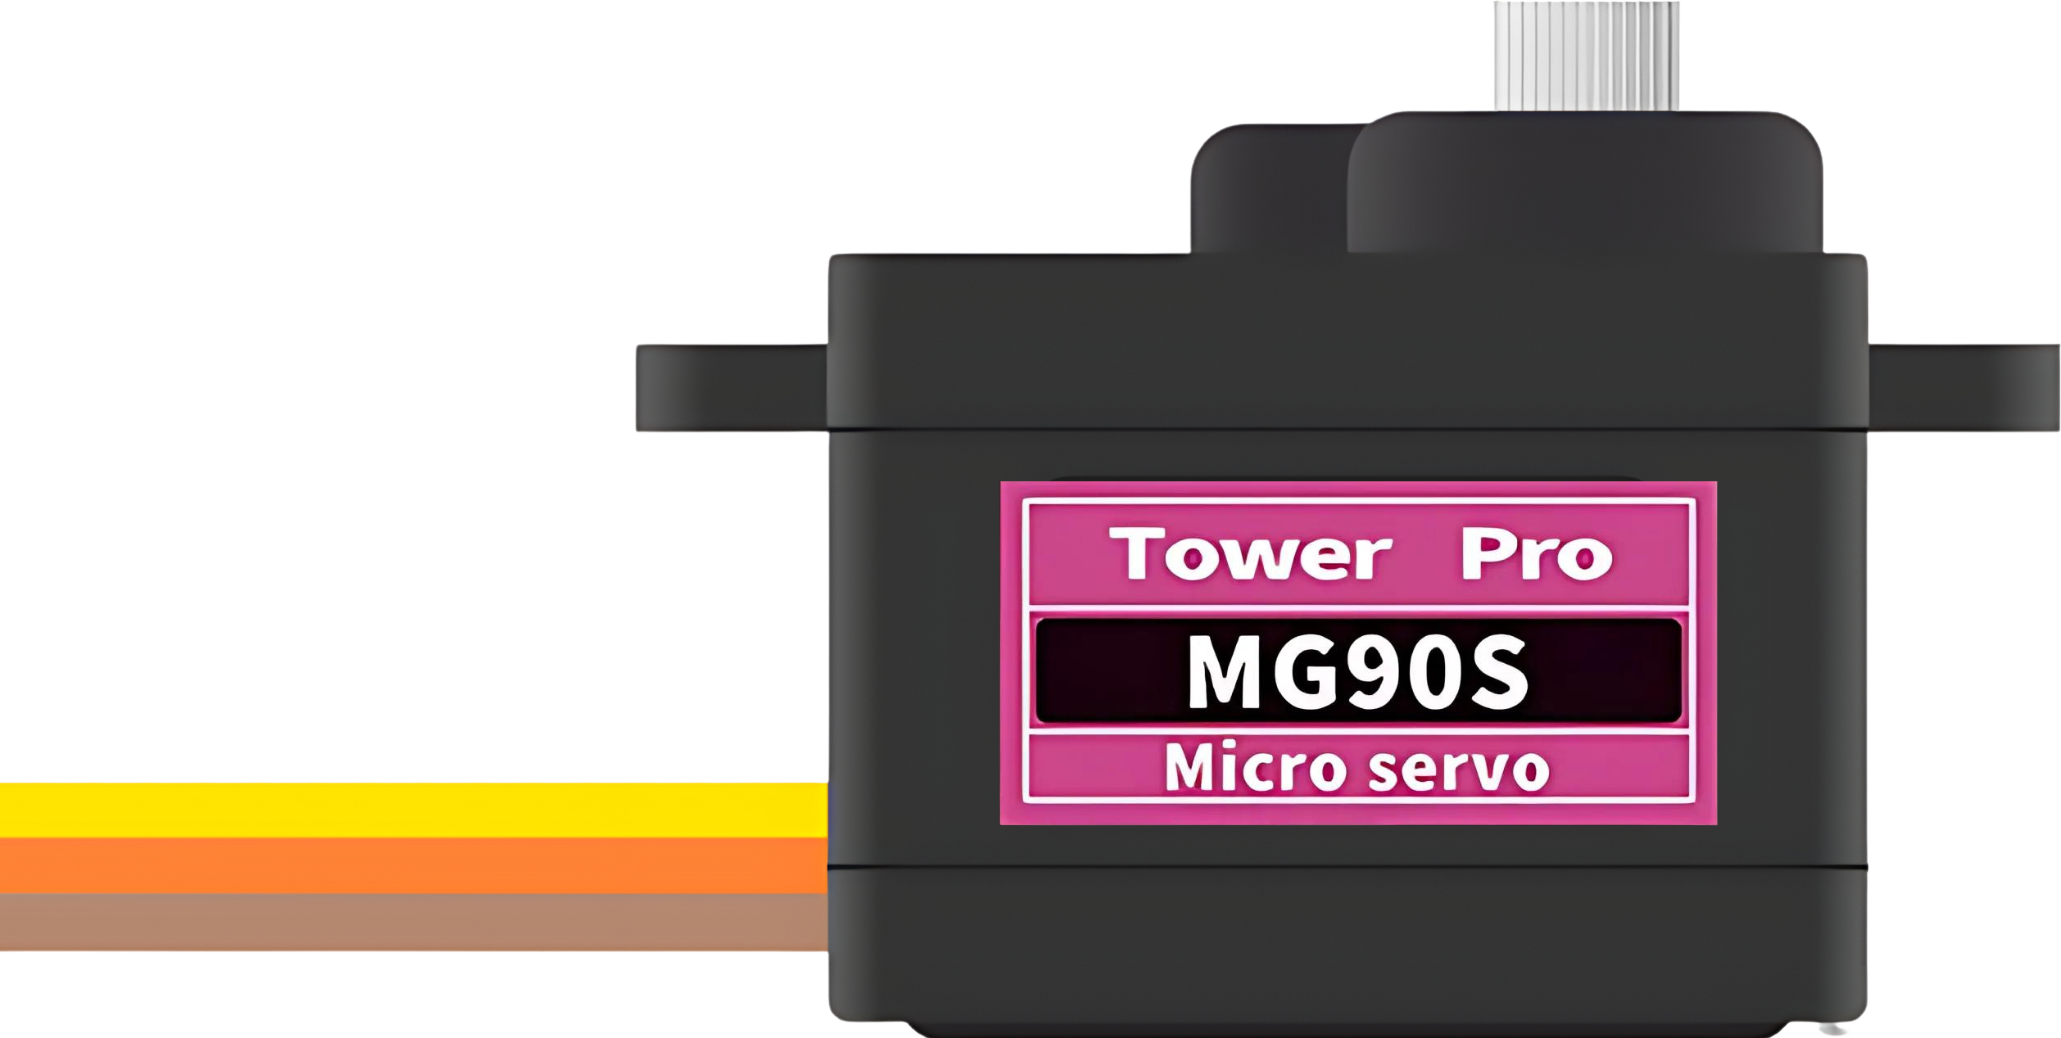
The MG90S is a compact and lightweight micro servo motor known for its precise angular movement capabilities. It is widely used in hobby projects, small robotic systems, and radio-controlled devices. The MG90S is favored for its durability, metal gears, and its ability to operate at higher speeds than many other servos in its class.
Explore Projects Built with Servomotor MG90S

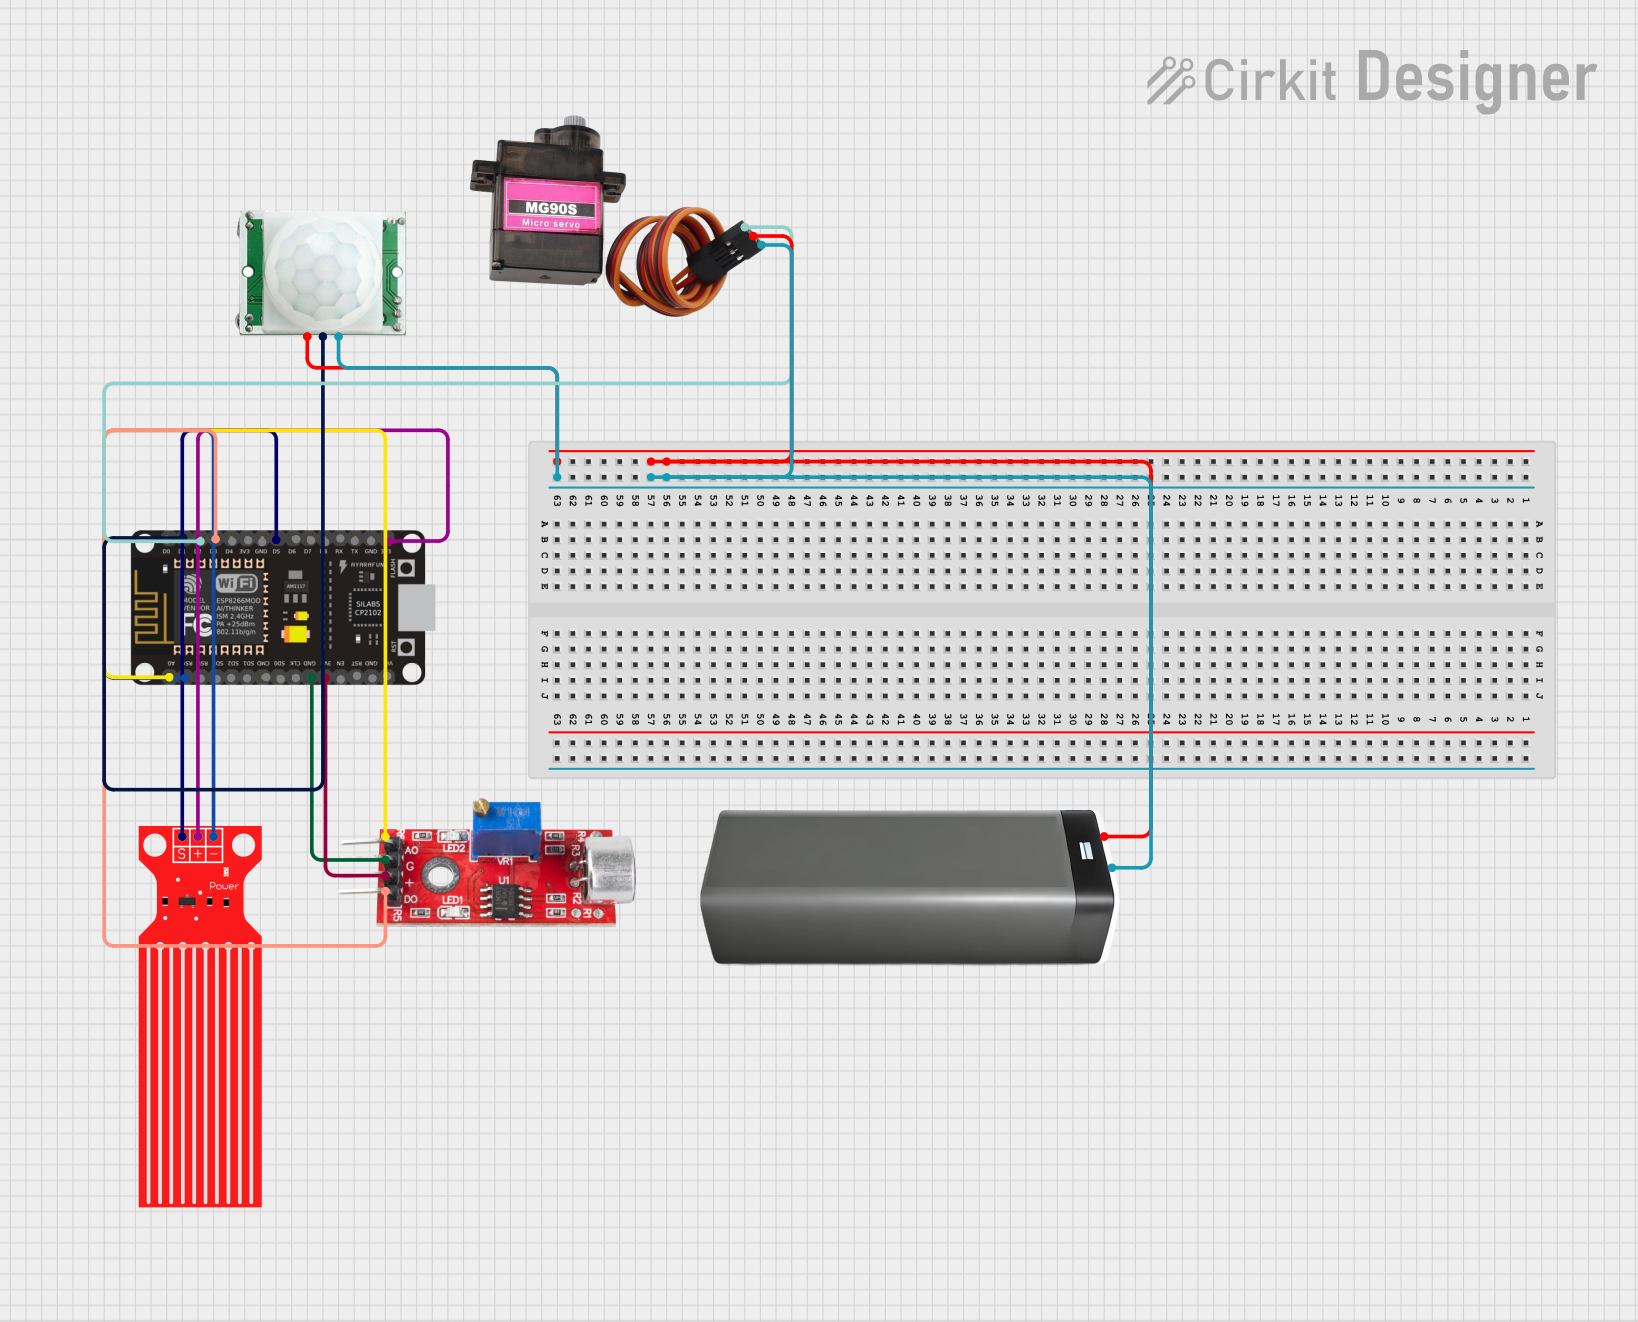
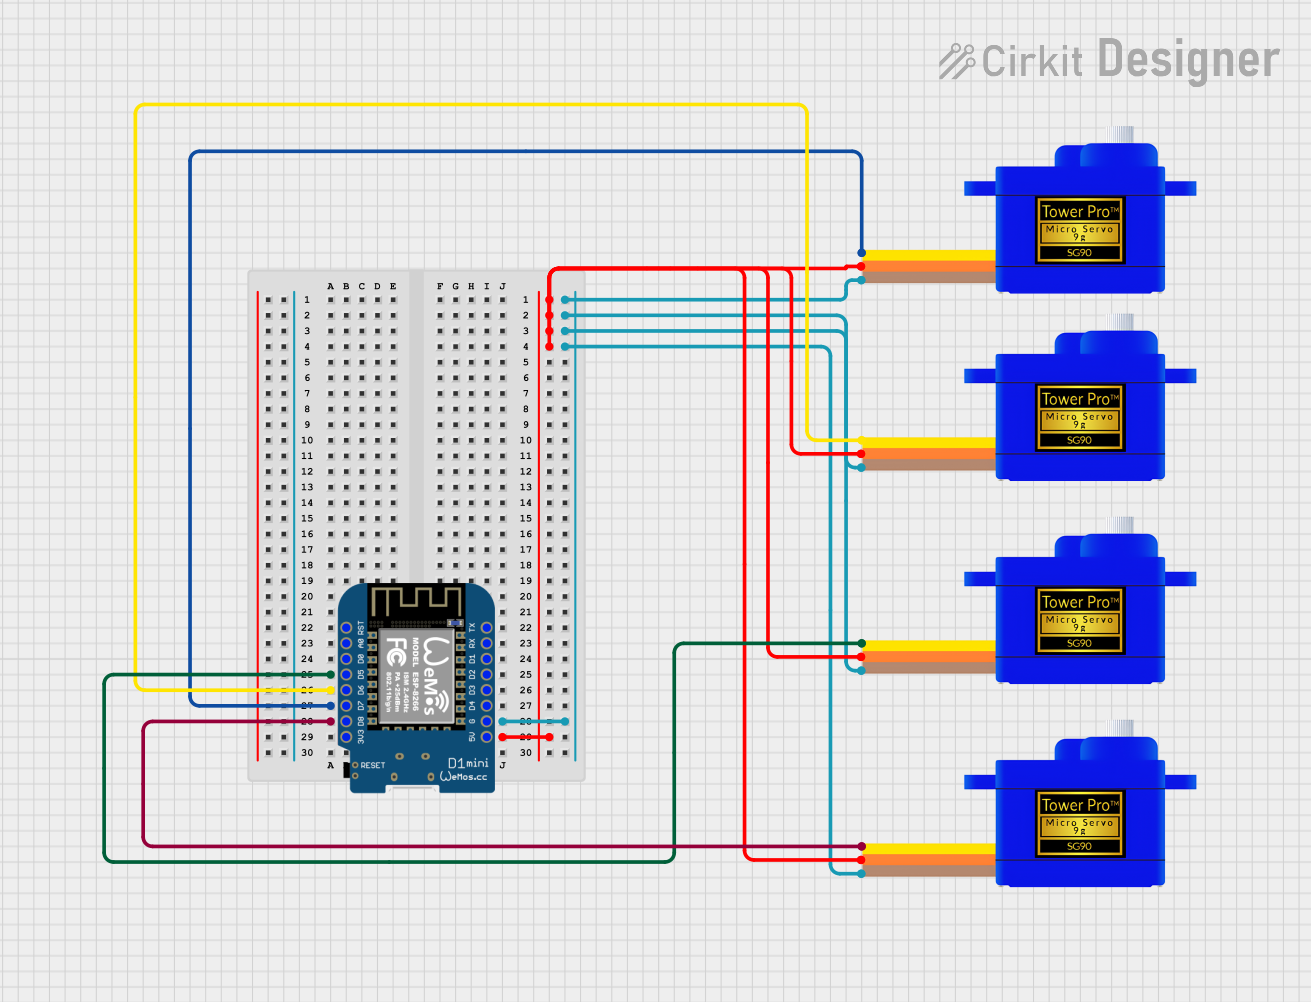
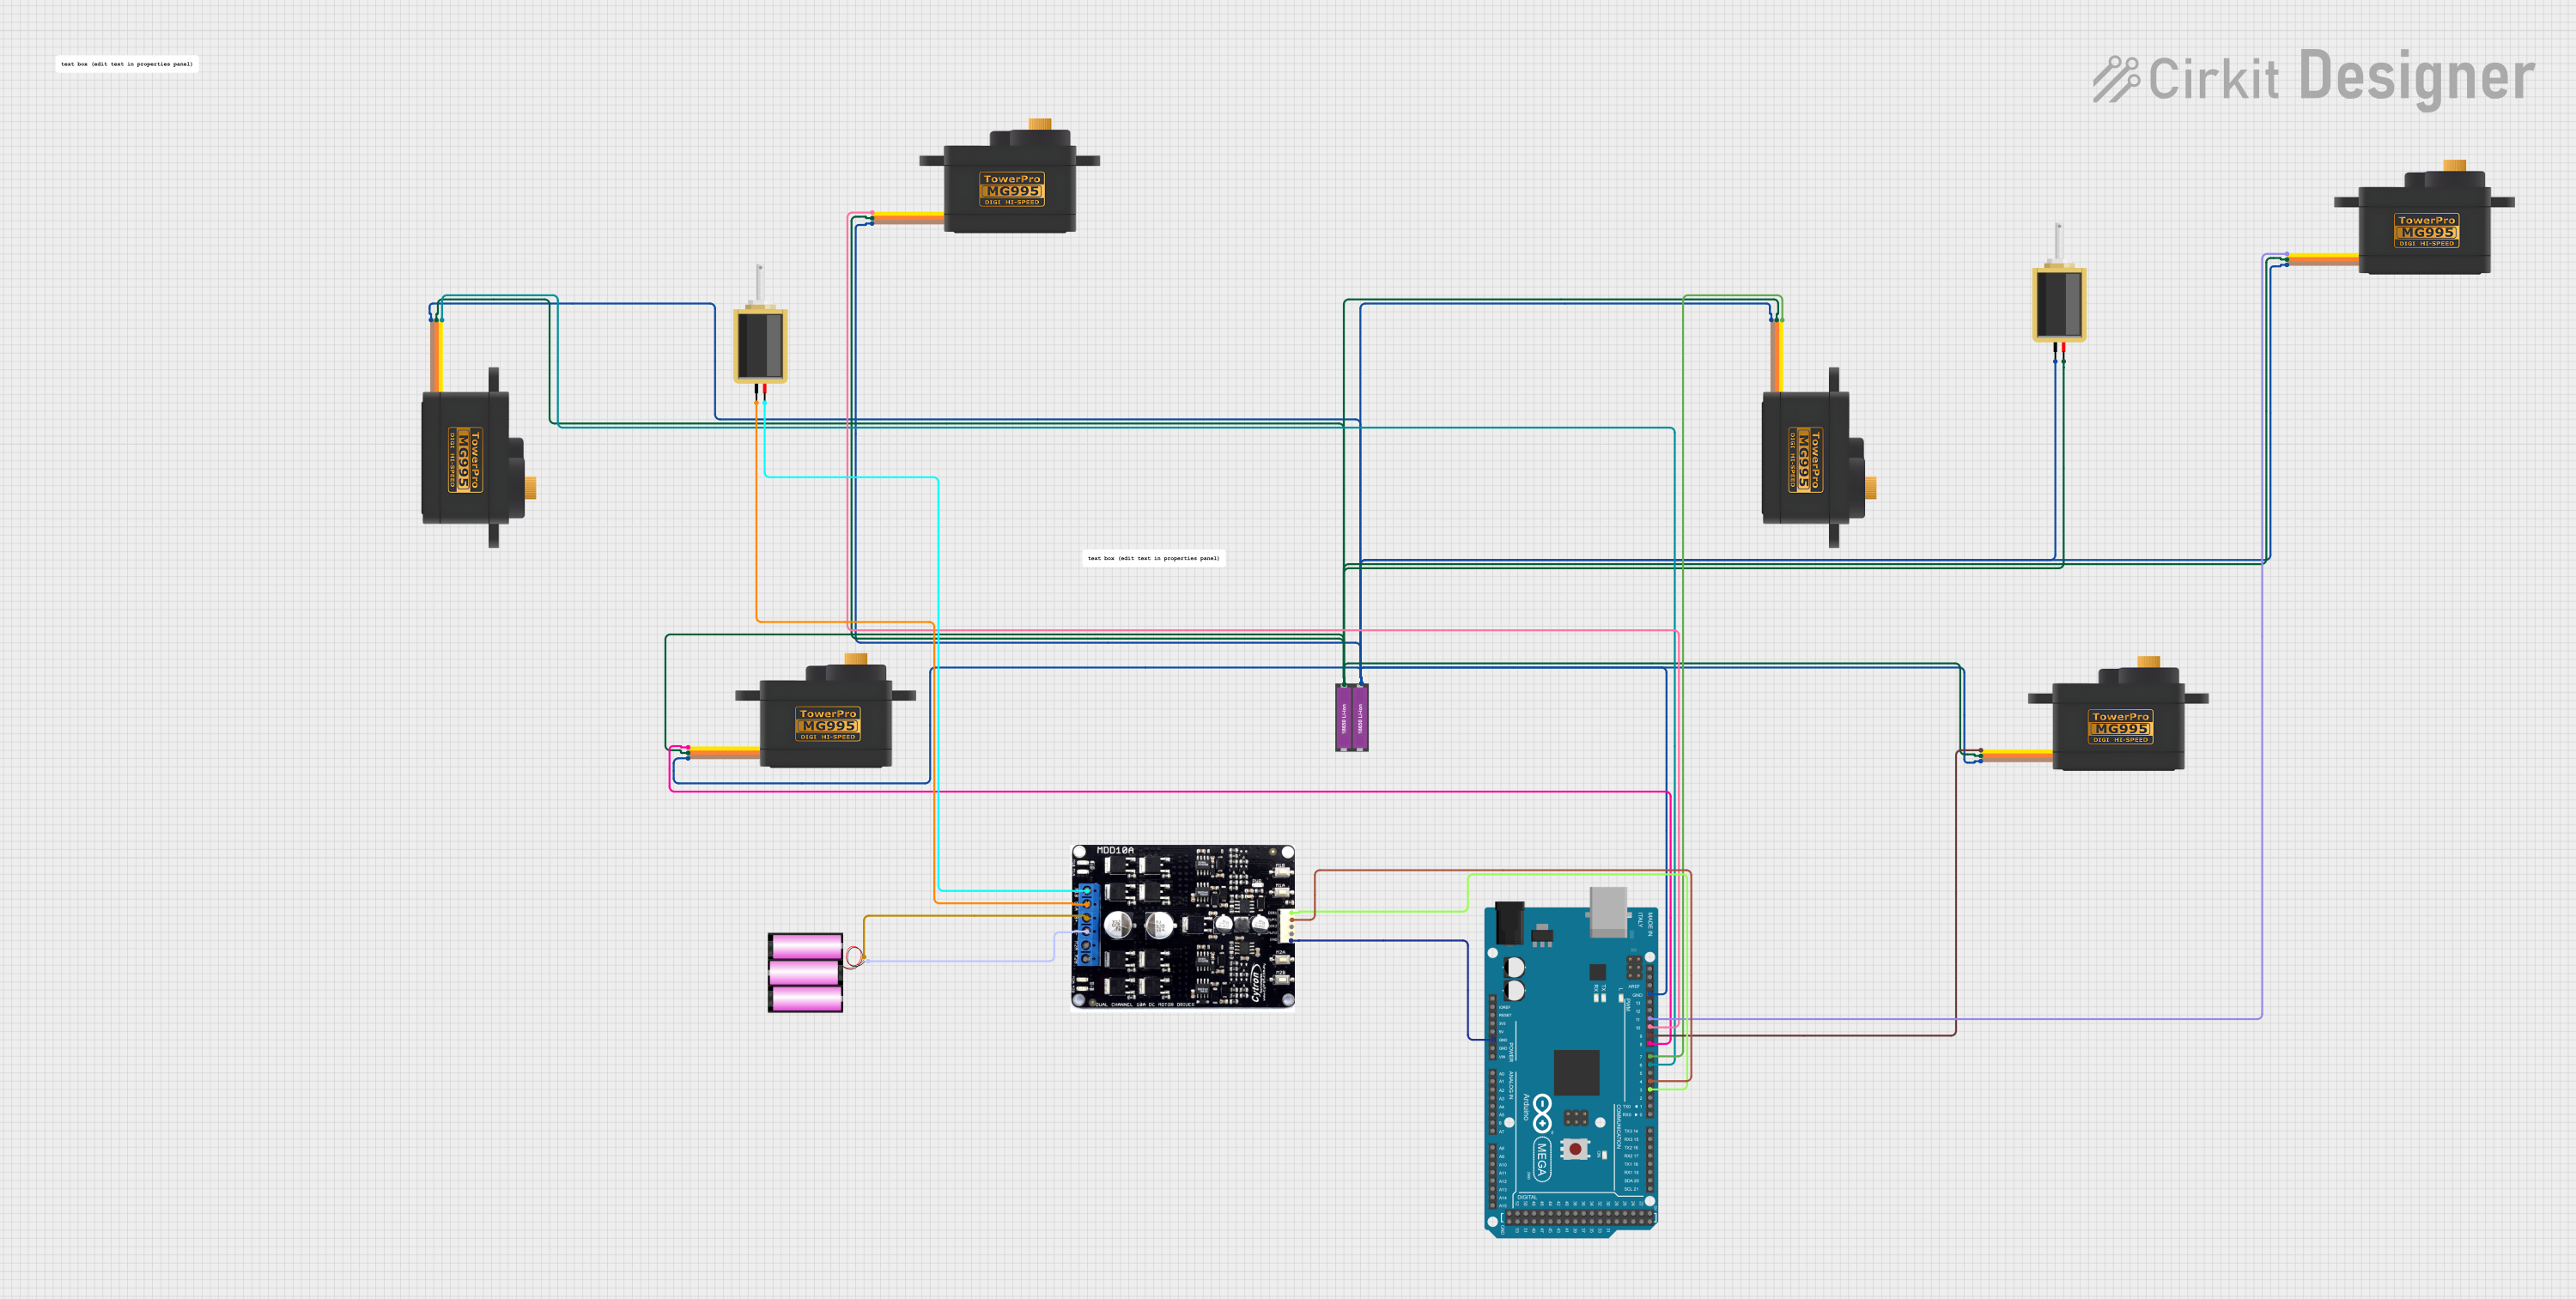
Explore Projects Built with Servomotor MG90S
Common Applications and Use Cases
- Radio-controlled vehicles (cars, boats, planes)
- Robotic arms and grippers
- Camera pan/tilt systems
- Small-scale automation projects
Technical Specifications
Key Technical Details
- Voltage: 4.8V to 6.0V
- Stall Torque: 2.2 kg-cm (4.8V), 2.5 kg-cm (6.0V)
- Speed: 0.10 sec/60° (4.8V), 0.08 sec/60° (6.0V)
- Weight: 13.4g
- Dimensions: 22.8 x 12.2 x 28.5 mm
Pin Configuration and Descriptions
| Pin Number | Color | Description |
|---|---|---|
| 1 | Brown | Ground (GND) |
| 2 | Red | Power Supply (VCC) |
| 3 | Orange | Control Signal (PWM) |
Usage Instructions
How to Use the MG90S in a Circuit
- Power Supply: Connect the red wire to a power supply that is within the servo's voltage range (4.8V to 6.0V).
- Ground: Connect the brown wire to the ground of your power supply and microcontroller.
- Control Signal: Connect the orange wire to a PWM-capable pin on your microcontroller.
Important Considerations and Best Practices
- Ensure that the power supply is stable and within the specified voltage range to prevent damage.
- Do not exceed the servo's torque capabilities as it may strip the gears.
- Use a separate power supply if the servo's current draw is too high for your microcontroller's voltage regulator.
- Always secure the servo motor to your project to prevent movement and vibration from affecting performance.
Example Code for Arduino UNO
#include <Servo.h>

Servo myservo;  // create servo object to control the MG90S

void setup() {
  myservo.attach(9);  // attaches the servo on pin 9 to the servo object
}

void loop() {
  myservo.write(90);  // sets the servo position to 90°
  delay(1000);        // waits for a second
  myservo.write(0);   // sets the servo to position 0°
  delay(1000);        // waits for a second
}
Troubleshooting and FAQs
Common Issues Users Might Face
- Servo not responding: Ensure all connections are secure and the control signal is connected to a PWM-capable pin.
- Erratic movements: Check for a stable power supply and ensure the control signal is not noisy.
- Overheating: Avoid stalling the servo or overloading it beyond its torque capacity.
Solutions and Tips for Troubleshooting
- If the servo is not moving, verify that the power supply voltage and current are sufficient.
- For jittery servo movements, try adding a capacitor (around 47µF to 100µF) across the power supply lines close to the servo.
- If the servo is overheating, reduce the load or duty cycle to allow it to cool down.
FAQs
Q: Can I control the MG90S with a Raspberry Pi? A: Yes, but you will need to ensure proper PWM signal generation, which may require additional libraries or hardware.
Q: How many MG90S servos can I connect to an Arduino UNO? A: The UNO can control as many servos as there are PWM pins available, but power limitations may require an external power supply for multiple servos.
Q: What is the lifespan of the MG90S servo? A: The lifespan can vary based on usage, but with proper care and within its operating specifications, it can last for several years.