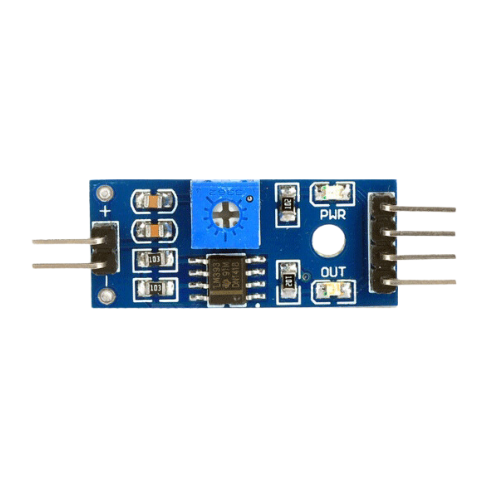
How to Use Soil Moisture Module: Examples, Pinouts, and Specs
Introduction
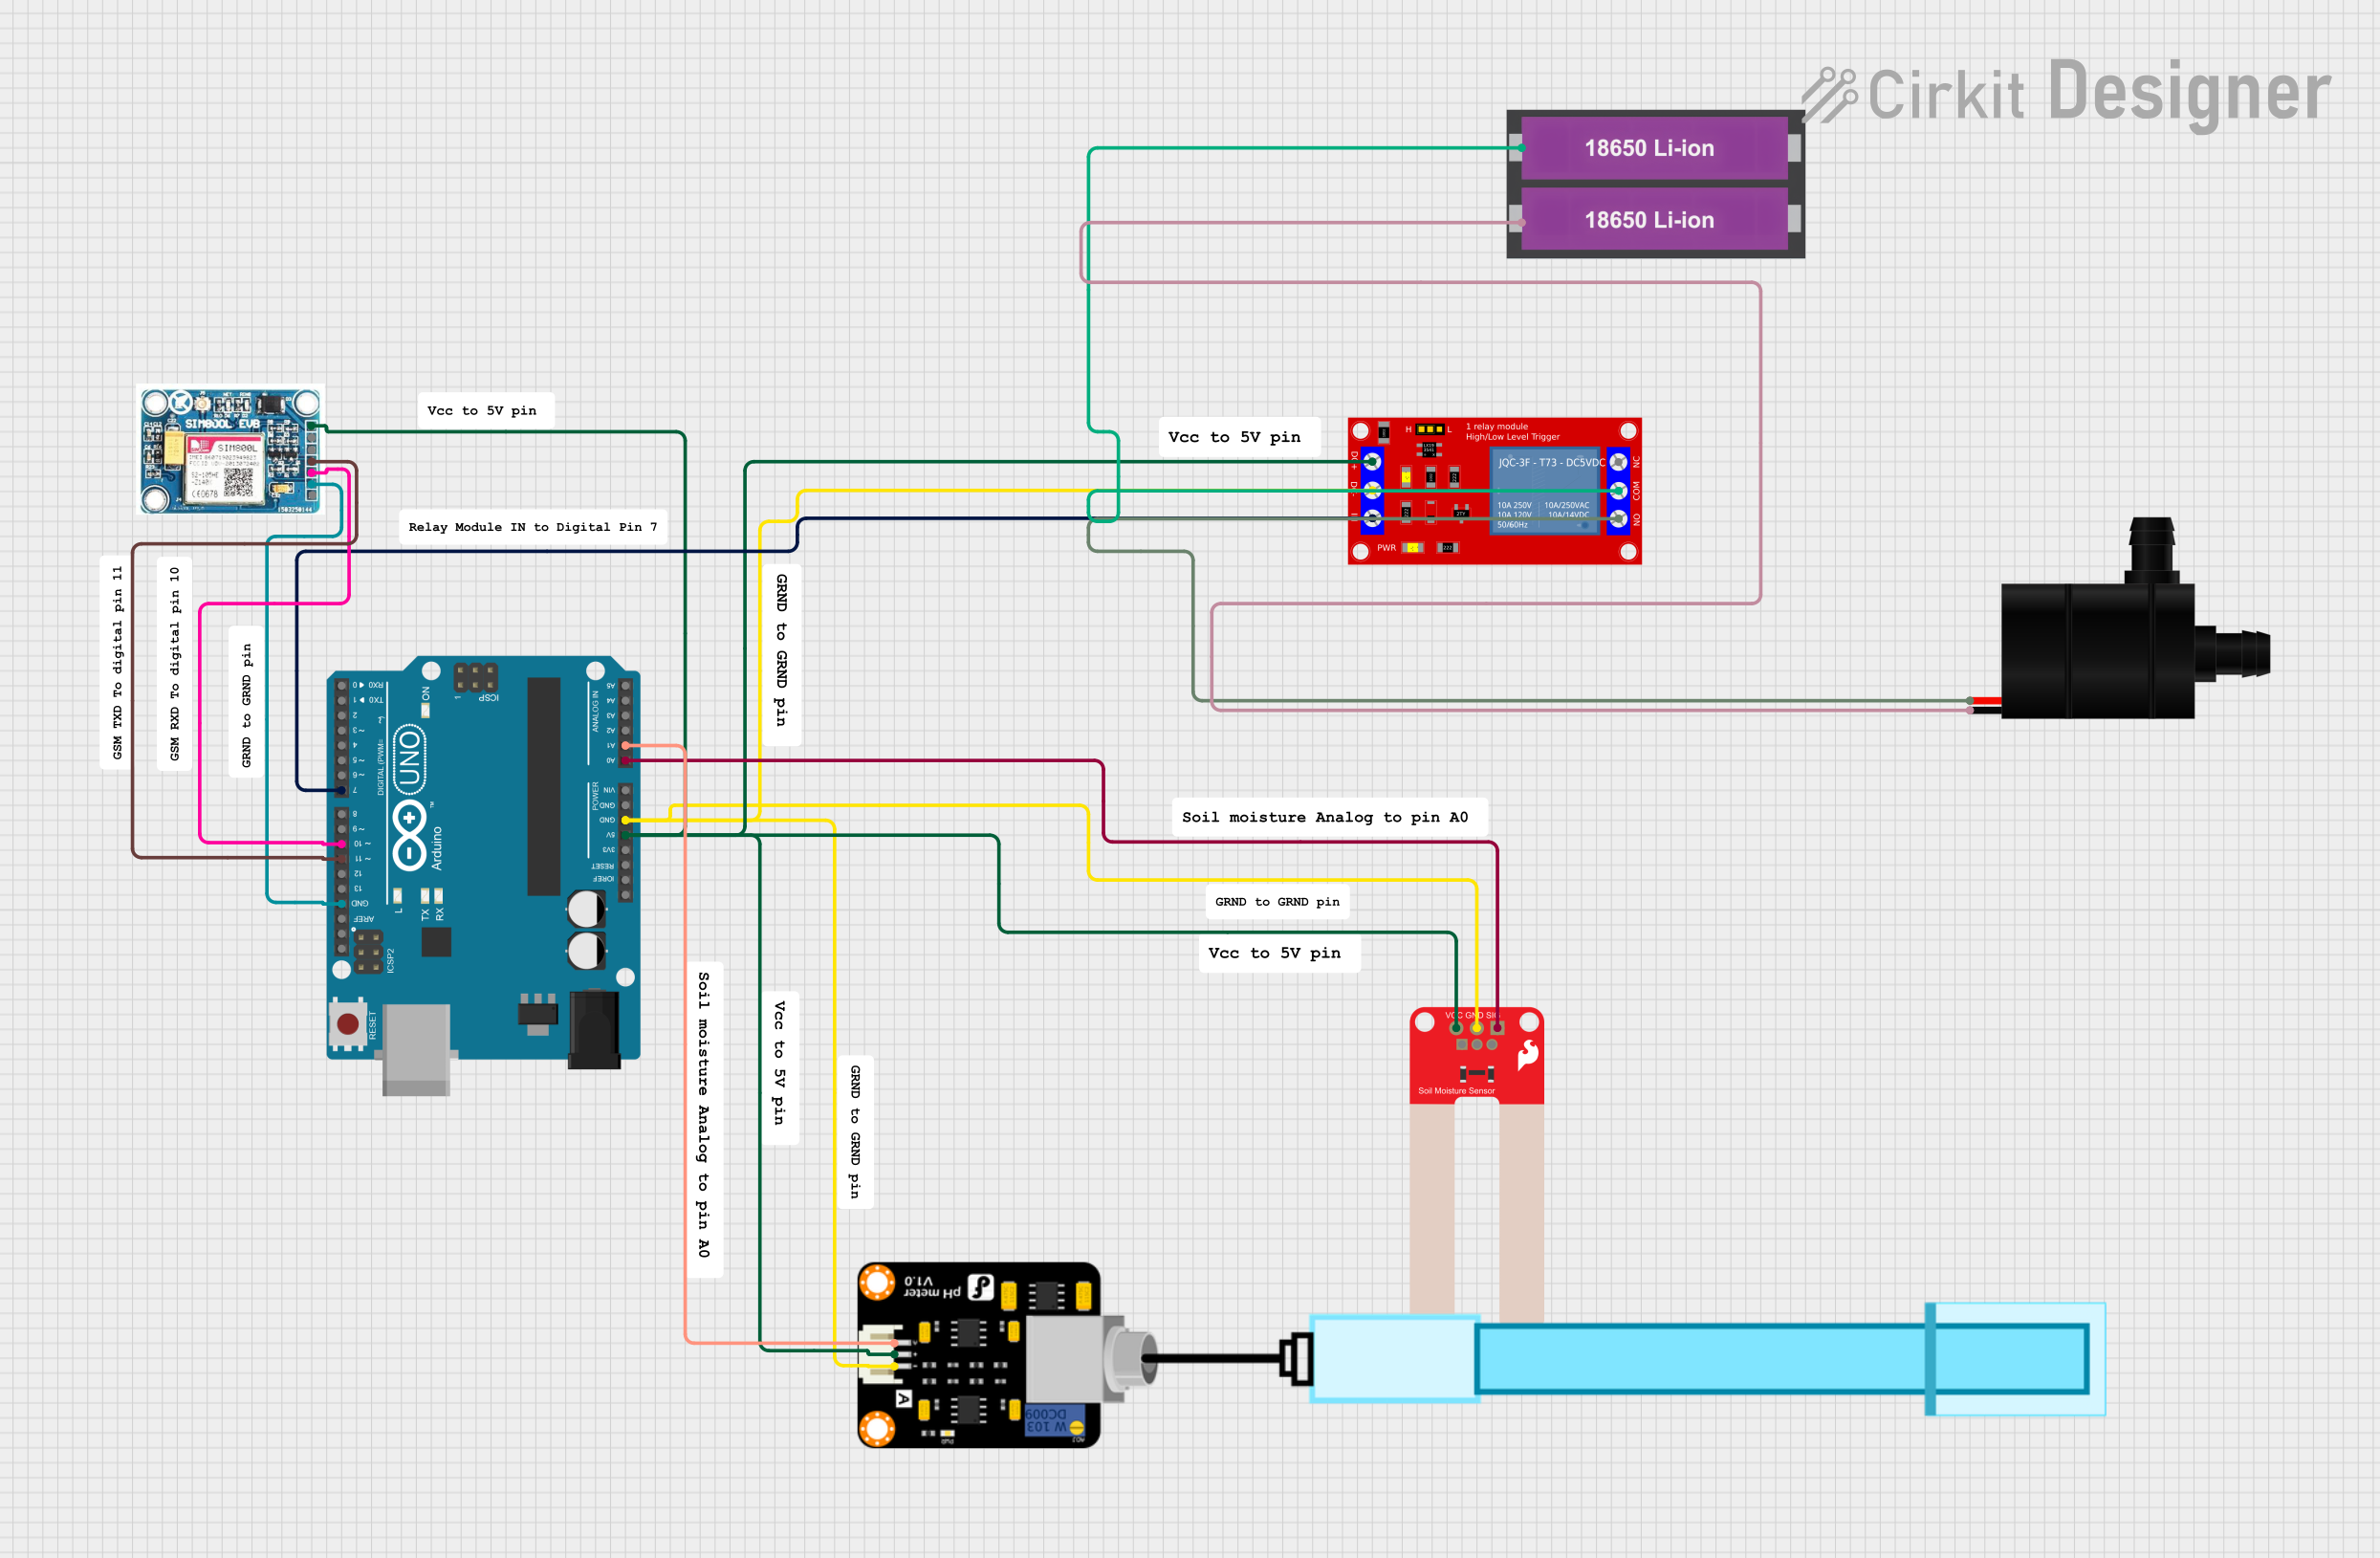
The Soil Moisture Module is an electronic sensor designed to measure the moisture level in soil, providing a means to gauge the water content in the ground. This sensor is commonly used in gardening, agriculture, and landscaping to optimize irrigation schedules, conserve water, and promote healthy plant growth. By monitoring soil moisture, users can automate watering systems to activate only when necessary, thus preventing over or under-watering of plants.
Explore Projects Built with Soil Moisture Module
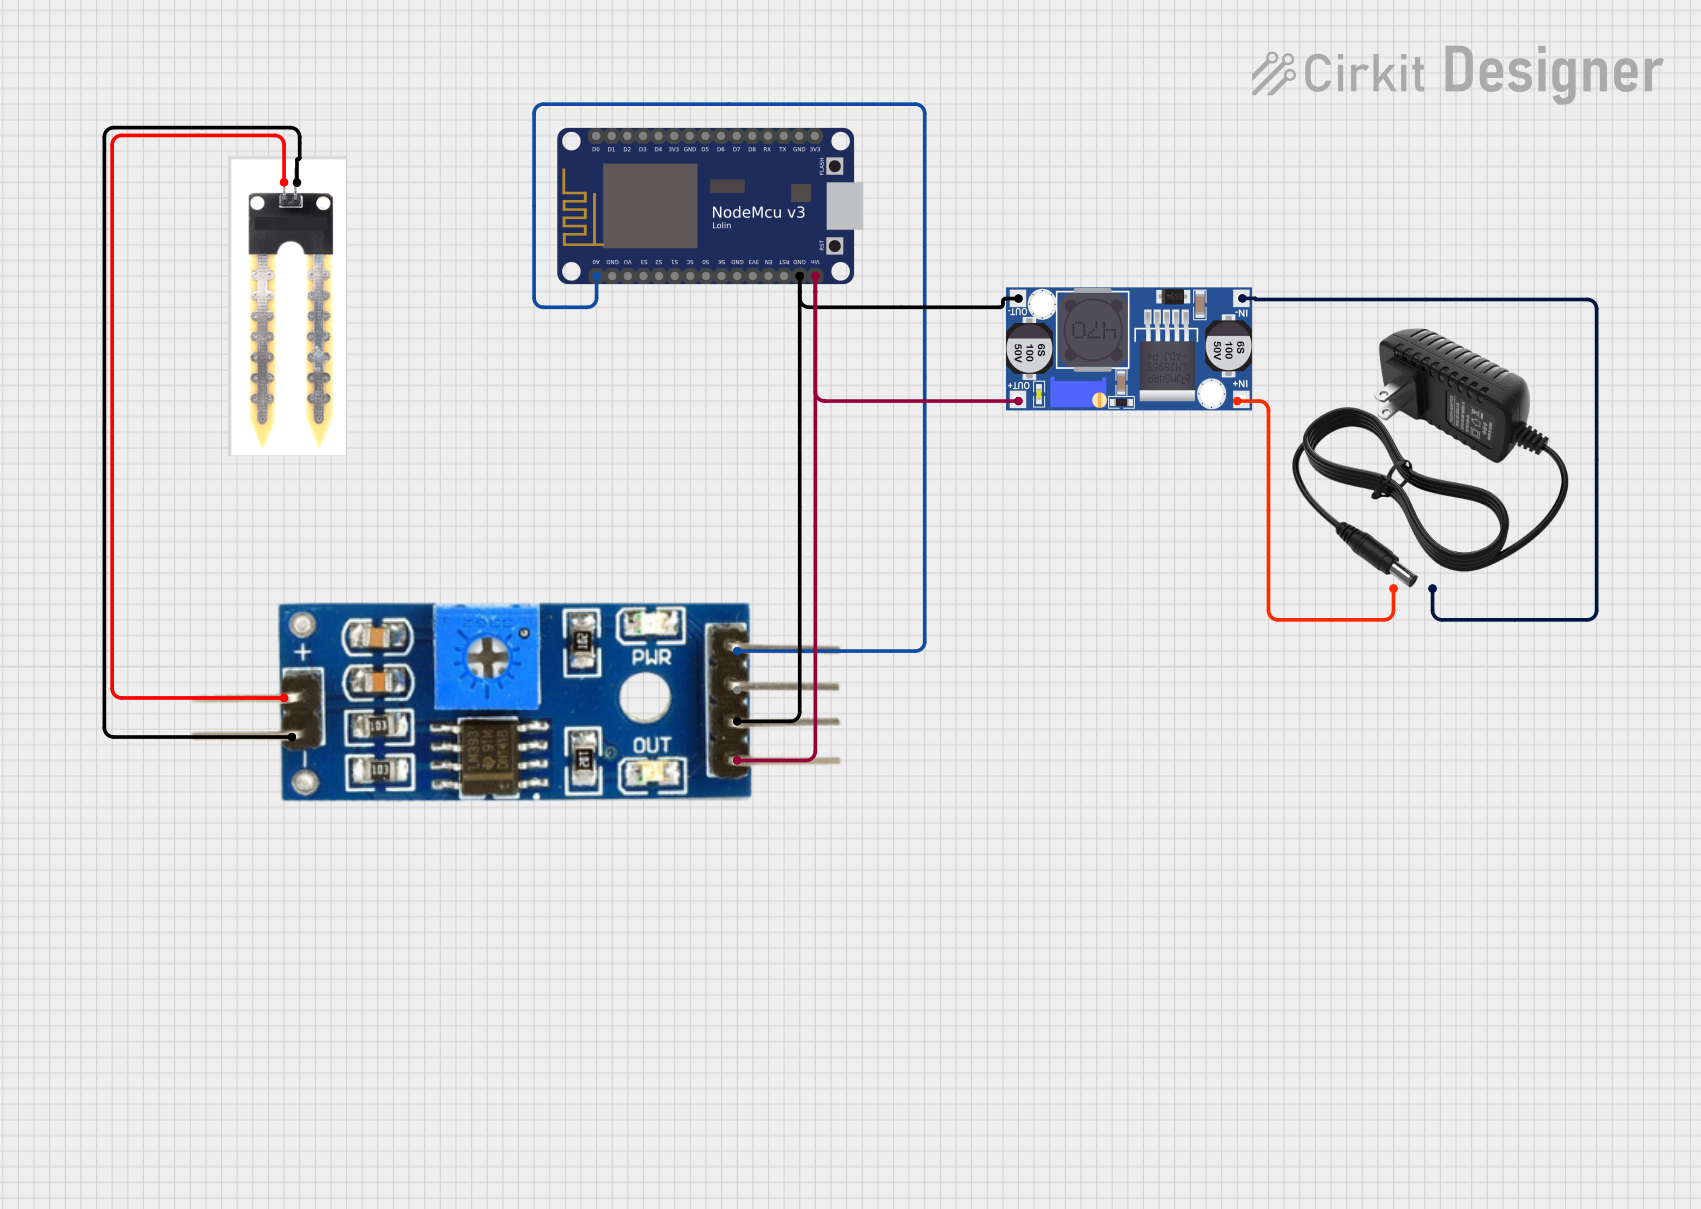
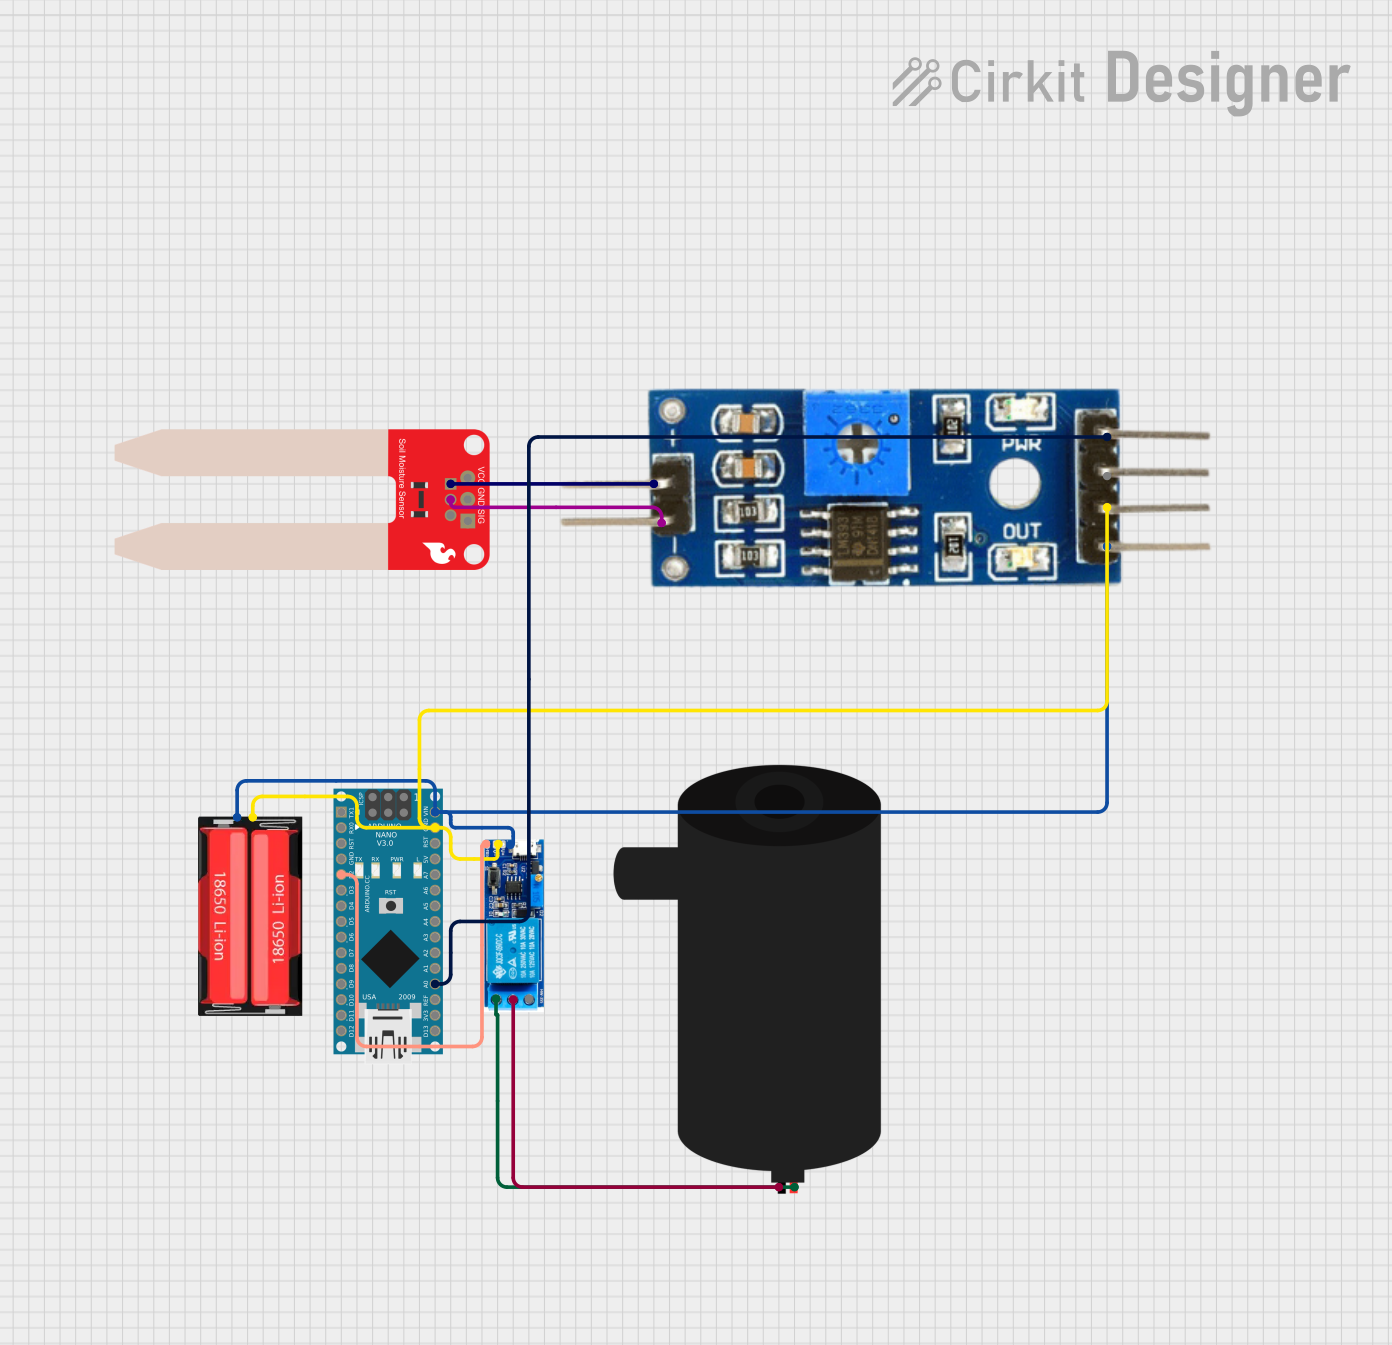
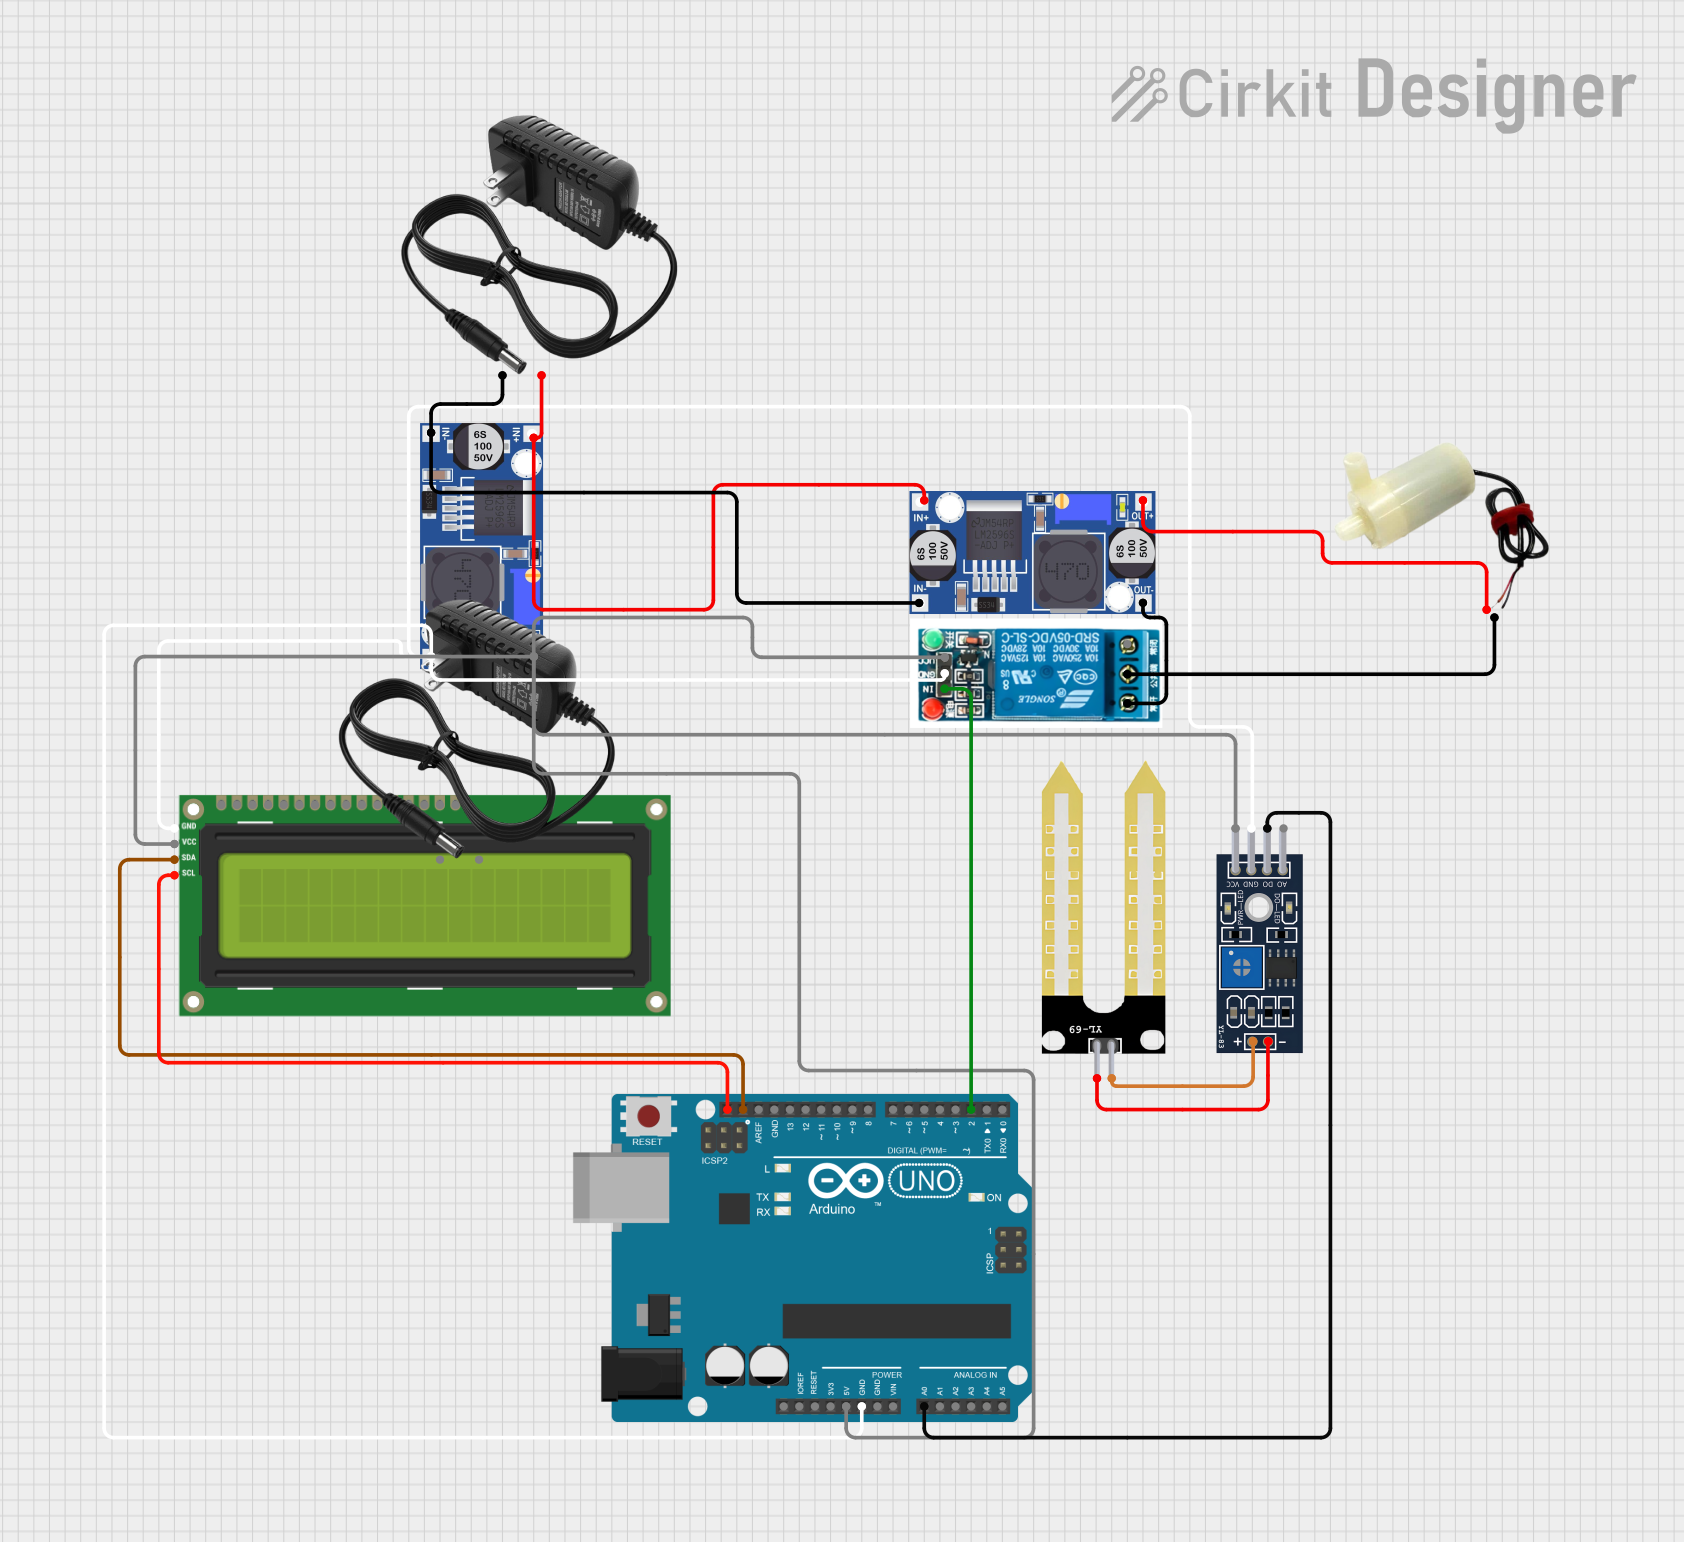
Explore Projects Built with Soil Moisture Module
Common Applications and Use Cases
- Automated irrigation systems
- Environmental monitoring
- Agricultural research
- Smart gardening systems
Technical Specifications
Key Technical Details
- Operating Voltage: 3.3V to 5V
- Output Voltage: 0V to 4.2V
- Current: 35mA (typical)
- Sensitivity: Adjustable via onboard potentiometer
- Interface: Analog
Pin Configuration and Descriptions
| Pin | Description |
|---|---|
| VCC | Connect to 3.3V or 5V power supply |
| GND | Connect to ground |
| AOUT | Analog output voltage, proportional to soil moisture |
| DOUT | Digital output, high/low moisture threshold |
Usage Instructions
How to Use the Component in a Circuit
- Connect the VCC pin to a 3.3V or 5V power supply.
- Connect the GND pin to the ground of the power supply.
- Connect the AOUT pin to an analog input pin on your microcontroller to read the moisture level.
- (Optional) Connect the DOUT pin to a digital input pin on your microcontroller if you want to use the digital output.
Important Considerations and Best Practices
- Avoid submerging the electronic components of the module in water.
- Calibrate the sensor by adjusting the onboard potentiometer to set the threshold for the digital output.
- Use a pull-up resistor if you are using the digital output.
- Protect the sensor from corrosion for long-term use by waterproofing the exposed metallic parts.
Example Code for Arduino UNO
// Define the soil moisture sensor analog pin
const int MOISTURE_SENSOR_PIN = A0;

void setup() {
  // Initialize serial communication at 9600 baud rate
  Serial.begin(9600);
}

void loop() {
  // Read the value from the moisture sensor
  int sensorValue = analogRead(MOISTURE_SENSOR_PIN);
  // Convert the analog reading to a more familiar percentage
  int moisturePercent = map(sensorValue, 0, 1023, 100, 0);

  // Print the moisture level to the Serial Monitor
  Serial.print("Soil Moisture Level: ");
  Serial.print(moisturePercent);
  Serial.println("%");

  // Wait for a second before reading again
  delay(1000);
}
Troubleshooting and FAQs
Common Issues Users Might Face
- Inconsistent Readings: Ensure that the sensor is properly inserted into the soil and that the soil is uniformly moist.
- Corrosion of Sensor Probes: Minimize exposure to moisture and consider applying a protective coating to the sensor.
- No Readings: Check all connections and ensure the power supply is adequate.
Solutions and Tips for Troubleshooting
- If the sensor provides erratic readings, recalibrate the sensor using the onboard potentiometer.
- For digital output issues, ensure that the threshold is set correctly and that the microcontroller's input pin is configured properly.
- If the sensor stops working, inspect for any signs of corrosion or damage.
FAQs
Q: Can the sensor be left in the soil permanently? A: It's not recommended to leave the sensor in the soil permanently due to potential corrosion. Remove it when not in use and clean it regularly.
Q: Is the sensor waterproof? A: The sensor probe is water-resistant but the electronic components are not. Avoid getting the module's board wet.
Q: How do I calibrate the sensor for my soil type? A: Insert the sensor into the soil, slowly adjust the potentiometer until the digital output switches from high to low, or use a known moisture reference and adjust the potentiometer until the analog output matches the reference.
Q: What is the difference between AOUT and DOUT? A: AOUT provides an analog voltage proportional to the soil moisture level, while DOUT provides a digital signal that indicates whether the moisture level is above or below a set threshold.