
How to Use MOTOR JGB37-520 6v 265 RPM: Examples, Pinouts, and Specs
 Design with MOTOR JGB37-520 6v 265 RPM in Cirkit Designer
Introduction
The MOTOR JGB37-520 6V 265 RPM is a robust and reliable DC motor designed for applications requiring moderate speed and torque. With a rated voltage of 6 volts and a speed of 265 revolutions per minute (RPM), this motor is ideal for robotics, automation systems, and other mechanical applications. Its compact design and high efficiency make it a popular choice for driving wheels, conveyor belts, or other mechanical systems in small to medium-sized projects.
Explore Projects Built with MOTOR JGB37-520 6v 265 RPM
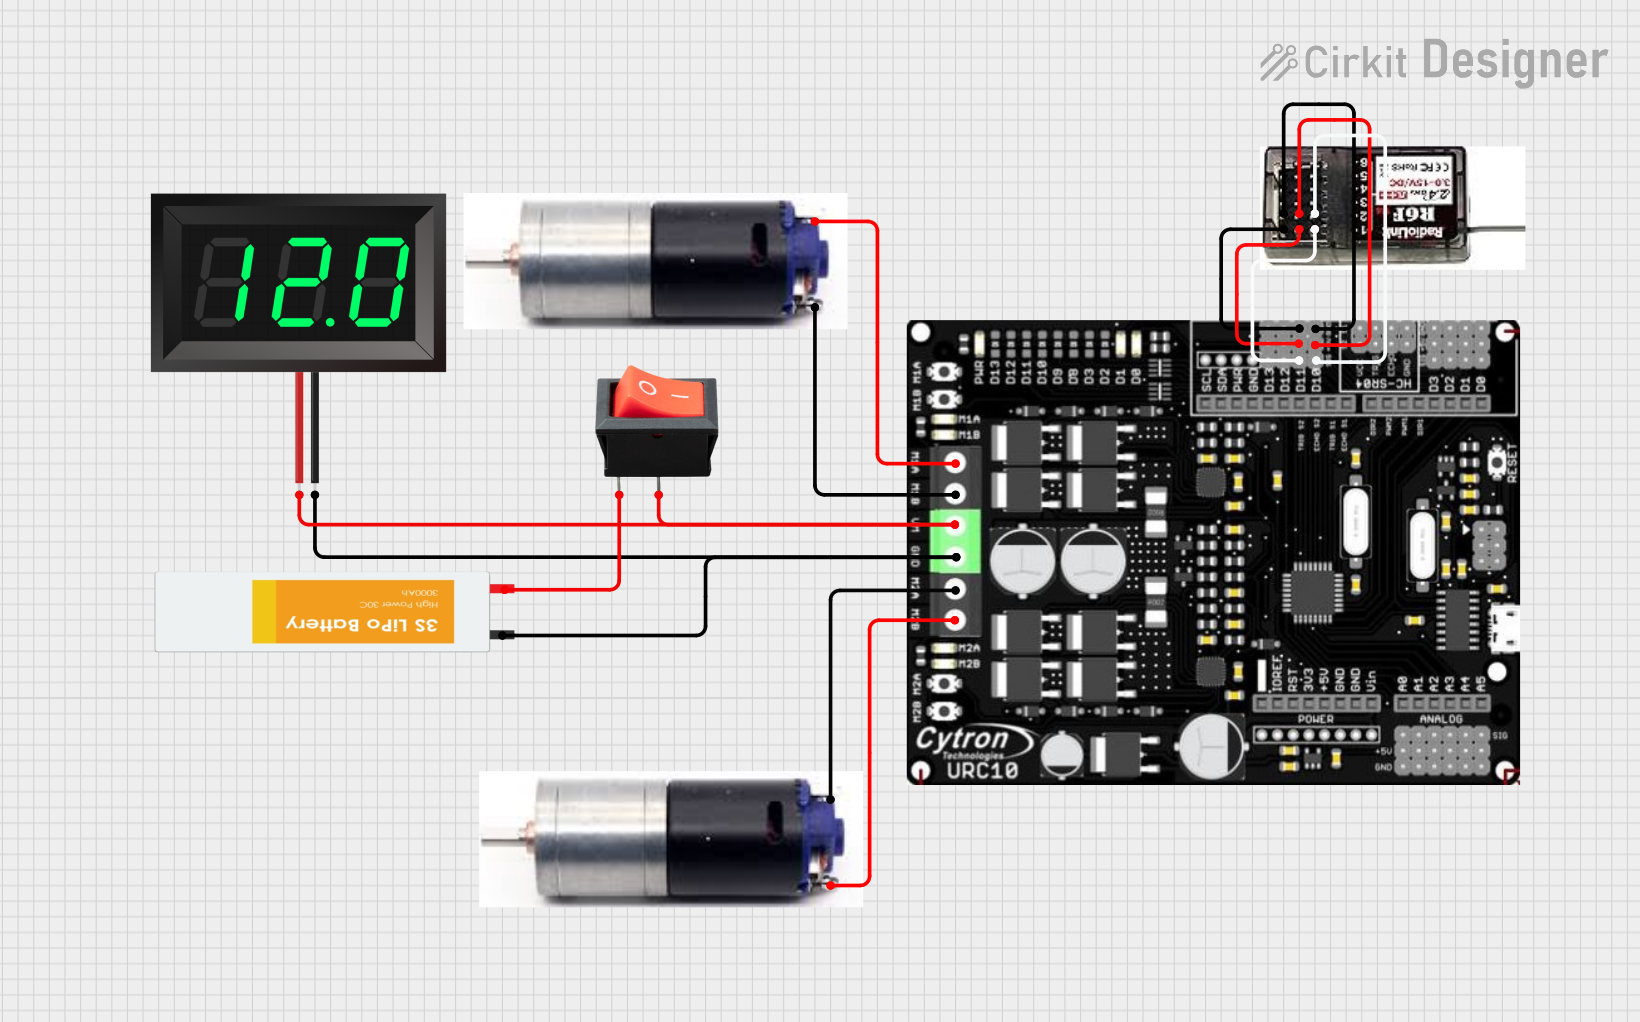 Open Project in Cirkit Designer
 Open Project in Cirkit Designer
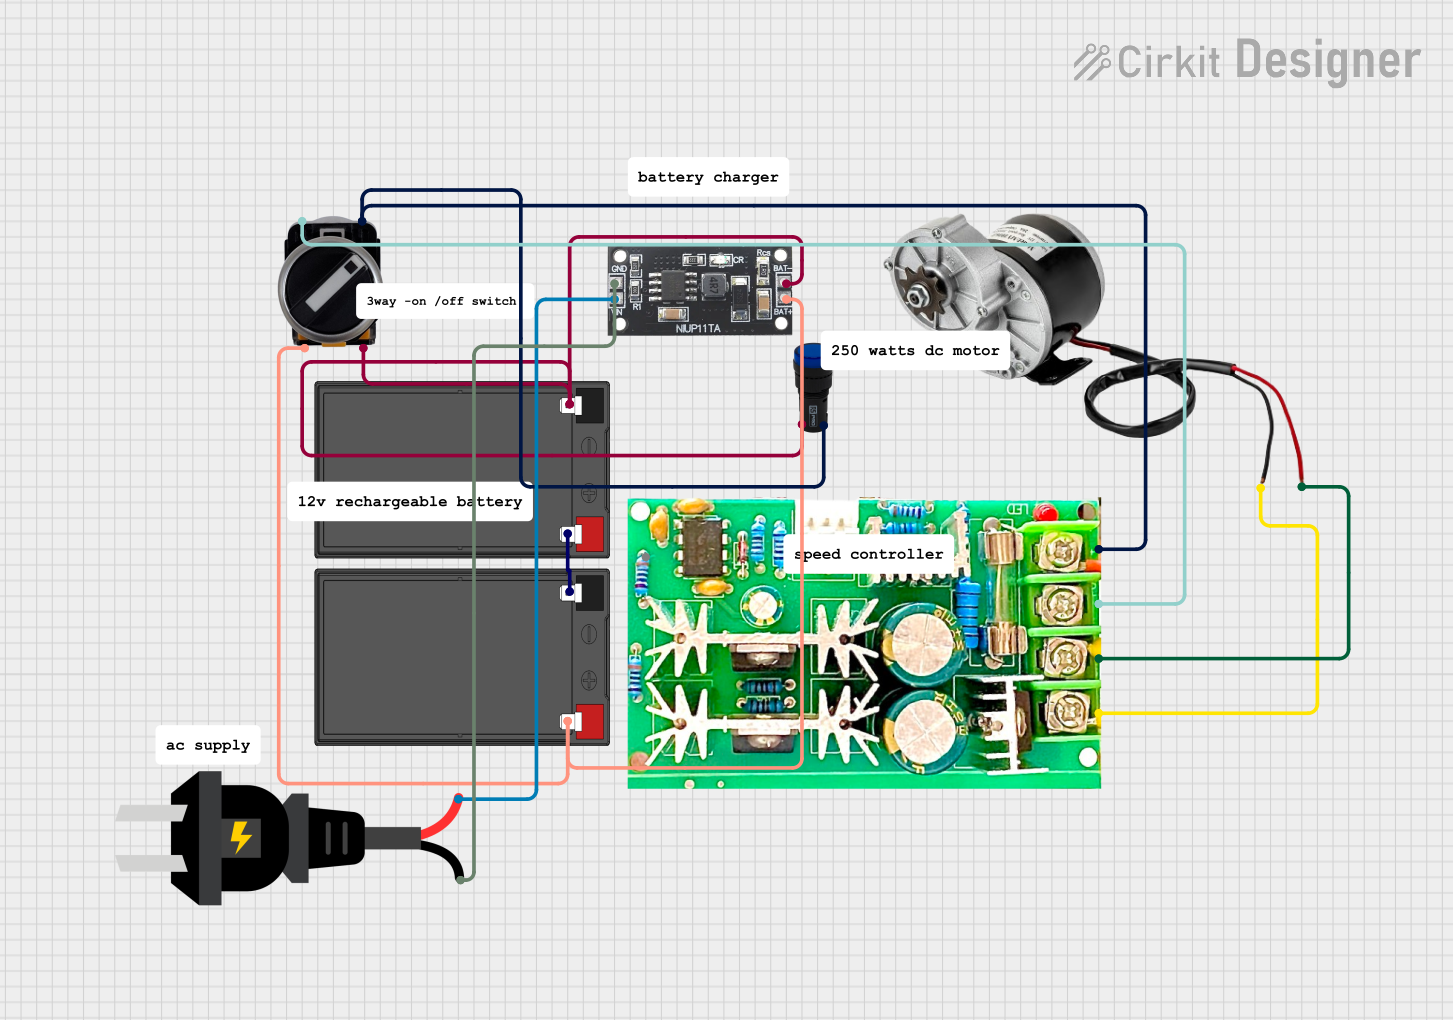 Open Project in Cirkit Designer
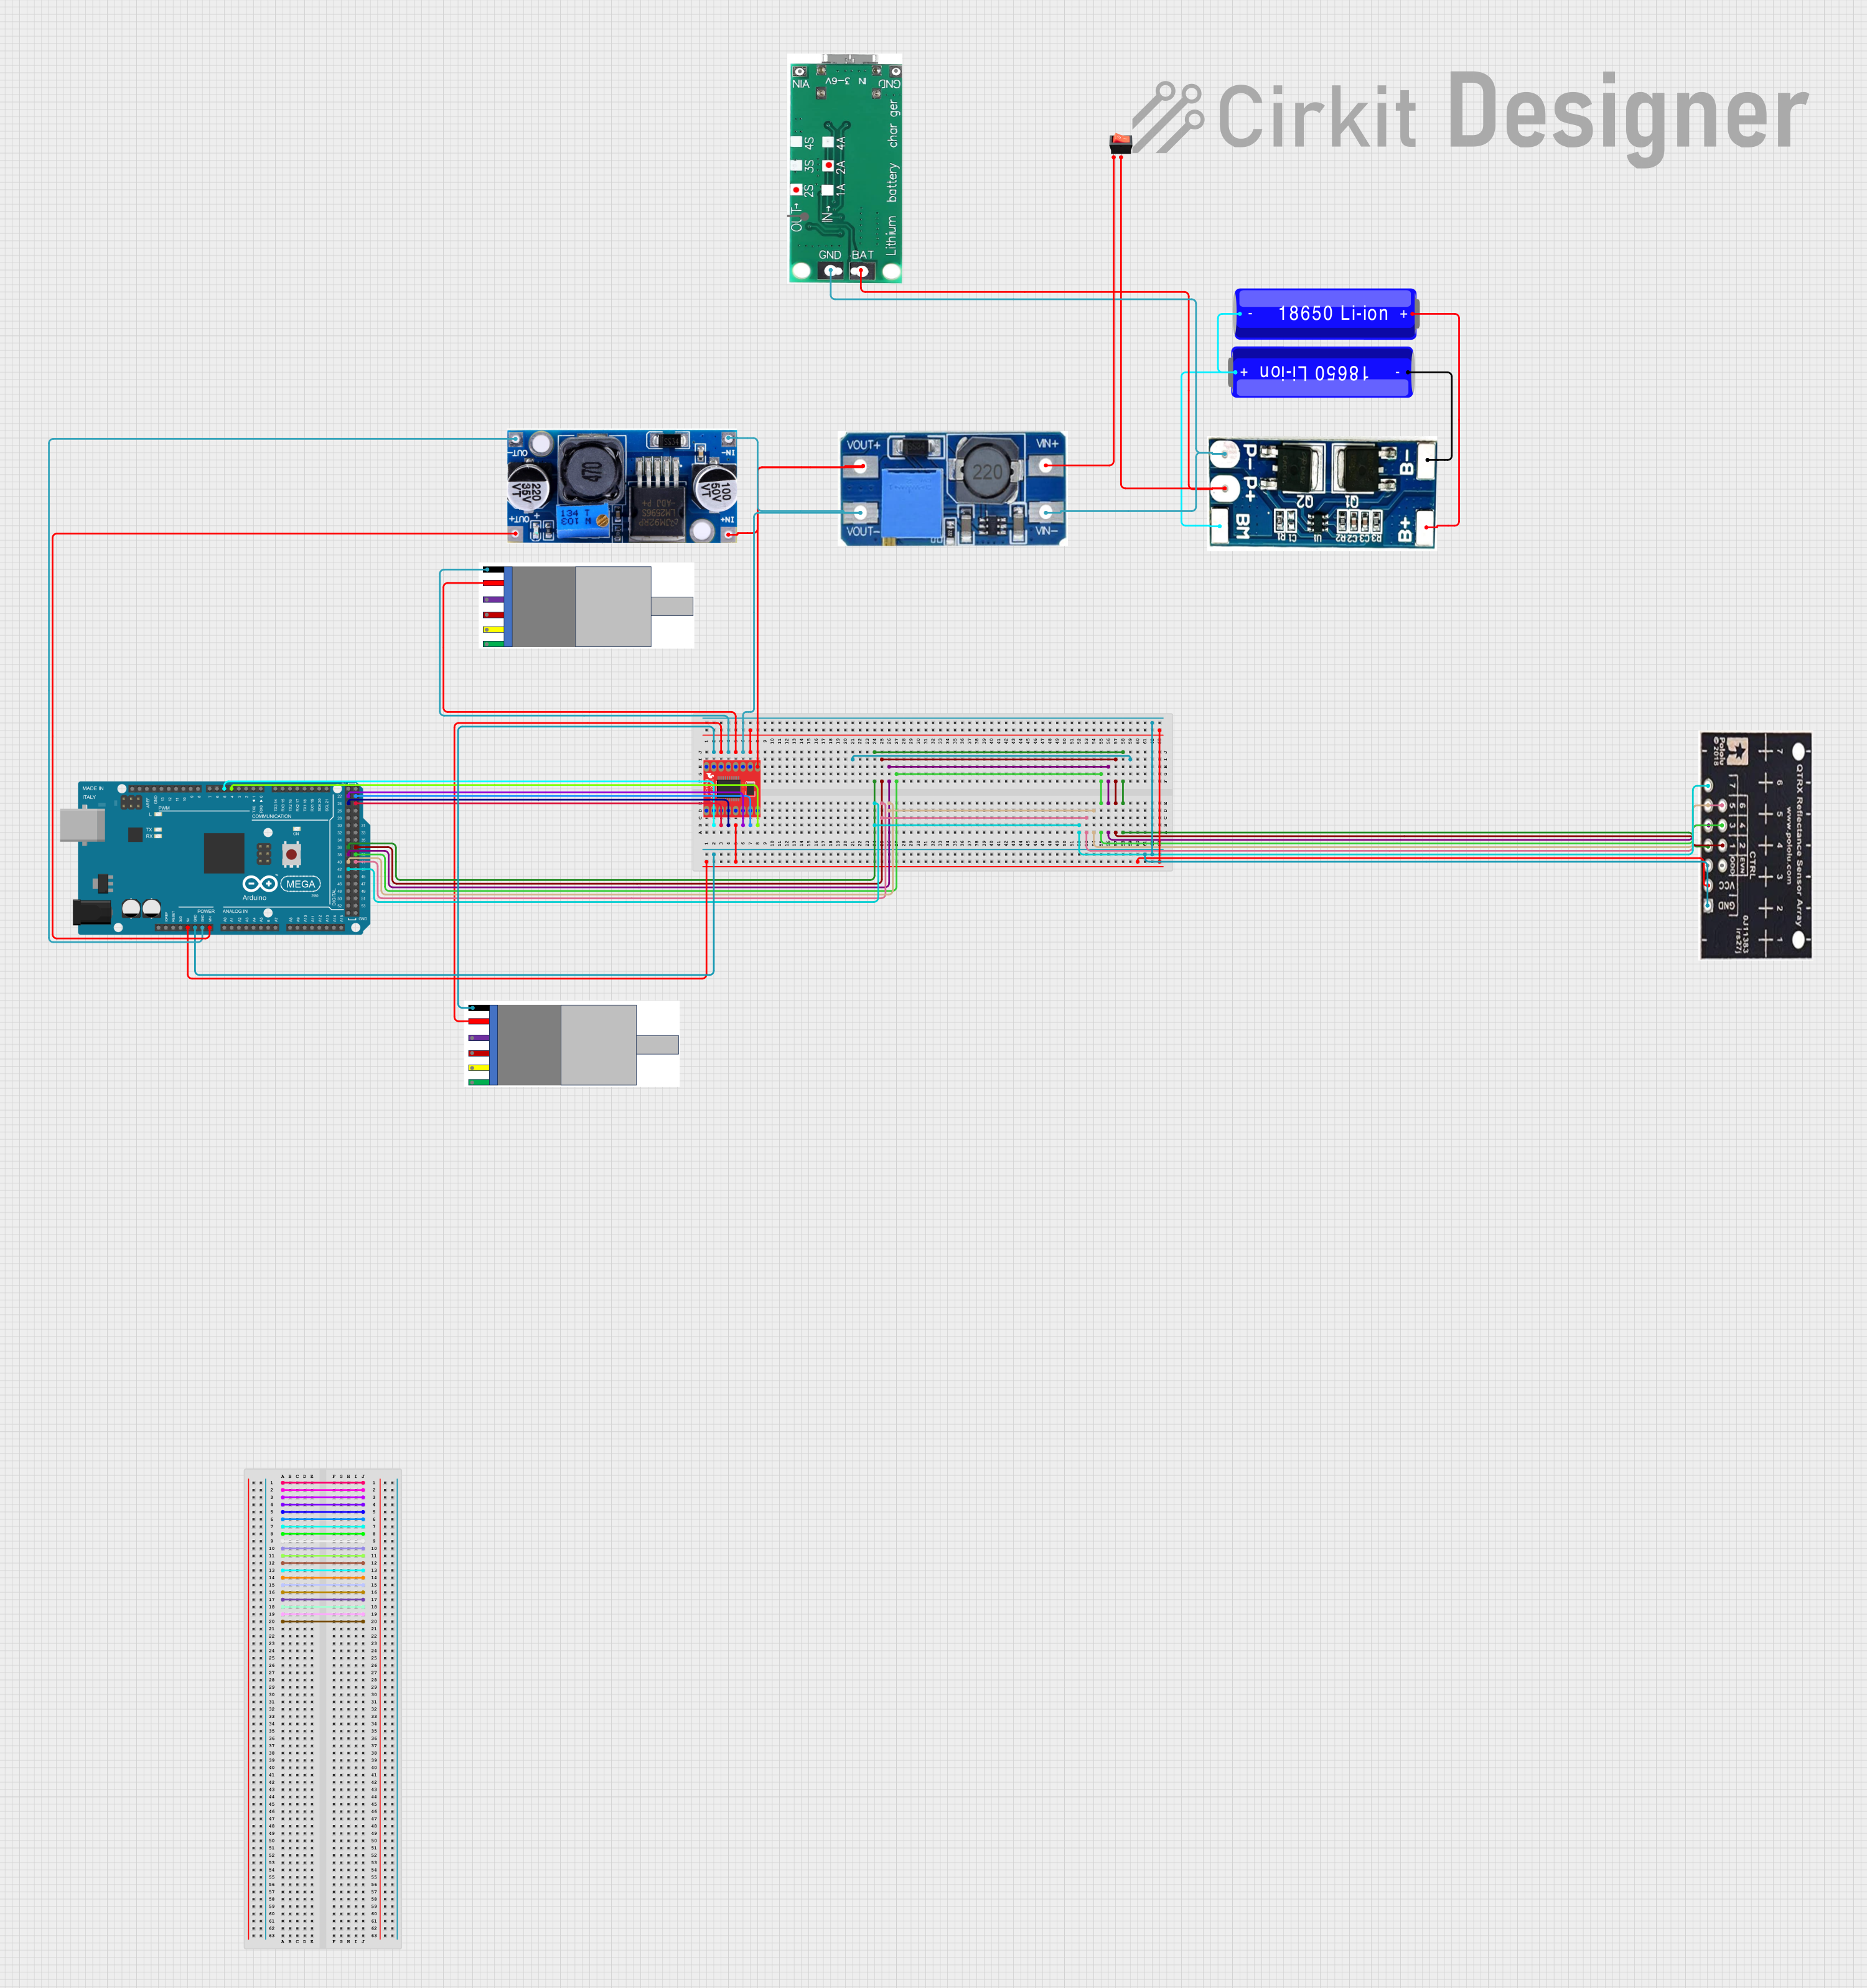 Open Project in Cirkit Designer
Explore Projects Built with MOTOR JGB37-520 6v 265 RPM
Open Project in Cirkit DesignerOpen Project in Cirkit DesignerOpen Project in Cirkit DesignerOpen Project in Cirkit DesignerCommon Applications
- Robotics (e.g., driving wheels or robotic arms)
- Automation systems
- Conveyor belts
- DIY projects and hobbyist applications
- Small mechanical systems requiring moderate torque and speed
Technical Specifications
Below are the key technical details of the MOTOR JGB37-520 6V 265 RPM:
| Parameter | Value |
|---|---|
| Rated Voltage | 6V DC |
| No-Load Speed | 265 RPM |
| No-Load Current | ~0.12A |
| Stall Torque | ~5 kg·cm |
| Stall Current | ~1.2A |
| Gear Ratio | 1:37 |
| Shaft Diameter | 6 mm |
| Shaft Length | 15 mm |
| Motor Dimensions | 37 mm (diameter) x 57 mm (length) |
| Weight | ~200 g |
Pin Configuration
The MOTOR JGB37-520 has two terminals for electrical connections:
| Pin | Description |
|---|---|
| + | Positive terminal (connect to Vcc) |
| - | Negative terminal (connect to GND) |
Usage Instructions
How to Use the MOTOR JGB37-520 in a Circuit
- Power Supply: Ensure the motor is powered with a 6V DC power source. Using a voltage higher than the rated value may damage the motor.
- Motor Driver: Use a motor driver (e.g., L298N or L293D) to control the motor. Directly connecting the motor to a microcontroller is not recommended due to high current requirements.
- Connections:
- Connect the motor terminals to the output pins of the motor driver.
- Connect the motor driver to the microcontroller for control signals.
- Control: Use Pulse Width Modulation (PWM) to control the motor's speed. Adjust the duty cycle of the PWM signal to vary the speed.
Important Considerations
- Current Handling: Ensure the motor driver can handle the stall current (~1.2A) of the motor.
- Heat Dissipation: Prolonged operation at high loads may cause the motor to heat up. Allow for proper ventilation or cooling.
- Reverse Polarity: Avoid reversing the polarity of the power supply, as it may damage the motor.
- Load: Do not exceed the motor's rated torque to prevent mechanical or electrical damage.
Example: Controlling the Motor with Arduino UNO
Below is an example of how to control the MOTOR JGB37-520 using an Arduino UNO and an L298N motor driver:
// Define motor control pins
const int ENA = 9;  // PWM pin for speed control
const int IN1 = 8;  // Direction control pin 1
const int IN2 = 7;  // Direction control pin 2

void setup() {
  // Set motor control pins as outputs
  pinMode(ENA, OUTPUT);
  pinMode(IN1, OUTPUT);
  pinMode(IN2, OUTPUT);
}

void loop() {
  // Rotate motor in forward direction
  digitalWrite(IN1, HIGH);  // Set IN1 high
  digitalWrite(IN2, LOW);   // Set IN2 low
  analogWrite(ENA, 128);    // Set speed (0-255, 128 = ~50% speed)
  delay(5000);              // Run for 5 seconds

  // Stop the motor
  analogWrite(ENA, 0);      // Set speed to 0
  delay(2000);              // Wait for 2 seconds

  // Rotate motor in reverse direction
  digitalWrite(IN1, LOW);   // Set IN1 low
  digitalWrite(IN2, HIGH);  // Set IN2 high
  analogWrite(ENA, 128);    // Set speed (0-255, 128 = ~50% speed)
  delay(5000);              // Run for 5 seconds

  // Stop the motor
  analogWrite(ENA, 0);      // Set speed to 0
  delay(2000);              // Wait for 2 seconds
}
Notes:
- Replace
128inanalogWrite()with a value between0and255to adjust the motor speed. - Ensure the power supply to the motor driver is sufficient to handle the motor's current requirements.
Troubleshooting and FAQs
Common Issues
Motor Does Not Spin:
- Check the power supply voltage and connections.
- Verify that the motor driver is functioning correctly.
- Ensure the PWM signal is being sent to the motor driver.
Motor Spins in the Wrong Direction:
- Reverse the connections of the motor terminals.
- Adjust the logic levels of the direction control pins (IN1 and IN2).
Motor Overheats:
- Reduce the load on the motor.
- Ensure proper ventilation or cooling.
Motor Vibrates but Does Not Rotate:
- Check for mechanical obstructions on the motor shaft.
- Verify that the motor is not stalled due to excessive load.
FAQs
Q: Can I power the motor with a 9V battery?
A: While the motor may run on a 9V battery, it is not recommended as it exceeds the rated voltage and may reduce the motor's lifespan.
Q: What is the maximum load this motor can handle?
A: The motor can handle a stall torque of approximately 5 kg·cm. Avoid operating at stall conditions for extended periods.
Q: Can I use this motor without a motor driver?
A: No, a motor driver is necessary to control the motor's speed and direction, as well as to handle its current requirements.
Q: How do I reduce motor noise?
A: Add capacitors (e.g., 0.1 µF) across the motor terminals to suppress electrical noise.