How to Use Adafruit Mini Lipo: Examples, Pinouts, and Specs
Introduction
The Adafruit Mini Lipo is a compact and lightweight lithium polymer (LiPo) battery designed for powering portable and low-power electronic projects. These batteries are known for their high energy density and rechargeability, making them ideal for applications where size and weight are critical factors, such as wearable devices, small robots, and DIY electronics projects.
Explore Projects Built with Adafruit Mini Lipo
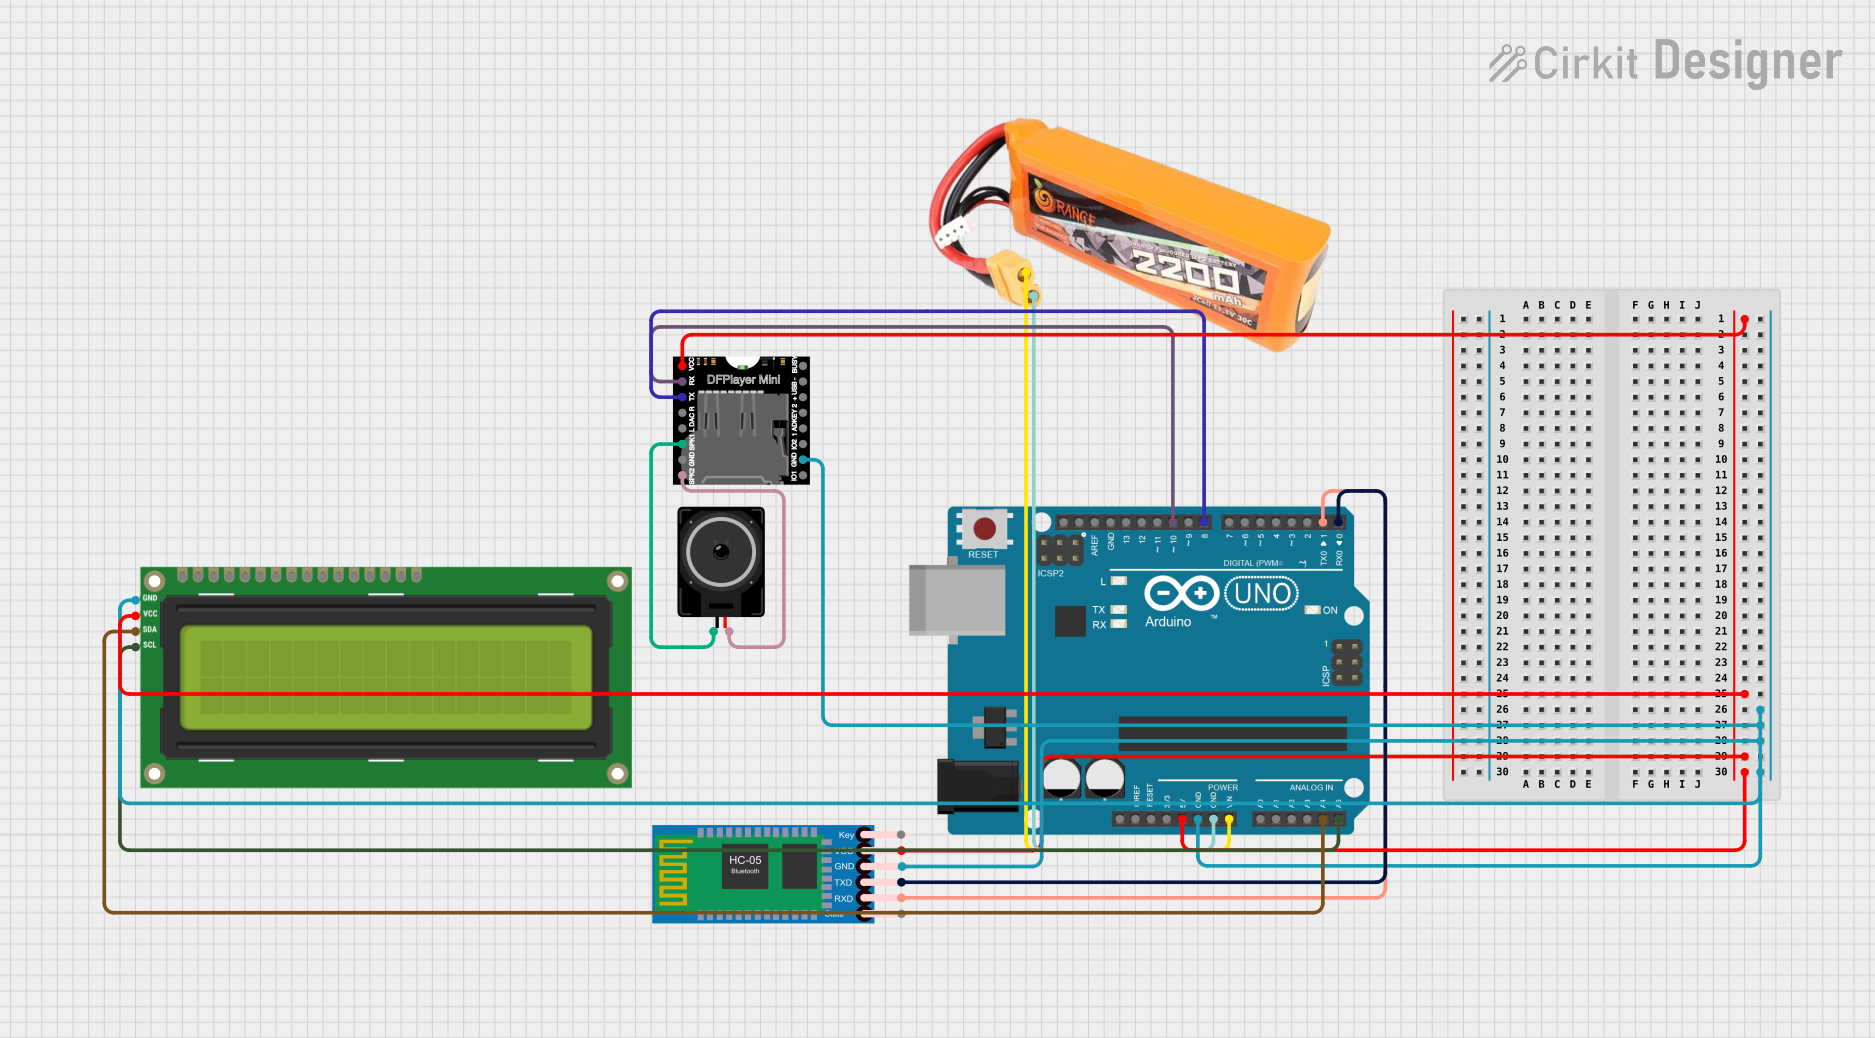


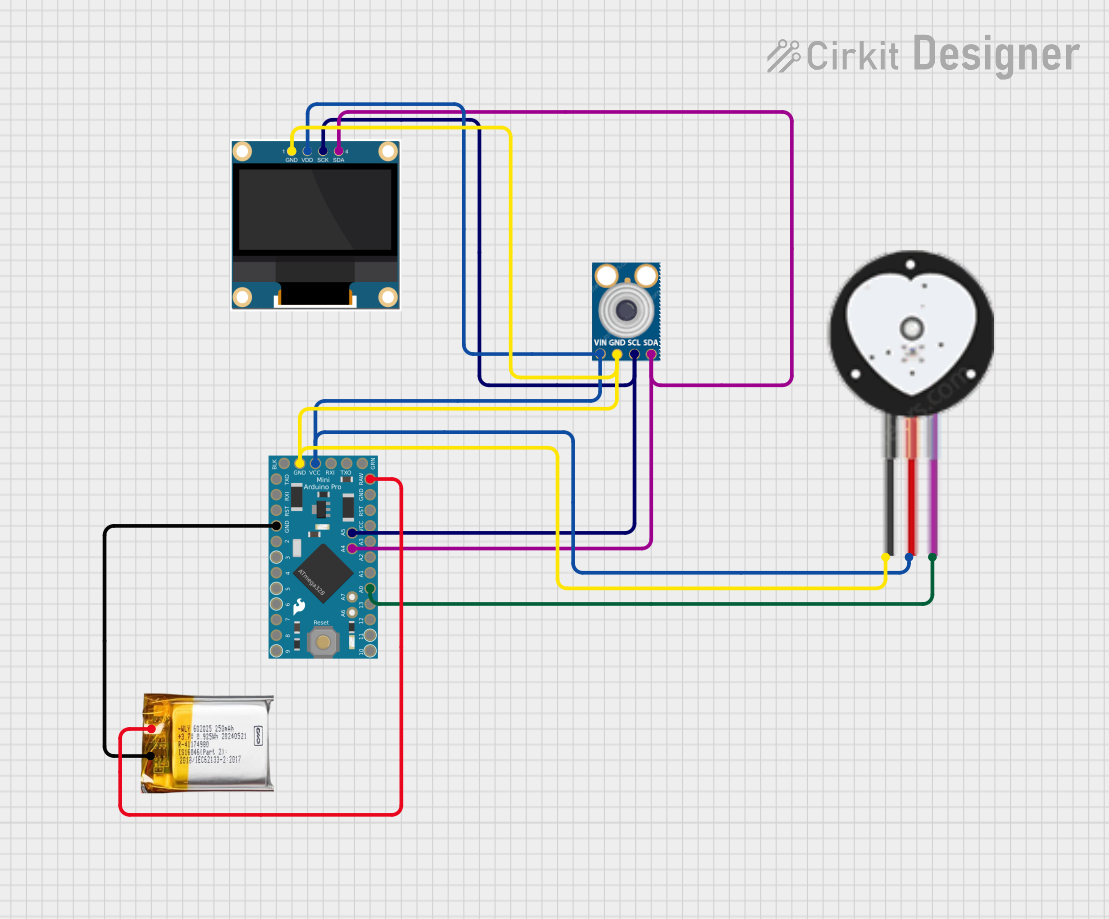
Explore Projects Built with Adafruit Mini Lipo
Common Applications and Use Cases
- Wearable electronics
- Portable IoT devices
- Small robotics projects
- DIY electronics and hobbyist projects
- Backup power for microcontroller-based systems
Technical Specifications
The Adafruit Mini Lipo batteries come in various capacities and sizes. Below is a table for a generic Adafruit Mini Lipo battery. Please refer to the specific model's datasheet for exact specifications.
| Specification | Detail |
|---|---|
| Nominal Voltage | 3.7V |
| Charge Voltage | 4.2V |
| Capacities Available | 100mAh to 2000mAh (typical) |
| Continuous Discharge | Varies by capacity (check datasheet) |
| Peak Discharge | Varies by capacity (check datasheet) |
| Charge Current | 1C (capacity in A) recommended |
| Operating Temperature | -20°C to 60°C |
| Connector Type | JST-PH 2.0mm |
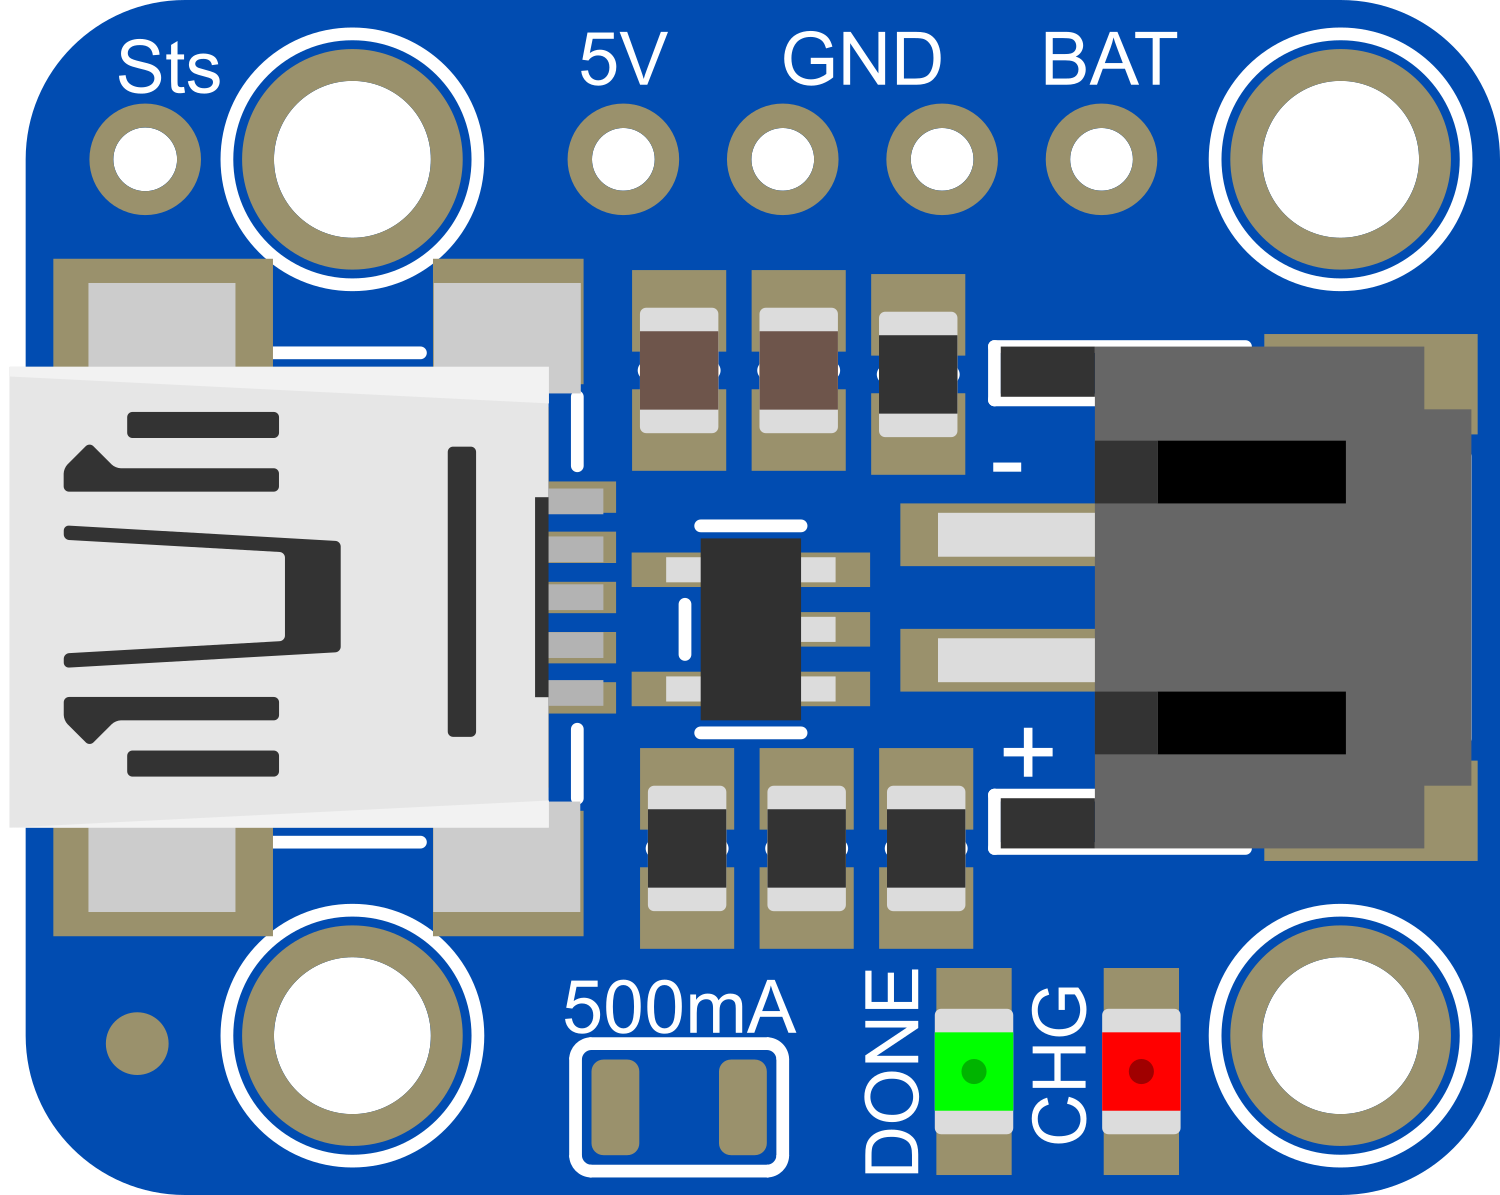
Pin Configuration and Descriptions
The Adafruit Mini Lipo typically comes with a 2-pin JST-PH connector. The pinout is as follows:
| Pin # | Description |
|---|---|
| 1 | Positive (+) |
| 2 | Negative (-) |
Usage Instructions
Integrating with a Circuit
Connection: Connect the Adafruit Mini Lipo to your project using the JST-PH connector. Ensure correct polarity by matching the positive and negative wires to the corresponding inputs on your device.
Charging: To charge the Adafruit Mini Lipo, use a LiPo-compatible charger with overcharge protection. Connect the battery to the charger and monitor the charging process.
Discharging: When powering a device, monitor the battery voltage to avoid deep discharge, which can damage the battery.
Best Practices
- Never exceed the recommended charge and discharge rates.
- Avoid physical damage to the battery, which can lead to dangerous leaks or fires.
- Do not leave the battery charging unattended.
- Store the battery in a cool, dry place when not in use.
- Use a battery management system (BMS) for projects involving multiple LiPo cells.
Troubleshooting and FAQs
Common Issues
- Battery not charging: Ensure the charger is functioning and compatible with LiPo batteries. Check the connections and the integrity of the wires and connector.
- Reduced capacity or runtime: LiPo batteries have a limited number of charge cycles. If the battery has been used extensively, it may be time to replace it.
- Swelling or deformation: Stop using the battery immediately. Swelling can indicate overcharging, deep discharge, or damage to the battery.
FAQs
Q: Can I charge the Adafruit Mini Lipo with a standard battery charger? A: No, you must use a charger specifically designed for LiPo batteries to prevent damage.
Q: How do I know when the battery is fully charged? A: A proper LiPo charger will indicate when the battery is fully charged, typically by switching to a trickle charge mode or lighting an indicator LED.
Q: Is it safe to leave the Adafruit Mini Lipo plugged into my project overnight? A: It is not recommended to leave the battery connected to a circuit that is not actively monitored, especially if the circuit does not have over-discharge protection.
Q: Can I connect multiple Adafruit Mini Lipo batteries in series or parallel? A: This is possible but requires a good understanding of battery management and the implementation of a BMS to ensure safe operation.
Example Code for Arduino UNO
Below is an example code snippet for reading the battery voltage using an Arduino UNO. This assumes you have a voltage divider set up to safely measure the battery voltage.
const int batteryPin = A0; // Analog pin connected to voltage divider output

void setup() {
  Serial.begin(9600);
}

void loop() {
  int sensorValue = analogRead(batteryPin); // Read the analog value
  float voltage = sensorValue * (5.0 / 1023.0) * 2; // Convert to battery voltage
  Serial.print("Battery Voltage: ");
  Serial.println(voltage);
  delay(1000); // Wait for a second before next reading
}
Note: The * 2 in the voltage calculation accounts for a voltage divider that halves the battery voltage to keep it within the safe reading range of the Arduino analog pin. Adjust the multiplier based on your specific voltage divider ratio.
Remember to include proper safety measures when working with LiPo batteries, and always consult the datasheet for the specific Adafruit Mini Lipo model you are using.