Cirkit Designer Logo
Cirkit Designer
Your all-in-one circuit design IDE
Home / 
Component Documentation

How to Use Solar cell : Examples, Pinouts, and Specs

Image of Solar cell
Cirkit Designer LogoDesign with Solar cell in Cirkit Designer

Introduction

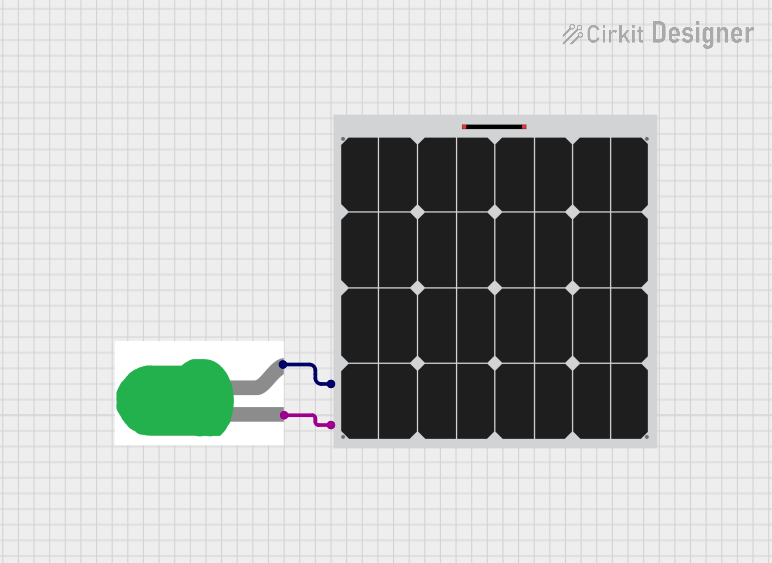
A solar cell, also known as a photovoltaic (PV) cell, is an electronic device that converts the energy of light directly into electricity by the photovoltaic effect. Solar cells are the building blocks of solar panels and are widely used in a variety of applications ranging from small-scale systems like calculators and wearable technology to large-scale solar power plants.

Explore Projects Built with Solar cell

Use Cirkit Designer to design, explore, and prototype these projects online. Some projects support real-time simulation. Click "Open Project" to start designing instantly!
Solar-Powered LED Light with Battery Charging and Light Sensing
Image of ebt: A project utilizing Solar cell  in a practical application
This circuit is a solar-powered battery charging and LED lighting system. The solar cell charges a 18650 Li-ion battery through a TP4056 charging module, which also powers a 7805 voltage regulator to provide a stable 5V output. A photocell and MOSFET control the power to a high-power LED, allowing it to turn on or off based on ambient light conditions.
Cirkit Designer LogoOpen Project in Cirkit Designer
Solar-Powered Green LED Light
Image of Solar Panel : A project utilizing Solar cell  in a practical application
This circuit consists of a solar panel connected to a green LED. The solar panel provides power to the LED, causing it to light up when sufficient sunlight is available.
Cirkit Designer LogoOpen Project in Cirkit Designer
Arduino UNO Solar-Powered Light-Tracking System with GSM Module
Image of Solar Tracker: A project utilizing Solar cell  in a practical application
This circuit is a solar-powered system that uses an Arduino UNO to monitor light levels via multiple photocells and control two servos. It also includes a GSM module for communication and a voltage sensor to monitor the solar panel's output.
Cirkit Designer LogoOpen Project in Cirkit Designer
Solar and Wind Energy Harvesting System with Charge Controller and Inverter
Image of bolito: A project utilizing Solar cell  in a practical application
This circuit is designed for a renewable energy system that integrates solar and wind power generation. It includes a solar and wind charge controller connected to a solar panel and a lantern vertical wind turbine for energy harvesting, a 12V 200Ah battery for energy storage, and a dump load for excess energy dissipation. The system also features a 12V inverter to convert stored DC power to AC, powering an outlet and a wireless charger for end-use applications.
Cirkit Designer LogoOpen Project in Cirkit Designer

Explore Projects Built with Solar cell

Use Cirkit Designer to design, explore, and prototype these projects online. Some projects support real-time simulation. Click "Open Project" to start designing instantly!
Image of ebt: A project utilizing Solar cell  in a practical application
Solar-Powered LED Light with Battery Charging and Light Sensing
This circuit is a solar-powered battery charging and LED lighting system. The solar cell charges a 18650 Li-ion battery through a TP4056 charging module, which also powers a 7805 voltage regulator to provide a stable 5V output. A photocell and MOSFET control the power to a high-power LED, allowing it to turn on or off based on ambient light conditions.
Cirkit Designer LogoOpen Project in Cirkit Designer
Image of Solar Panel : A project utilizing Solar cell  in a practical application
Solar-Powered Green LED Light
This circuit consists of a solar panel connected to a green LED. The solar panel provides power to the LED, causing it to light up when sufficient sunlight is available.
Cirkit Designer LogoOpen Project in Cirkit Designer
Image of Solar Tracker: A project utilizing Solar cell  in a practical application
Arduino UNO Solar-Powered Light-Tracking System with GSM Module
This circuit is a solar-powered system that uses an Arduino UNO to monitor light levels via multiple photocells and control two servos. It also includes a GSM module for communication and a voltage sensor to monitor the solar panel's output.
Cirkit Designer LogoOpen Project in Cirkit Designer
Image of bolito: A project utilizing Solar cell  in a practical application
Solar and Wind Energy Harvesting System with Charge Controller and Inverter
This circuit is designed for a renewable energy system that integrates solar and wind power generation. It includes a solar and wind charge controller connected to a solar panel and a lantern vertical wind turbine for energy harvesting, a 12V 200Ah battery for energy storage, and a dump load for excess energy dissipation. The system also features a 12V inverter to convert stored DC power to AC, powering an outlet and a wireless charger for end-use applications.
Cirkit Designer LogoOpen Project in Cirkit Designer

Common Applications

  • Residential and commercial solar power systems
  • Portable charging systems for devices
  • Solar-powered lights and street lamps
  • Remote power systems for sensors and communication devices
  • Spacecraft and satellites

Technical Specifications

Key Technical Details

  • Nominal Voltage: The typical operating voltage under standard test conditions (STC).
  • Nominal Current: The current produced by the solar cell under STC.
  • Power Ratings: The maximum power the solar cell can produce under STC.
  • Efficiency: The ratio of electrical power output to the incident light power input.
  • Temperature Coefficient: The effect of temperature on the solar cell's operating parameters.

Pin Configuration and Descriptions

Pin Number Description Notes
1 Positive Terminal Connect to the positive rail
2 Negative Terminal Connect to the negative rail

Note: Solar cells do not have traditional "pins" like electronic components but have positive and negative terminals for connection.

Usage Instructions

How to Use the Solar Cell in a Circuit

  1. Orientation: Position the solar cell where it can receive maximum sunlight.
  2. Connection: Connect the positive terminal to the positive rail of your circuit and the negative terminal to the negative rail.
  3. Load Matching: Ensure that the load connected to the solar cell matches its output characteristics for optimal performance.
  4. Regulation: Use a charge controller or a voltage regulator to protect batteries from overcharging.

Important Considerations and Best Practices

  • Temperature: Keep in mind that high temperatures can reduce the efficiency of the solar cell.
  • Angle of Installation: Install the solar cell at an angle that maximizes sun exposure throughout the year.
  • Cleaning: Regularly clean the surface of the solar cell to remove dust and debris that can block sunlight.
  • Protection: Use diodes to prevent reverse current flow during the night or when the solar cell is shaded.

Troubleshooting and FAQs

Common Issues

  • Low Power Output: This can be caused by insufficient sunlight, shading, or high temperatures.
  • Intermittent Power: Check for loose connections or corrosion at the terminals.

Solutions and Tips for Troubleshooting

  • Ensure Maximum Sunlight: Relocate the solar cell to a sunnier spot if possible.
  • Check Connections: Tighten any loose connections and clean corroded terminals.
  • Temperature Management: If possible, install cooling mechanisms or shade to manage high temperatures.

FAQs

  • Q: Can I connect multiple solar cells together? A: Yes, you can connect them in series to increase voltage or in parallel to increase current.

  • Q: Do I need a charge controller? A: If you are charging batteries, a charge controller is recommended to prevent overcharging.

  • Q: How do I know if my solar cell is working? A: Measure the voltage and current in bright sunlight; it should match the specifications.

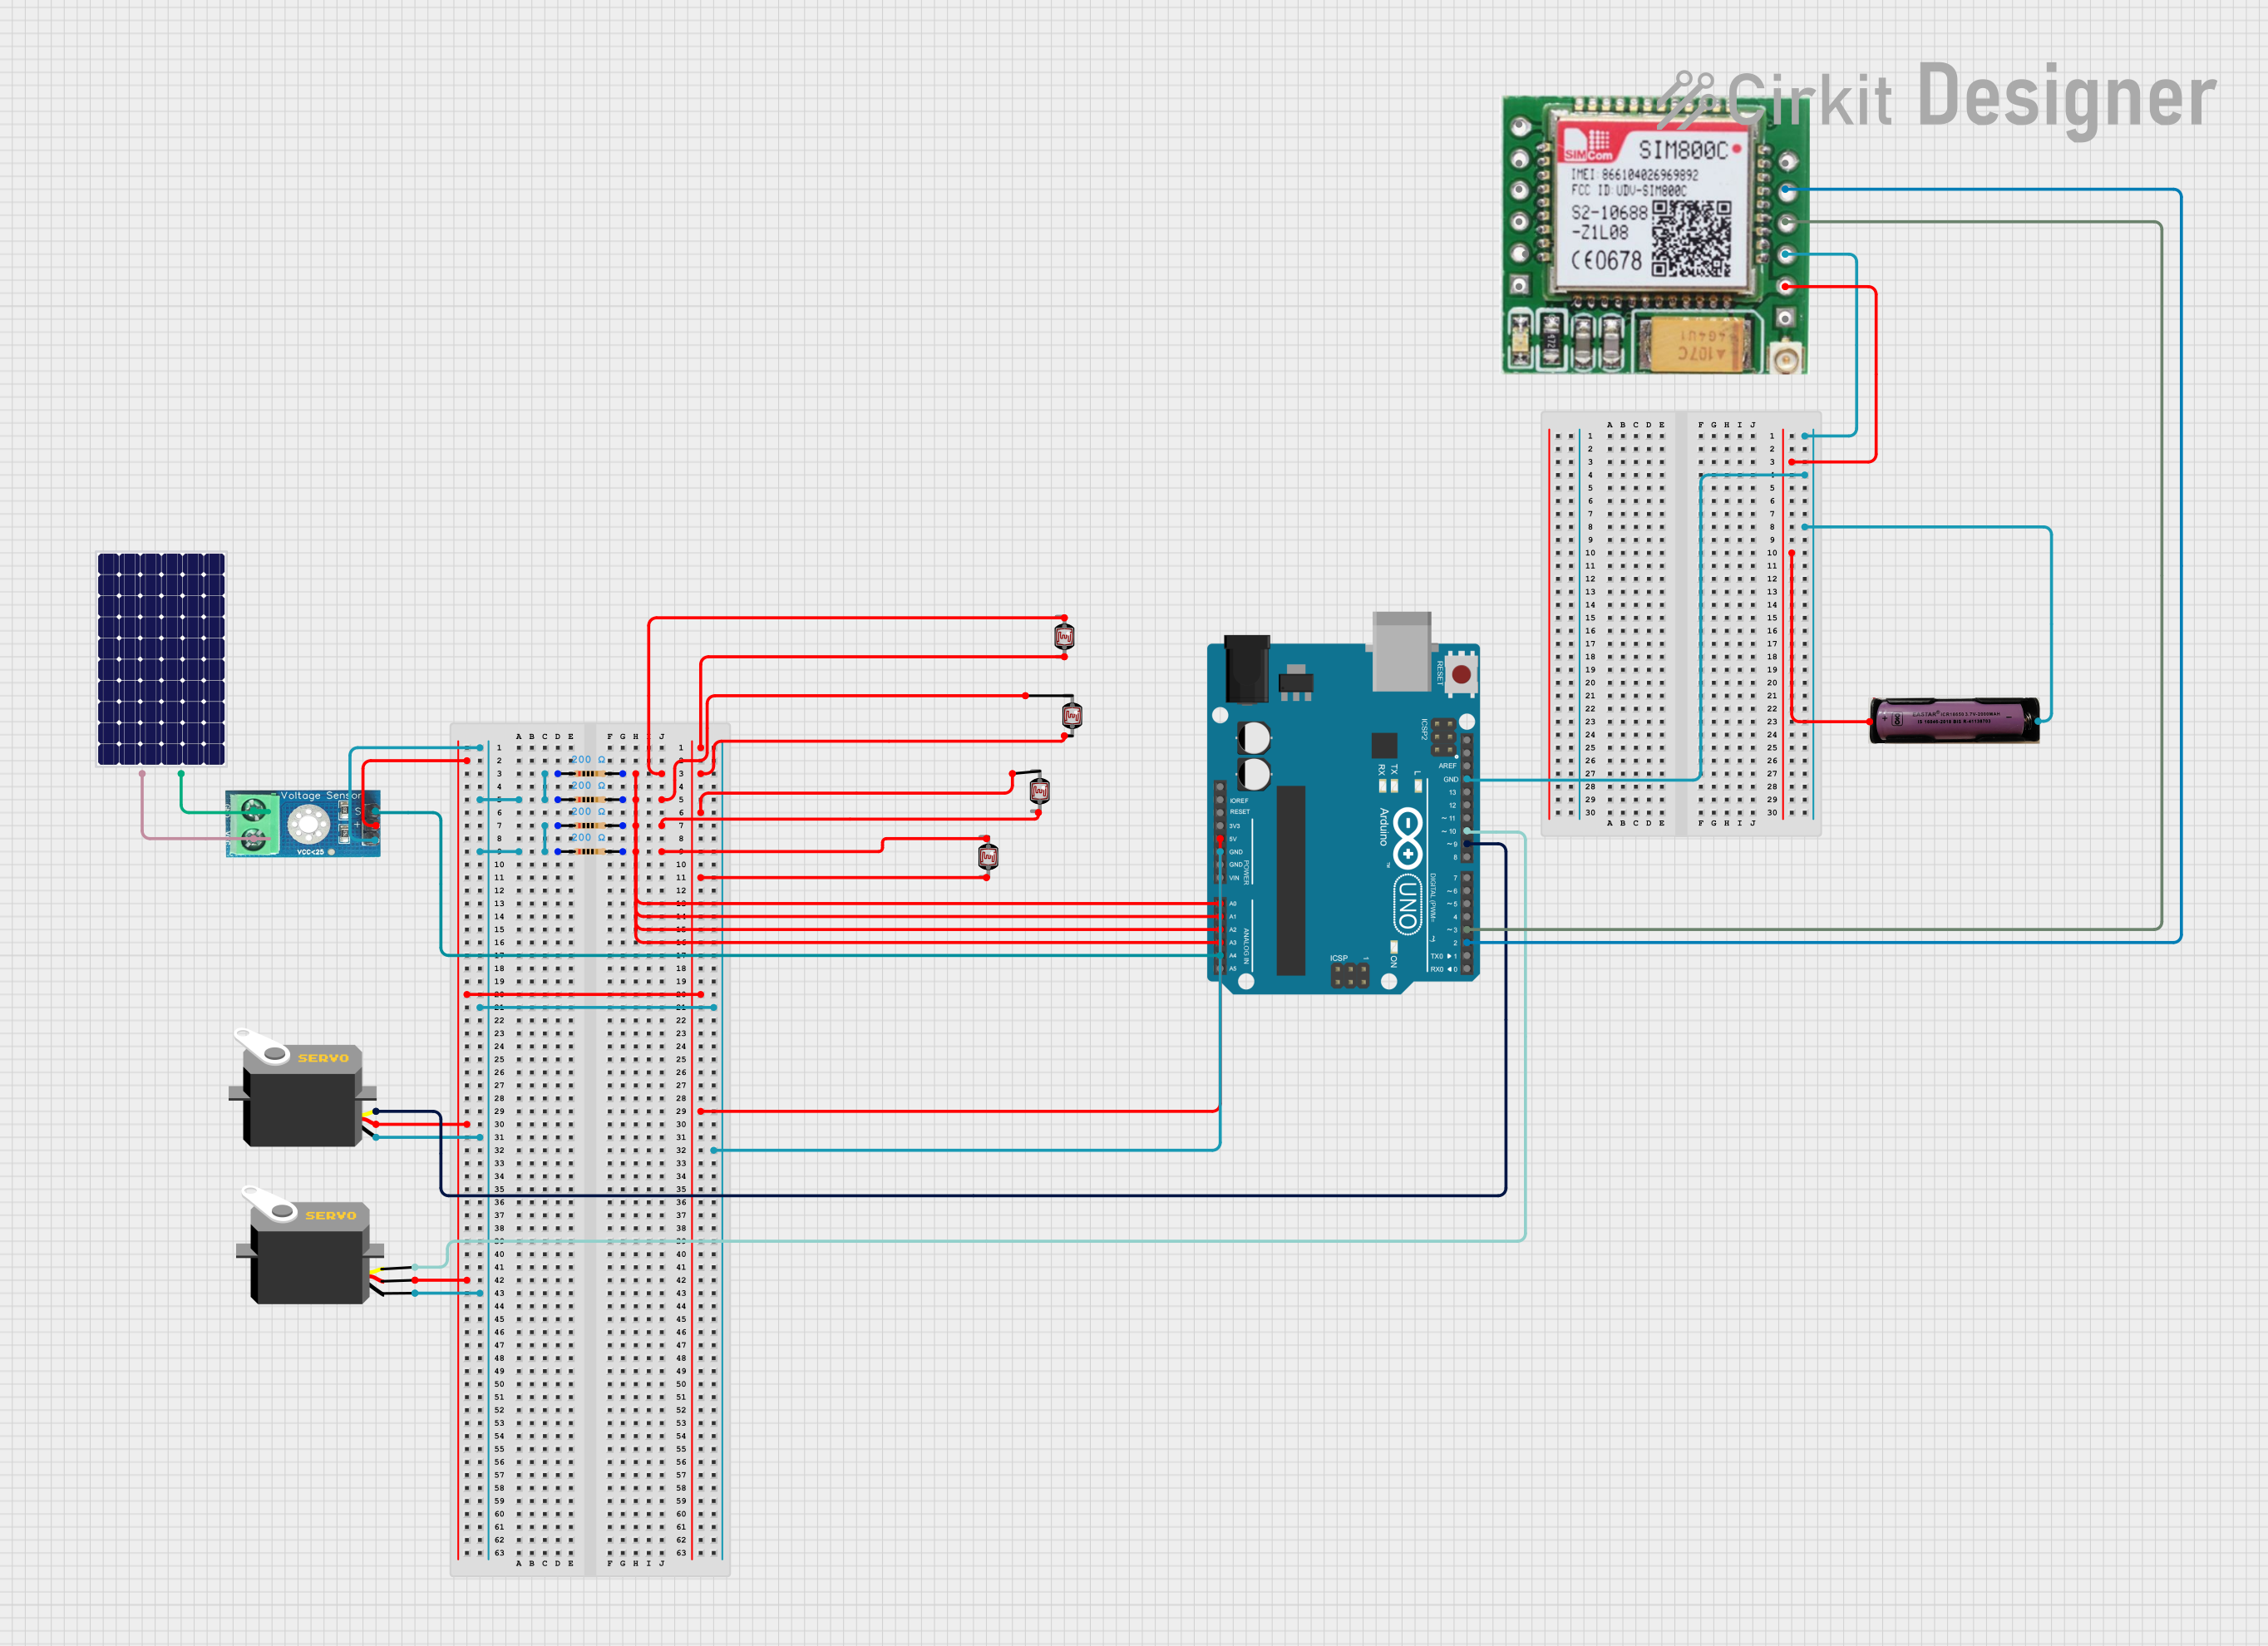
Example Arduino UNO Connection

// This example assumes the use of a solar cell to power an Arduino UNO directly or charge a battery.

int solarCellPin = A0; // Connect the solar cell positive terminal to A0
int sensorValue = 0;   // Variable to store the sensor value

void setup() {
  Serial.begin(9600); // Start serial communication at 9600 baud
}

void loop() {
  sensorValue = analogRead(solarCellPin); // Read the solar cell voltage
  float voltage = sensorValue * (5.0 / 1023.0); // Convert to voltage
  Serial.print("Voltage: ");
  Serial.print(voltage);
  Serial.println(" V");
  delay(1000); // Wait for a second before reading again
}

// Note: This code is for monitoring purposes only and does not include power management.

Note: The above code is a simple example to read the voltage output from a solar cell using an Arduino UNO. It does not include power management or battery charging logic, which would be necessary for a complete solar power system.