Cirkit Designer Logo
Cirkit Designer
Your all-in-one circuit design IDE
Home / 
Component Documentation

How to Use sibass 2 pin female mount: Examples, Pinouts, and Specs
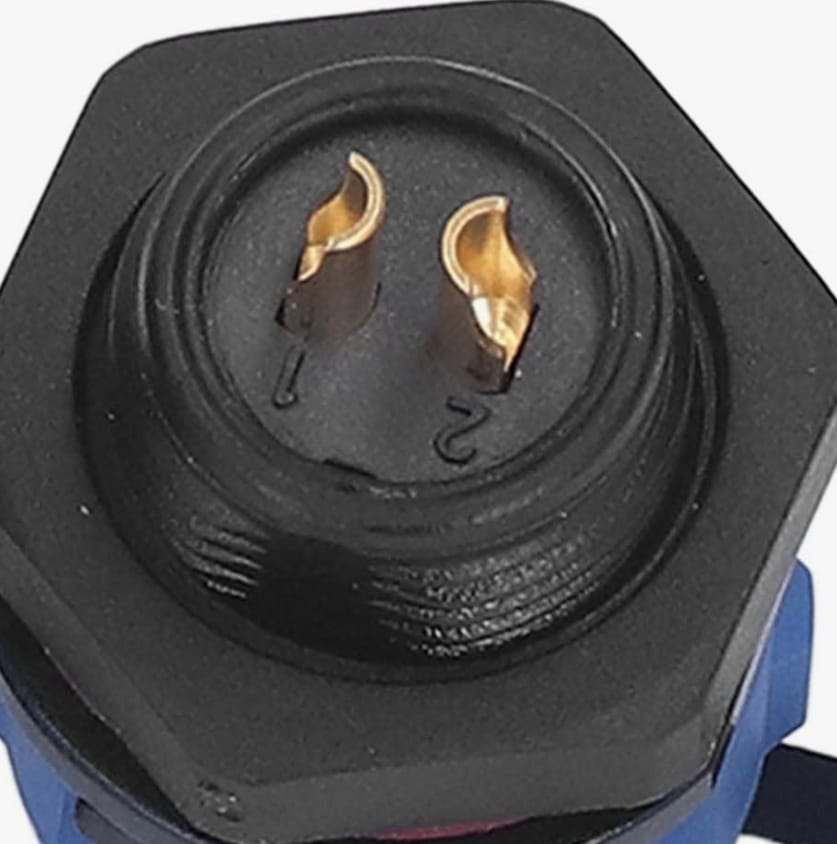
Image of sibass 2 pin female mount
Cirkit Designer LogoDesign with sibass 2 pin female mount in Cirkit Designer

Introduction

The SIBASS 2 Pin Female Mount Connector is a versatile and reliable component designed for establishing secure electrical connections in various electronic circuits. This connector features two pins and is specifically designed for female mounting, making it an ideal choice for applications requiring robust and stable connections. Common use cases include connecting sensors, modules, and other peripherals to microcontrollers, such as the Arduino UNO.

Explore Projects Built with sibass 2 pin female mount
Use Cirkit Designer to design, explore, and prototype these projects online. Some projects support real-time simulation. Click "Open Project" to start designing instantly!
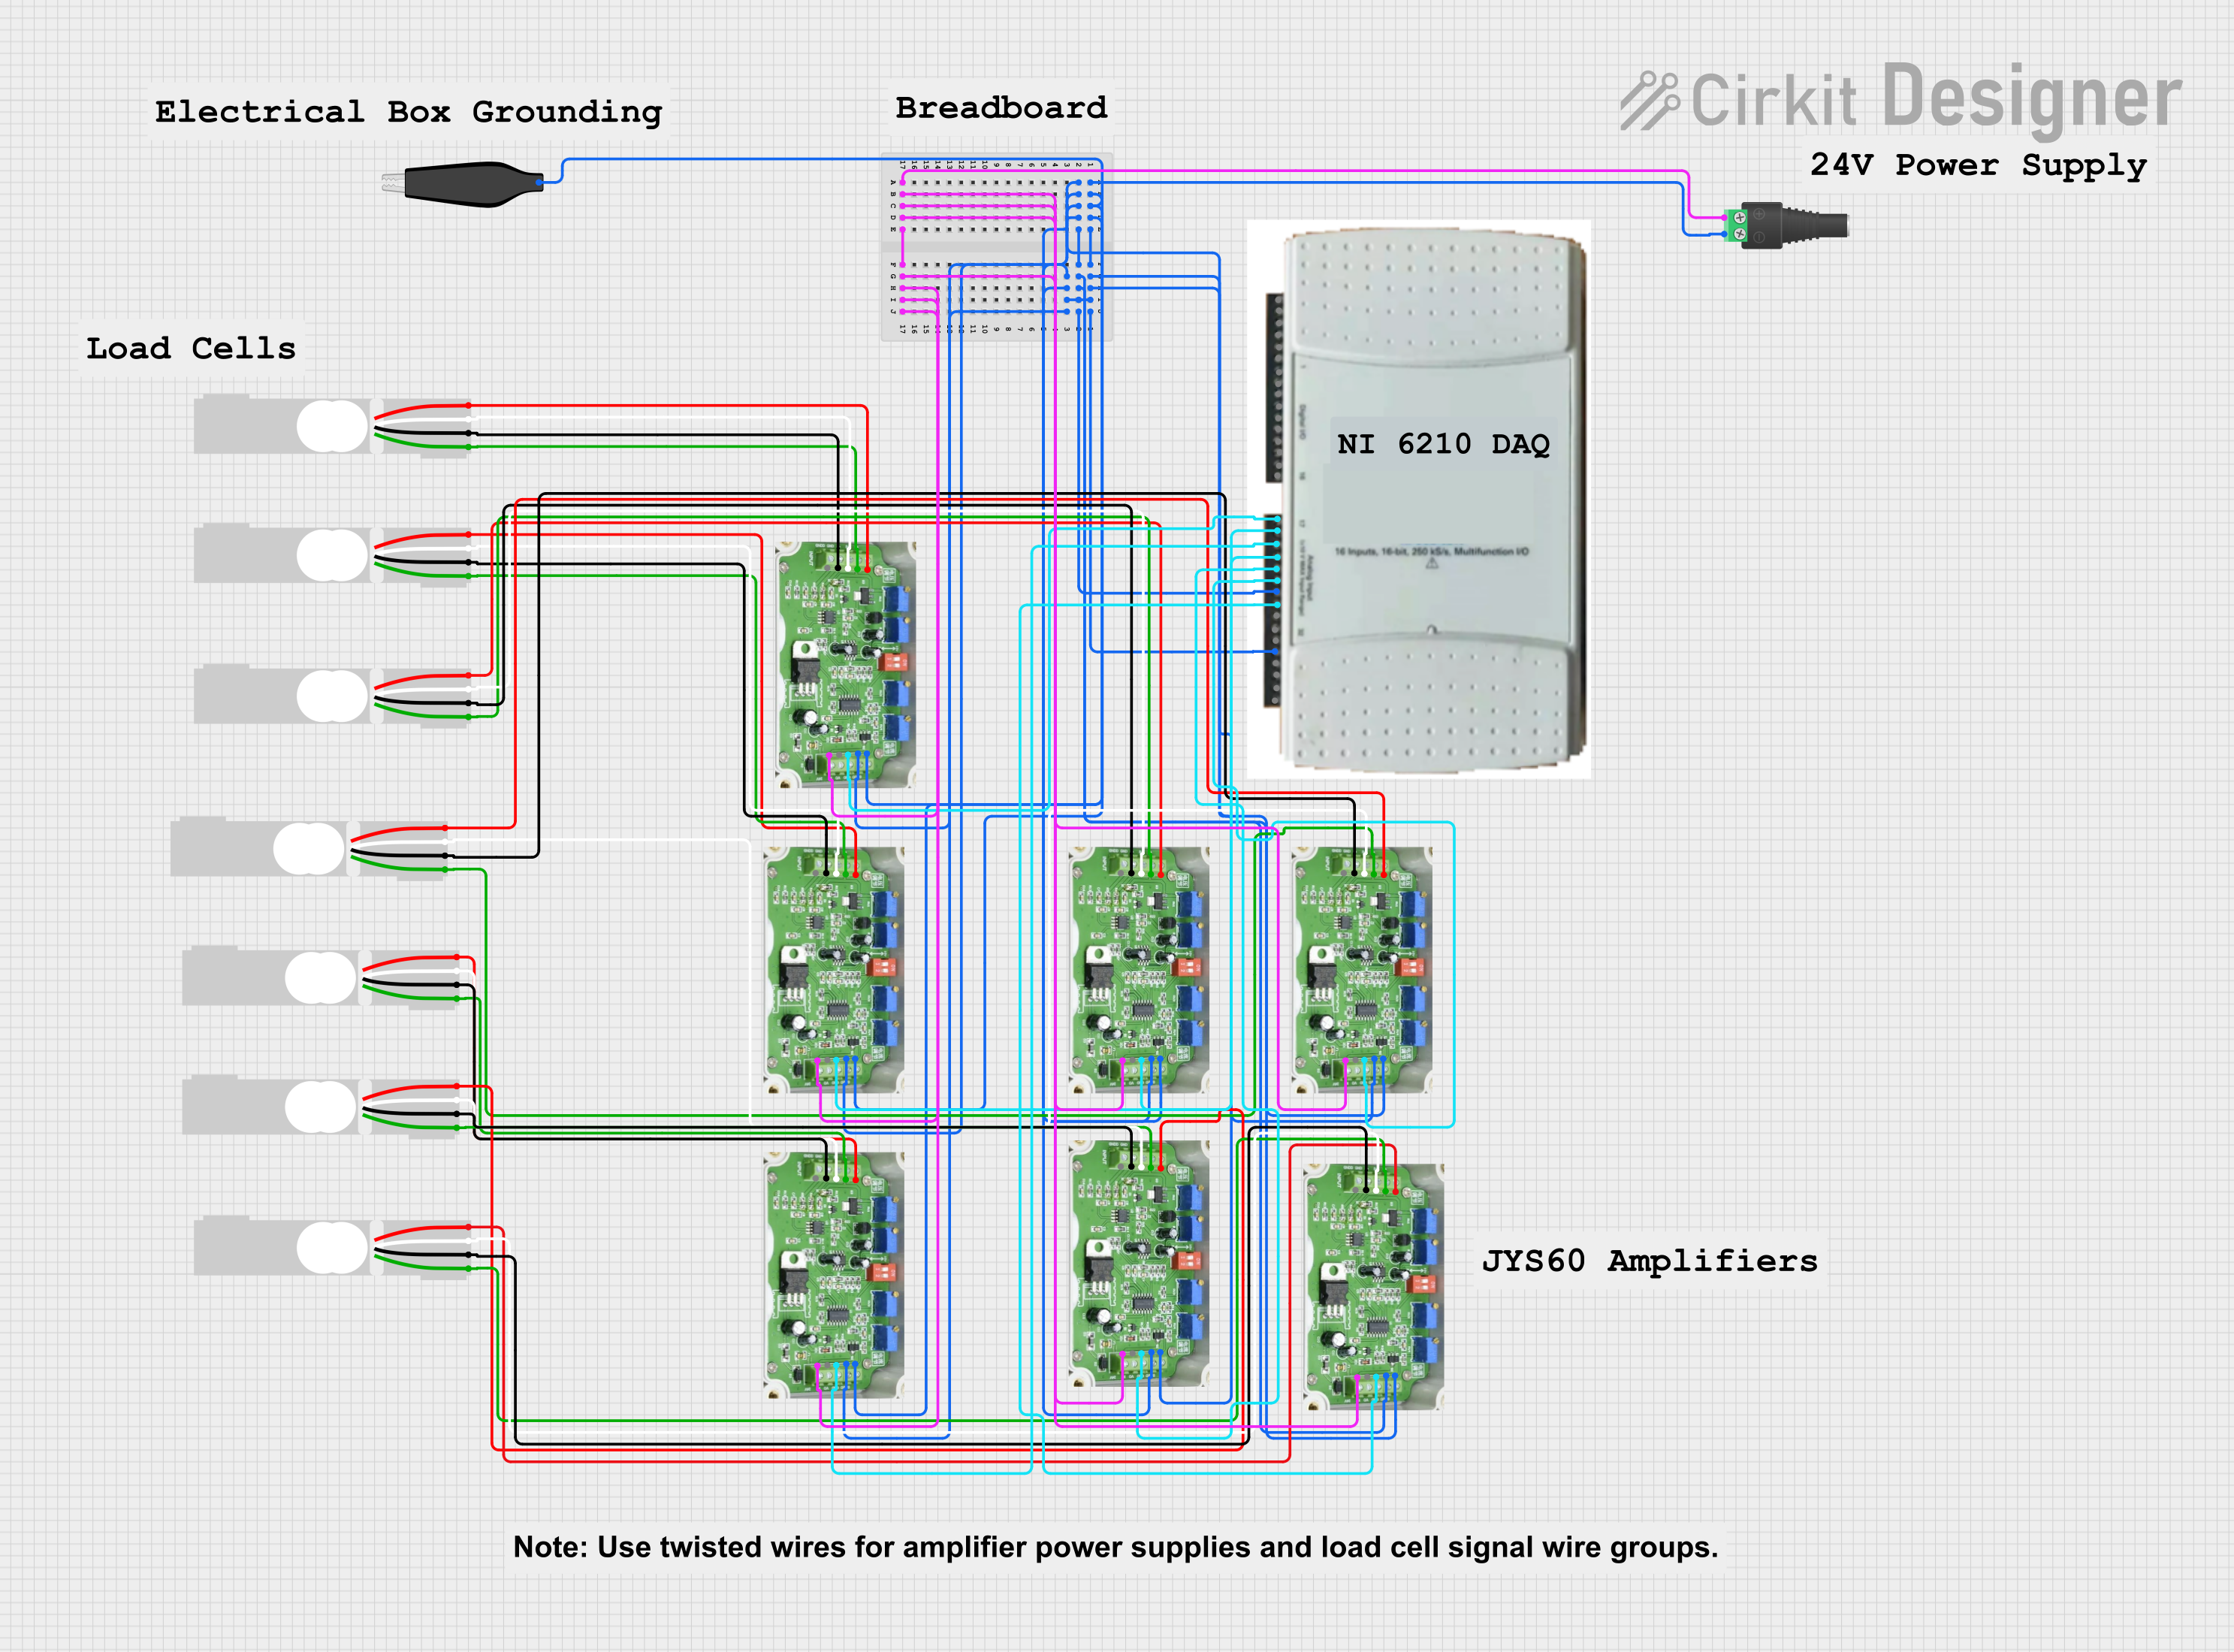
Multi-Channel Load Cell Measurement System with JYS60 Amplifiers and DAQ Integration
Image of Load Cell Circuit: A project utilizing sibass 2 pin female mount in a practical application
This is a multi-channel load cell measurement system with several JYS60 amplifiers connected to load cells for weight or force sensing. The amplified signals are directed to a DAQ system for data capture, and power is supplied through a barrel jack. Grounding is achieved via an AdaGator Side Black component.
Cirkit Designer LogoOpen Project in Cirkit Designer
Satellite-Based Timing and Navigation System with SDR and Atomic Clock Synchronization
Image of GPS 시스템 측정 구성도_Confirm: A project utilizing sibass 2 pin female mount in a practical application
This circuit appears to be a complex system involving power supply management, GPS and timing synchronization, and data communication. It includes a SI-TEX G1 Satellite Compass for GPS data, an XHTF1021 Atomic Rubidium Clock for precise timing, and Ettus USRP B200 units for software-defined radio communication. Power is supplied through various SMPS units and distributed via terminal blocks and DC jacks. Data communication is facilitated by Beelink MINI S12 N95 computers, RS232 splitters, and a 1000BASE-T Media Converter for network connectivity. RF Directional Couplers are used to interface antennas with the USRP units, and the entire system is likely contained within cases for protection and organization.
Cirkit Designer LogoOpen Project in Cirkit Designer
5-Pin Connector Synchronization Circuit
Image of UMB_Cable: A project utilizing sibass 2 pin female mount in a practical application
This circuit consists of four 5-pin connectors, where two of the connectors are fully interconnected pin-to-pin. The purpose of this setup could be to create a parallel connection between the two 5-pin connectors, possibly for signal distribution or redundancy.
Cirkit Designer LogoOpen Project in Cirkit Designer
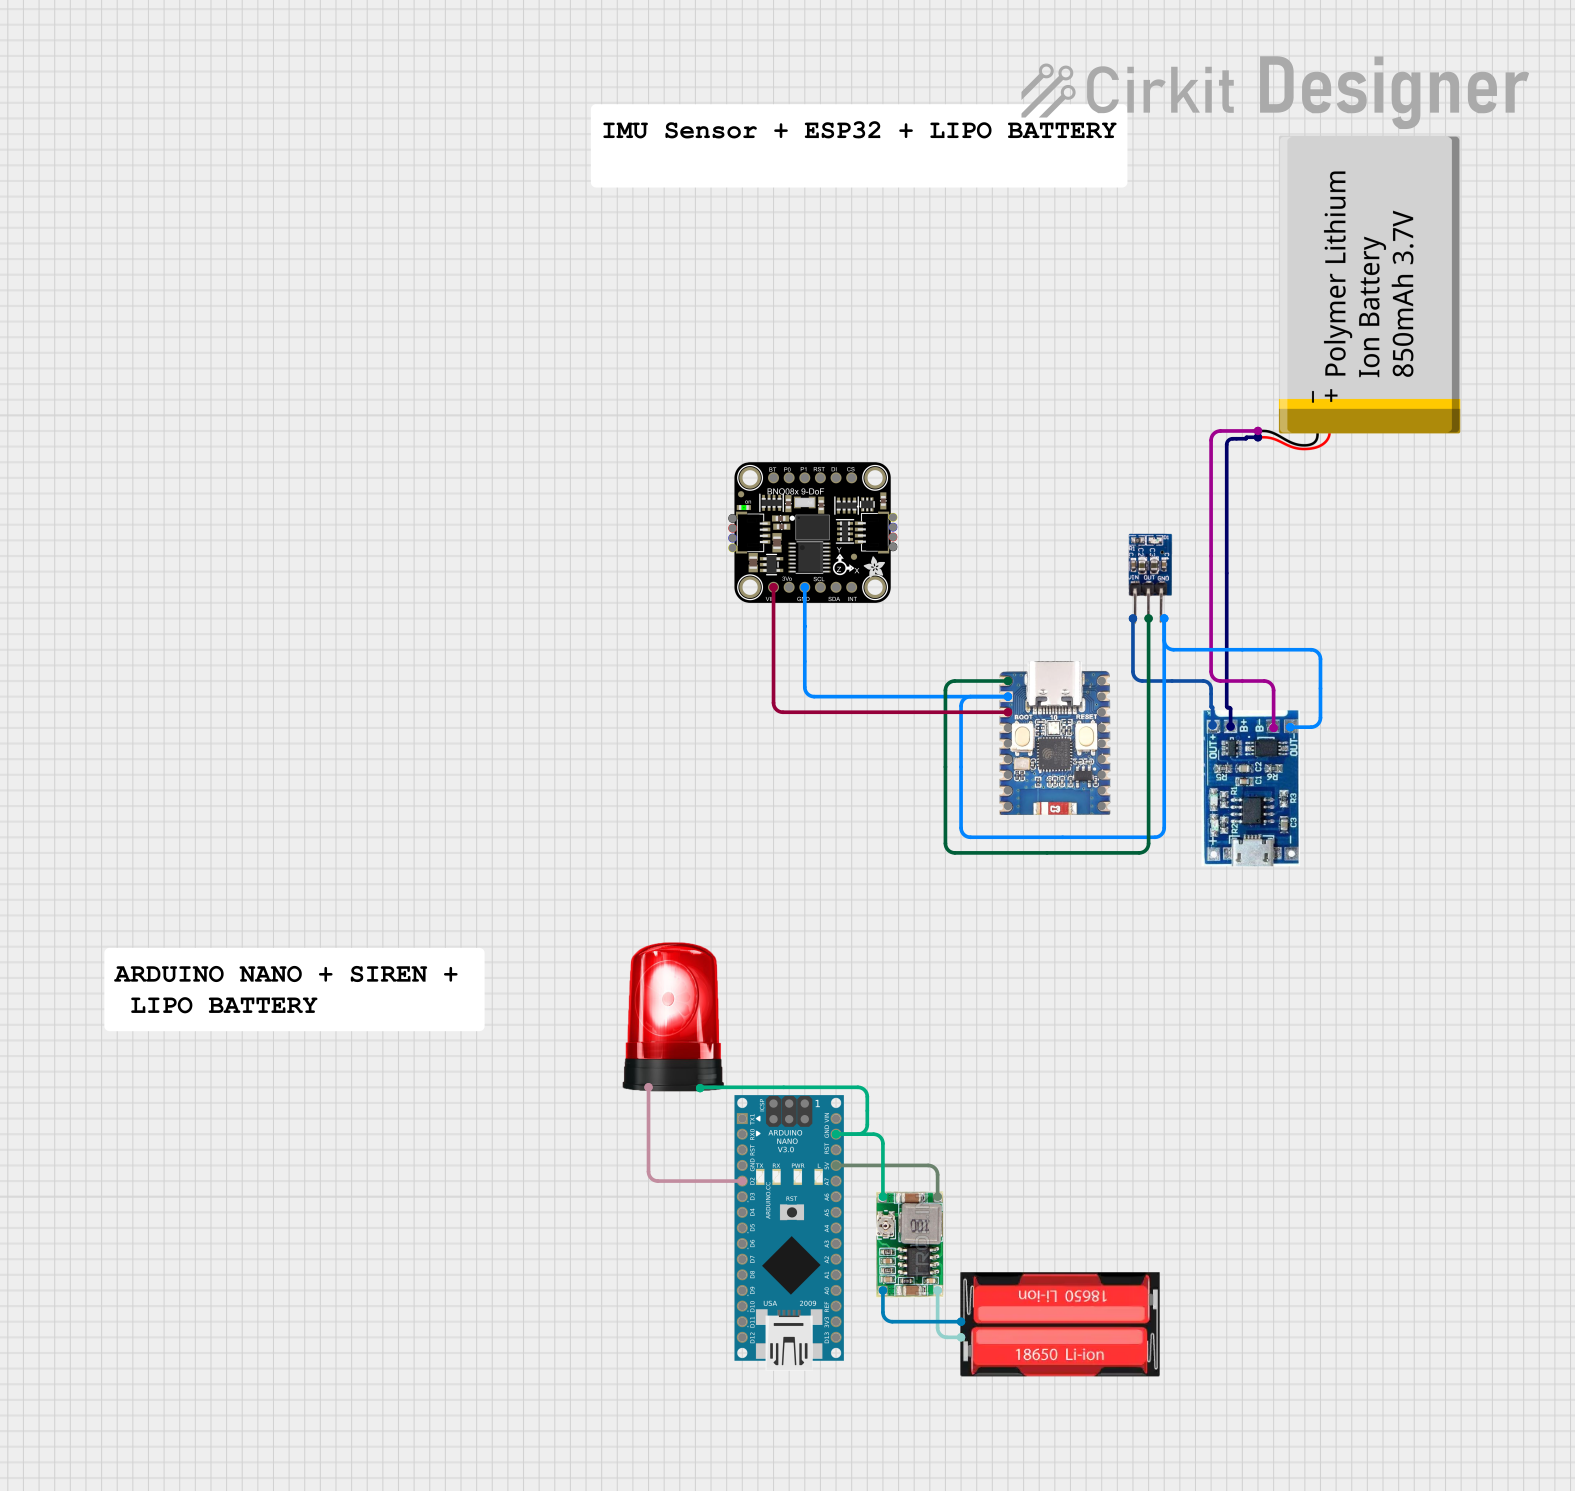
Battery-Powered Smart Safety Harness with ESP32 and IMU Sensor
Image of safety harness: A project utilizing sibass 2 pin female mount in a practical application
This circuit is a smart safety harness system that uses an ESP32 microcontroller to read data from an IMU sensor and send it wirelessly to an Arduino Nano. The Arduino Nano processes the data to determine the hook's orientation and activates a siren if the hook is not properly attached. The system is powered by a combination of a Li-Ion battery and a LiPo battery charger module.
Cirkit Designer LogoOpen Project in Cirkit Designer

Explore Projects Built with sibass 2 pin female mount

Use Cirkit Designer to design, explore, and prototype these projects online. Some projects support real-time simulation. Click "Open Project" to start designing instantly!
Image of Load Cell Circuit: A project utilizing sibass 2 pin female mount in a practical application
Multi-Channel Load Cell Measurement System with JYS60 Amplifiers and DAQ Integration
This is a multi-channel load cell measurement system with several JYS60 amplifiers connected to load cells for weight or force sensing. The amplified signals are directed to a DAQ system for data capture, and power is supplied through a barrel jack. Grounding is achieved via an AdaGator Side Black component.
Cirkit Designer LogoOpen Project in Cirkit Designer
Image of GPS 시스템 측정 구성도_Confirm: A project utilizing sibass 2 pin female mount in a practical application
Satellite-Based Timing and Navigation System with SDR and Atomic Clock Synchronization
This circuit appears to be a complex system involving power supply management, GPS and timing synchronization, and data communication. It includes a SI-TEX G1 Satellite Compass for GPS data, an XHTF1021 Atomic Rubidium Clock for precise timing, and Ettus USRP B200 units for software-defined radio communication. Power is supplied through various SMPS units and distributed via terminal blocks and DC jacks. Data communication is facilitated by Beelink MINI S12 N95 computers, RS232 splitters, and a 1000BASE-T Media Converter for network connectivity. RF Directional Couplers are used to interface antennas with the USRP units, and the entire system is likely contained within cases for protection and organization.
Cirkit Designer LogoOpen Project in Cirkit Designer
Image of UMB_Cable: A project utilizing sibass 2 pin female mount in a practical application
5-Pin Connector Synchronization Circuit
This circuit consists of four 5-pin connectors, where two of the connectors are fully interconnected pin-to-pin. The purpose of this setup could be to create a parallel connection between the two 5-pin connectors, possibly for signal distribution or redundancy.
Cirkit Designer LogoOpen Project in Cirkit Designer
Image of safety harness: A project utilizing sibass 2 pin female mount in a practical application
Battery-Powered Smart Safety Harness with ESP32 and IMU Sensor
This circuit is a smart safety harness system that uses an ESP32 microcontroller to read data from an IMU sensor and send it wirelessly to an Arduino Nano. The Arduino Nano processes the data to determine the hook's orientation and activates a siren if the hook is not properly attached. The system is powered by a combination of a Li-Ion battery and a LiPo battery charger module.
Cirkit Designer LogoOpen Project in Cirkit Designer

Technical Specifications

Key Technical Details

Parameter Value
Number of Pins 2
Mounting Type Female
Voltage Rating Up to 250V
Current Rating Up to 3A
Contact Material Phosphor Bronze
Insulation Material Thermoplastic (UL94V-0)
Operating Temperature -40°C to +105°C

Pin Configuration and Descriptions

Pin Number Description
1 Signal/Power Pin
2 Ground Pin

Usage Instructions

How to Use the SIBASS 2 Pin Female Mount Connector in a Circuit

  1. Identify the Pins: Ensure you correctly identify the signal/power pin and the ground pin.
  2. Mounting: Securely mount the connector onto your PCB or breadboard.
  3. Wiring: Connect the signal/power pin to the appropriate signal or power source in your circuit. Connect the ground pin to the ground of your circuit.
  4. Testing: Verify the connections using a multimeter to ensure there are no short circuits or loose connections.

Important Considerations and Best Practices

  • Polarity: Always double-check the polarity of your connections to avoid damaging your components.
  • Secure Connections: Ensure that the connector is firmly mounted and that the pins are securely connected to avoid intermittent connections.
  • Current and Voltage Ratings: Do not exceed the specified current and voltage ratings to prevent overheating and potential damage.

Example: Connecting to an Arduino UNO

Here is an example of how to connect a sensor using the SIBASS 2 Pin Female Mount Connector to an Arduino UNO.

Circuit Diagram

[Sensor] ----> [SIBASS 2 Pin Female Mount Connector] ----> [Arduino UNO]

Arduino Code

// Define the pin connected to the sensor
const int sensorPin = A0; // Analog pin A0

void setup() {
  // Initialize serial communication at 9600 baud rate
  Serial.begin(9600);
  // Set the sensor pin as input
  pinMode(sensorPin, INPUT);
}

void loop() {
  // Read the sensor value
  int sensorValue = analogRead(sensorPin);
  // Print the sensor value to the Serial Monitor
  Serial.print("Sensor Value: ");
  Serial.println(sensorValue);
  // Wait for 500 milliseconds before the next reading
  delay(500);
}

Troubleshooting and FAQs

Common Issues

  1. No Signal Detected:

    • Solution: Check the connections to ensure they are secure and correctly oriented. Verify that the sensor and Arduino are powered on.
  2. Intermittent Connections:

    • Solution: Ensure the connector is firmly mounted and that the pins are not loose. Re-solder any loose connections if necessary.
  3. Overheating:

    • Solution: Verify that the current and voltage ratings are not being exceeded. Use appropriate resistors or voltage regulators if needed.

FAQs

Q: Can I use the SIBASS 2 Pin Female Mount Connector for high-power applications? A: The connector is rated for up to 3A and 250V. For high-power applications, ensure that these ratings are not exceeded.

Q: How do I know which pin is the signal/power pin and which is the ground pin? A: Refer to the pin configuration table in the technical specifications section. Typically, the pins are labeled on the connector or in the datasheet.

Q: Can I use this connector with other microcontrollers besides the Arduino UNO? A: Yes, the SIBASS 2 Pin Female Mount Connector can be used with various microcontrollers, provided the connections are made correctly.

By following this documentation, users can effectively utilize the SIBASS 2 Pin Female Mount Connector in their electronic projects, ensuring reliable and secure connections.