Cirkit Designer LogoCirkit DesignerYour all-in-one circuit design IDE Launch Cirkit Designer App

How to Use rain sensor : Examples, Pinouts, and Specs

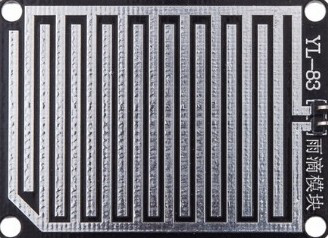
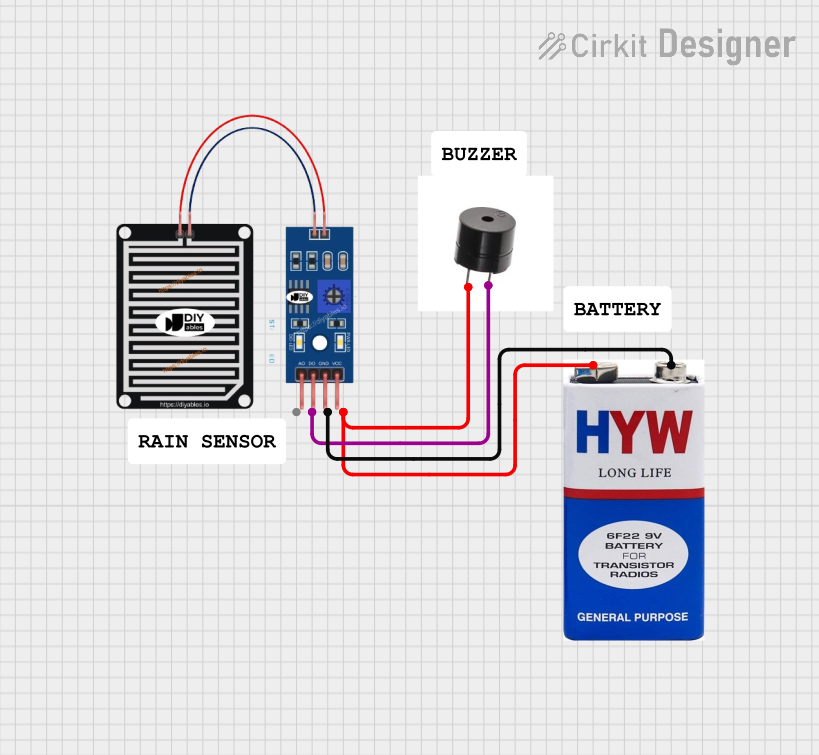
Image of rain sensor Design with rain sensor in Cirkit Designer

Introduction

A rain sensor is a device designed to detect the presence and intensity of rain. It typically consists of a rain detection module and a control board that processes the signal. Rain sensors are widely used in automation systems to conserve water, protect property, and enhance convenience. Common applications include automated irrigation systems, smart home window closures, and weather monitoring stations.

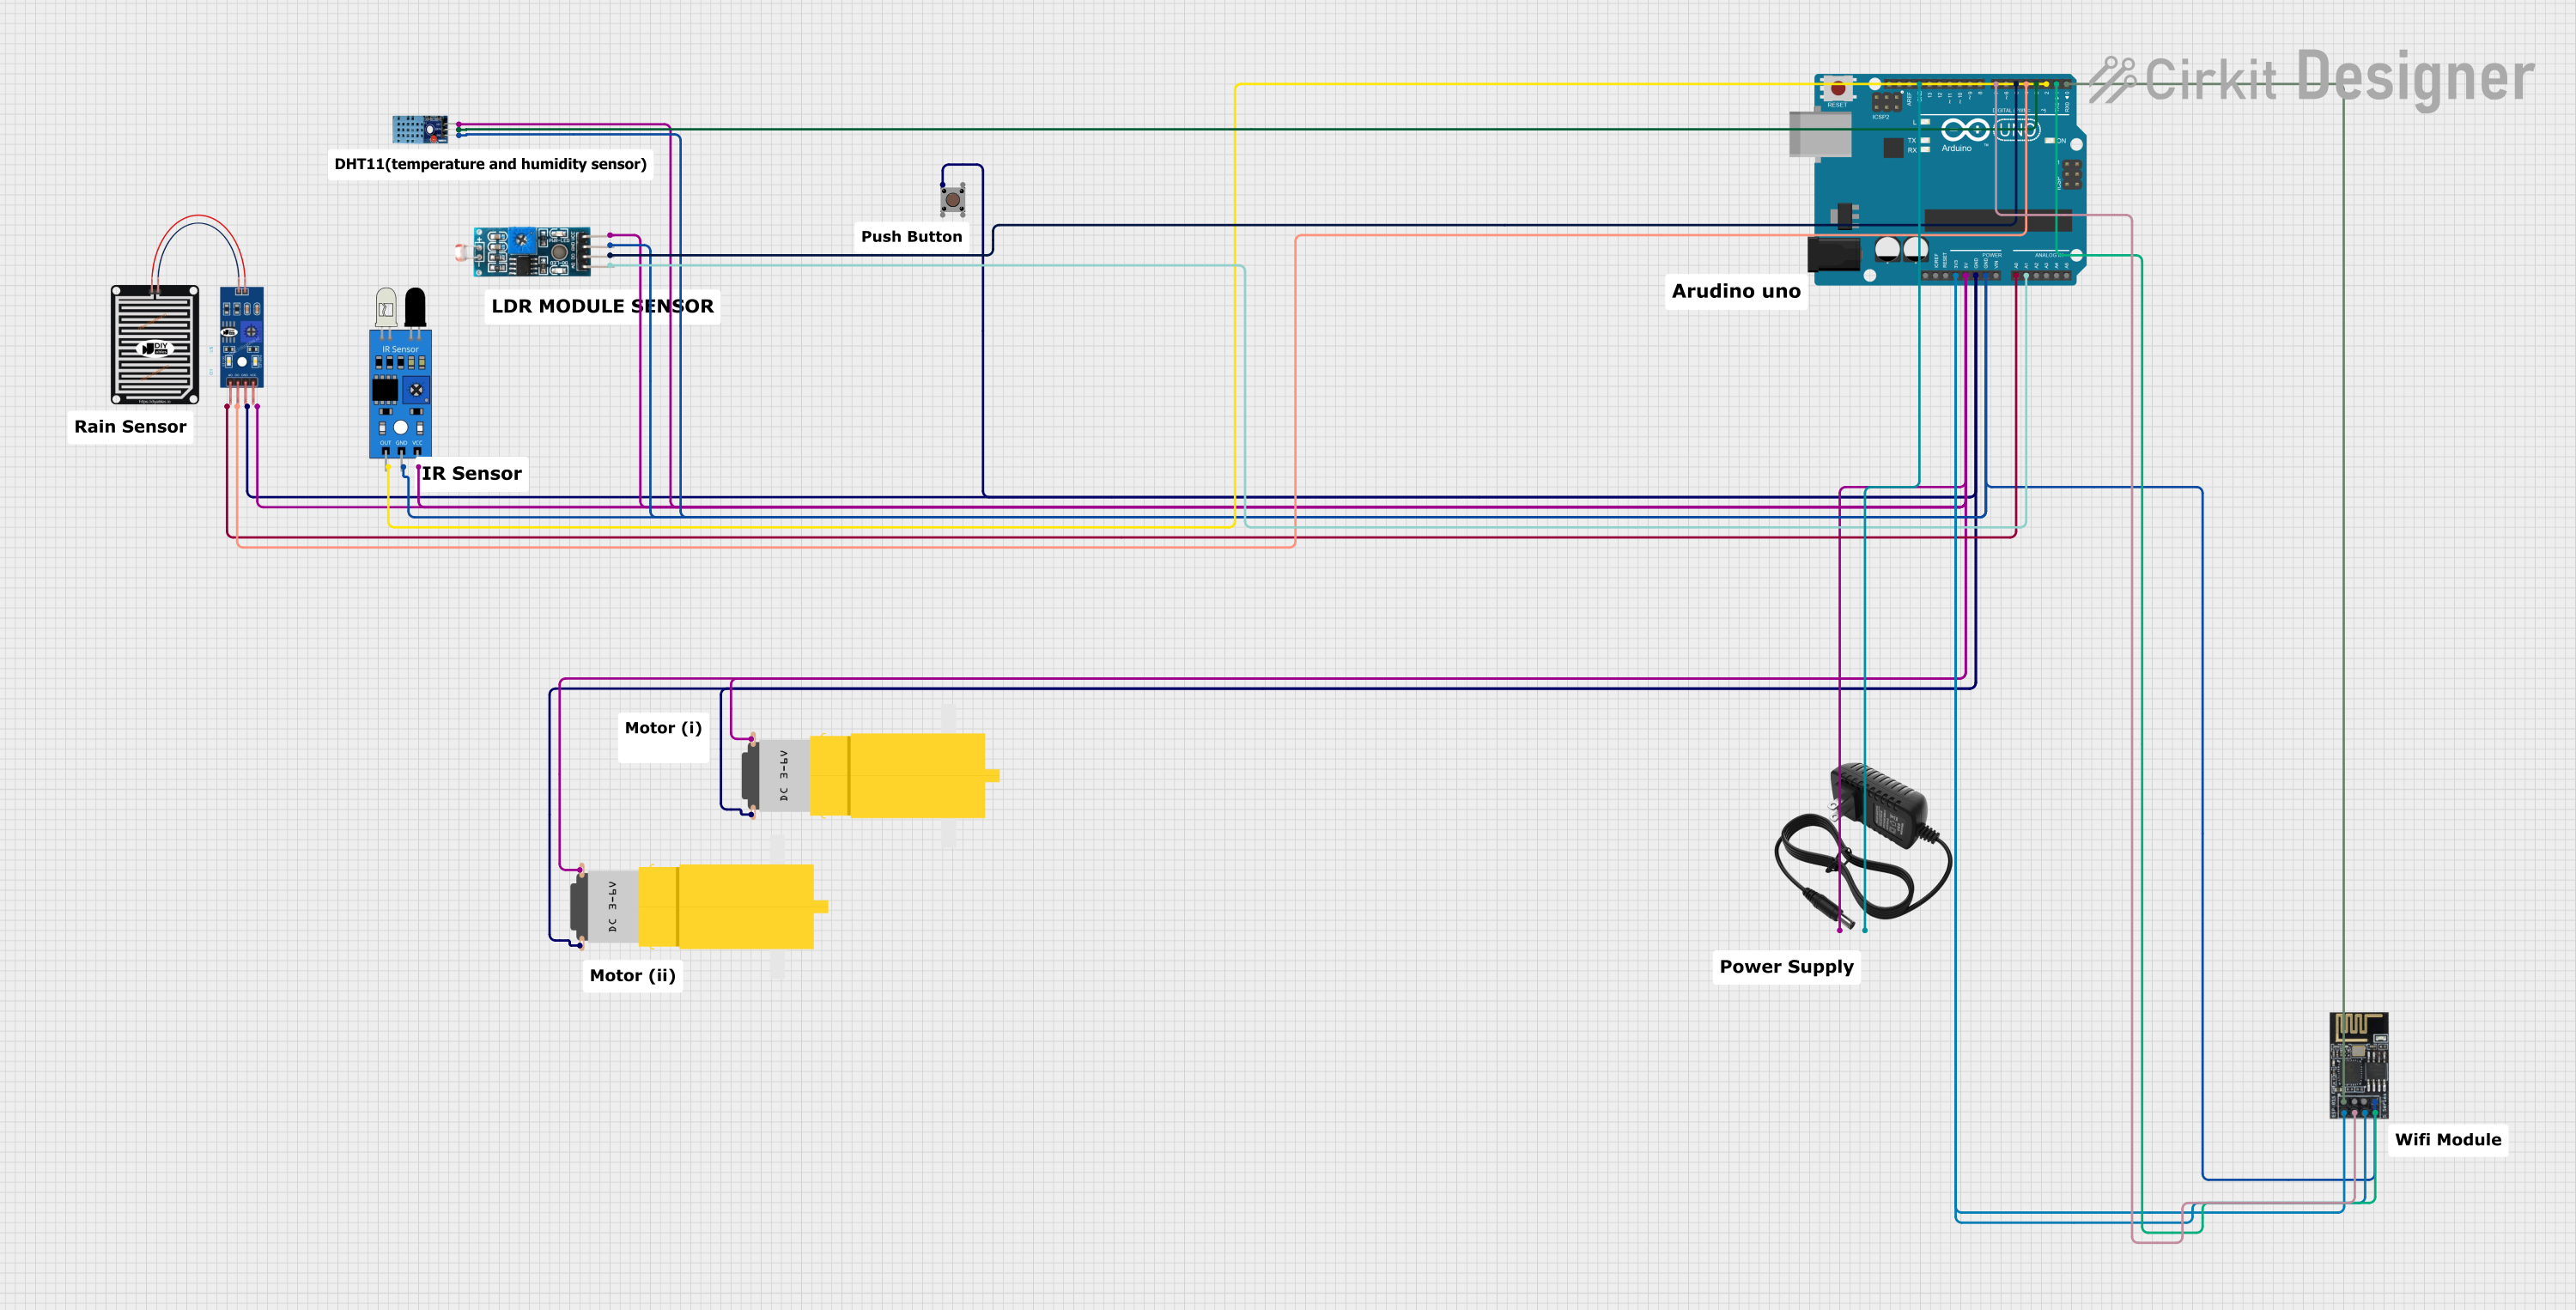
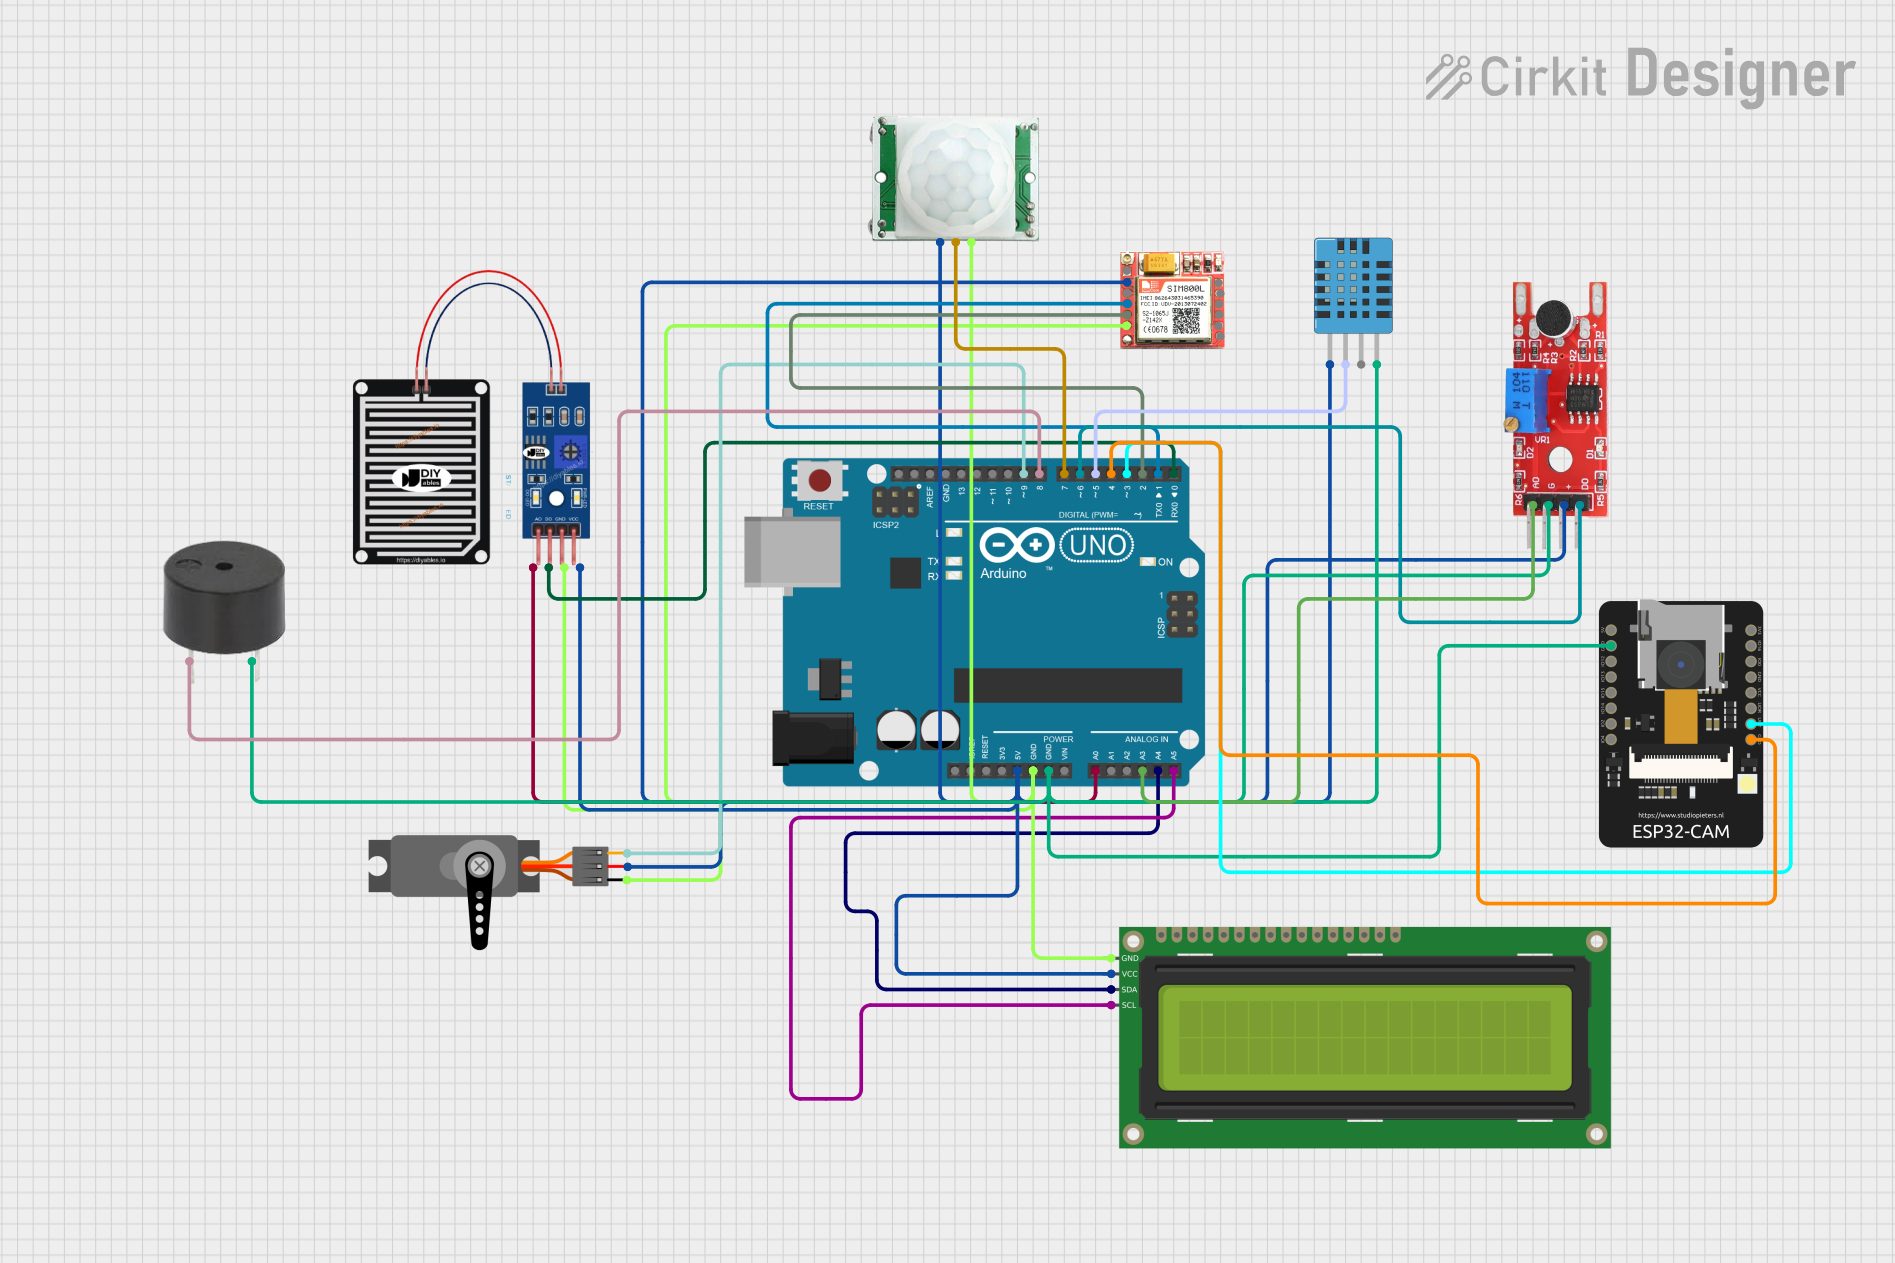
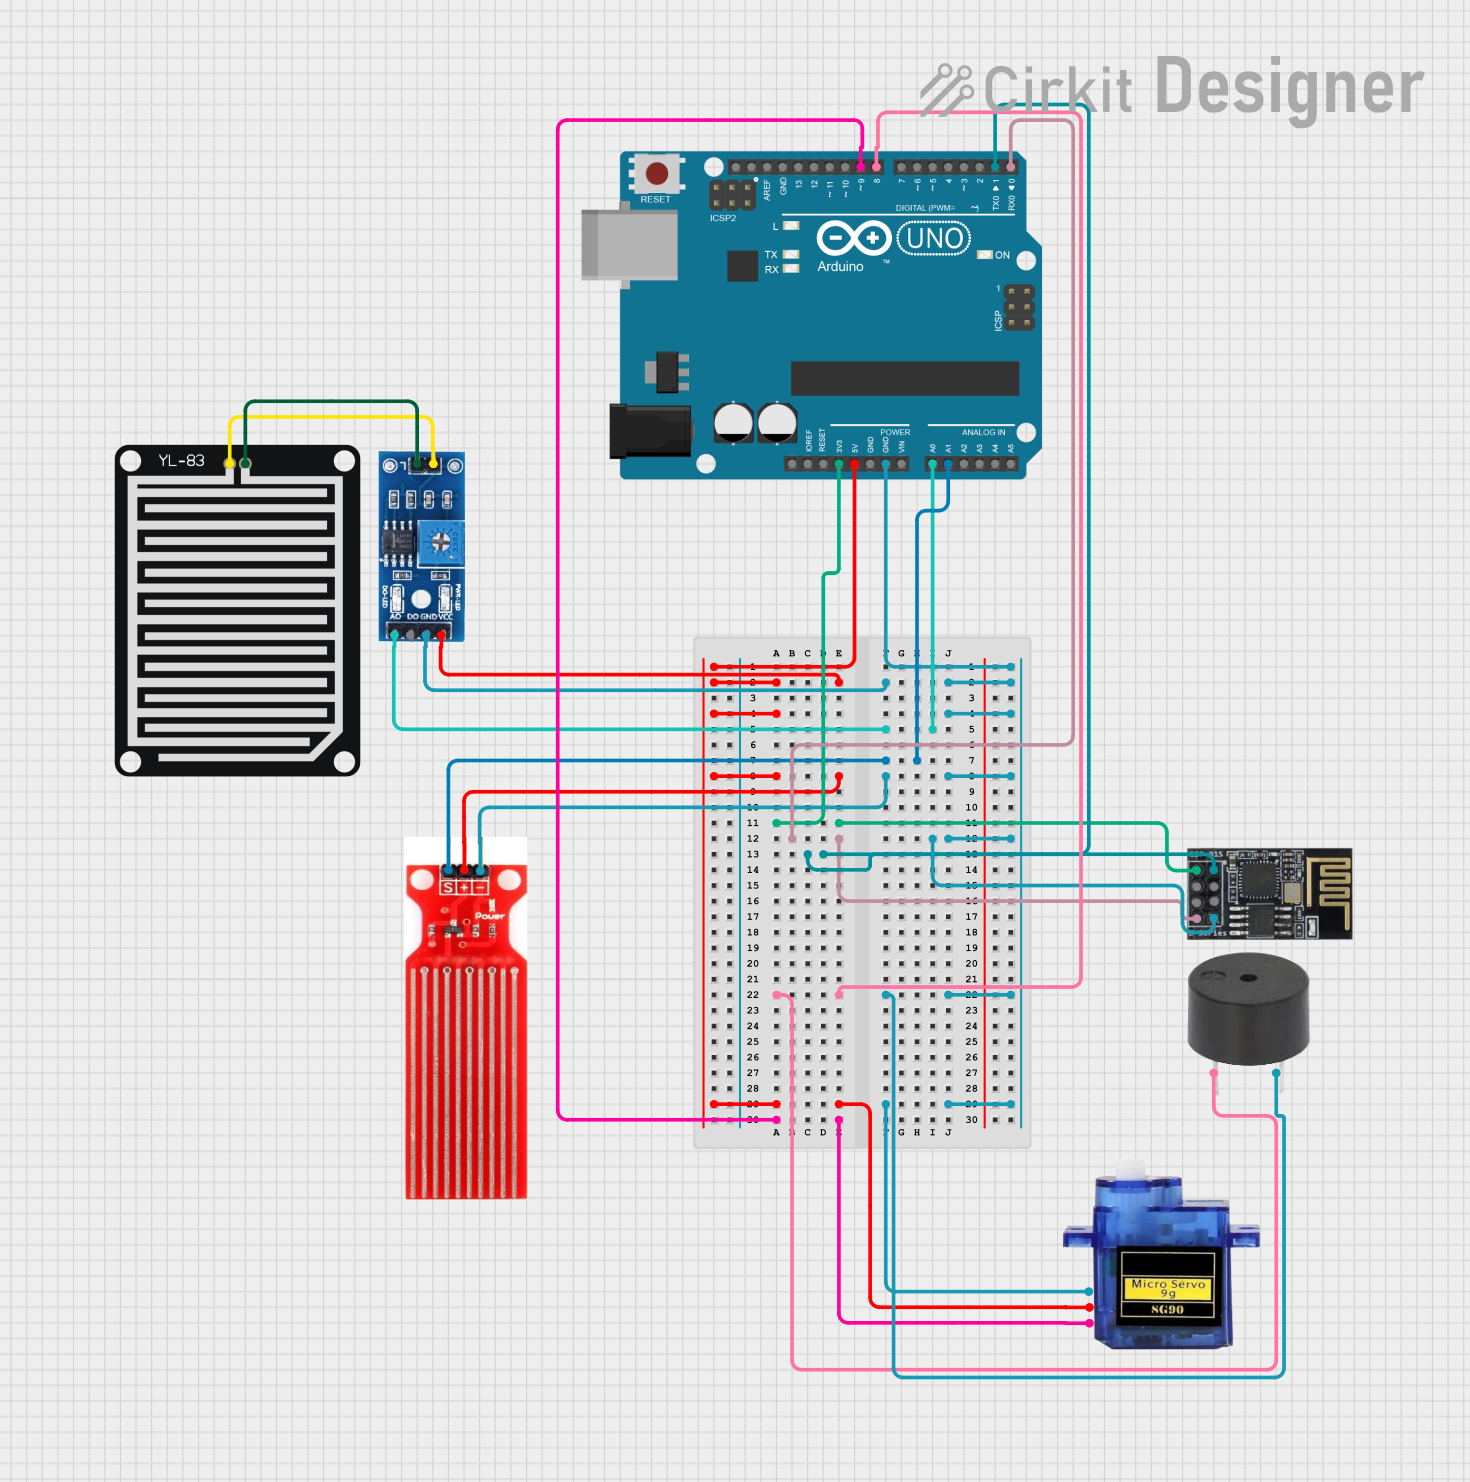
Explore Projects Built with rain sensor

Use Cirkit Designer to design, explore, and prototype these projects online. Some projects support real-time simulation. Click "Open Project" to start designing instantly!

Technical Specifications

The rain sensor module generally includes two main components: a rain detection board and a control board. Below are the key technical details:

General Specifications

Pin Configuration and Descriptions

Control Board Pinout

Pin Name Type Description
VCC Power Input Connect to 3.3V or 5V power supply.
GND Ground Connect to the ground of the power supply.
D0 Digital Output Outputs HIGH when no rain is detected and LOW when rain is detected.
A0 Analog Output Outputs an analog voltage proportional to the amount of rain detected.

Rain Detection Board

Pin Name Type Description
S Signal Connects to the control board for signal transmission.
+ Power Input Connects to the VCC pin of the control board.
- Ground Connects to the GND pin of the control board.

Usage Instructions

How to Use the Rain Sensor in a Circuit

  1. Connect the Rain Detection Board to the Control Board:

    • Connect the S pin of the rain detection board to the signal input on the control board.
    • Connect the + pin to the VCC pin and the - pin to the GND pin of the control board.
  2. Connect the Control Board to Your Microcontroller:

    • Connect the VCC pin of the control board to a 3.3V or 5V power supply.
    • Connect the GND pin to the ground of your microcontroller.
    • Connect the D0 pin to a digital input pin on your microcontroller (optional).
    • Connect the A0 pin to an analog input pin on your microcontroller (optional).
  3. Write Code to Read the Sensor Output:

    • Use the digital output (D0) for simple rain detection (rain/no rain).
    • Use the analog output (A0) for more precise measurements of rain intensity.

Important Considerations and Best Practices

Example Code for Arduino UNO

Below is an example of how to use the rain sensor with an Arduino UNO:

// Define pin connections
const int digitalPin = 2; // Connect D0 to digital pin 2
const int analogPin = A0; // Connect A0 to analog pin A0

void setup() {
  pinMode(digitalPin, INPUT); // Set digital pin as input
  Serial.begin(9600); // Initialize serial communication
}

void loop() {
  // Read digital output (rain detected or not)
  int rainDetected = digitalRead(digitalPin);
  if (rainDetected == LOW) {
    Serial.println("Rain detected!"); // Print message if rain is detected
  } else {
    Serial.println("No rain detected."); // Print message if no rain is detected
  }

  // Read analog output (rain intensity)
  int rainIntensity = analogRead(analogPin);
  Serial.print("Rain Intensity: ");
  Serial.println(rainIntensity); // Print the analog value for rain intensity

  delay(1000); // Wait for 1 second before the next reading
}

Troubleshooting and FAQs

Common Issues and Solutions

  1. No Output from the Sensor:

    • Cause: Loose or incorrect wiring.
    • Solution: Double-check all connections between the rain detection board, control board, and microcontroller.
  2. Inconsistent Readings:

    • Cause: Dirt or debris on the rain detection board.
    • Solution: Clean the rain detection board with a soft cloth and ensure it is free of obstructions.
  3. Control Board Damage:

    • Cause: Exposure to water or moisture.
    • Solution: Ensure the control board is placed in a waterproof enclosure.
  4. Analog Output Not Working:

    • Cause: Incorrect connection to the analog pin.
    • Solution: Verify that the A0 pin is connected to an analog input pin on the microcontroller.

FAQs

By following this documentation, you can effectively integrate the rain sensor into your projects for reliable rain detection and automation.