How to Use 5v amplifier board: Examples, Pinouts, and Specs
Introduction
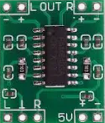
A 5V amplifier board is an electronic module designed to amplify audio signals, typically powered by a 5V supply. This component is widely used in various audio applications to increase the amplitude of sound signals, making it suitable for driving speakers or other audio output devices. Its compact size and low power requirements make it an ideal choice for portable audio projects, DIY electronics, and educational purposes.
Explore Projects Built with 5v amplifier board
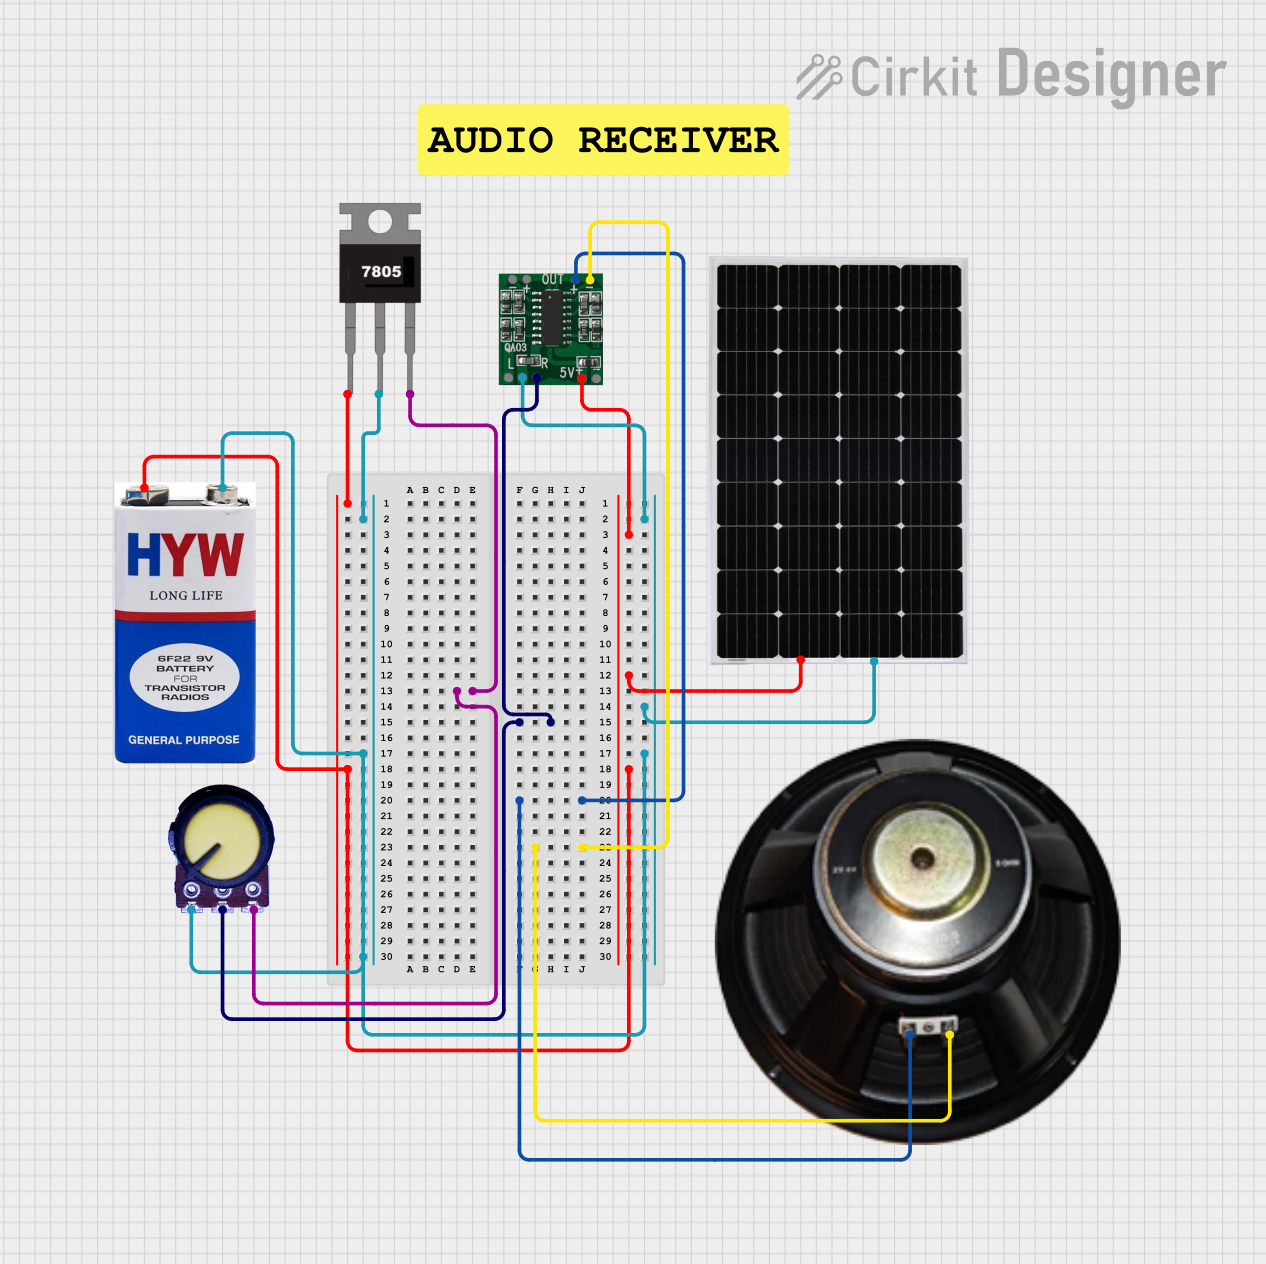

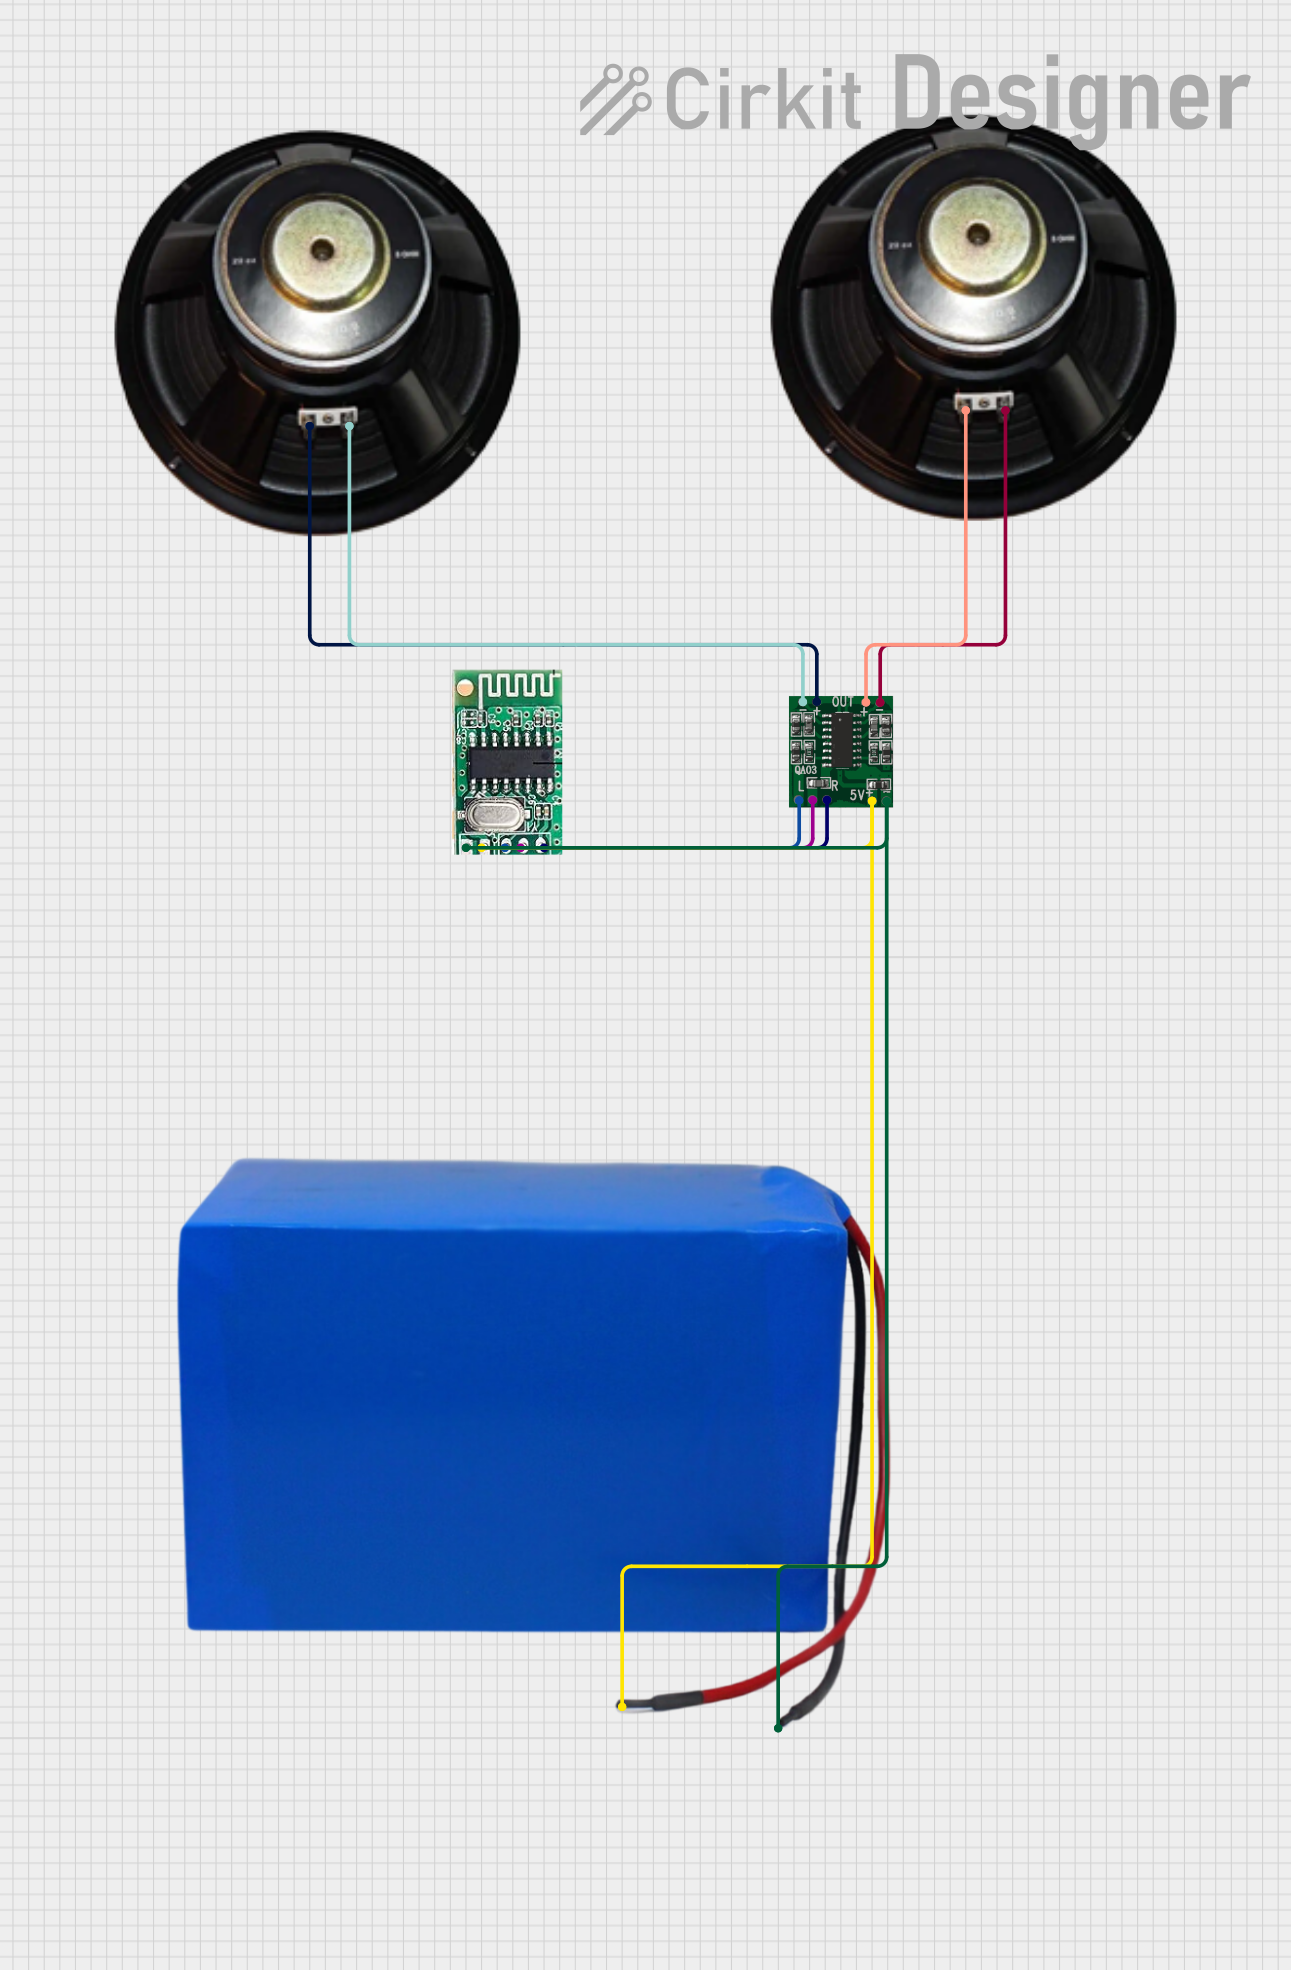

Explore Projects Built with 5v amplifier board
Technical Specifications
Key Technical Details
| Parameter | Value |
|---|---|
| Supply Voltage | 5V DC |
| Output Power | 3W per channel (stereo) |
| Input Impedance | 10kΩ |
| Output Impedance | 4Ω - 8Ω |
| Frequency Response | 20Hz - 20kHz |
| Signal-to-Noise Ratio (SNR) | ≥ 90dB |
| Total Harmonic Distortion (THD) | ≤ 0.1% |
| Dimensions | 30mm x 20mm x 10mm |
Pin Configuration and Descriptions
| Pin Number | Pin Name | Description |
|---|---|---|
| 1 | VCC | Power supply input (5V DC) |
| 2 | GND | Ground |
| 3 | IN_L | Left channel audio input |
| 4 | IN_R | Right channel audio input |
| 5 | OUT_L+ | Left channel positive output |
| 6 | OUT_L- | Left channel negative output |
| 7 | OUT_R+ | Right channel positive output |
| 8 | OUT_R- | Right channel negative output |
Usage Instructions
How to Use the Component in a Circuit
Power Supply Connection:
- Connect the
VCCpin to a 5V DC power supply. - Connect the
GNDpin to the ground of the power supply.
- Connect the
Audio Input Connection:
- Connect the audio source's left channel output to the
IN_Lpin. - Connect the audio source's right channel output to the
IN_Rpin.
- Connect the audio source's left channel output to the
Audio Output Connection:
- Connect the left speaker's positive terminal to the
OUT_L+pin and the negative terminal to theOUT_L-pin. - Connect the right speaker's positive terminal to the
OUT_R+pin and the negative terminal to theOUT_R-pin.
- Connect the left speaker's positive terminal to the
Important Considerations and Best Practices
- Power Supply: Ensure that the power supply is stable and provides a consistent 5V DC. Using a power supply with excessive noise or voltage fluctuations can affect the performance of the amplifier.
- Heat Dissipation: Although the 5V amplifier board is designed to be efficient, it may still generate heat during operation. Ensure adequate ventilation or consider adding a heat sink if necessary.
- Speaker Impedance: Use speakers with an impedance of 4Ω to 8Ω for optimal performance. Using speakers with lower impedance may overload the amplifier.
- Signal Quality: Use high-quality audio cables and connectors to minimize signal loss and interference.
Example: Connecting to an Arduino UNO
To use the 5V amplifier board with an Arduino UNO, you can generate audio signals using the Arduino's PWM pins. Below is an example code to generate a simple tone:
/*
 * Example code to generate a simple tone using Arduino UNO
 * and a 5V amplifier board.
 */

const int tonePin = 9; // PWM pin connected to IN_L or IN_R

void setup() {
  pinMode(tonePin, OUTPUT);
}

void loop() {
  // Generate a 1kHz tone
  tone(tonePin, 1000);
  delay(1000); // Play tone for 1 second
  noTone(tonePin);
  delay(1000); // Pause for 1 second
}
Troubleshooting and FAQs
Common Issues Users Might Face
No Sound Output:
- Solution: Check all connections to ensure they are secure. Verify that the power supply is providing 5V DC. Ensure that the audio source is functioning correctly.
Distorted Sound:
- Solution: Ensure that the input audio signal is not too high. Reduce the volume of the audio source. Check the speaker impedance to ensure it is within the recommended range (4Ω to 8Ω).
Overheating:
- Solution: Ensure adequate ventilation around the amplifier board. Consider adding a heat sink if the board is operating in a confined space or at high power levels.
FAQs
Q1: Can I use a power supply higher than 5V?
- A1: No, the 5V amplifier board is designed to operate at 5V DC. Using a higher voltage can damage the board.
Q2: Can I connect multiple speakers to one channel?
- A2: It is not recommended to connect multiple speakers to one channel as it may affect the impedance and overload the amplifier.
Q3: How can I improve the sound quality?
- A3: Use high-quality audio cables and connectors, ensure a stable power supply, and use speakers with appropriate impedance.
By following this documentation, users can effectively utilize the 5V amplifier board in their audio projects, ensuring optimal performance and longevity of the component.