
How to Use Adafruit Crickit HAT for Raspberry Pi: Examples, Pinouts, and Specs
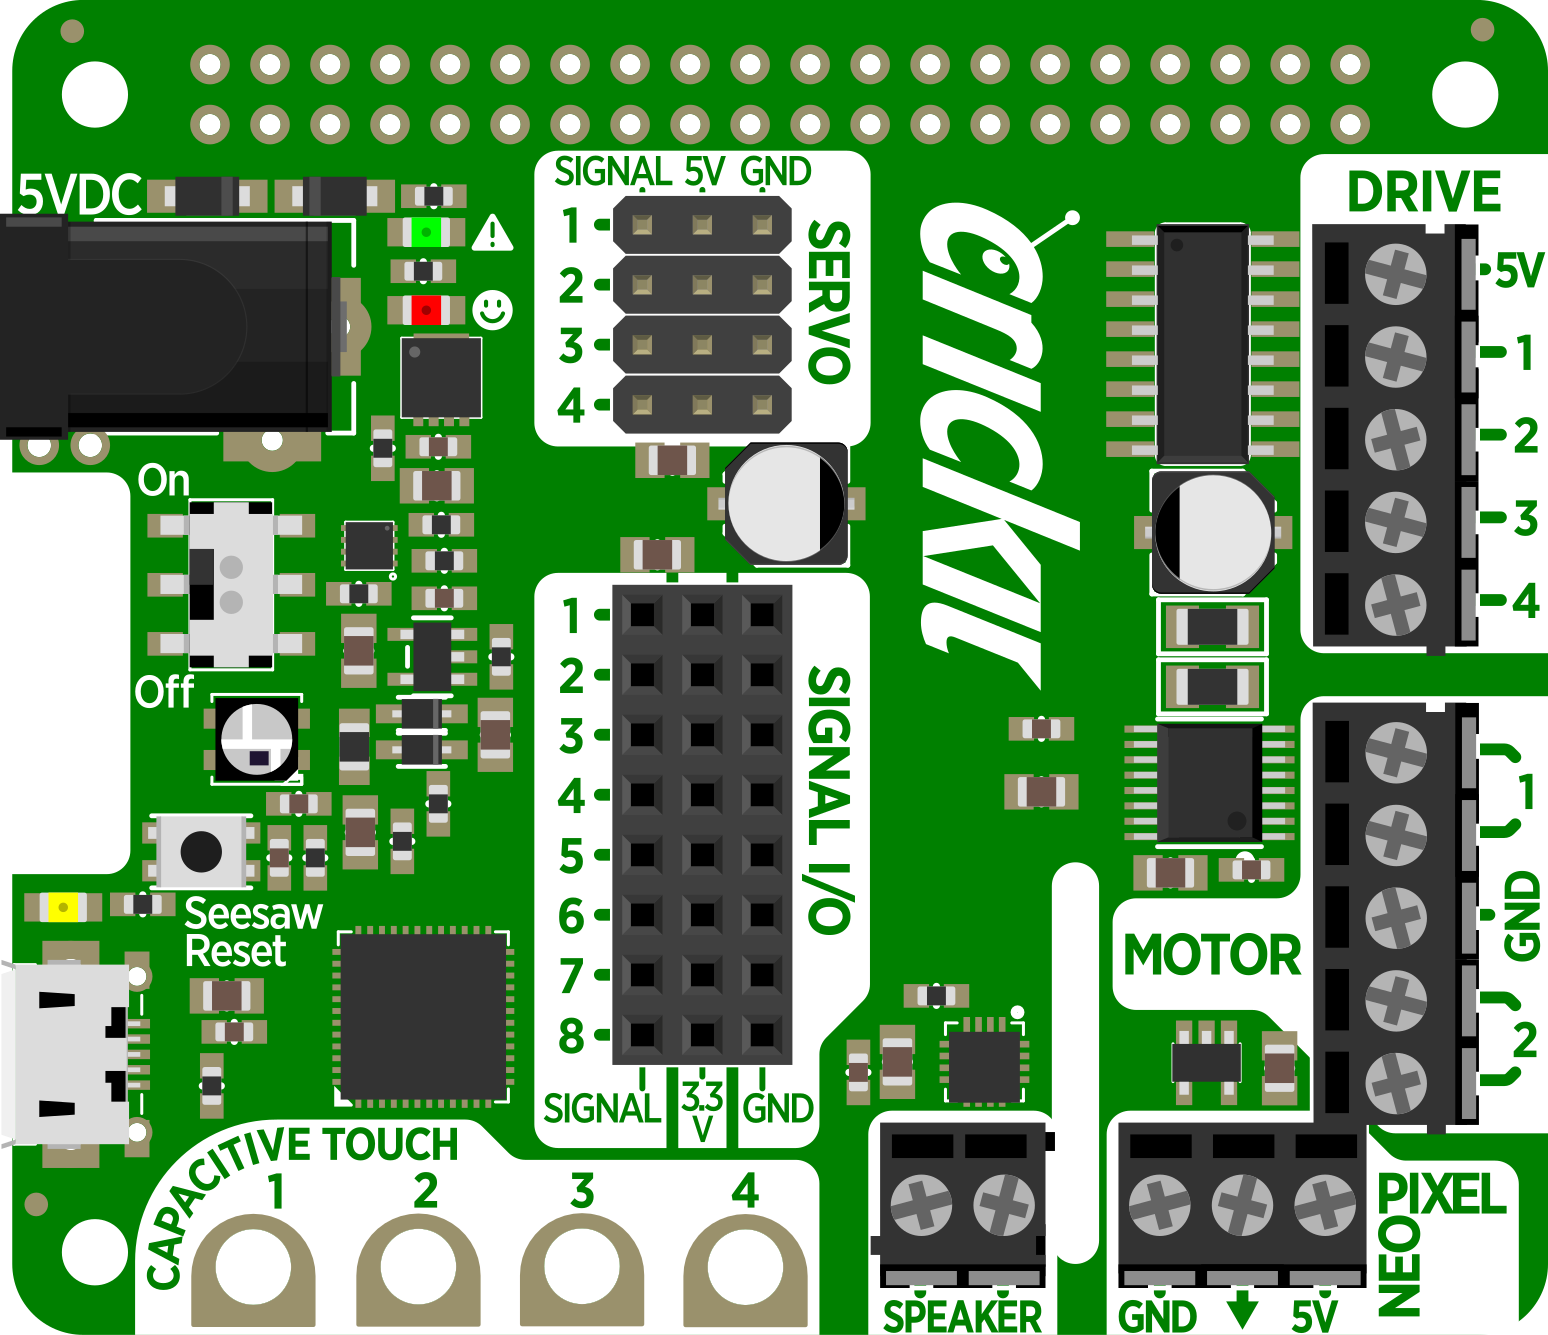
 Design with Adafruit Crickit HAT for Raspberry Pi in Cirkit Designer
Introduction
The Adafruit Crickit HAT for Raspberry Pi (Manufacturer Part ID: 3957) is a versatile add-on board designed to expand the capabilities of the Raspberry Pi for robotics and physical computing projects. It integrates a wide range of features, including motor control, capacitive touch inputs, servo control, sensor inputs, and LED outputs, making it an ideal choice for building interactive and creative projects.
This HAT (Hardware Attached on Top) is powered by the ATSAMD21 co-processor running CircuitPython, which handles real-time tasks, allowing the Raspberry Pi to focus on higher-level processing. The Crickit HAT is perfect for beginners and advanced users alike, offering a plug-and-play experience for robotics, animatronics, and IoT applications.
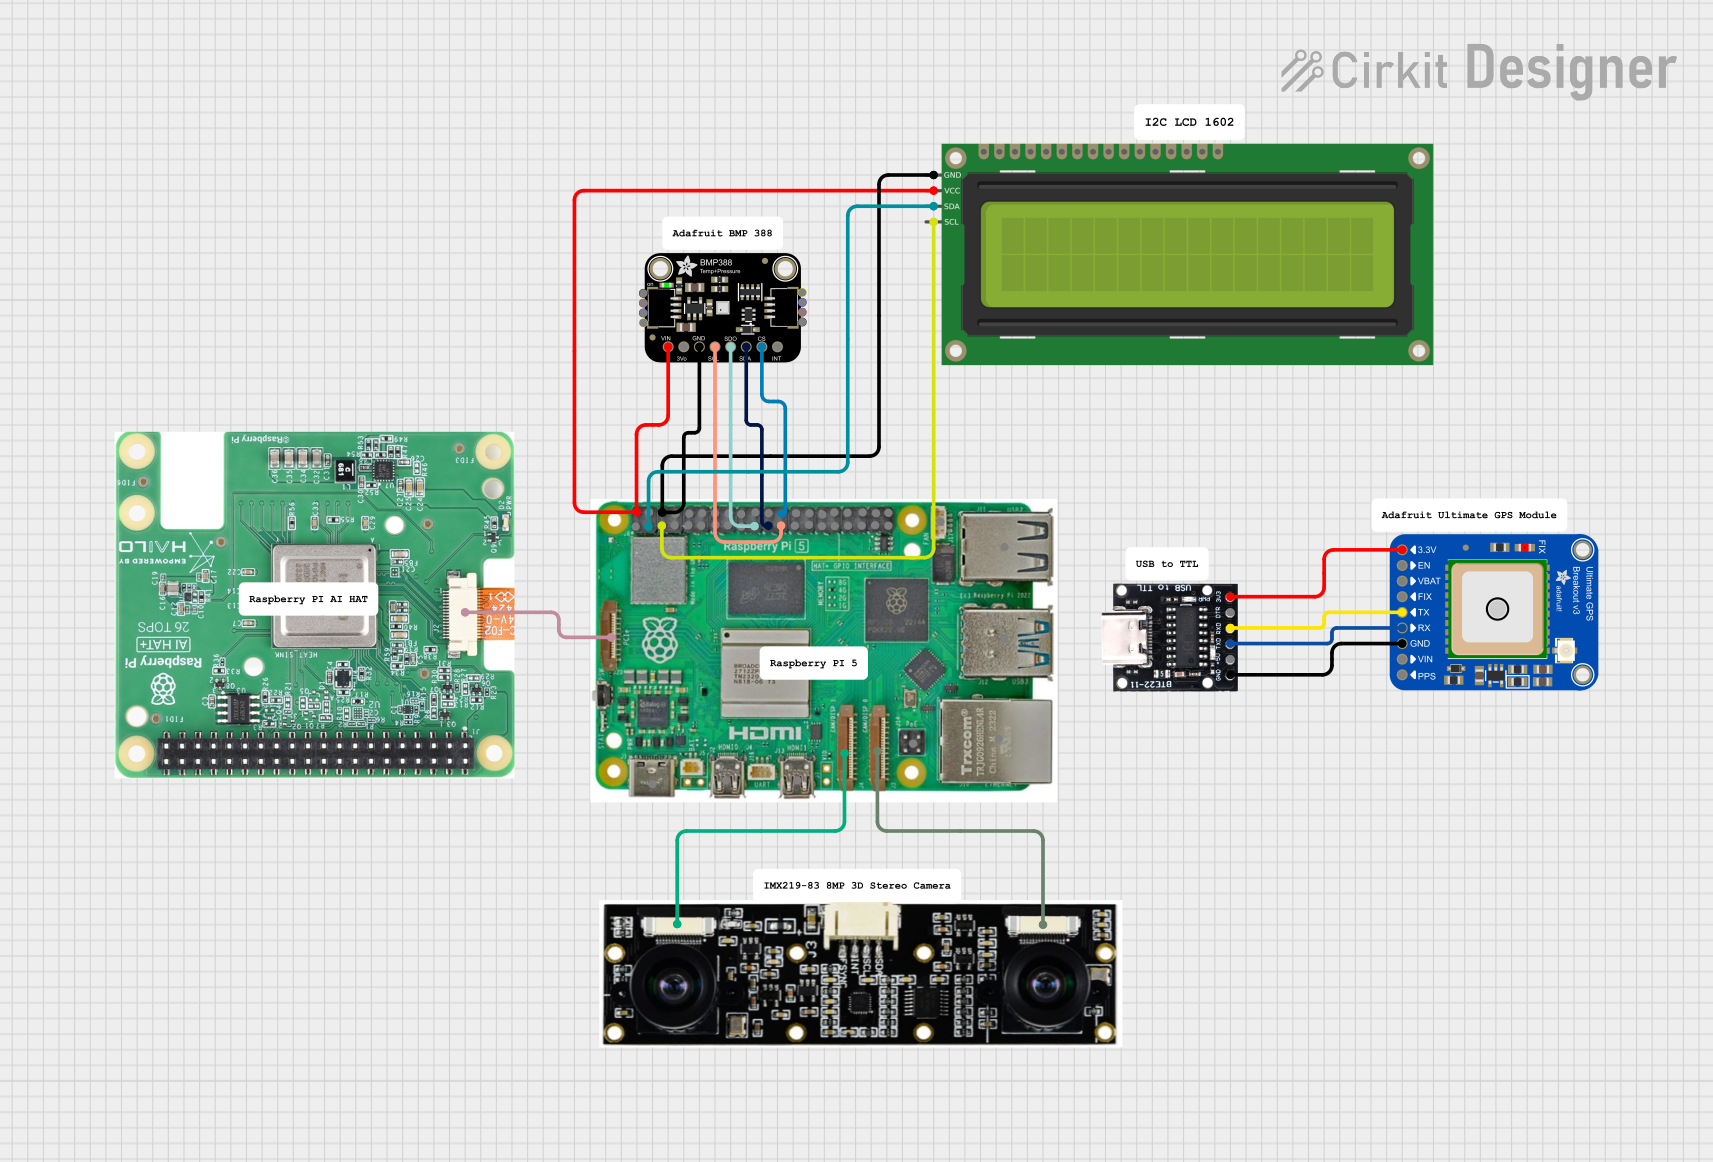
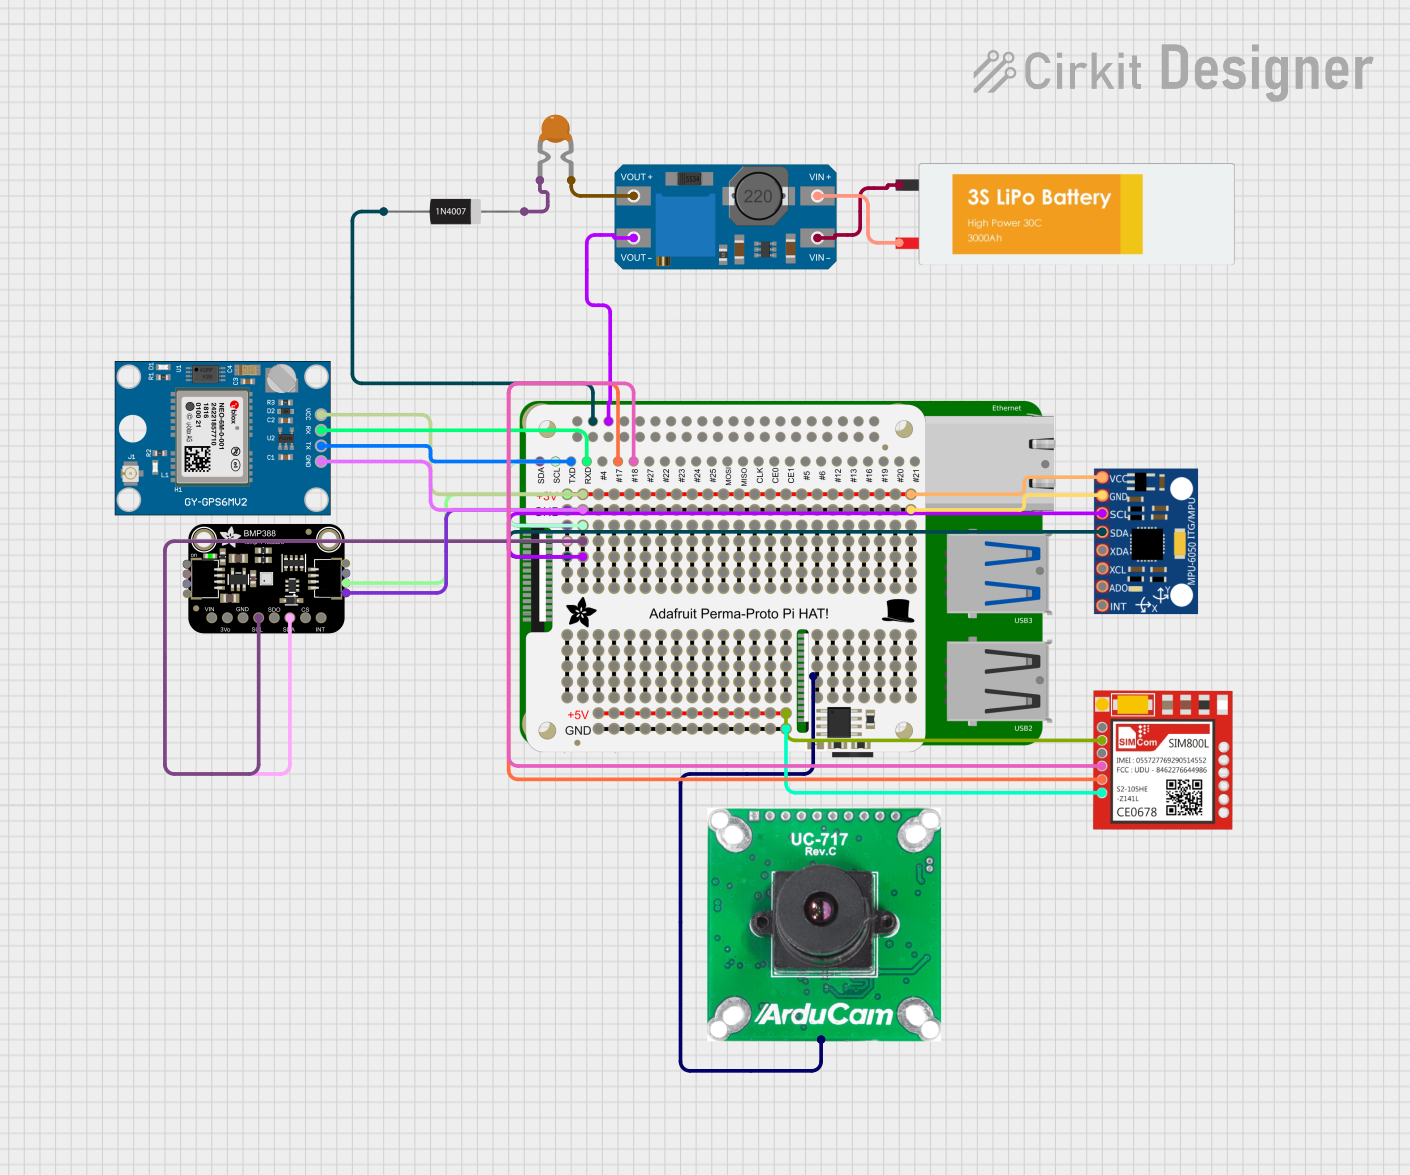
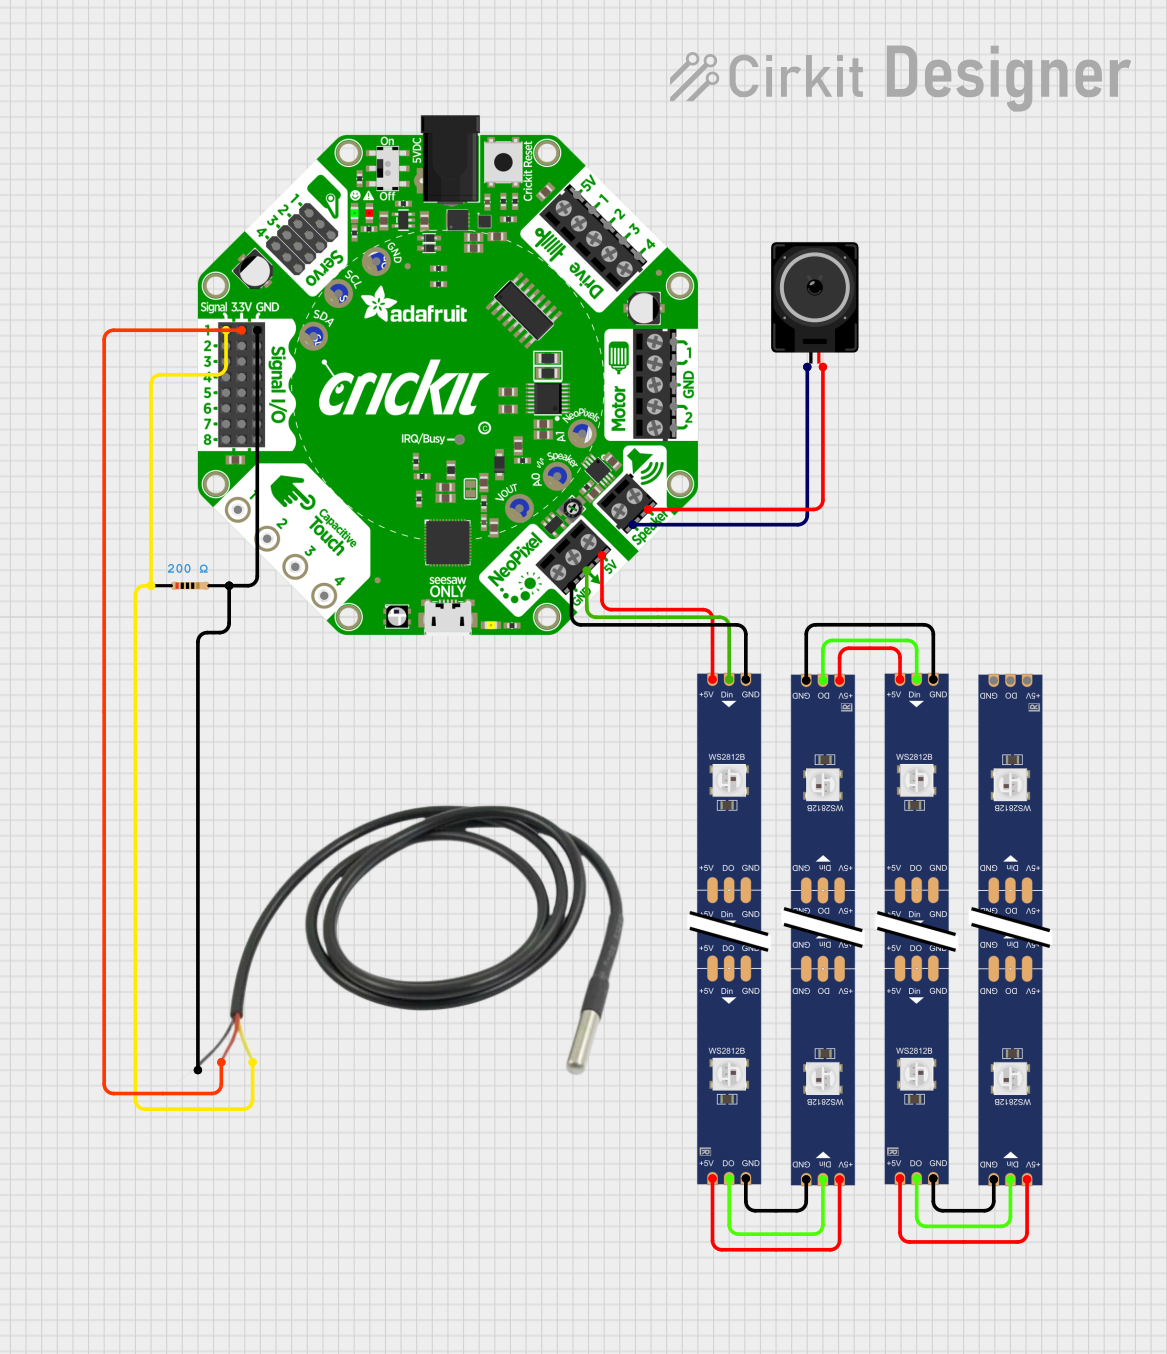
Explore Projects Built with Adafruit Crickit HAT for Raspberry Pi
 Open Project in Cirkit Designer
 Open Project in Cirkit Designer
 Open Project in Cirkit Designer
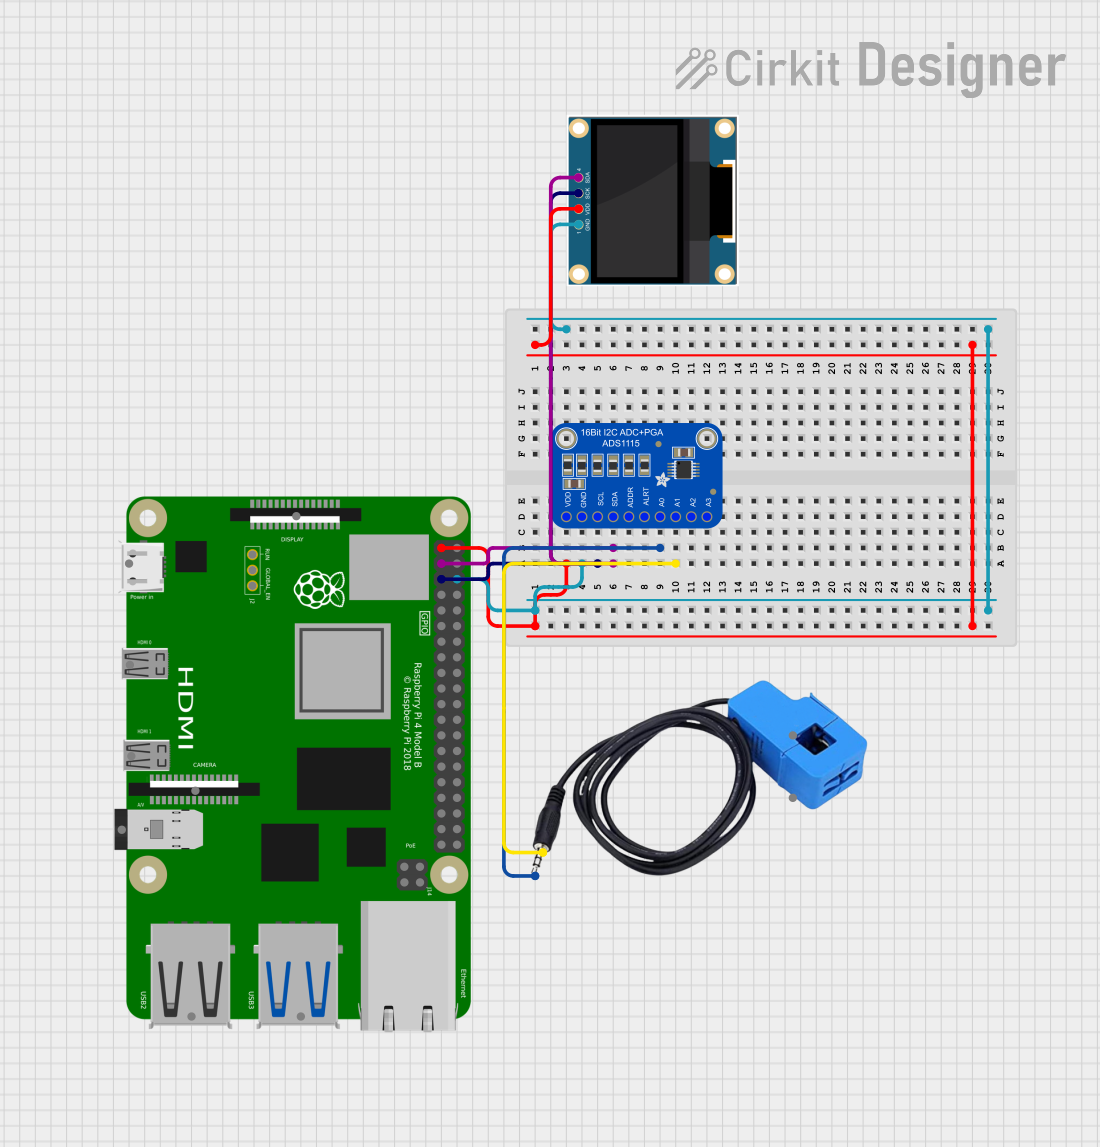 Open Project in Cirkit Designer
Explore Projects Built with Adafruit Crickit HAT for Raspberry Pi
Open Project in Cirkit DesignerOpen Project in Cirkit DesignerOpen Project in Cirkit DesignerOpen Project in Cirkit DesignerCommon Applications
- Robotics: Control DC motors, stepper motors, and servos.
- Animatronics: Create interactive and moving displays.
- Physical Computing: Interface with sensors, LEDs, and capacitive touch inputs.
- IoT Projects: Build smart devices with motorized or interactive components.
Technical Specifications
Key Technical Details
- Power Supply: 5V DC (via Raspberry Pi or external power source)
- Motor Control:
- 4 x DC motor outputs (up to 1.2A per channel)
- 2 x Stepper motor outputs
- Servo Control: 4 x PWM servo outputs
- Capacitive Touch Inputs: 8 x capacitive touch pads
- Sensor Inputs: 4 x analog/digital input pins
- LED Outputs: 4 x high-current drive outputs
- Communication: I2C interface with Raspberry Pi
- Co-Processor: ATSAMD21 running CircuitPython
- Dimensions: 65mm x 56mm x 20mm (fits standard Raspberry Pi HAT form factor)
Pin Configuration and Descriptions
The Crickit HAT connects to the Raspberry Pi via the GPIO header and provides additional terminals for external connections. Below is a summary of the key pin configurations:
GPIO Header (Connected to Raspberry Pi)
| Pin Number | Pin Name | Description |
|---|---|---|
| 3 | SDA | I2C Data Line |
| 5 | SCL | I2C Clock Line |
| 2, 4 | 5V | Power Supply |
| 6 | GND | Ground |
External Terminals
| Terminal Group | Description |
|---|---|
| DC Motor Outputs | 4 terminals for connecting up to 2 DC motors |
| Stepper Motor Outputs | 4 terminals for connecting 2 stepper motors |
| Servo Outputs | 4 terminals for PWM-controlled servos |
| Capacitive Touch Pads | 8 touch-sensitive inputs |
| Sensor Inputs | 4 analog/digital input pins |
| LED Outputs | 4 high-current drive outputs for LEDs |
Usage Instructions
How to Use the Crickit HAT in a Circuit
- Attach the HAT: Securely mount the Crickit HAT onto the Raspberry Pi's GPIO header.
- Power the HAT:
- For low-power applications, the HAT can draw power directly from the Raspberry Pi.
- For high-power applications (e.g., motors), connect an external 5V DC power supply to the Crickit HAT's power terminal.
- Connect Components:
- Attach motors, servos, sensors, or LEDs to the appropriate terminals.
- Use the capacitive touch pads for touch-sensitive inputs.
- Install Software:
- Install the Adafruit Blinka library and the Adafruit_CircuitPython_Crickit library on your Raspberry Pi.
- Use Python to control the HAT's features.
Example Code for Controlling a Servo
Below is an example Python script to control a servo motor connected to the Crickit HAT:
Import necessary libraries
import time from adafruit_crickit import crickit
Initialize the servo on Servo 1 terminal
servo = crickit.servo_1
Set the servo angle to 0 degrees
servo.angle = 0 print("Servo set to 0 degrees") time.sleep(1)
Sweep the servo from 0 to 180 degrees
for angle in range(0, 181, 10): # Increment by 10 degrees servo.angle = angle print(f"Servo angle: {angle} degrees") time.sleep(0.1)
Sweep the servo back to 0 degrees
for angle in range(180, -1, -10): # Decrement by 10 degrees servo.angle = angle print(f"Servo angle: {angle} degrees") time.sleep(0.1)
print("Servo control complete")
Important Considerations and Best Practices
- Power Supply: Use an external power supply for high-power components like motors to avoid overloading the Raspberry Pi.
- I2C Address: The Crickit HAT uses the default I2C address
0x49. Ensure no other devices on the I2C bus conflict with this address. - Library Installation: Always use the latest version of the Adafruit Blinka and CircuitPython libraries for compatibility.
- Component Ratings: Ensure connected components (e.g., motors, LEDs) do not exceed the HAT's current and voltage ratings.
Troubleshooting and FAQs
Common Issues and Solutions
HAT Not Detected by Raspberry Pi:
- Ensure the HAT is securely connected to the GPIO header.
- Verify that the I2C interface is enabled on the Raspberry Pi (
sudo raspi-config> Interface Options > I2C).
Motors Not Running:
- Check the power supply. Motors require sufficient current to operate.
- Verify the motor connections and ensure they are properly secured to the terminals.
Servo Not Moving:
- Confirm the servo is connected to the correct terminal.
- Ensure the servo's voltage and current requirements are within the HAT's specifications.
Capacitive Touch Inputs Not Responding:
- Ensure nothing conductive is interfering with the touch pads.
- Verify the touch pads are properly configured in your code.
LEDs Not Lighting Up:
- Check the LED connections and polarity.
- Ensure the LEDs do not exceed the HAT's current rating.
FAQs
Q: Can I use the Crickit HAT with other Raspberry Pi models?
A: Yes, the Crickit HAT is compatible with all 40-pin Raspberry Pi models, including the Raspberry Pi 4, 3, and Zero.
Q: Do I need to solder anything to use the Crickit HAT?
A: No soldering is required. The HAT is designed for plug-and-play use.
Q: Can I use the Crickit HAT without a Raspberry Pi?
A: No, the Crickit HAT is specifically designed to work with the Raspberry Pi. For standalone use, consider the Adafruit Crickit for Circuit Playground.
Q: What is the maximum current the HAT can handle?
A: Each motor output can handle up to 1.2A, and the total current should not exceed the limits of your power supply.
This documentation provides a comprehensive guide to using the Adafruit Crickit HAT for Raspberry Pi. With its wide range of features and ease of use, the Crickit HAT is an excellent tool for bringing your robotics and physical computing projects to life!