
How to Use Circuit Playground Express (CPX): Examples, Pinouts, and Specs
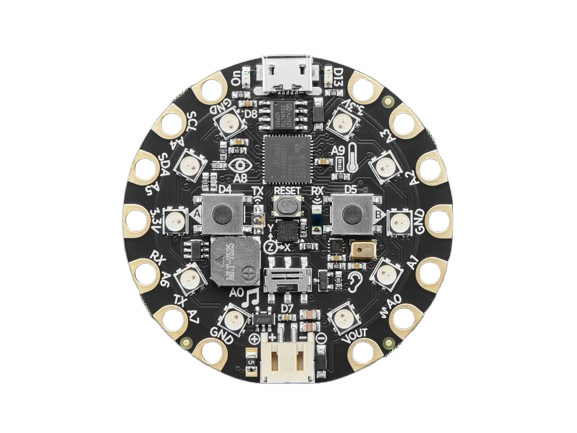
 Design with Circuit Playground Express (CPX) in Cirkit Designer
Introduction
The Circuit Playground Express (CPX), manufactured by Adafruit (Part ID: 3333), is a versatile microcontroller board designed for education and prototyping. It features a wide array of built-in sensors, LEDs, and buttons, making it an excellent tool for learning programming, electronics, and interactive design. The CPX is beginner-friendly yet powerful enough for advanced projects, supporting multiple programming environments such as CircuitPython, MakeCode, and Arduino.
Explore Projects Built with Circuit Playground Express (CPX)
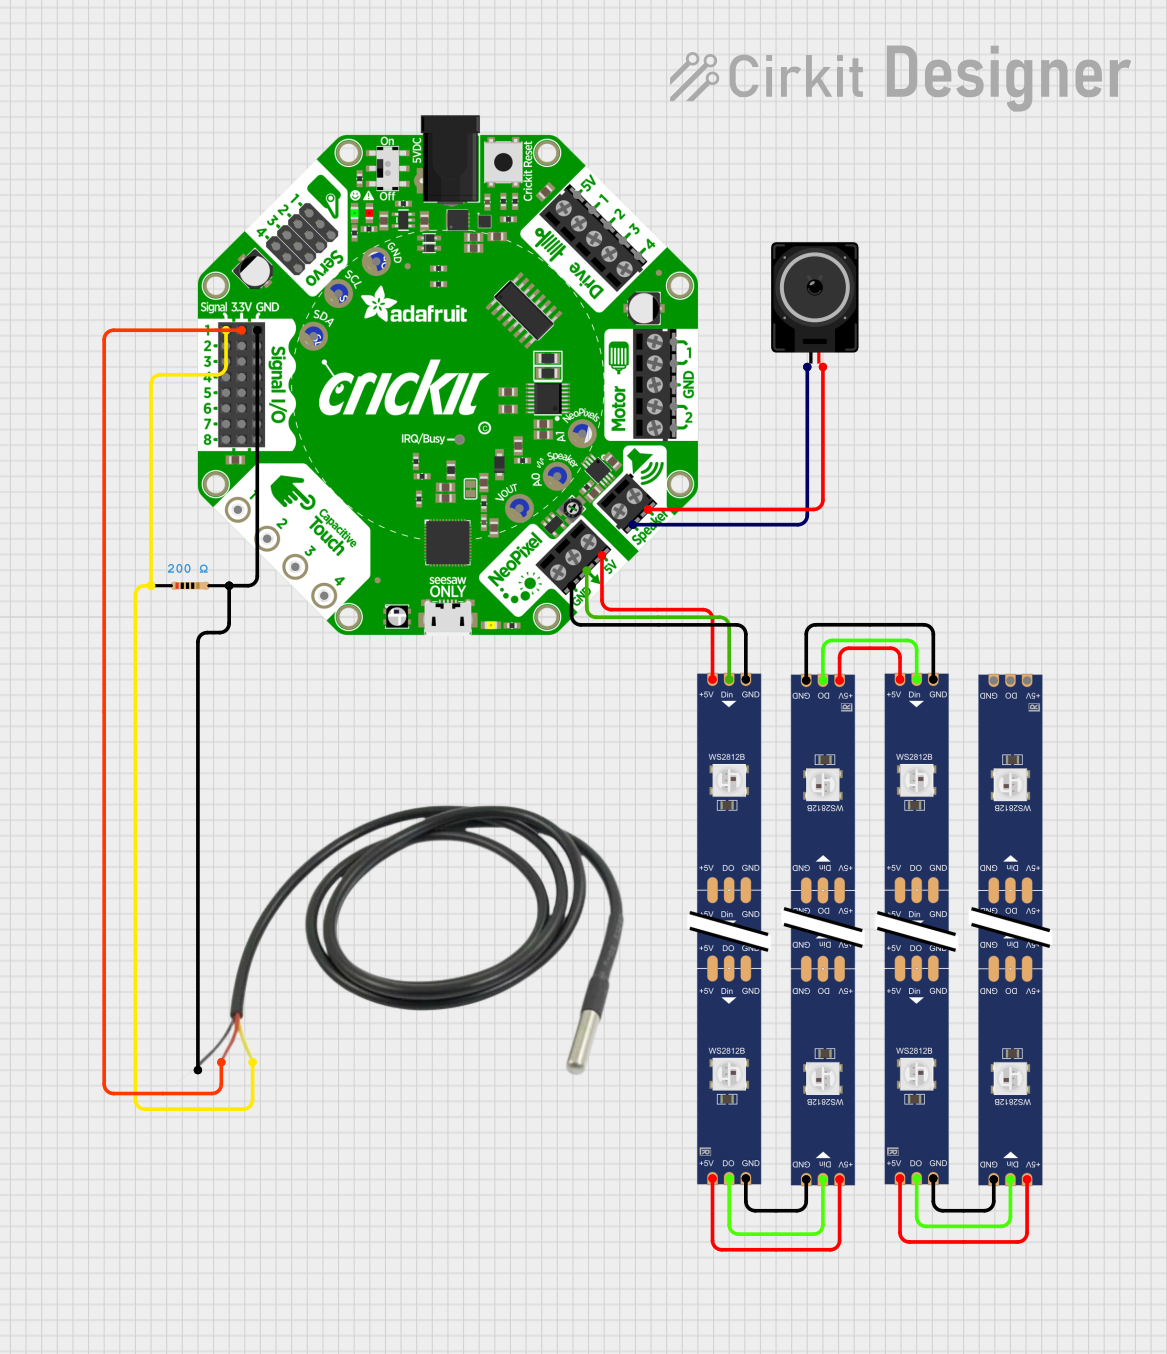 Open Project in Cirkit Designer
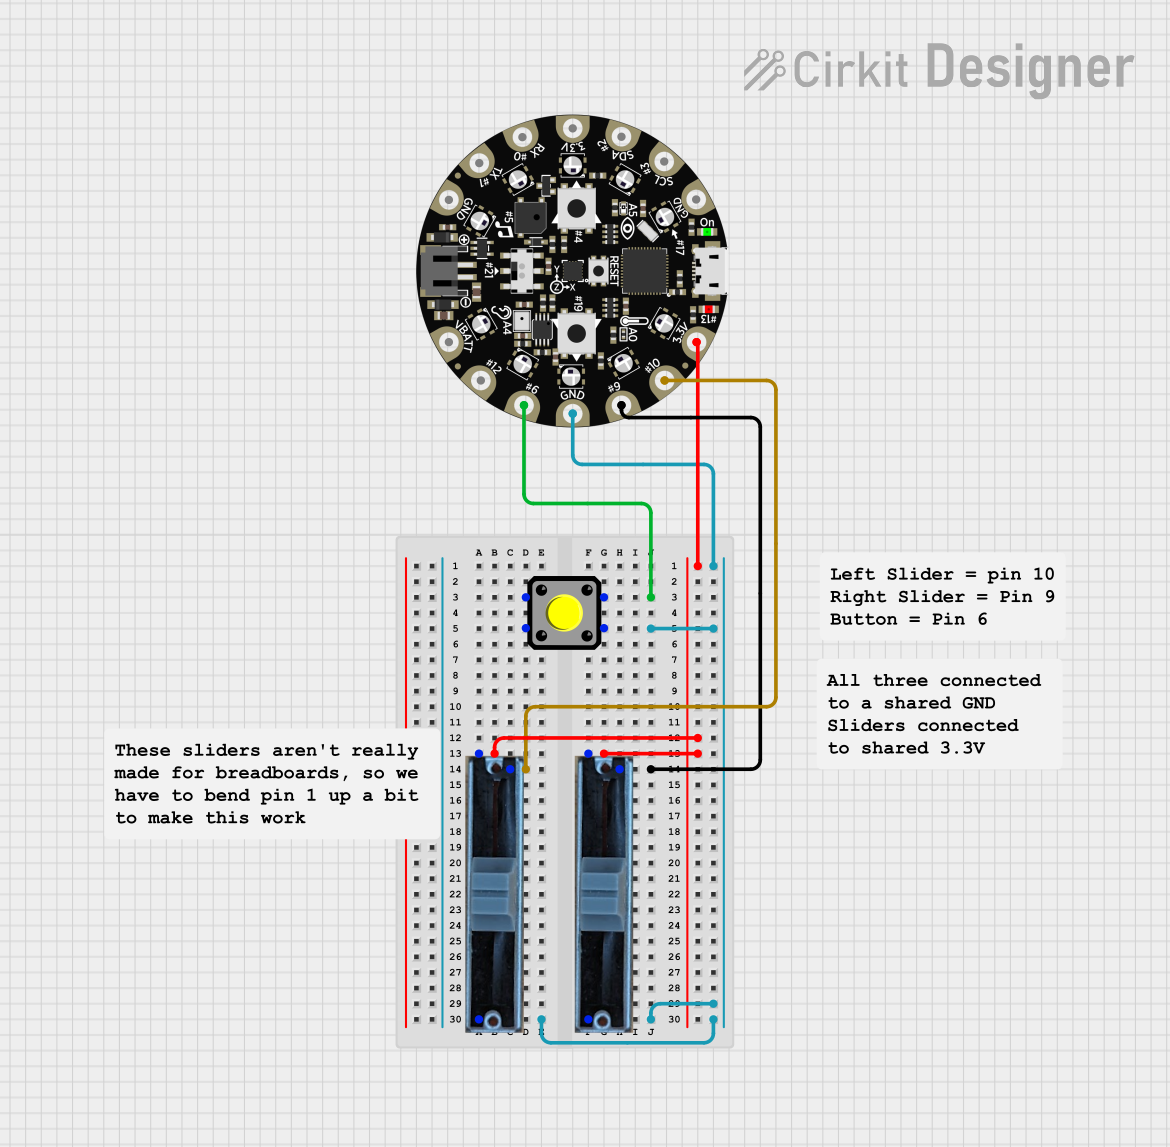 Open Project in Cirkit Designer
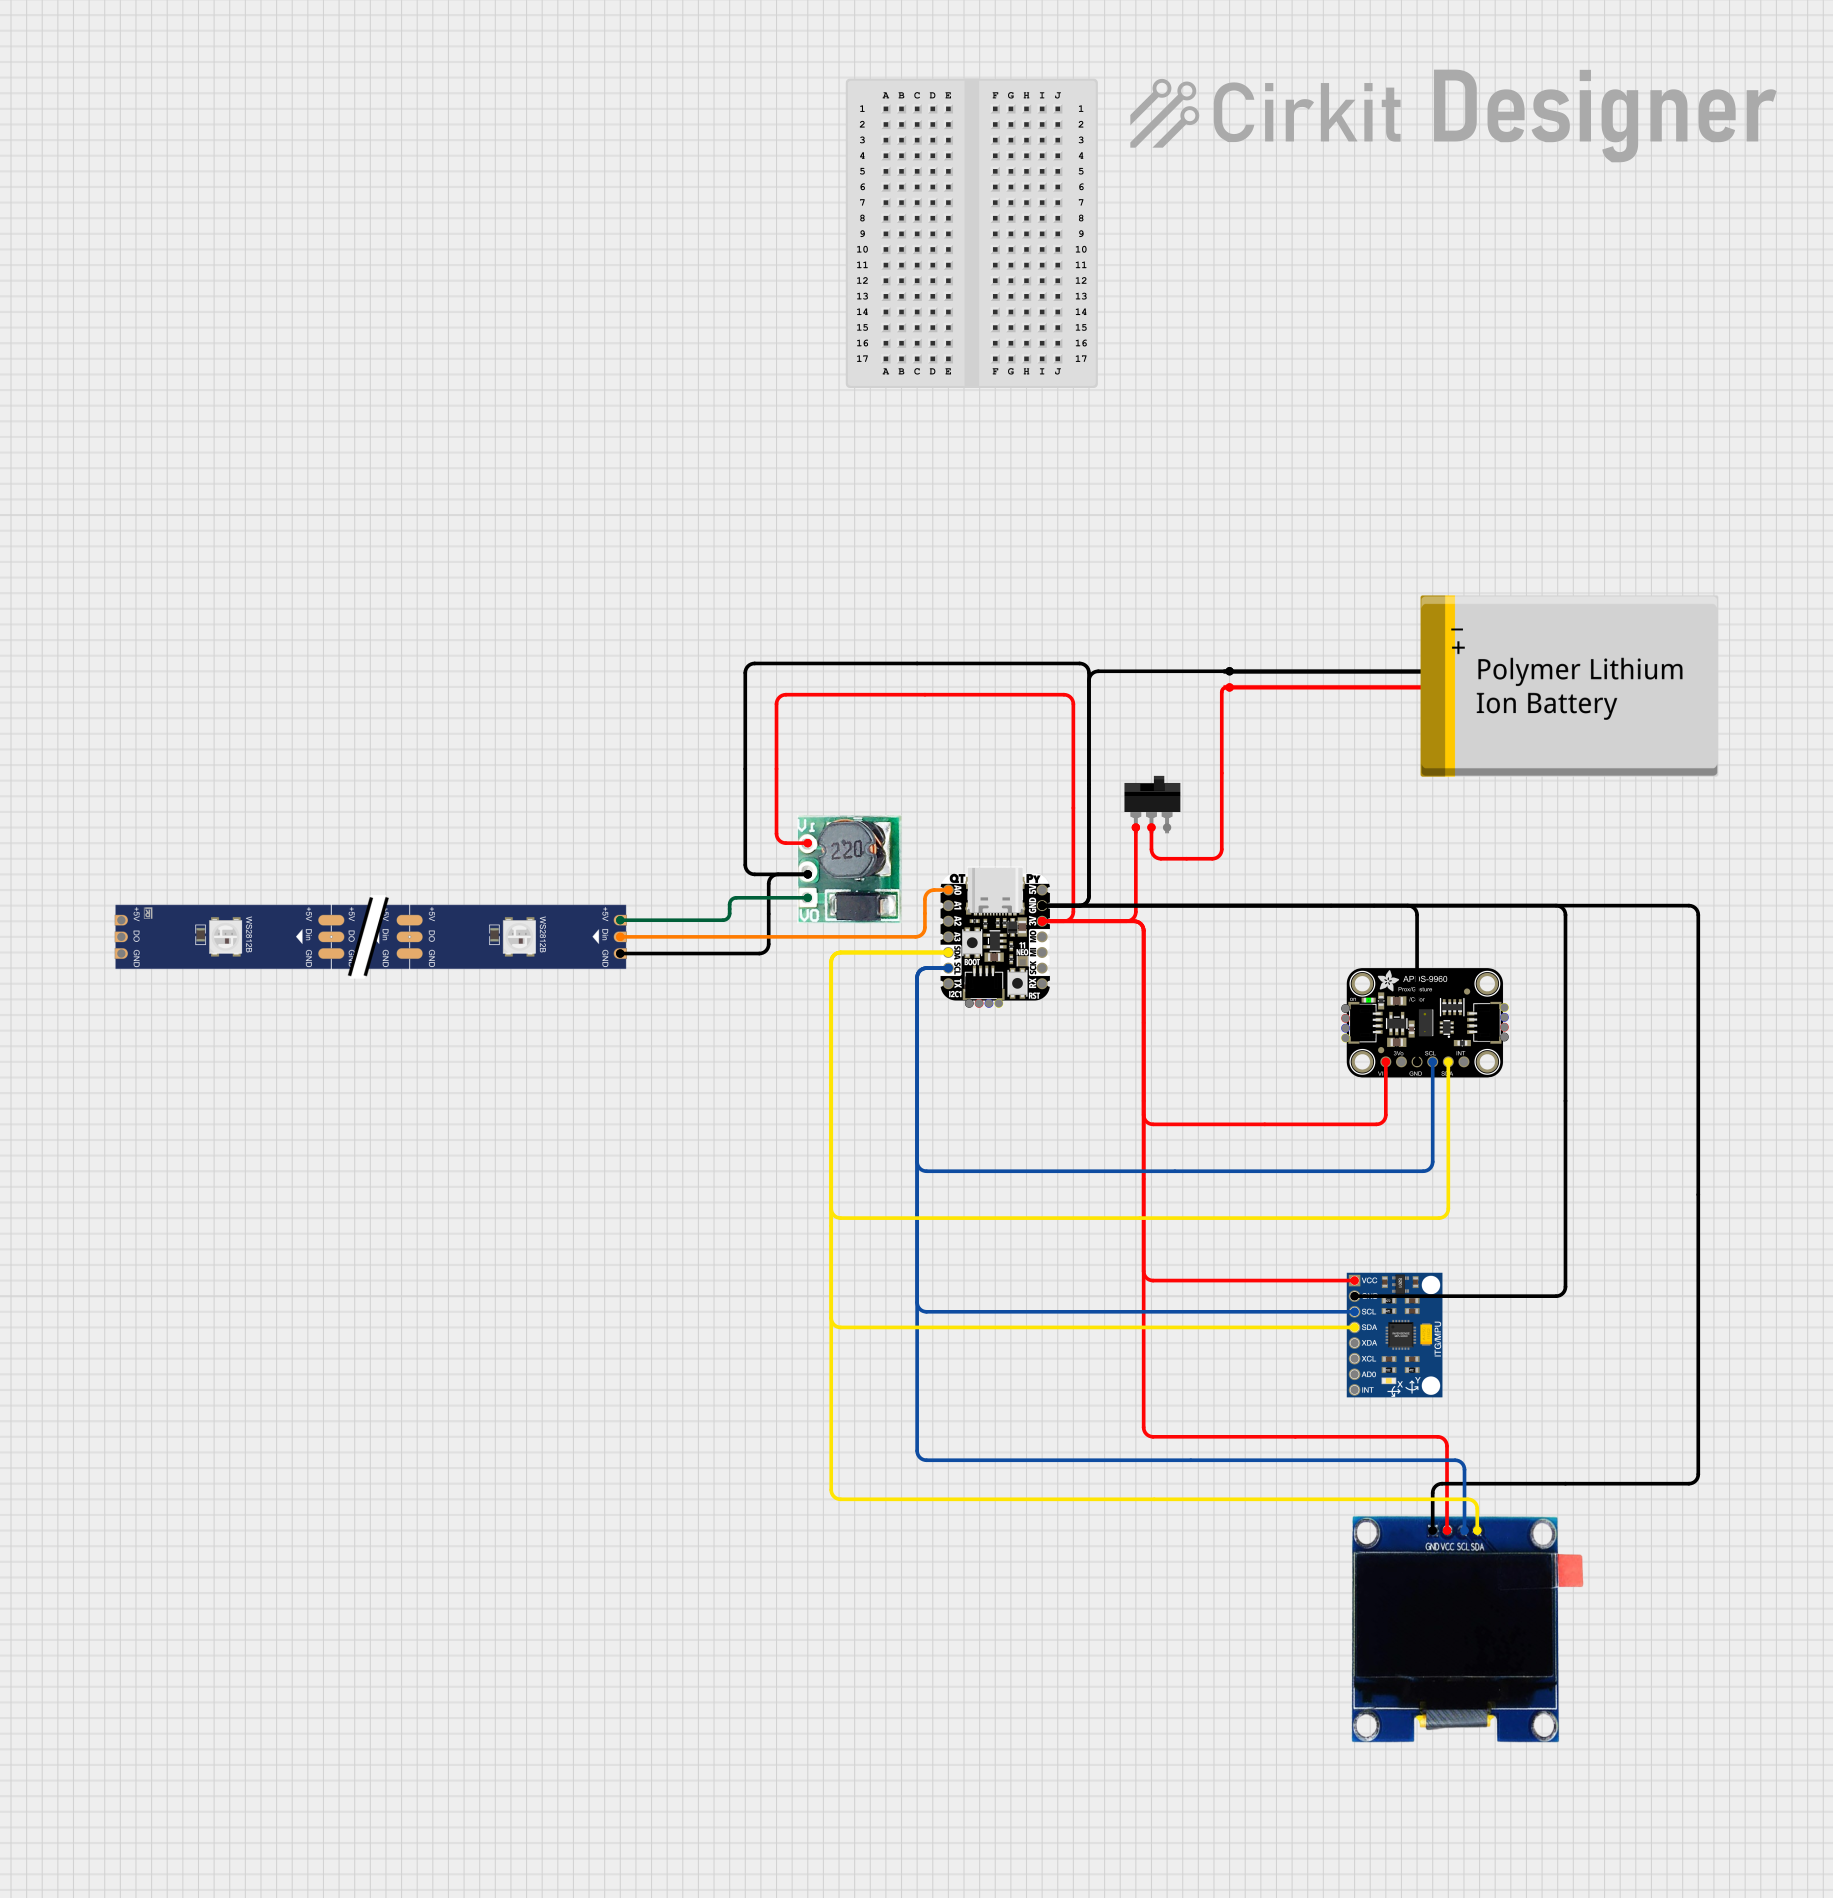 Open Project in Cirkit Designer
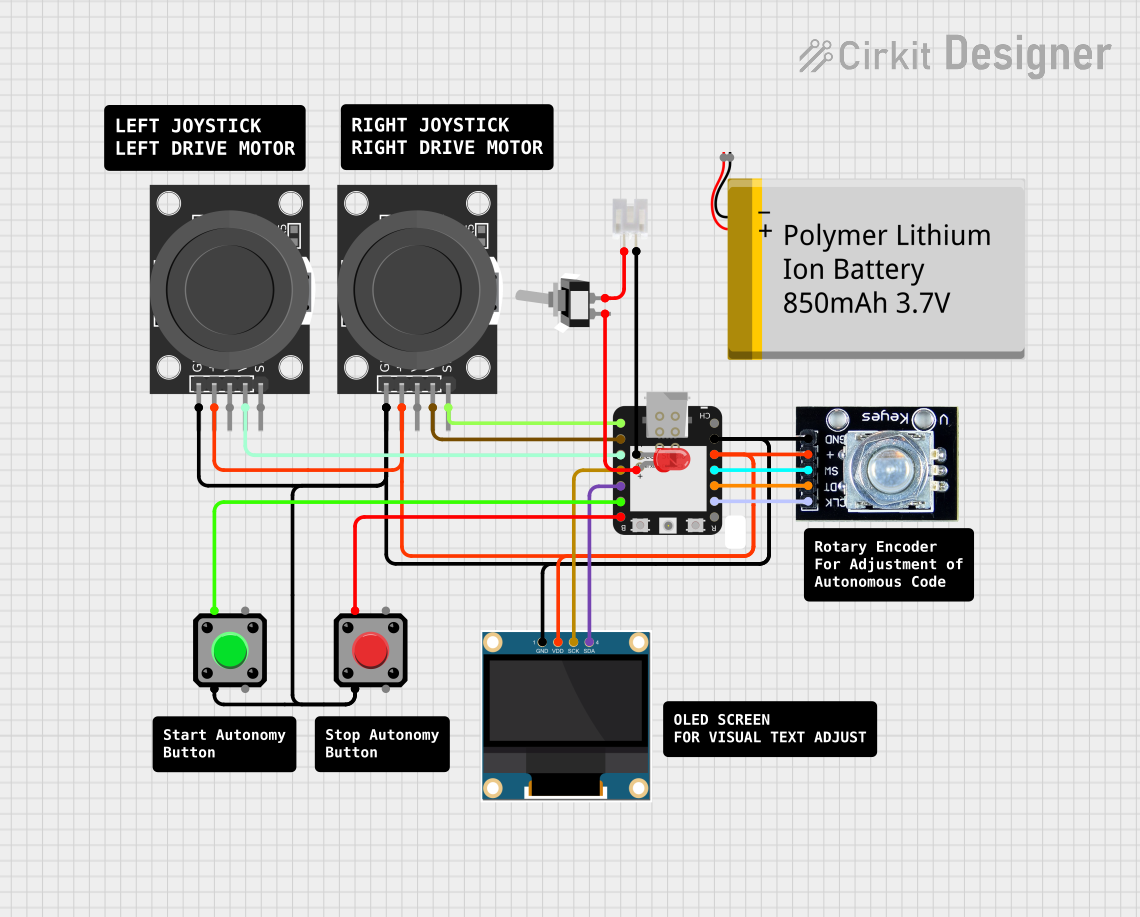 Open Project in Cirkit Designer
Explore Projects Built with Circuit Playground Express (CPX)
Open Project in Cirkit DesignerOpen Project in Cirkit DesignerOpen Project in Cirkit DesignerOpen Project in Cirkit DesignerCommon Applications and Use Cases
- Educational tools for teaching programming and electronics
- Interactive art and wearable projects
- Prototyping IoT devices and sensor-based systems
- STEM and STEAM classroom activities
- Robotics and automation projects
Technical Specifications
The Circuit Playground Express is packed with features that make it a highly capable and flexible microcontroller board. Below are its key technical details:
Key Technical Details
- Microcontroller: ATSAMD21 ARM Cortex-M0+ 32-bit processor
- Operating Voltage: 3.3V
- Power Supply: USB, battery (3x AAA or LiPo), or external power (3.3V–6V)
- Flash Memory: 2 MB (for CircuitPython or MakeCode programs)
- RAM: 32 KB
- Built-in Sensors:
- Temperature sensor
- Light sensor
- Sound sensor (microphone)
- Accelerometer (motion detection)
- Capacitive touch pads
- Built-in Outputs:
- 10 RGB NeoPixels (individually addressable LEDs)
- Mini speaker (for audio output)
- Connectivity: USB (for programming and power)
- Programming Support: CircuitPython, MakeCode, Arduino IDE
Pin Configuration and Descriptions
The CPX has a circular design with clearly labeled pins and components. Below is a table summarizing the pin configuration:
| Pin/Component | Description |
|---|---|
| A0–A7 | Analog input pins (can also be used as digital I/O) |
| TX/RX | UART communication pins |
| SDA/SCL | I2C communication pins |
| 3.3V | 3.3V power output |
| GND | Ground connection |
| USB | USB port for programming and power |
| NeoPixels | 10 RGB LEDs, individually addressable |
| Buttons (A, B) | Two user-programmable buttons |
| Slide Switch | Onboard switch for user-defined functionality |
| Capacitive Touch | 7 touch-sensitive pads for interactive input |
| Speaker | Mini speaker for audio output |
| Sensors | Built-in temperature, light, sound, and motion sensors |
Usage Instructions
The Circuit Playground Express is designed to be easy to use, even for beginners. Follow the steps below to get started:
How to Use the CPX in a Circuit
- Power the CPX:
- Connect the CPX to your computer using a micro-USB cable.
- Alternatively, use a battery pack (3x AAA or a LiPo battery) for portable projects.
- Program the CPX:
- Choose your preferred programming environment: CircuitPython, MakeCode, or Arduino IDE.
- For CircuitPython, drag and drop your
.pyfile onto the CPX drive that appears when connected. - For MakeCode, use the web editor to create a program and download the
.uf2file to the CPX.
- Connect External Components:
- Use alligator clips or conductive thread to connect external components to the CPX's pads.
- Ensure proper polarity and voltage levels when connecting external devices.
- Run Your Program:
- Once the program is uploaded, the CPX will automatically execute it.
- Use the onboard LEDs, buttons, and sensors to interact with your program.
Important Considerations and Best Practices
- Power Supply: Ensure the CPX is powered by a stable source. Avoid exceeding the voltage range of 3.3V–6V.
- Handling: Avoid touching the board's components directly to prevent static damage.
- Programming Environment: Use the latest version of CircuitPython, MakeCode, or Arduino IDE for compatibility.
- External Connections: Double-check connections to avoid short circuits or incorrect wiring.
Example Code for Arduino IDE
Below is an example of how to control the NeoPixels on the CPX using the Arduino IDE:
#include <Adafruit_CircuitPlayground.h> // Include the CPX library

void setup() {
  CircuitPlayground.begin(); // Initialize the CPX
}

void loop() {
  // Turn all NeoPixels red
  for (int i = 0; i < 10; i++) {
    CircuitPlayground.setPixelColor(i, 255, 0, 0); // Set pixel to red
  }
  delay(500); // Wait for 500ms

  // Turn all NeoPixels off
  for (int i = 0; i < 10; i++) {
    CircuitPlayground.setPixelColor(i, 0, 0, 0); // Turn off pixel
  }
  delay(500); // Wait for 500ms
}
Troubleshooting and FAQs
Common Issues and Solutions
CPX Not Recognized by Computer:
- Ensure the USB cable is data-capable (not just for charging).
- Try a different USB port or cable.
- Check if the CPX is in bootloader mode (double-tap the reset button).
Program Not Running:
- Verify that the program file is correctly uploaded to the CPX.
- Check for syntax errors in your code.
- Ensure the CPX is powered on and connected properly.
NeoPixels Not Lighting Up:
- Confirm that the NeoPixel library is included in your code.
- Check for loose connections or damaged LEDs.
Capacitive Touch Not Responding:
- Ensure your fingers are clean and dry.
- Avoid using the CPX in extremely dry or humid environments.
FAQs
Can I use the CPX with a Raspberry Pi? Yes, the CPX can communicate with a Raspberry Pi via USB or GPIO pins.
What is the maximum current draw of the CPX? The CPX can draw up to 500mA when powered via USB, depending on the number of active components.
Can I use the CPX for wearable projects? Absolutely! The CPX is lightweight and has mounting holes for sewing into fabric.
How do I reset the CPX? Press the reset button once to restart the program. Double-tap it to enter bootloader mode.
This documentation provides a comprehensive guide to using the Circuit Playground Express. With its rich feature set and ease of use, the CPX is an excellent choice for both beginners and advanced users.