Cirkit Designer Logo
Cirkit Designer
Your all-in-one circuit design IDE
Home / 
Component Documentation

How to Use bubble sensor: Examples, Pinouts, and Specs
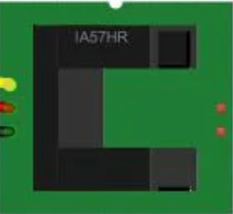
Image of bubble sensor
Cirkit Designer LogoDesign with bubble sensor in Cirkit Designer

Introduction

The Bubble Sensor (Manufacturer: Bubble, Part ID: Sensor) is a device designed to detect the presence of air bubbles in a liquid flow. This sensor is crucial in applications where the integrity and accuracy of fluid delivery systems are paramount. Commonly used in medical devices, laboratory equipment, and industrial processes, the bubble sensor ensures that air bubbles do not compromise the system's performance.

Explore Projects Built with bubble sensor
Use Cirkit Designer to design, explore, and prototype these projects online. Some projects support real-time simulation. Click "Open Project" to start designing instantly!
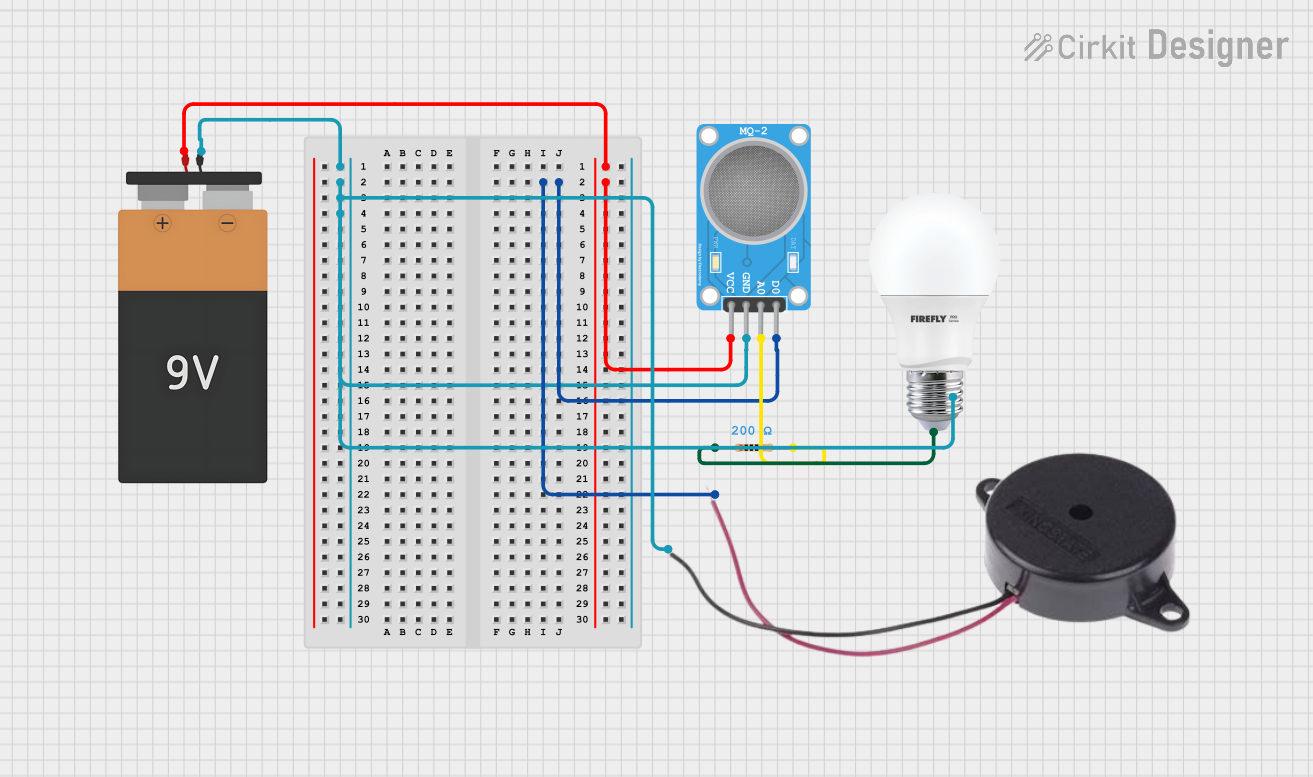
MQ-2 Gas Detection Circuit with Audio-Visual Alert
Image of Smoke detector: A project utilizing bubble sensor in a practical application
This circuit is designed to detect gases using an MQ-2 sensor and provide alerts through a buzzer and a bulb. The buzzer is triggered by the sensor's digital output, while the bulb, in series with a resistor, may serve as a status indicator or additional alert. The entire circuit is powered by a 9V battery.
Cirkit Designer LogoOpen Project in Cirkit Designer
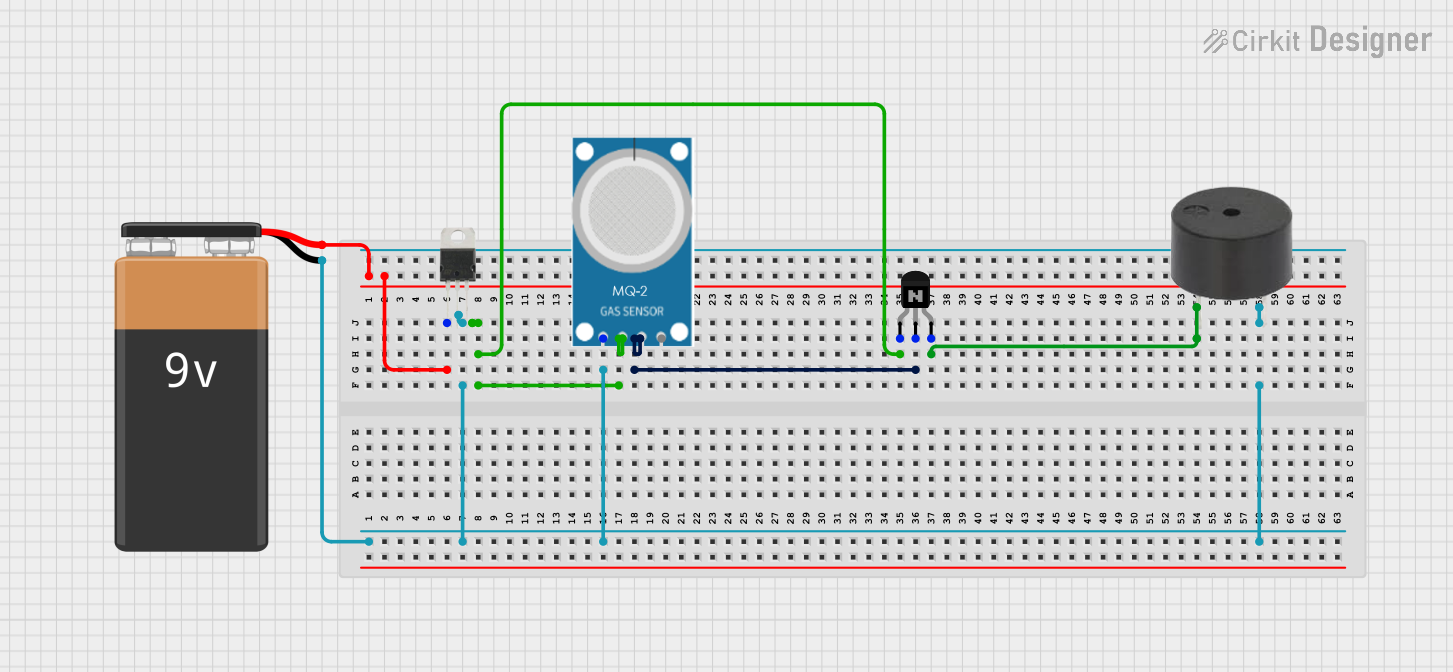
Battery-Powered Gas Sensor with Buzzer Alert using MQ-2 and LM7805
Image of MQ2: A project utilizing bubble sensor in a practical application
This circuit is a gas detection system powered by a 9V battery, which uses an MQ-2 gas sensor to detect gas levels. The sensor's analog output controls an NPN transistor, which in turn activates a buzzer to provide an audible alert when gas is detected. The LM7805 voltage regulator ensures a stable 5V supply to the sensor and other components.
Cirkit Designer LogoOpen Project in Cirkit Designer
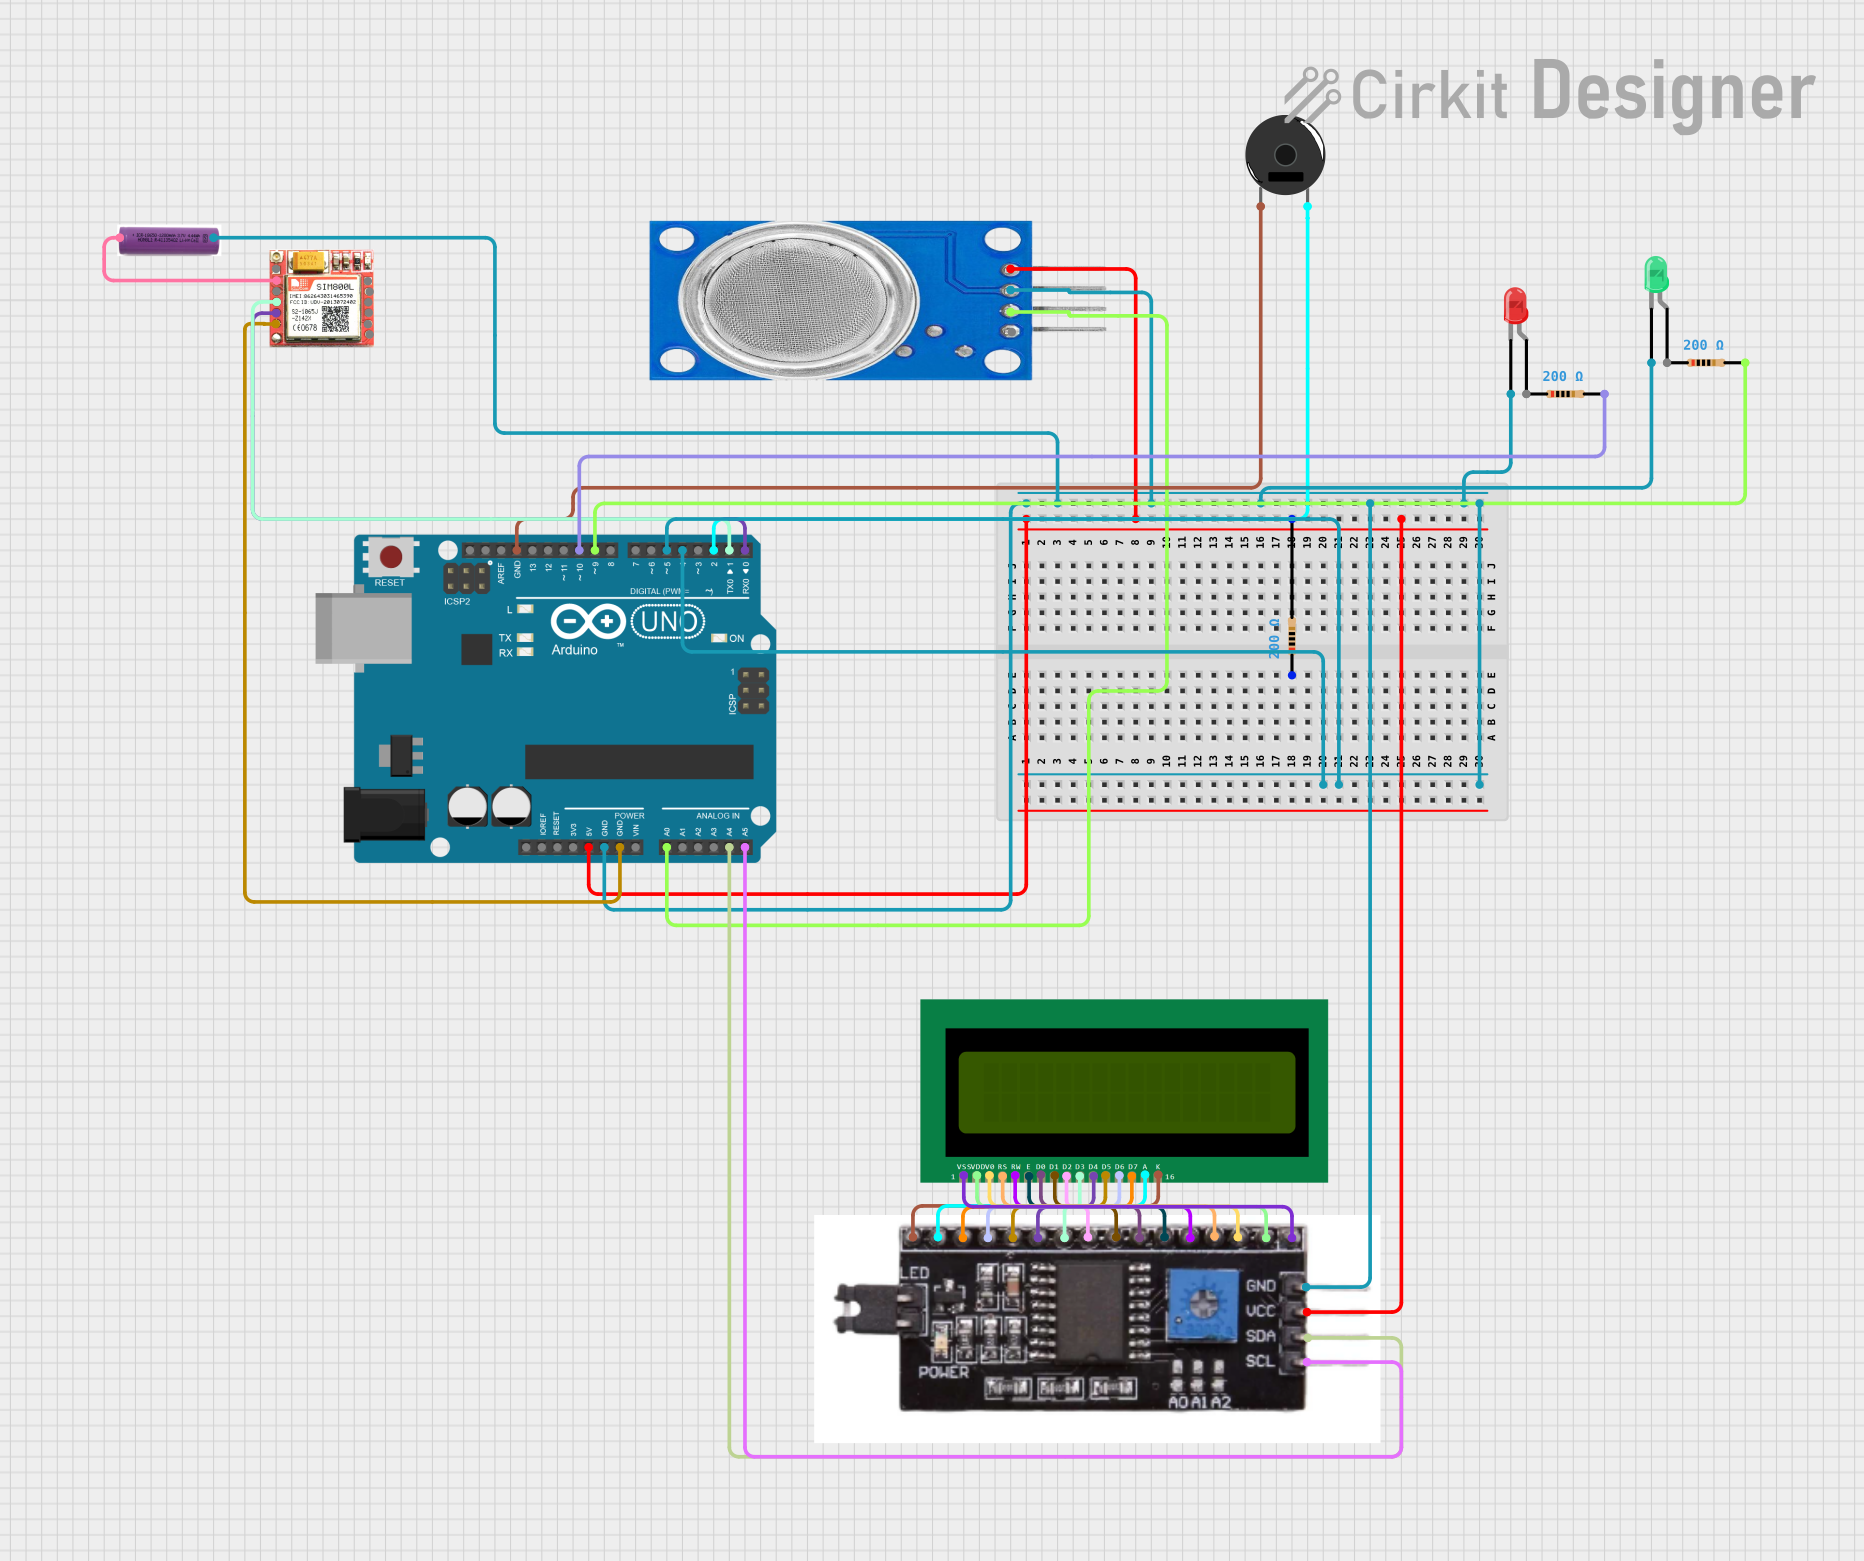
Arduino-Based Gas Detection and Alert System with GSM Notification
Image of Copy of Copy of gas sensor: A project utilizing bubble sensor in a practical application
This circuit is designed to monitor air quality using an MQ135 sensor and alert users of gas presence. When the sensor detects gas levels above a certain threshold, it triggers a red LED to blink, a piezo buzzer to sound an alarm, and an Arduino UNO to send an SMS and make a call via a SIM800L GSM module. The circuit also includes a 16x2 LCD with an I2C module to display air quality readings, and a 3.7V battery to power the SIM800L module.
Cirkit Designer LogoOpen Project in Cirkit Designer
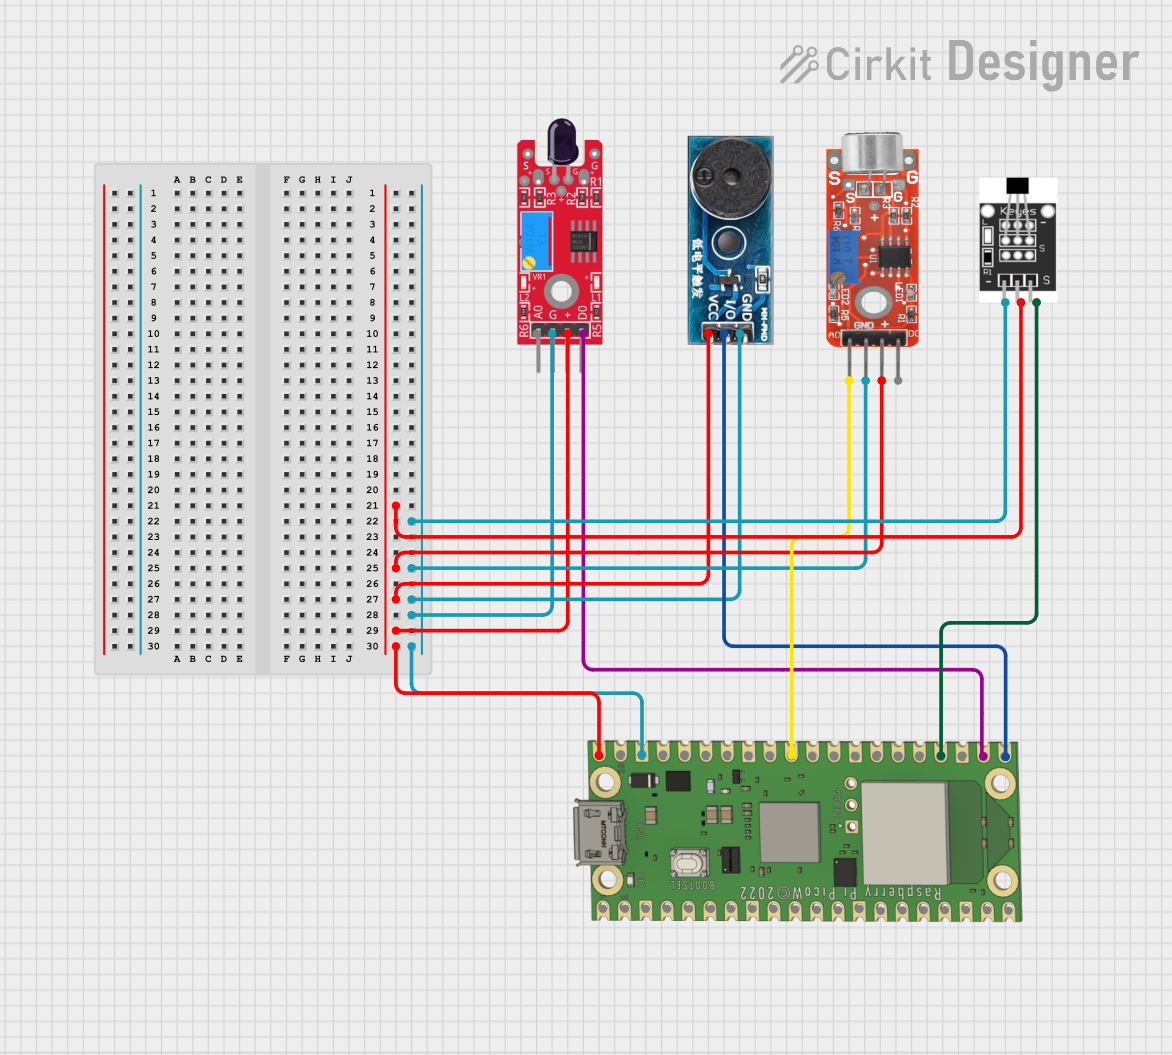
Raspberry Pi Pico W-Based Smart Safety System with Flame Detection and Intruder Alerts
Image of final: A project utilizing bubble sensor in a practical application
This circuit is a multi-sensor monitoring system using a Raspberry Pi Pico W microcontroller. It includes a flame sensor, a buzzer module, a microphone, and a Hall effect sensor for detecting various environmental conditions such as fire, sound, and magnetic fields. The microcontroller is programmed to send notifications via Wi-Fi and activate the buzzer based on sensor inputs, potentially for a security or safety monitoring application.
Cirkit Designer LogoOpen Project in Cirkit Designer

Explore Projects Built with bubble sensor

Use Cirkit Designer to design, explore, and prototype these projects online. Some projects support real-time simulation. Click "Open Project" to start designing instantly!
Image of Smoke detector: A project utilizing bubble sensor in a practical application
MQ-2 Gas Detection Circuit with Audio-Visual Alert
This circuit is designed to detect gases using an MQ-2 sensor and provide alerts through a buzzer and a bulb. The buzzer is triggered by the sensor's digital output, while the bulb, in series with a resistor, may serve as a status indicator or additional alert. The entire circuit is powered by a 9V battery.
Cirkit Designer LogoOpen Project in Cirkit Designer
Image of MQ2: A project utilizing bubble sensor in a practical application
Battery-Powered Gas Sensor with Buzzer Alert using MQ-2 and LM7805
This circuit is a gas detection system powered by a 9V battery, which uses an MQ-2 gas sensor to detect gas levels. The sensor's analog output controls an NPN transistor, which in turn activates a buzzer to provide an audible alert when gas is detected. The LM7805 voltage regulator ensures a stable 5V supply to the sensor and other components.
Cirkit Designer LogoOpen Project in Cirkit Designer
Image of Copy of Copy of gas sensor: A project utilizing bubble sensor in a practical application
Arduino-Based Gas Detection and Alert System with GSM Notification
This circuit is designed to monitor air quality using an MQ135 sensor and alert users of gas presence. When the sensor detects gas levels above a certain threshold, it triggers a red LED to blink, a piezo buzzer to sound an alarm, and an Arduino UNO to send an SMS and make a call via a SIM800L GSM module. The circuit also includes a 16x2 LCD with an I2C module to display air quality readings, and a 3.7V battery to power the SIM800L module.
Cirkit Designer LogoOpen Project in Cirkit Designer
Image of final: A project utilizing bubble sensor in a practical application
Raspberry Pi Pico W-Based Smart Safety System with Flame Detection and Intruder Alerts
This circuit is a multi-sensor monitoring system using a Raspberry Pi Pico W microcontroller. It includes a flame sensor, a buzzer module, a microphone, and a Hall effect sensor for detecting various environmental conditions such as fire, sound, and magnetic fields. The microcontroller is programmed to send notifications via Wi-Fi and activate the buzzer based on sensor inputs, potentially for a security or safety monitoring application.
Cirkit Designer LogoOpen Project in Cirkit Designer

Technical Specifications

Key Technical Details

Parameter Value
Operating Voltage 5V DC
Operating Current 20mA
Detection Range 0.1mm to 10mm bubble size
Response Time < 1ms
Output Type Digital (High/Low)
Operating Temperature -10°C to 60°C
Dimensions 30mm x 10mm x 10mm

Pin Configuration and Descriptions

Pin Number Pin Name Description
1 VCC Power supply (5V DC)
2 GND Ground
3 OUT Digital output (High when bubble detected, Low otherwise)

Usage Instructions

How to Use the Component in a Circuit

  1. Power Supply: Connect the VCC pin to a 5V DC power supply and the GND pin to the ground.
  2. Output Signal: Connect the OUT pin to a digital input pin on your microcontroller (e.g., Arduino UNO).

Example Circuit Diagram

+5V (Arduino) ----> VCC (Bubble Sensor)
GND (Arduino) ----> GND (Bubble Sensor)
Digital Pin (Arduino) ----> OUT (Bubble Sensor)

Arduino UNO Example Code

// Define the pin connected to the bubble sensor output
const int bubbleSensorPin = 2;

// Variable to store the sensor state
int sensorState = 0;

void setup() {
  // Initialize the serial communication
  Serial.begin(9600);
  
  // Set the bubble sensor pin as input
  pinMode(bubbleSensorPin, INPUT);
}

void loop() {
  // Read the state of the bubble sensor
  sensorState = digitalRead(bubbleSensorPin);
  
  // Check if a bubble is detected
  if (sensorState == HIGH) {
    // Print message if bubble is detected
    Serial.println("Bubble detected!");
  } else {
    // Print message if no bubble is detected
    Serial.println("No bubble detected.");
  }
  
  // Small delay to avoid flooding the serial monitor
  delay(500);
}

Important Considerations and Best Practices

  • Power Supply: Ensure a stable 5V DC power supply to avoid false readings.
  • Sensor Placement: Place the sensor in a location where it can accurately detect bubbles in the liquid flow.
  • Calibration: Calibrate the sensor if necessary to match the specific requirements of your application.

Troubleshooting and FAQs

Common Issues Users Might Face

  1. False Positives: The sensor detects bubbles when there are none.

    • Solution: Ensure the sensor is properly calibrated and the power supply is stable.
  2. No Detection: The sensor fails to detect bubbles.

    • Solution: Check the connections and ensure the sensor is placed correctly in the liquid flow.
  3. Intermittent Readings: The sensor provides inconsistent readings.

    • Solution: Verify the integrity of the connections and ensure there is no electrical noise affecting the sensor.

FAQs

Q1: Can the bubble sensor detect bubbles in any liquid?

  • A1: The bubble sensor is designed to work with most common liquids. However, the detection range may vary depending on the liquid's properties.

Q2: What is the maximum bubble size the sensor can detect?

  • A2: The sensor can detect bubbles ranging from 0.1mm to 10mm in size.

Q3: Can I use the bubble sensor with a power supply other than 5V DC?

  • A3: No, the sensor is designed to operate at 5V DC. Using a different voltage may damage the sensor or result in inaccurate readings.

Q4: How do I calibrate the bubble sensor?

  • A4: Calibration procedures vary by application. Refer to the manufacturer's guidelines for specific calibration instructions.

By following this documentation, users can effectively integrate and utilize the Bubble Sensor in their projects, ensuring accurate and reliable detection of air bubbles in liquid flows.