
How to Use Adafruit AMG8833 IR Camera FeatherWing: Examples, Pinouts, and Specs
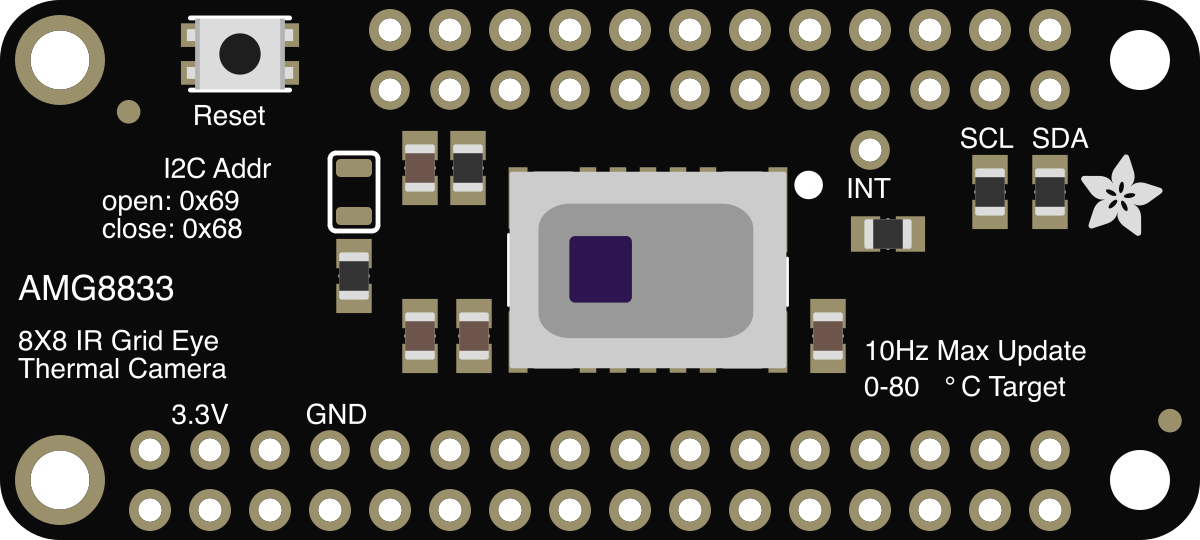
 Design with Adafruit AMG8833 IR Camera FeatherWing in Cirkit Designer
Introduction
The Adafruit AMG8833 IR Camera FeatherWing (Manufacturer Part ID: 3622) is a thermal imaging sensor designed to detect infrared radiation and measure temperature. It features an 8x8 array of IR sensors, enabling the capture of low-resolution thermal images. This FeatherWing is specifically designed to integrate seamlessly with Adafruit's Feather microcontroller platform, making it ideal for prototyping and development.
Explore Projects Built with Adafruit AMG8833 IR Camera FeatherWing
 Open Project in Cirkit Designer
 Open Project in Cirkit Designer
 Open Project in Cirkit Designer
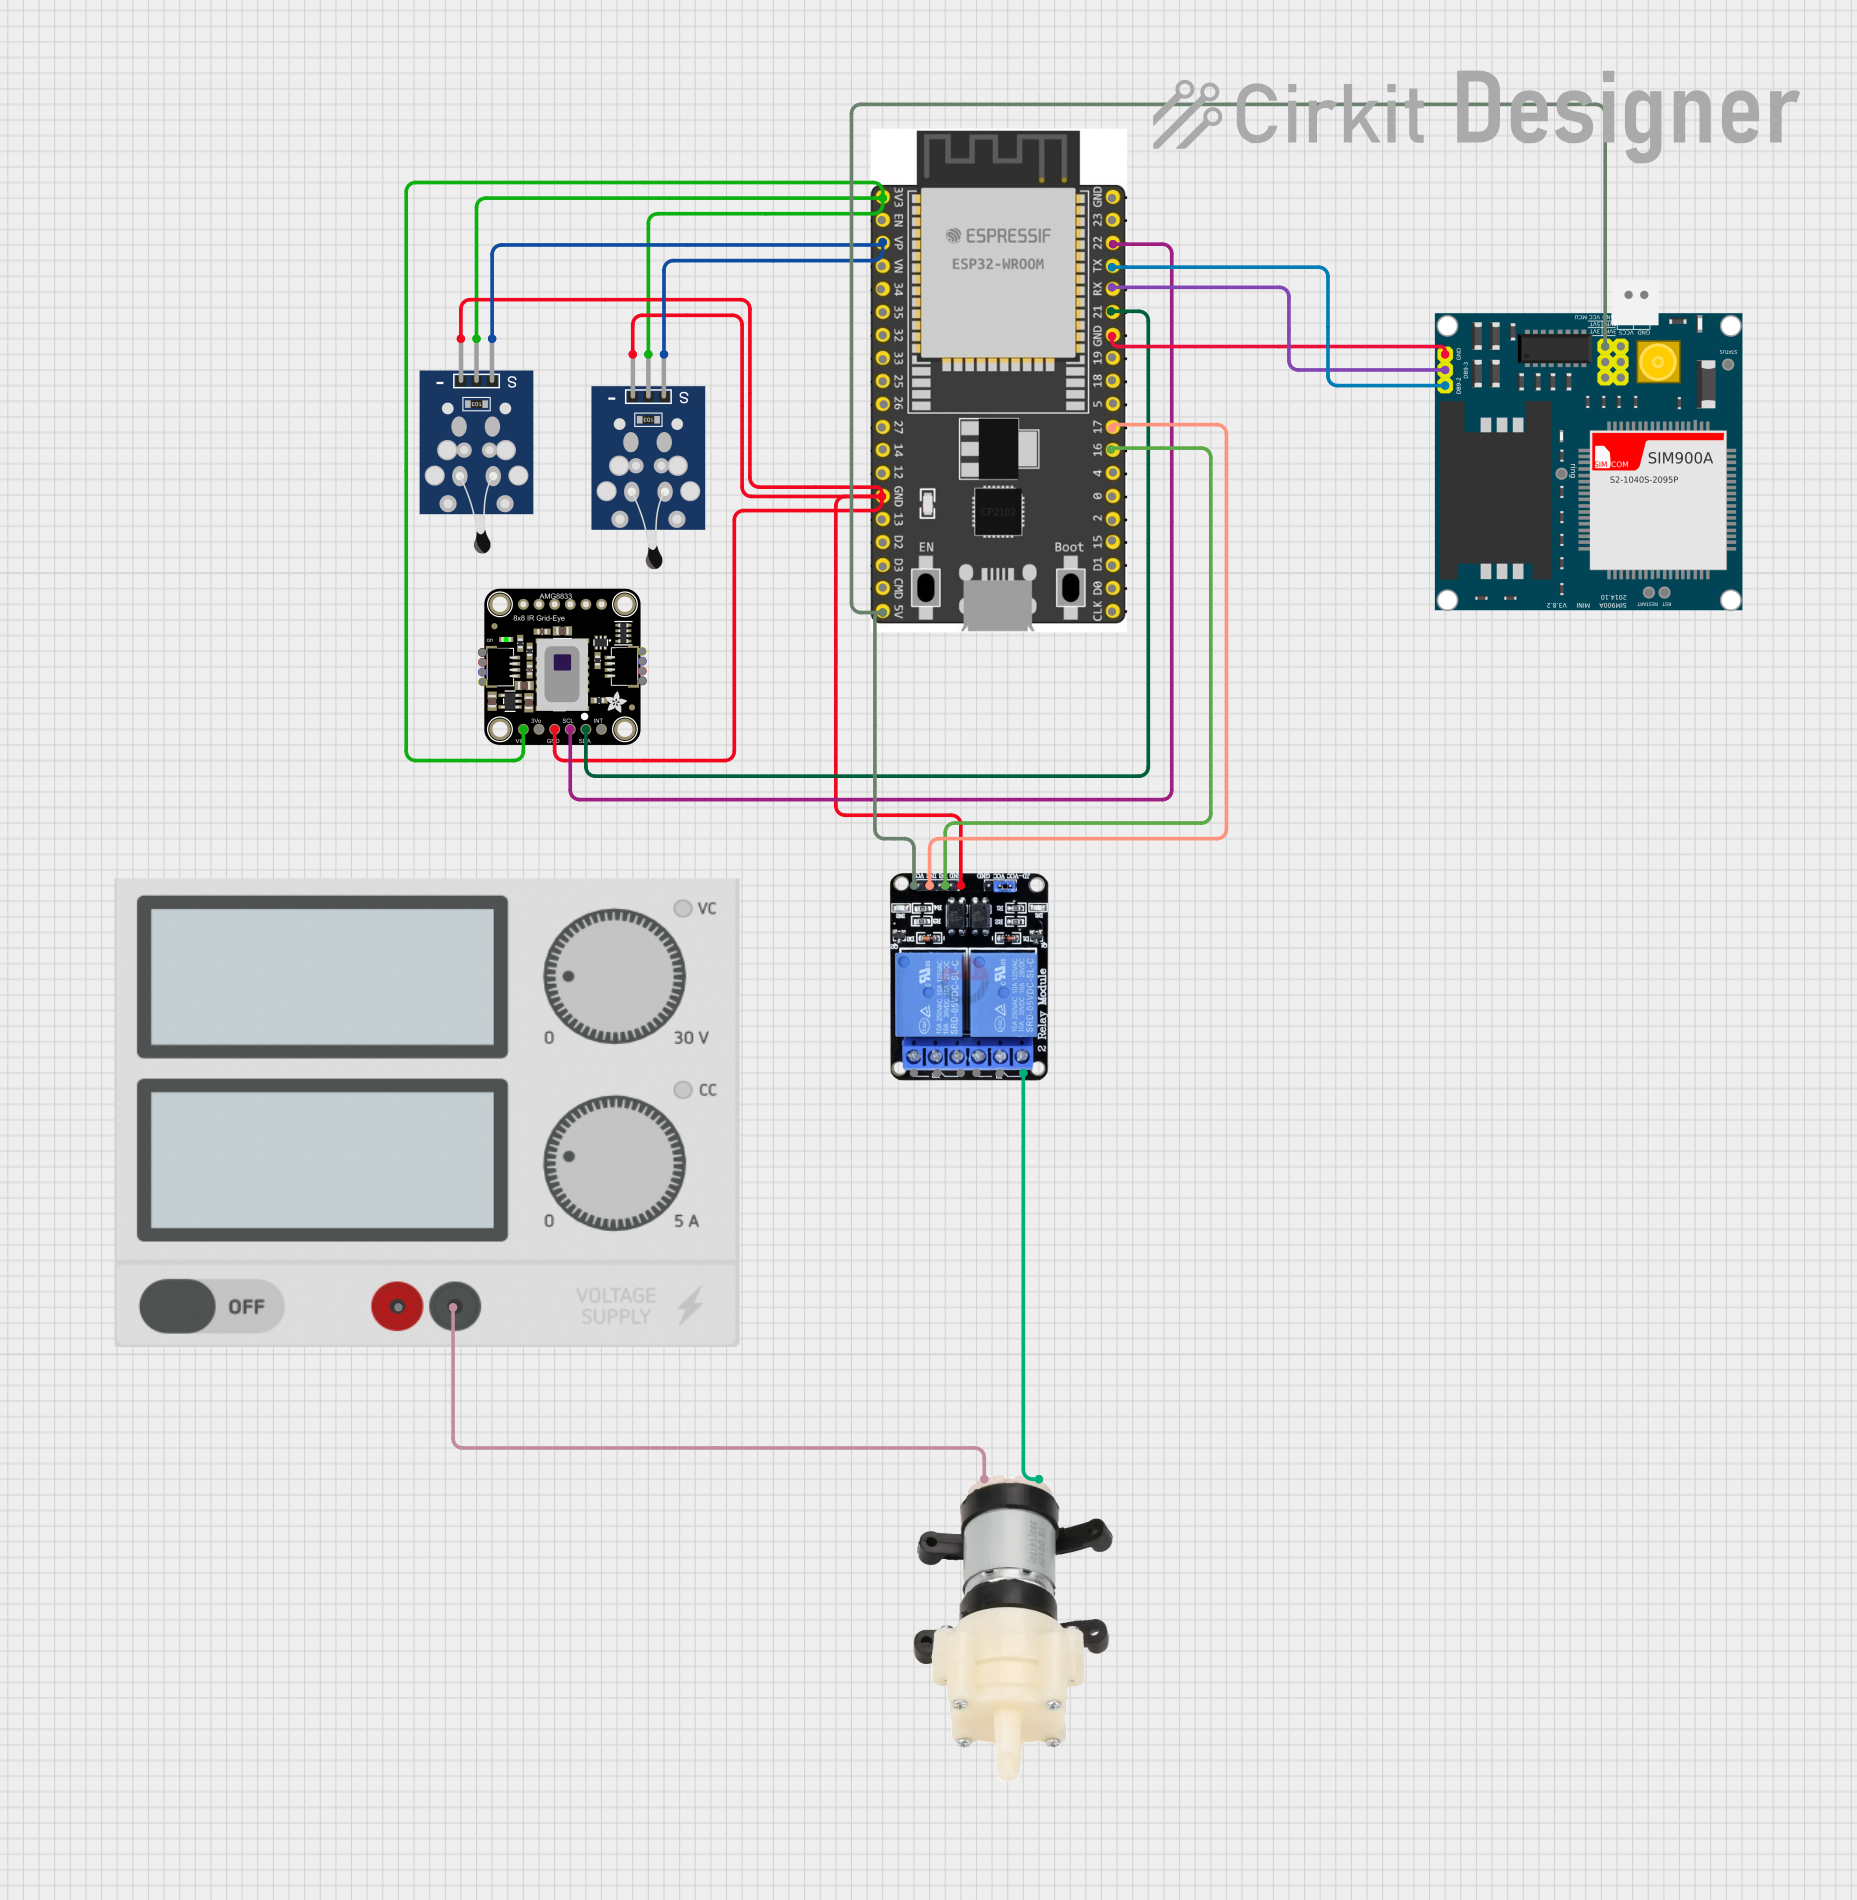 Open Project in Cirkit Designer
Explore Projects Built with Adafruit AMG8833 IR Camera FeatherWing
Open Project in Cirkit DesignerOpen Project in Cirkit DesignerOpen Project in Cirkit DesignerOpen Project in Cirkit DesignerCommon Applications and Use Cases
- Thermal imaging for robotics and automation
- Human presence detection and motion tracking
- Temperature monitoring in HVAC systems
- DIY thermal cameras and heat mapping
- Medical and industrial diagnostics
Technical Specifications
The following table outlines the key technical details of the Adafruit AMG8833 IR Camera FeatherWing:
| Specification | Details |
|---|---|
| Sensor Type | Infrared (IR) thermal imaging sensor |
| Resolution | 8x8 pixel array (64 pixels total) |
| Temperature Range | 0°C to 80°C (32°F to 176°F) |
| Accuracy | ±2.5°C |
| Field of View (FoV) | 60° x 60° |
| Refresh Rate | 10 Hz (default) or 1 Hz (low-power mode) |
| Communication Protocol | I²C |
| Operating Voltage | 3.3V (logic and power) |
| Dimensions | 50.8mm x 22.8mm x 6.5mm |
| Weight | 4.3g |
Pin Configuration and Descriptions
The Adafruit AMG8833 IR Camera FeatherWing uses the following pins for operation:
| Pin Name | Description |
|---|---|
| 3V | 3.3V power input |
| GND | Ground connection |
| SDA | I²C data line |
| SCL | I²C clock line |
| INT | Interrupt pin (optional, used for motion detection or alerts) |
Usage Instructions
How to Use the Component in a Circuit
Hardware Setup:
- Connect the FeatherWing to an Adafruit Feather microcontroller using the Feather headers.
- Ensure the Feather microcontroller is powered via USB or a battery.
- Connect the I²C pins (SDA and SCL) to the corresponding pins on the Feather board.
Software Setup:
- Install the Adafruit AMG88xx library in your Arduino IDE:
- Open the Arduino IDE, go to Sketch > Include Library > Manage Libraries.
- Search for "Adafruit AMG88xx" and click Install.
- Install the Adafruit BusIO library, which is a dependency for the AMG88xx library.
- Install the Adafruit AMG88xx library in your Arduino IDE:
Basic Arduino Code: Below is an example code snippet to read temperature data from the AMG8833 and display it in the Serial Monitor:
#include <Wire.h>
#include <Adafruit_AMG88xx.h>

Adafruit_AMG88xx amg;

void setup() {
  Serial.begin(115200);
  while (!Serial); // Wait for Serial Monitor to open

  Serial.println("Adafruit AMG8833 IR Camera FeatherWing Test");

  // Initialize the sensor
  if (!amg.begin()) {
    Serial.println("Failed to initialize AMG8833 sensor!");
    while (1); // Halt if initialization fails
  }
  Serial.println("AMG8833 initialized successfully.");
}

void loop() {
  float pixels[64]; // Array to store temperature data from the 8x8 grid

  // Read the thermal data
  amg.readPixels(pixels);

  // Print the data in an 8x8 grid format
  for (int i = 0; i < 64; i++) {
    Serial.print(pixels[i]);
    Serial.print("\t");
    if ((i + 1) % 8 == 0) {
      Serial.println(); // New line after every 8 values
    }
  }
  Serial.println();

  delay(1000); // Wait 1 second before the next reading
}
Important Considerations and Best Practices
- Power Supply: Ensure the FeatherWing is powered with a stable 3.3V source. Avoid exceeding the voltage rating to prevent damage.
- I²C Address: The default I²C address for the AMG8833 is
0x69. If there are address conflicts, consult the datasheet for address modification options. - Thermal Interference: Avoid placing the sensor near heat sources or in direct sunlight, as this may affect accuracy.
- Refresh Rate: Use the default 10 Hz refresh rate for most applications. Switch to 1 Hz for low-power applications if needed.
Troubleshooting and FAQs
Common Issues and Solutions
Sensor Not Detected:
- Cause: Incorrect I²C wiring or address conflict.
- Solution: Verify the SDA and SCL connections. Check for other devices on the I²C bus using an I²C scanner sketch.
Inaccurate Temperature Readings:
- Cause: Environmental interference or incorrect calibration.
- Solution: Ensure the sensor is in a stable environment and not exposed to direct heat sources. Allow the sensor to warm up for a few seconds after powering on.
No Data in Serial Monitor:
- Cause: Incorrect baud rate or sensor initialization failure.
- Solution: Ensure the Serial Monitor baud rate matches the
Serial.begin()value in the code. Check for proper sensor initialization in the setup function.
Interrupt Pin Not Working:
- Cause: Interrupt functionality not configured in the code.
- Solution: Refer to the Adafruit AMG88xx library documentation for examples on using the interrupt pin.
FAQs
Q: Can the AMG8833 detect specific objects or people?
A: The AMG8833 provides thermal data but does not perform object recognition. You can use additional software or algorithms to analyze the thermal image for object detection.
Q: What is the maximum detection distance?
A: The detection range depends on the size and temperature of the object. For accurate readings, objects should be within a few meters of the sensor.
Q: Can I use this FeatherWing with non-Adafruit microcontrollers?
A: Yes, the AMG8833 communicates via I²C, which is supported by most microcontrollers. Ensure the microcontroller operates at 3.3V logic levels or use a level shifter.
Q: How do I visualize the thermal data?
A: You can use the Serial Monitor to view raw data or process it with software like Python to create a heatmap visualization.
By following this documentation, you can effectively integrate the Adafruit AMG8833 IR Camera FeatherWing into your projects for thermal imaging and temperature sensing applications.