
How to Use Firebeetle 2 Board ESP32-C6: Examples, Pinouts, and Specs
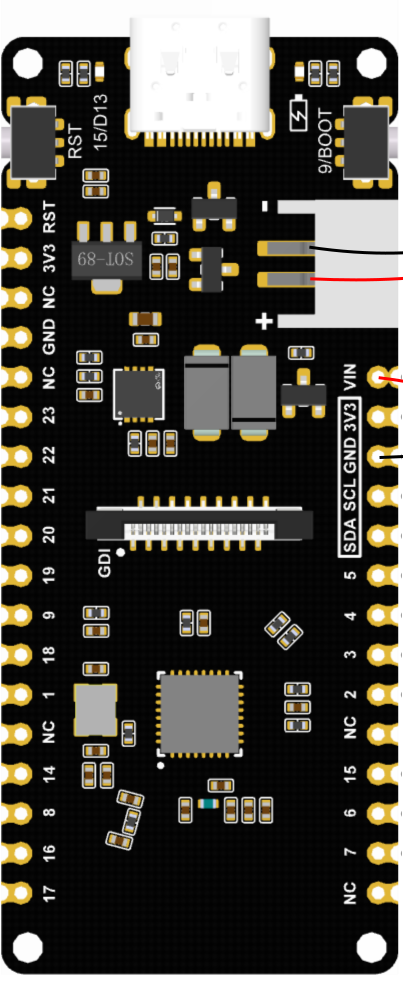
 Design with Firebeetle 2 Board ESP32-C6 in Cirkit Designer
Introduction
The Firebeetle 2 Board ESP32-C6 (Manufacturer Part ID: DFR1075) is a compact and versatile development board designed by DFRobot. It features the powerful ESP32-C6 microcontroller, which integrates Wi-Fi 6, Bluetooth 5.0, and IEEE 802.15.4 (Thread/Zigbee) capabilities. This board is ideal for Internet of Things (IoT) applications, enabling seamless connectivity and efficient power management. Its small form factor and rich feature set make it suitable for projects involving sensors, actuators, and wireless communication.
Explore Projects Built with Firebeetle 2 Board ESP32-C6
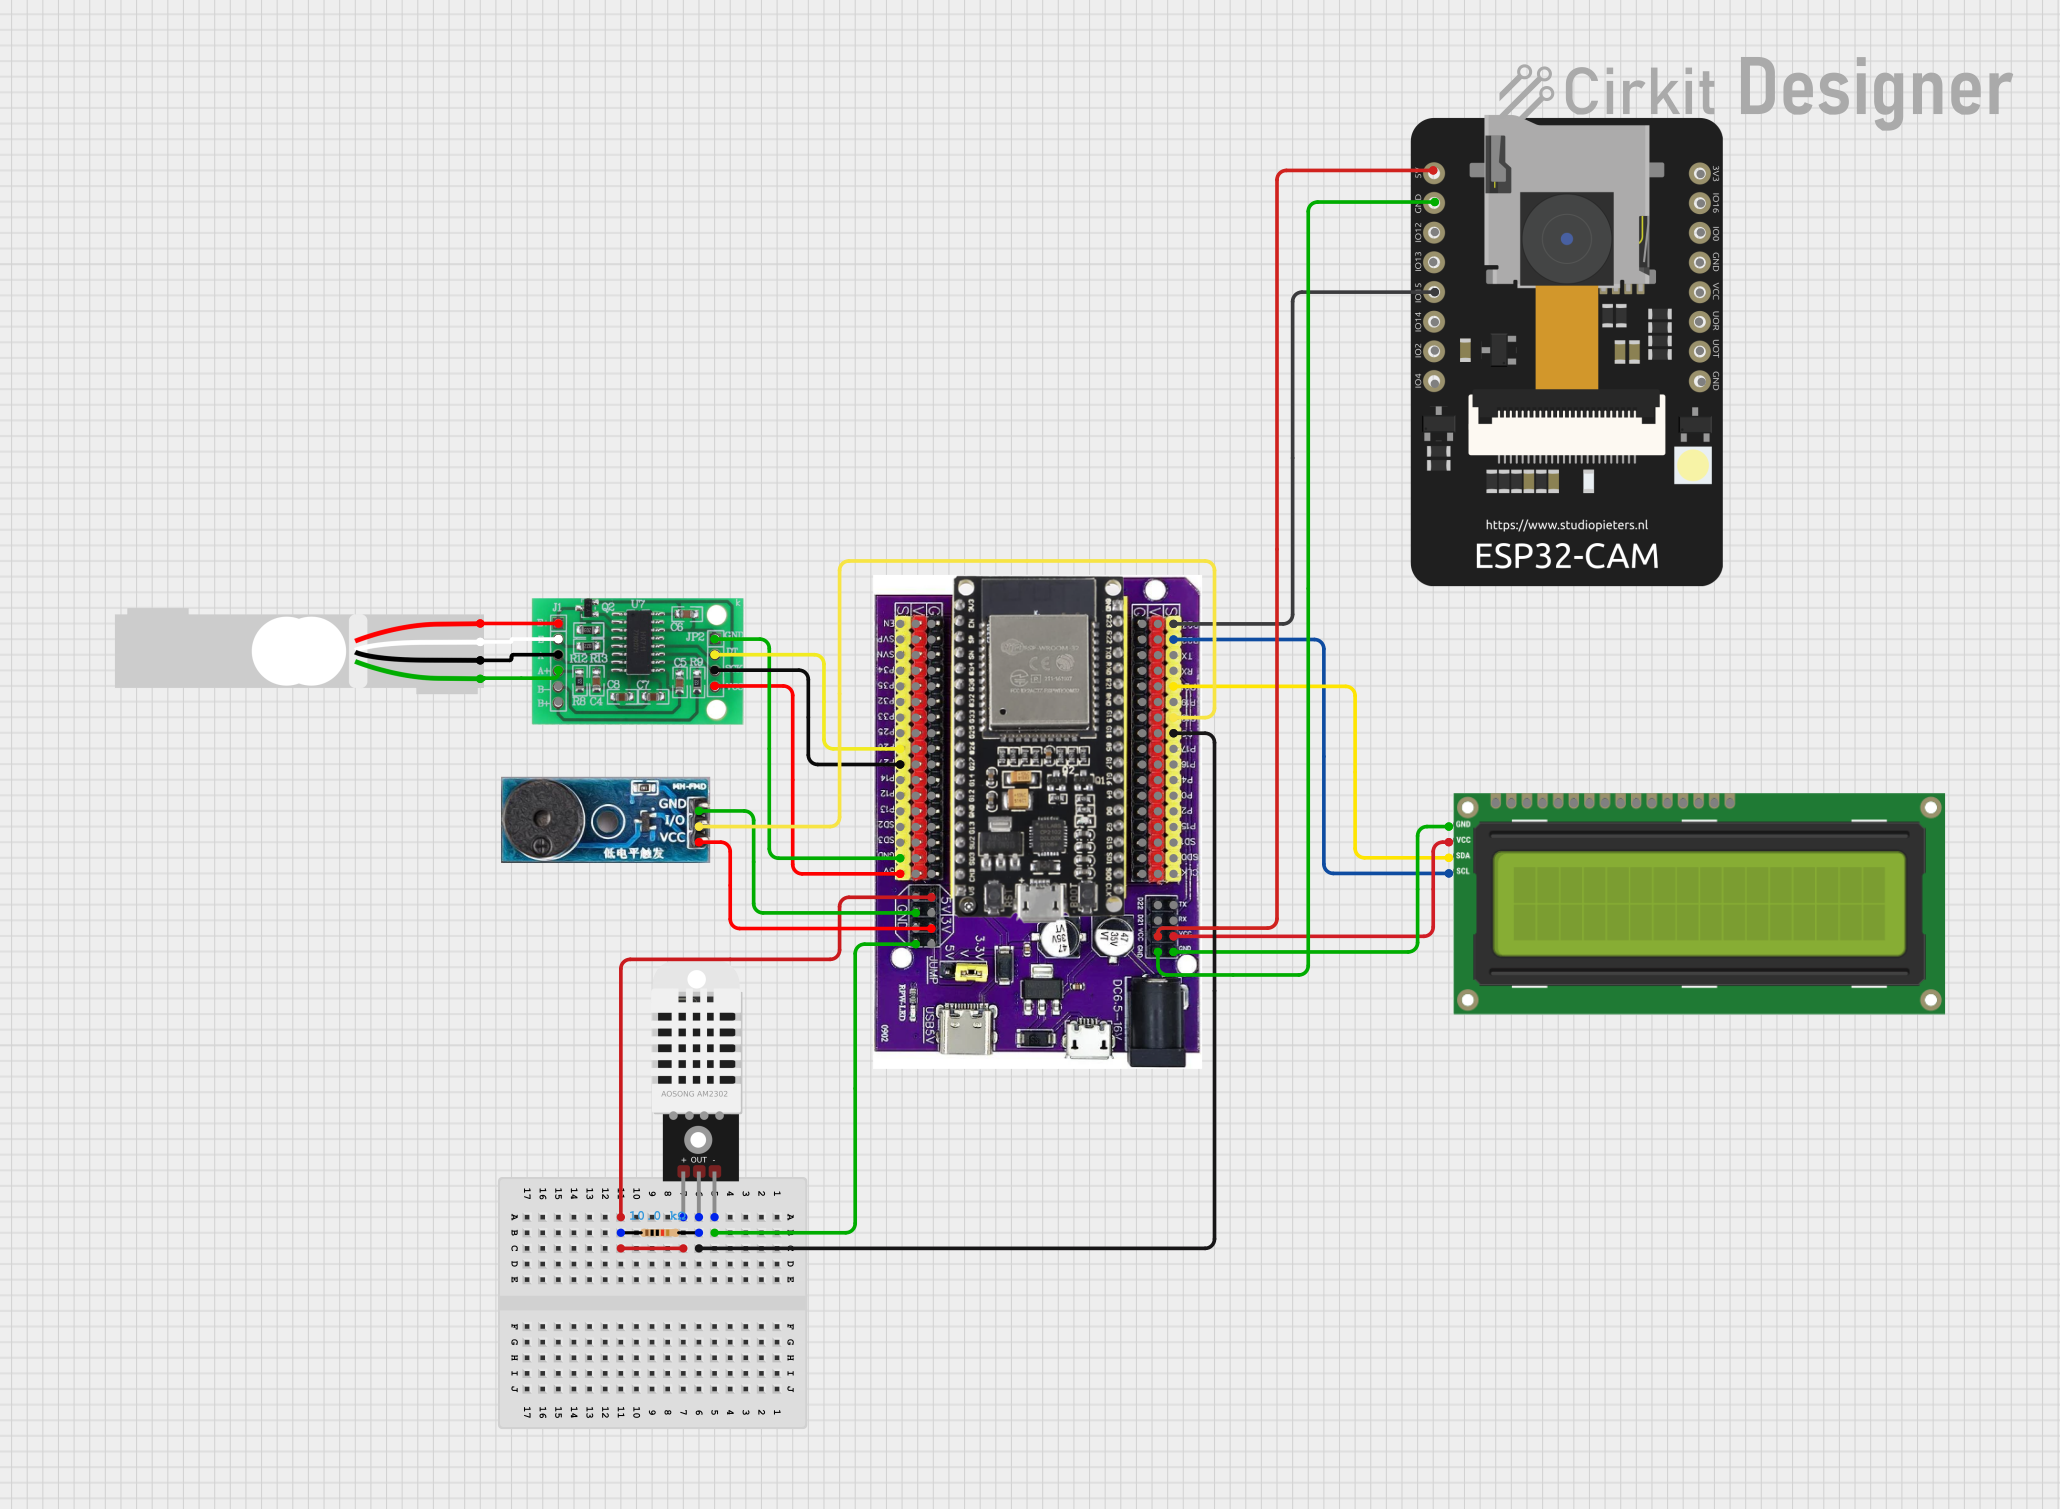 Open Project in Cirkit Designer
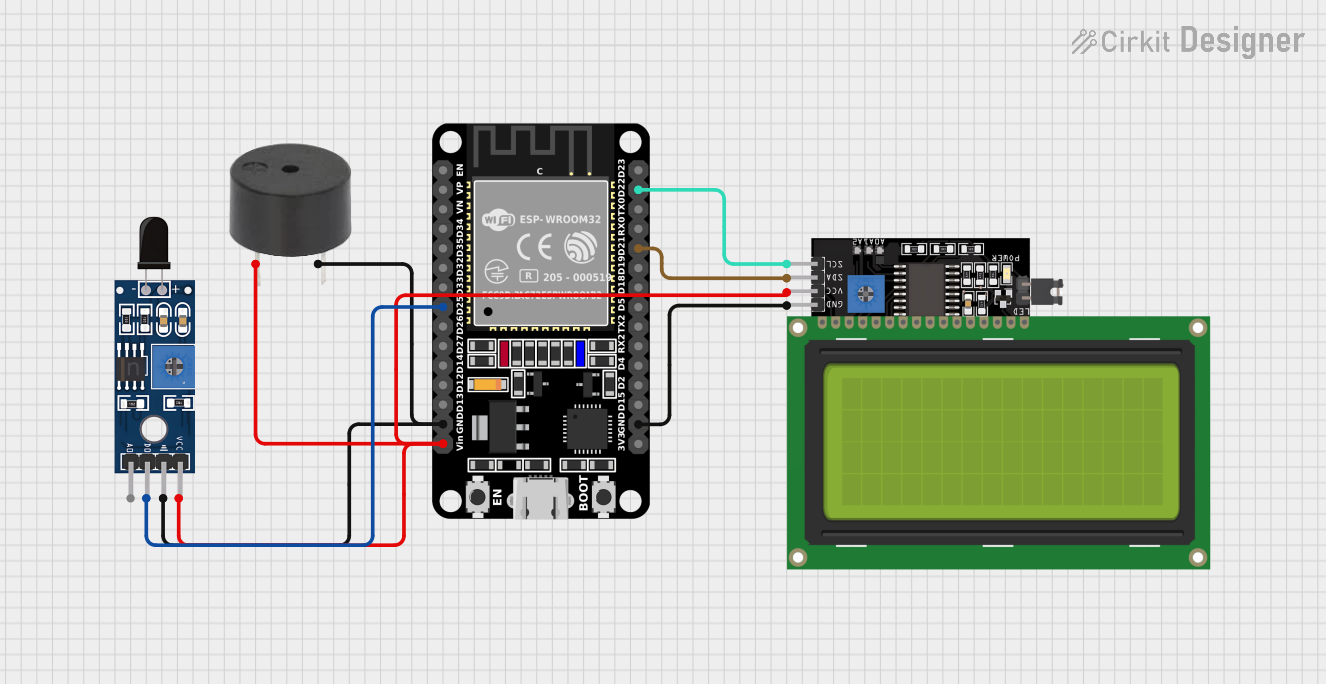 Open Project in Cirkit Designer
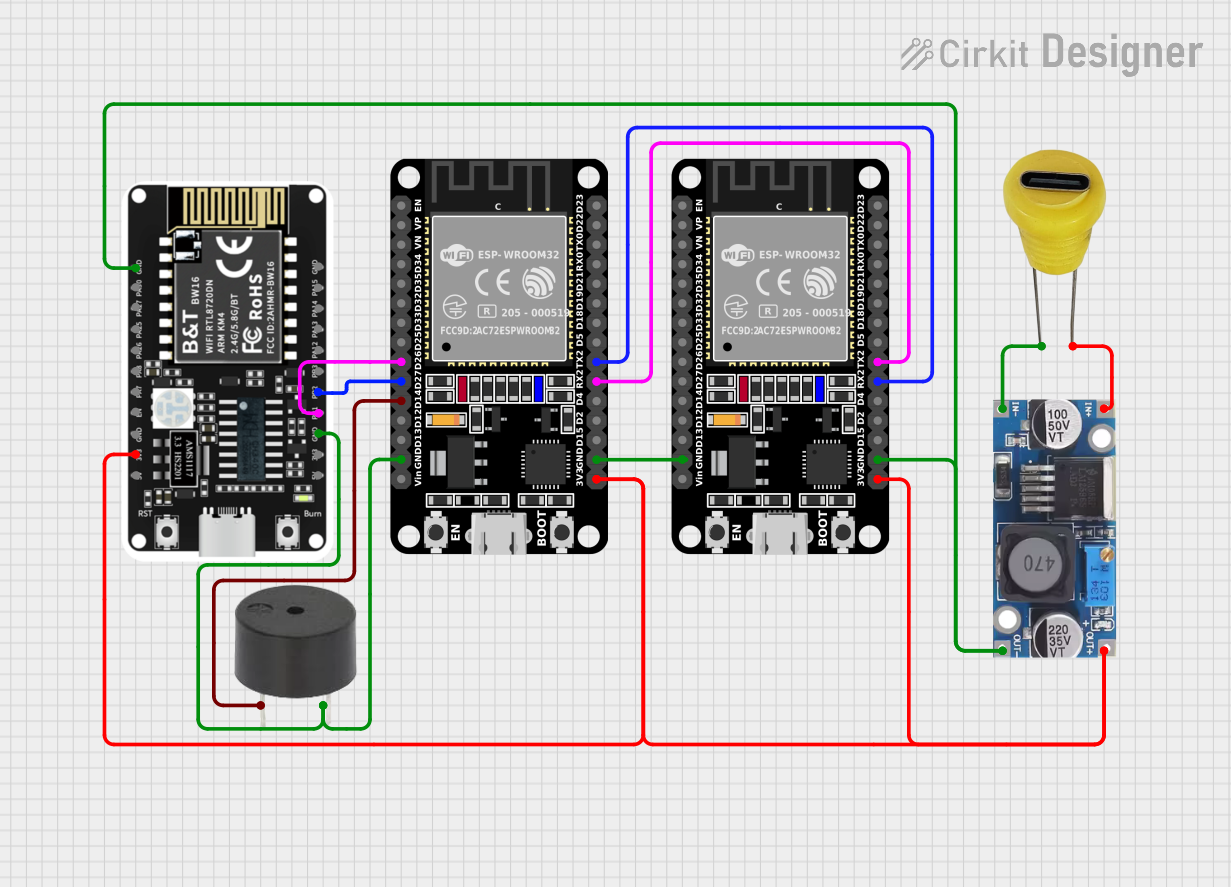 Open Project in Cirkit Designer
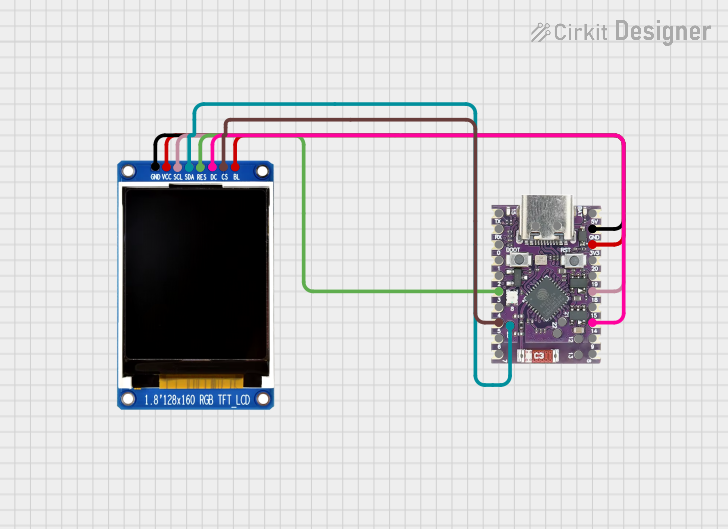 Open Project in Cirkit Designer
Explore Projects Built with Firebeetle 2 Board ESP32-C6
Open Project in Cirkit DesignerOpen Project in Cirkit DesignerOpen Project in Cirkit DesignerOpen Project in Cirkit DesignerCommon Applications
- IoT devices and smart home automation
- Wireless sensor networks
- Wearable technology
- Robotics and automation systems
- Prototyping for Zigbee or Thread-based applications
Technical Specifications
Key Technical Details
| Parameter | Specification |
|---|---|
| Microcontroller | ESP32-C6 |
| Wireless Connectivity | Wi-Fi 6, Bluetooth 5.0, IEEE 802.15.4 (Thread/Zigbee) |
| Operating Voltage | 3.3V |
| Input Voltage Range | 5V (via USB-C) |
| Flash Memory | 4MB |
| SRAM | 512KB |
| GPIO Pins | 21 |
| Communication Interfaces | UART, I2C, SPI, PWM, ADC, DAC |
| Wi-Fi Frequency | 2.4 GHz |
| Bluetooth Version | 5.0 (LE) |
| Dimensions | 27mm x 52mm |
| Power Consumption | Ultra-low power modes supported |
Pin Configuration and Descriptions
The Firebeetle 2 Board ESP32-C6 features a total of 21 GPIO pins, which can be configured for various functions. Below is the pinout description:
| Pin Number | Pin Name | Functionality |
|---|---|---|
| 1 | 3V3 | 3.3V Power Output |
| 2 | GND | Ground |
| 3 | GPIO0 | General Purpose I/O, ADC, Touch |
| 4 | GPIO1 | General Purpose I/O, ADC, Touch |
| 5 | GPIO2 | General Purpose I/O, ADC, Touch |
| 6 | GPIO3 | General Purpose I/O, ADC, Touch |
| 7 | GPIO4 | General Purpose I/O, PWM, ADC |
| 8 | GPIO5 | General Purpose I/O, PWM, ADC |
| 9 | GPIO6 | General Purpose I/O, SPI_CLK |
| 10 | GPIO7 | General Purpose I/O, SPI_MOSI |
| 11 | GPIO8 | General Purpose I/O, SPI_MISO |
| 12 | GPIO9 | General Purpose I/O, UART_TX |
| 13 | GPIO10 | General Purpose I/O, UART_RX |
| 14 | GPIO11 | General Purpose I/O, I2C_SCL |
| 15 | GPIO12 | General Purpose I/O, I2C_SDA |
| 16 | GPIO13 | General Purpose I/O, PWM |
| 17 | GPIO14 | General Purpose I/O, PWM |
| 18 | GPIO15 | General Purpose I/O, ADC |
| 19 | GPIO16 | General Purpose I/O, ADC |
| 20 | GPIO17 | General Purpose I/O, ADC |
| 21 | GPIO18 | General Purpose I/O, ADC |
Usage Instructions
How to Use the Firebeetle 2 Board ESP32-C6 in a Circuit
Powering the Board:
- Connect the board to a computer or power source using a USB-C cable. The board operates at 3.3V internally but accepts 5V input via USB.
Programming the Board:
- Install the Arduino IDE or ESP-IDF (Espressif IoT Development Framework).
- Add the ESP32-C6 board support package to your development environment.
- Select the correct board and port in the IDE settings.
Connecting Peripherals:
- Use the GPIO pins to connect sensors, actuators, or other peripherals. Ensure that the voltage levels of connected devices are compatible with the 3.3V logic of the board.
Uploading Code:
- Write your code in the IDE and upload it to the board via the USB-C connection. The onboard bootloader simplifies the process.
Important Considerations and Best Practices
- Voltage Levels: Ensure all connected peripherals operate at 3.3V logic levels to avoid damaging the board.
- Power Management: Utilize the ultra-low power modes for battery-powered applications.
- Antenna Placement: Avoid placing the board near metal objects or enclosures that could interfere with wireless signals.
- Firmware Updates: Regularly update the ESP32-C6 firmware to access the latest features and security patches.
Example Code for Arduino UNO Integration
Below is an example of using the Firebeetle 2 Board ESP32-C6 to read data from a DHT11 temperature and humidity sensor and send it to a serial monitor:
#include <DHT.h>

// Define the DHT sensor type and pin
#define DHTPIN 4       // GPIO4 is connected to the DHT11 data pin
#define DHTTYPE DHT11  // DHT11 sensor type

DHT dht(DHTPIN, DHTTYPE);

void setup() {
  Serial.begin(115200);  // Initialize serial communication
  dht.begin();           // Initialize the DHT sensor
  Serial.println("DHT11 Sensor Test");
}

void loop() {
  delay(2000);  // Wait 2 seconds between readings

  // Read temperature and humidity values
  float humidity = dht.readHumidity();
  float temperature = dht.readTemperature();

  // Check if the readings are valid
  if (isnan(humidity) || isnan(temperature)) {
    Serial.println("Failed to read from DHT sensor!");
    return;
  }

  // Print the readings to the serial monitor
  Serial.print("Humidity: ");
  Serial.print(humidity);
  Serial.print("%  Temperature: ");
  Serial.print(temperature);
  Serial.println("°C");
}
Troubleshooting and FAQs
Common Issues and Solutions
Board Not Detected by IDE:
- Ensure the correct USB driver is installed for the Firebeetle 2 Board ESP32-C6.
- Verify that the USB-C cable supports data transfer (not just charging).
Code Upload Fails:
- Check that the correct board and port are selected in the IDE.
- Press and hold the "BOOT" button on the board while uploading the code.
Wi-Fi or Bluetooth Connectivity Issues:
- Ensure the antenna is not obstructed by metal objects.
- Verify that the correct SSID and password are used for Wi-Fi connections.
Peripherals Not Responding:
- Double-check the wiring and ensure the peripherals are compatible with 3.3V logic.
- Use pull-up or pull-down resistors if required by the connected devices.
FAQs
Q: Can the Firebeetle 2 Board ESP32-C6 run on battery power?
A: Yes, the board supports battery power through its onboard JST connector. Ensure the battery voltage is within the supported range.
Q: How do I reset the board?
A: Press the "RESET" button on the board to restart it.
Q: Is the board compatible with Zigbee devices?
A: Yes, the ESP32-C6 supports IEEE 802.15.4, making it compatible with Zigbee and Thread protocols.
Q: Can I use the board with MicroPython?
A: Yes, the Firebeetle 2 Board ESP32-C6 supports MicroPython. Flash the MicroPython firmware to get started.