
How to Use Arduino® Nano 33 BLE Sense Rev2: Examples, Pinouts, and Specs
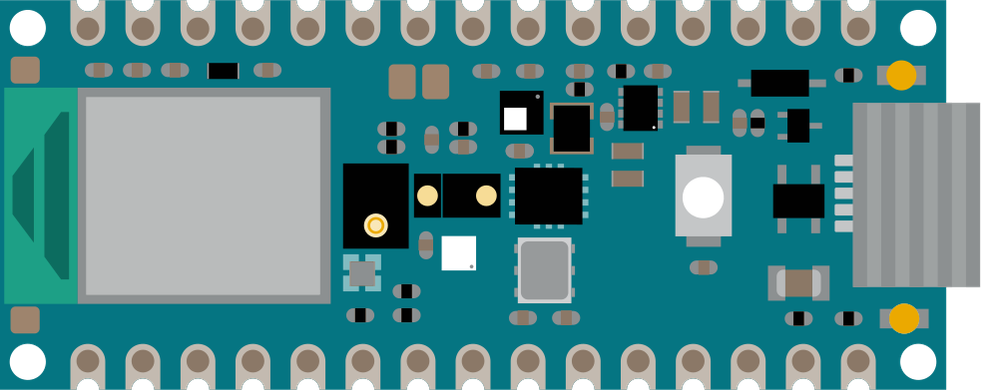
 Design with Arduino® Nano 33 BLE Sense Rev2 in Cirkit Designer
Introduction
The Arduino® Nano 33 BLE Sense Rev2 is a compact microcontroller board designed for advanced IoT applications and sensor-based projects. Manufactured by Arduino, this board features Bluetooth Low Energy (BLE) connectivity, a range of built-in sensors, and compatibility with the Arduino ecosystem. Its small form factor and powerful capabilities make it ideal for applications such as environmental monitoring, wearable devices, and smart home systems.
Explore Projects Built with Arduino® Nano 33 BLE Sense Rev2
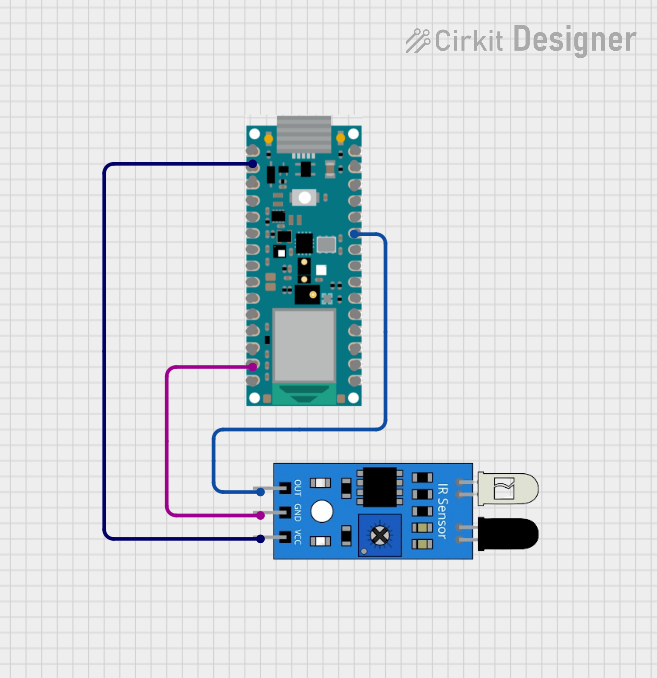 Open Project in Cirkit Designer
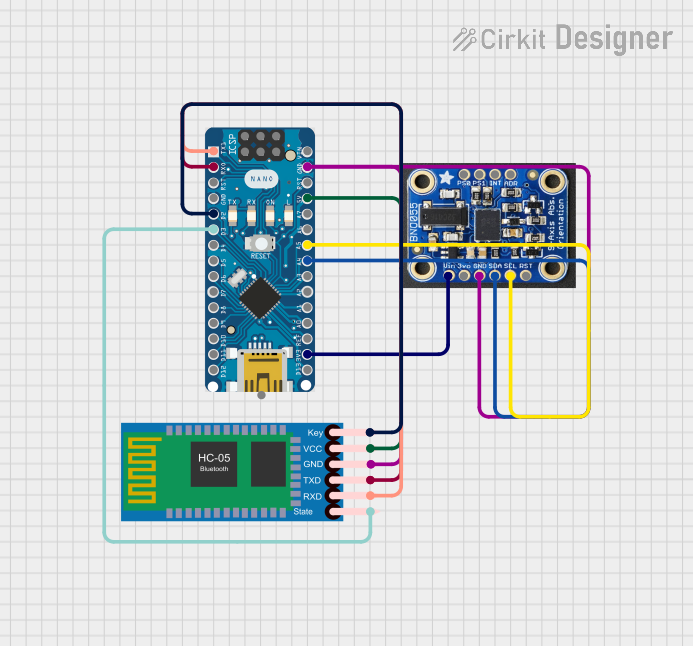 Open Project in Cirkit Designer
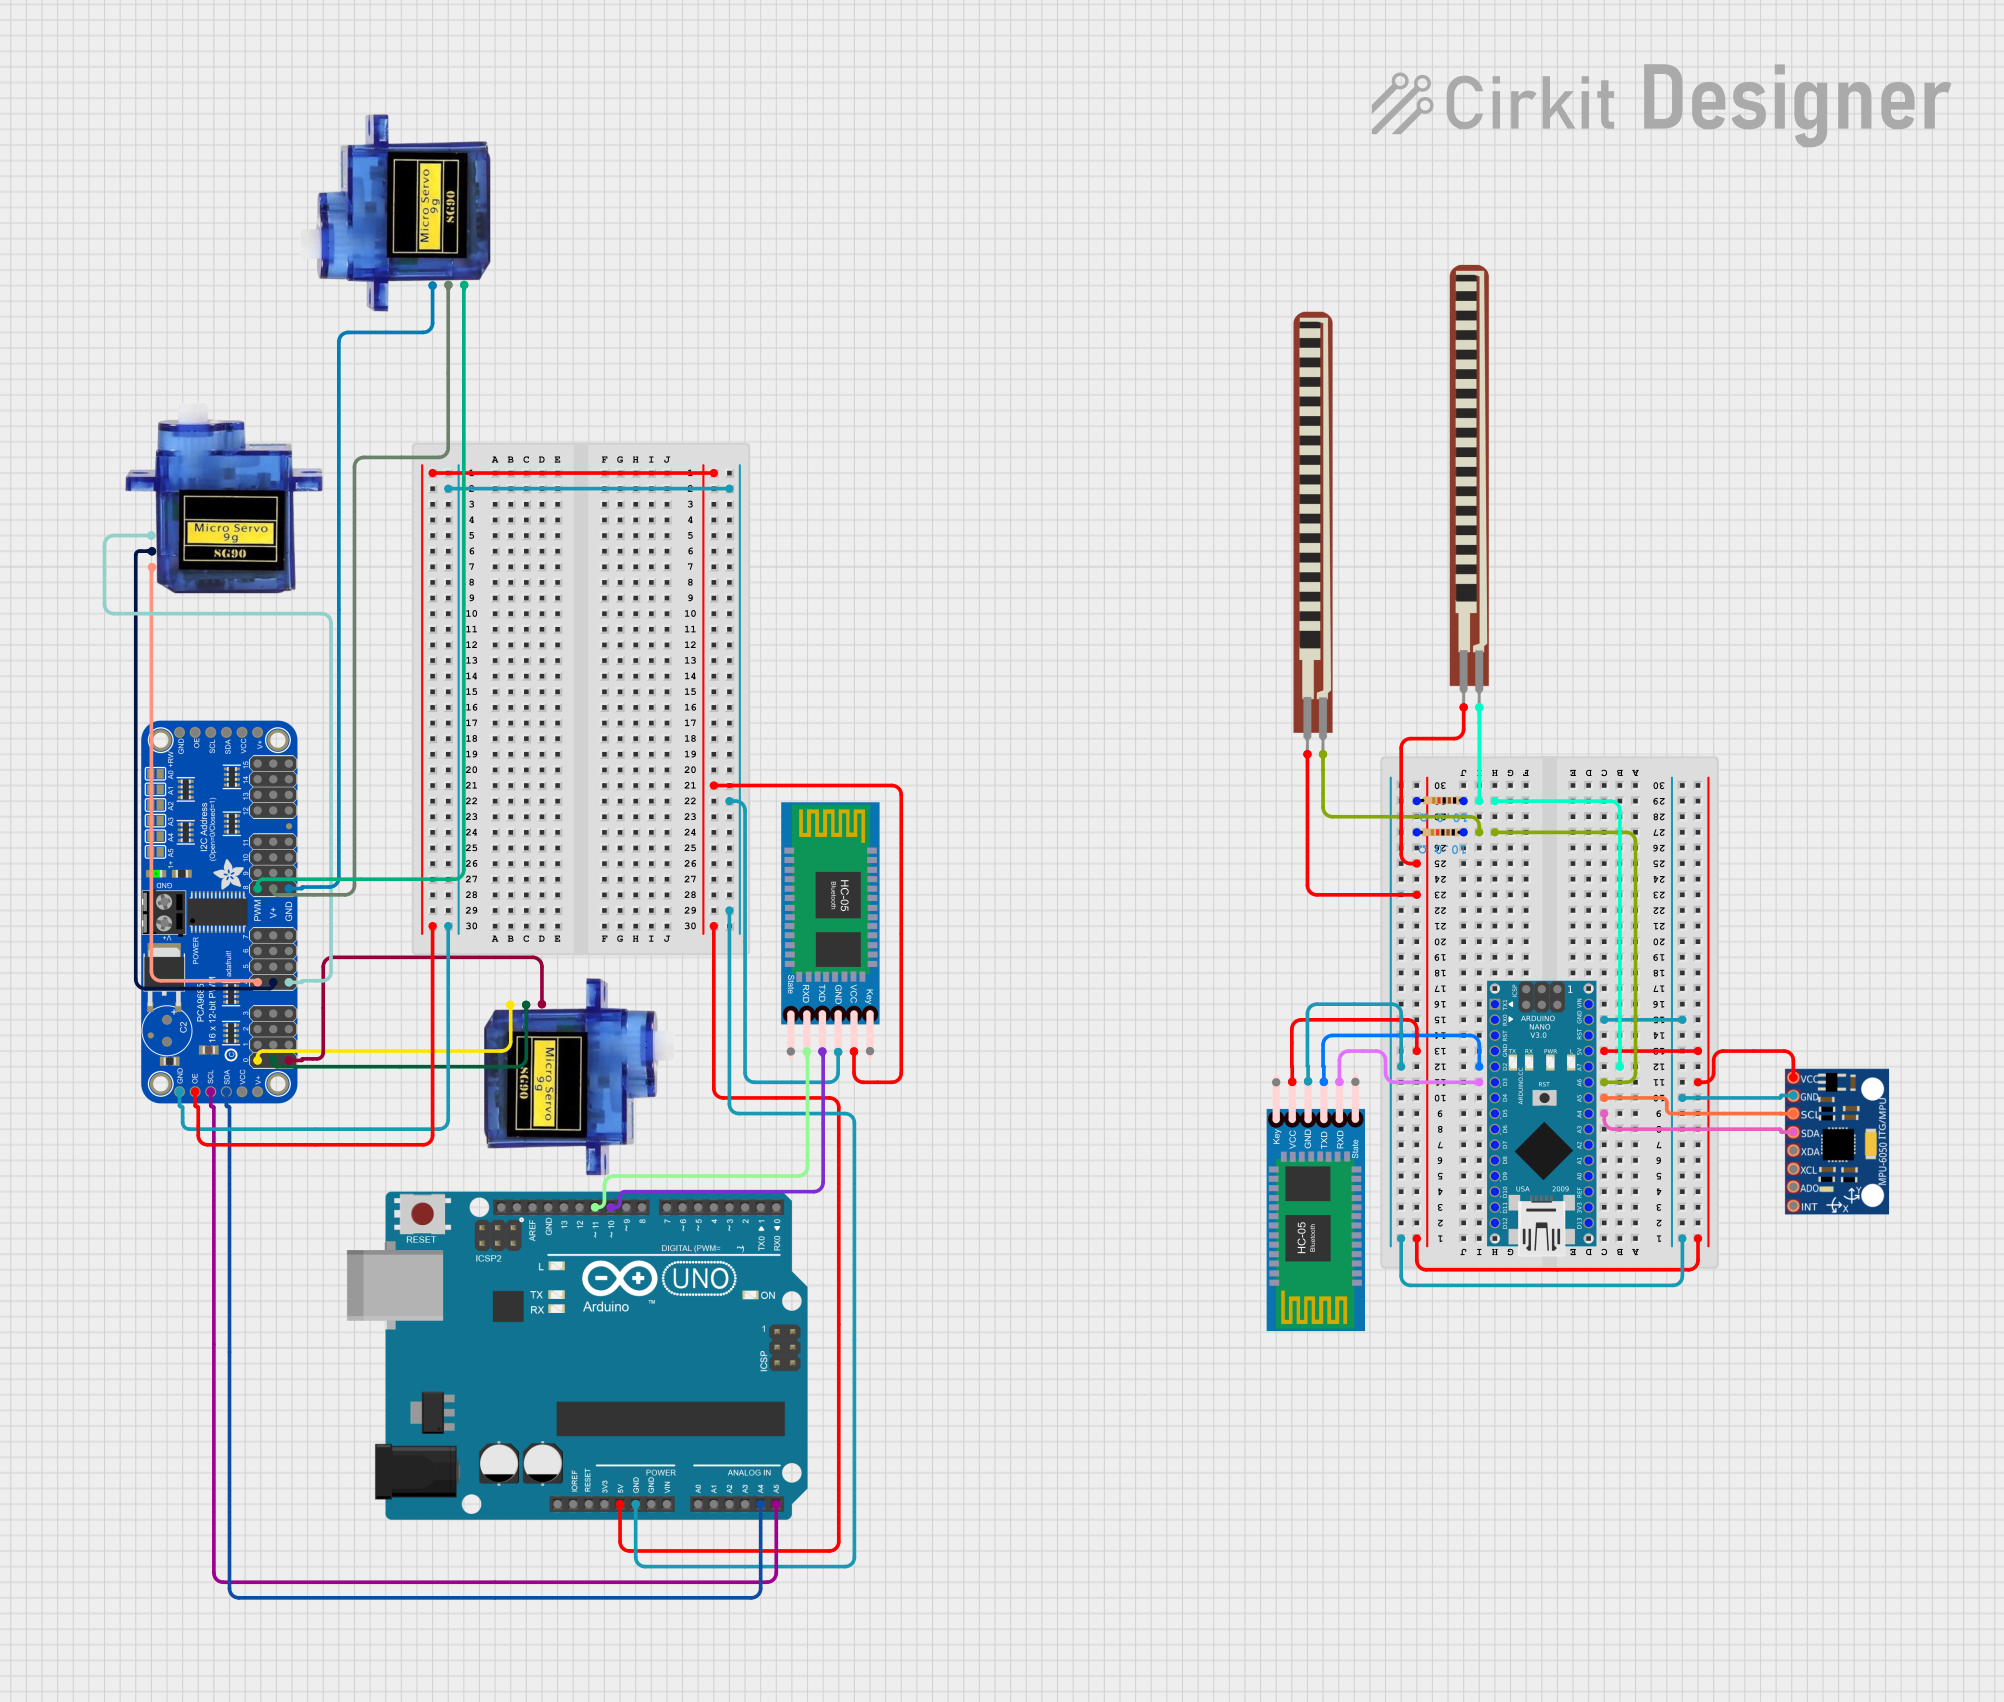 Open Project in Cirkit Designer
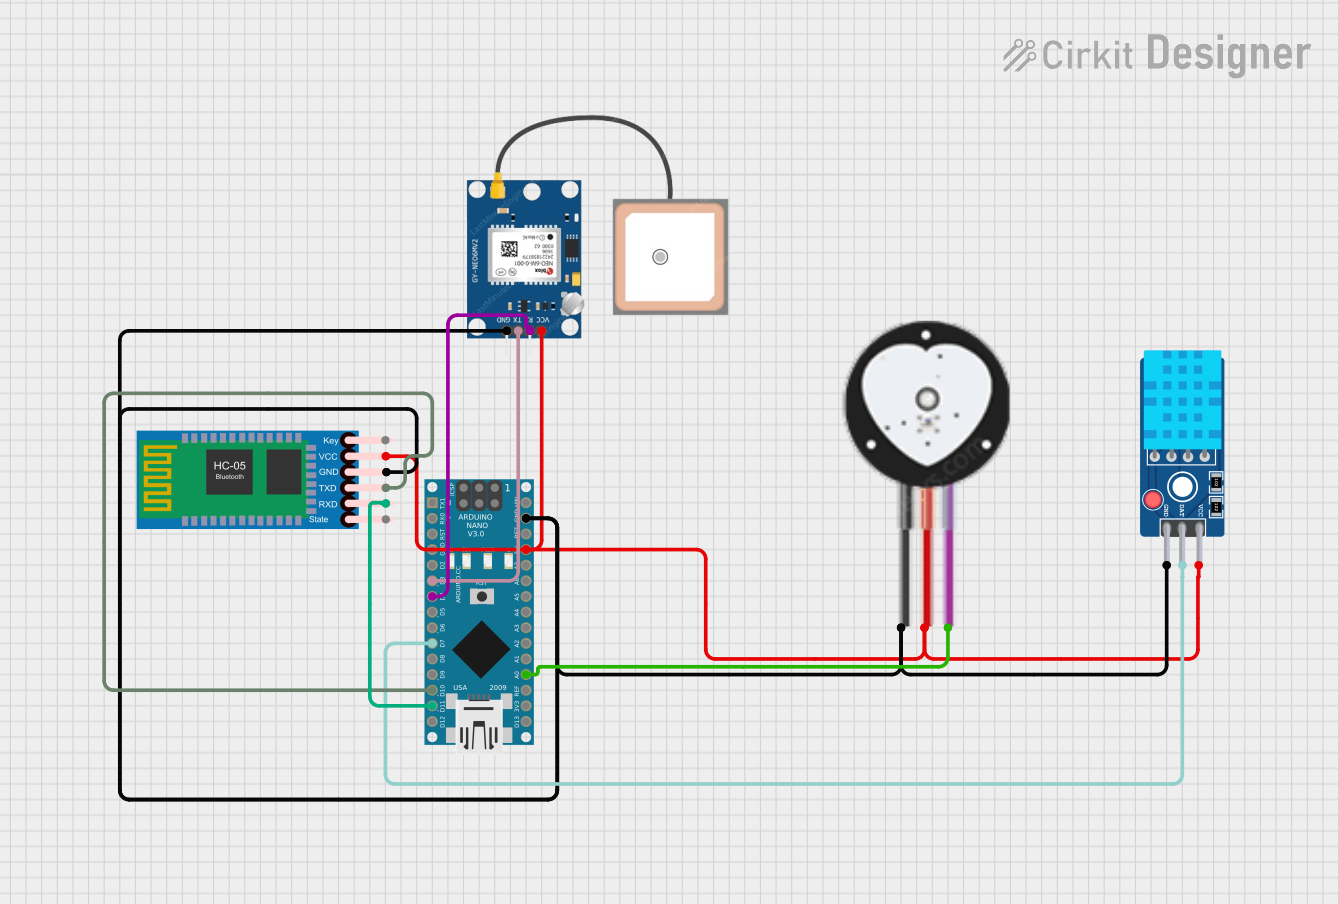 Open Project in Cirkit Designer
Explore Projects Built with Arduino® Nano 33 BLE Sense Rev2
Open Project in Cirkit DesignerOpen Project in Cirkit DesignerOpen Project in Cirkit DesignerOpen Project in Cirkit DesignerCommon Applications and Use Cases
- IoT (Internet of Things) devices and prototypes
- Environmental and air quality monitoring
- Gesture and motion detection
- Wearable technology
- Smart home automation
- Machine learning on edge devices
Technical Specifications
The Arduino Nano 33 BLE Sense Rev2 is equipped with a powerful Nordic nRF52840 microcontroller and a variety of onboard sensors. Below are the key technical details:
General Specifications
| Feature | Specification |
|---|---|
| Microcontroller | Nordic nRF52840 (ARM Cortex-M4 @ 64 MHz) |
| Operating Voltage | 3.3V |
| Input Voltage (VIN) | 5V (via USB or VIN pin) |
| Digital I/O Pins | 14 (12 PWM capable) |
| Analog Input Pins | 8 |
| Flash Memory | 1 MB |
| SRAM | 256 KB |
| Clock Speed | 64 MHz |
| Connectivity | Bluetooth Low Energy (BLE) 5.0, NFC |
| Dimensions | 45 x 18 mm |
Built-in Sensors
| Sensor Type | Model/Technology | Description |
|---|---|---|
| IMU (Inertial Measurement Unit) | LSM9DS1 | 9-axis motion sensor (accelerometer, gyroscope, magnetometer) |
| Microphone | MP34DT05-A | Digital omnidirectional microphone |
| Temperature and Humidity | HTS221 | Measures ambient temperature and humidity |
| Barometric Pressure | LPS22HB | Measures atmospheric pressure |
| Gesture and Proximity | APDS-9960 | Detects gestures, proximity, and ambient light |
Pin Configuration
| Pin Name | Description |
|---|---|
| VIN | Input voltage (5V) for powering the board |
| 3.3V | Regulated 3.3V output |
| GND | Ground connection |
| Digital Pins 0-13 | General-purpose digital I/O pins (PWM capable on specific pins) |
| Analog Pins A0-A7 | Analog input pins |
| I2C (SDA, SCL) | I2C communication pins (shared with A4 and A5) |
| SPI (MISO, MOSI, SCK) | SPI communication pins |
| UART (RX, TX) | Serial communication pins |
| RESET | Resets the microcontroller |
Usage Instructions
How to Use the Arduino Nano 33 BLE Sense Rev2 in a Circuit
Powering the Board:
- Use a USB cable to connect the board to your computer or a 5V power source.
- Alternatively, supply 5V to the VIN pin and connect GND to the ground of your power source.
Programming the Board:
- Install the Arduino IDE from the official Arduino website.
- Add the "Arduino nRF528x Boards (Mbed OS)" package via the Boards Manager in the Arduino IDE.
- Select "Arduino Nano 33 BLE Sense" as the board in the Tools menu.
- Connect the board via USB and upload your sketch.
Connecting Sensors:
- Use the onboard sensors directly by including their respective libraries in your Arduino sketch.
- For external sensors, connect them to the appropriate I/O pins (e.g., I2C, SPI, or analog pins).
BLE Communication:
- Use the
ArduinoBLElibrary to enable Bluetooth Low Energy communication. - Pair the board with a BLE-compatible device for data exchange.
- Use the
Example Code: Reading Temperature and Humidity
The following example demonstrates how to read data from the onboard HTS221 temperature and humidity sensor:
#include <Arduino_HTS221.h> // Include the library for the HTS221 sensor

void setup() {
  Serial.begin(9600); // Initialize serial communication at 9600 baud
  while (!Serial);    // Wait for the serial monitor to open

  // Initialize the HTS221 sensor
  if (!HTS.begin()) {
    Serial.println("Failed to initialize HTS221 sensor!");
    while (1); // Halt execution if initialization fails
  }
  Serial.println("HTS221 sensor initialized successfully.");
}

void loop() {
  // Read temperature and humidity values
  float temperature = HTS.readTemperature();
  float humidity = HTS.readHumidity();

  // Print the values to the serial monitor
  Serial.print("Temperature: ");
  Serial.print(temperature);
  Serial.println(" °C");

  Serial.print("Humidity: ");
  Serial.print(humidity);
  Serial.println(" %");

  delay(1000); // Wait for 1 second before reading again
}
Important Considerations and Best Practices
- Voltage Levels: The board operates at 3.3V logic levels. Avoid applying 5V directly to the I/O pins.
- Power Supply: Ensure a stable power supply to avoid unexpected resets or malfunctions.
- BLE Range: The BLE range may vary depending on environmental factors. Test in your specific use case.
- Library Compatibility: Use the latest versions of Arduino libraries for optimal performance.
Troubleshooting and FAQs
Common Issues and Solutions
Board Not Detected by Arduino IDE:
- Ensure the correct USB cable is used (data-capable, not power-only).
- Verify that the "Arduino nRF528x Boards (Mbed OS)" package is installed.
- Check the device manager (Windows) or system profiler (Mac) for USB connection issues.
BLE Connection Fails:
- Ensure the BLE device is within range.
- Verify that the
ArduinoBLElibrary is correctly initialized in your sketch. - Restart both the board and the BLE device to reset the connection.
Sensor Readings Are Inaccurate:
- Calibrate the sensors if necessary.
- Avoid placing the board in environments with extreme temperatures or humidity.
- Ensure no external interference (e.g., strong magnetic fields) affects the onboard sensors.
FAQs
Q: Can I use the Arduino Nano 33 BLE Sense Rev2 with a battery?
A: Yes, you can power the board using a 3.7V LiPo battery connected to the VIN and GND pins. Ensure the battery voltage is regulated to avoid damage.
Q: Is the board compatible with Arduino shields?
A: The Nano 33 BLE Sense Rev2 is not directly compatible with standard Arduino shields due to its smaller form factor. However, you can use breakout boards or custom wiring for compatibility.
Q: Can I use this board for machine learning applications?
A: Yes, the board supports TinyML applications. Use libraries like TensorFlow Lite for Microcontrollers to deploy machine learning models.
Q: How do I update the firmware?
A: Firmware updates can be performed via the Arduino IDE or using the nRF Connect tool. Follow the instructions provided on the Arduino website for detailed steps.