
How to Use Relay 3 Channel Optocoupler: Examples, Pinouts, and Specs
 Design with Relay 3 Channel Optocoupler in Cirkit Designer
Introduction
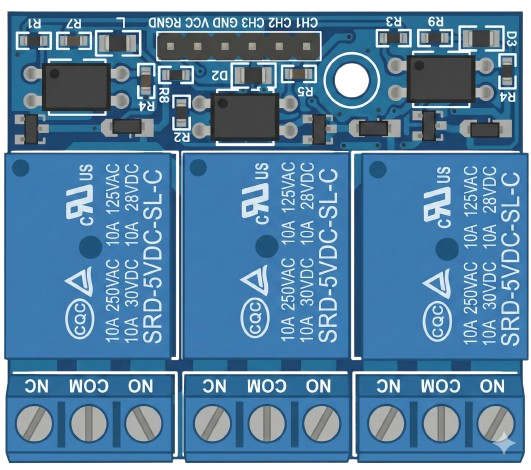
The Relay 3 Channel Optocoupler module, manufactured by Arduino (Part ID: Relay), is a versatile electronic component designed to control high-voltage devices using low-voltage signals. This module features three independent relays, each capable of switching AC or DC loads, and is equipped with optocouplers for electrical isolation. The optocouplers ensure safe operation by isolating the control circuit from the high-voltage load.
Explore Projects Built with Relay 3 Channel Optocoupler
 Open Project in Cirkit Designer
 Open Project in Cirkit Designer
 Open Project in Cirkit Designer
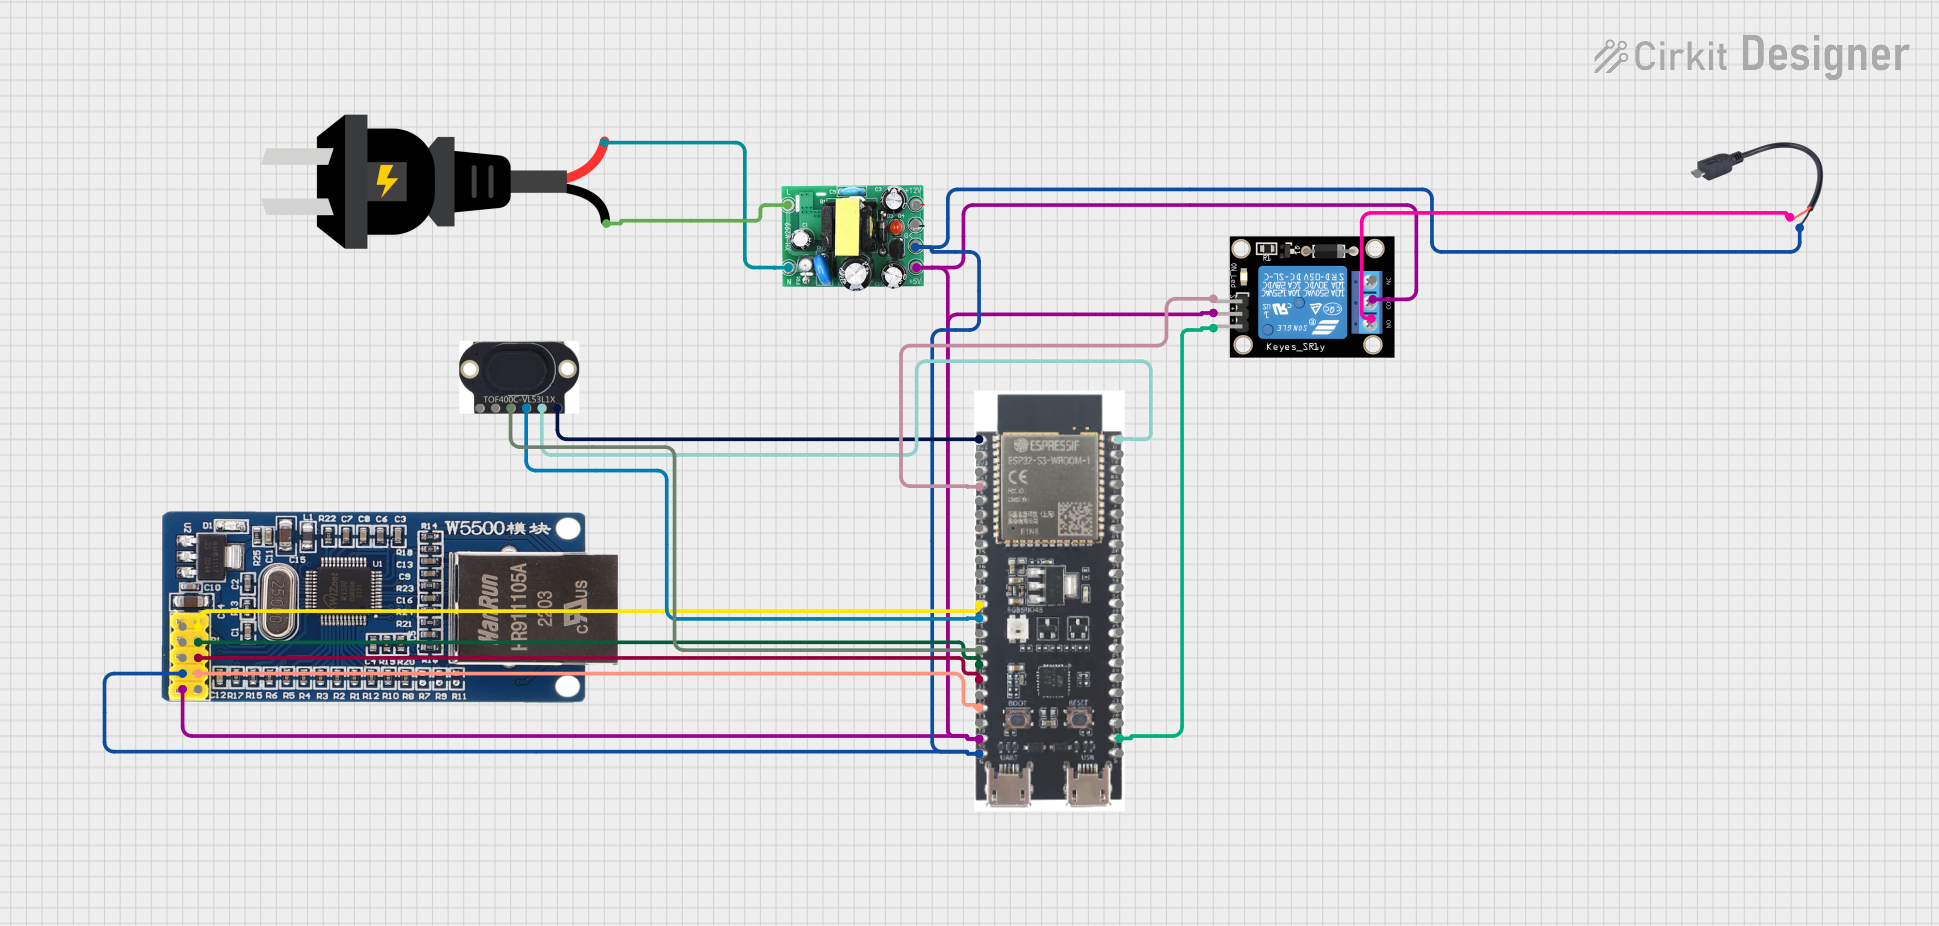 Open Project in Cirkit Designer
Explore Projects Built with Relay 3 Channel Optocoupler
Open Project in Cirkit DesignerOpen Project in Cirkit DesignerOpen Project in Cirkit DesignerOpen Project in Cirkit DesignerCommon Applications and Use Cases
- Home automation systems (e.g., controlling lights, fans, or appliances)
- Industrial automation and motor control
- IoT projects requiring high-voltage device control
- Robotics and mechatronics
- Signal isolation in sensitive circuits
Technical Specifications
The following table outlines the key technical details of the Relay 3 Channel Optocoupler module:
| Parameter | Specification |
|---|---|
| Manufacturer | Arduino |
| Part ID | Relay |
| Number of Channels | 3 |
| Operating Voltage | 5V DC |
| Trigger Voltage | 3.3V to 5V DC |
| Maximum Load Voltage | 250V AC / 30V DC |
| Maximum Load Current | 10A |
| Isolation Method | Optocoupler |
| Dimensions | 50mm x 70mm x 18mm |
| Mounting Holes | 4 (for secure attachment to enclosures) |
Pin Configuration and Descriptions
The module has the following pin configuration:
Input Pins (Control Side)
| Pin Name | Description |
|---|---|
| VCC | Power supply input (5V DC) |
| GND | Ground connection |
| IN1 | Control signal for Relay 1 (active LOW) |
| IN2 | Control signal for Relay 2 (active LOW) |
| IN3 | Control signal for Relay 3 (active LOW) |
Output Pins (Load Side)
Each relay has three output terminals:
| Terminal Name | Description |
|---|---|
| NO (Normally Open) | Open circuit when relay is inactive |
| NC (Normally Closed) | Closed circuit when relay is inactive |
| COM (Common) | Common terminal for NO and NC contacts |
Usage Instructions
How to Use the Component in a Circuit
- Power the Module: Connect the VCC pin to a 5V DC power source and the GND pin to ground.
- Connect Control Signals: Use digital output pins from a microcontroller (e.g., Arduino UNO) to connect to the IN1, IN2, and IN3 pins. A LOW signal activates the corresponding relay.
- Connect the Load: Wire the high-voltage device to the relay's output terminals (NO, NC, and COM) based on your desired switching configuration:
- Use NO and COM for devices that should be off by default.
- Use NC and COM for devices that should be on by default.
- Test the Circuit: Upload the control code to your microcontroller and verify the relay operation.
Important Considerations and Best Practices
- Isolation: Ensure proper electrical isolation between the control and load sides to prevent damage to the microcontroller.
- Power Supply: Use a stable 5V DC power source to avoid erratic relay behavior.
- Load Ratings: Do not exceed the maximum voltage (250V AC / 30V DC) or current (10A) ratings of the relays.
- Flyback Diodes: For inductive loads (e.g., motors), use flyback diodes to protect the relay from voltage spikes.
- Active LOW Trigger: Remember that the relays are activated by a LOW signal on the control pins.
Example Code for Arduino UNO
// Example code to control a 3 Channel Relay module with Arduino UNO
// Ensure proper wiring before uploading the code

#define RELAY1 2  // Pin 2 connected to IN1
#define RELAY2 3  // Pin 3 connected to IN2
#define RELAY3 4  // Pin 4 connected to IN3

void setup() {
  // Set relay pins as outputs
  pinMode(RELAY1, OUTPUT);
  pinMode(RELAY2, OUTPUT);
  pinMode(RELAY3, OUTPUT);

  // Initialize all relays to OFF (HIGH state)
  digitalWrite(RELAY1, HIGH);
  digitalWrite(RELAY2, HIGH);
  digitalWrite(RELAY3, HIGH);
}

void loop() {
  // Example sequence to toggle relays
  digitalWrite(RELAY1, LOW);  // Turn ON Relay 1
  delay(1000);                // Wait for 1 second
  digitalWrite(RELAY1, HIGH); // Turn OFF Relay 1

  digitalWrite(RELAY2, LOW);  // Turn ON Relay 2
  delay(1000);                // Wait for 1 second
  digitalWrite(RELAY2, HIGH); // Turn OFF Relay 2

  digitalWrite(RELAY3, LOW);  // Turn ON Relay 3
  delay(1000);                // Wait for 1 second
  digitalWrite(RELAY3, HIGH); // Turn OFF Relay 3
}
Troubleshooting and FAQs
Common Issues Users Might Face
Relays Not Activating:
- Ensure the VCC and GND pins are properly connected to a 5V DC power source.
- Verify that the control signals (IN1, IN2, IN3) are set to LOW to activate the relays.
- Check for loose or incorrect wiring.
Erratic Relay Behavior:
- Use a stable and sufficient power supply to avoid voltage fluctuations.
- Ensure the microcontroller's ground is connected to the relay module's ground.
Load Not Switching:
- Confirm that the load connections (NO, NC, COM) are correctly wired.
- Verify that the load does not exceed the relay's voltage and current ratings.
Solutions and Tips for Troubleshooting
- Use a multimeter to check the continuity of the relay's output terminals when activated.
- Test the relays individually by connecting the control pins to ground manually.
- For inductive loads, ensure flyback diodes are installed to prevent voltage spikes.
By following this documentation, users can effectively integrate the Relay 3 Channel Optocoupler module into their projects for safe and reliable high-voltage device control.