Cirkit Designer LogoCirkit DesignerYour all-in-one circuit design IDE Launch Cirkit Designer App

How to Use terminal block tb1503: Examples, Pinouts, and Specs

Image of terminal block tb1503Design with terminal block tb1503 in Cirkit Designer

Introduction

Explore Projects Built with terminal block tb1503

Use Cirkit Designer to design, explore, and prototype these projects online. Some projects support real-time simulation. Click "Open Project" to start designing instantly!
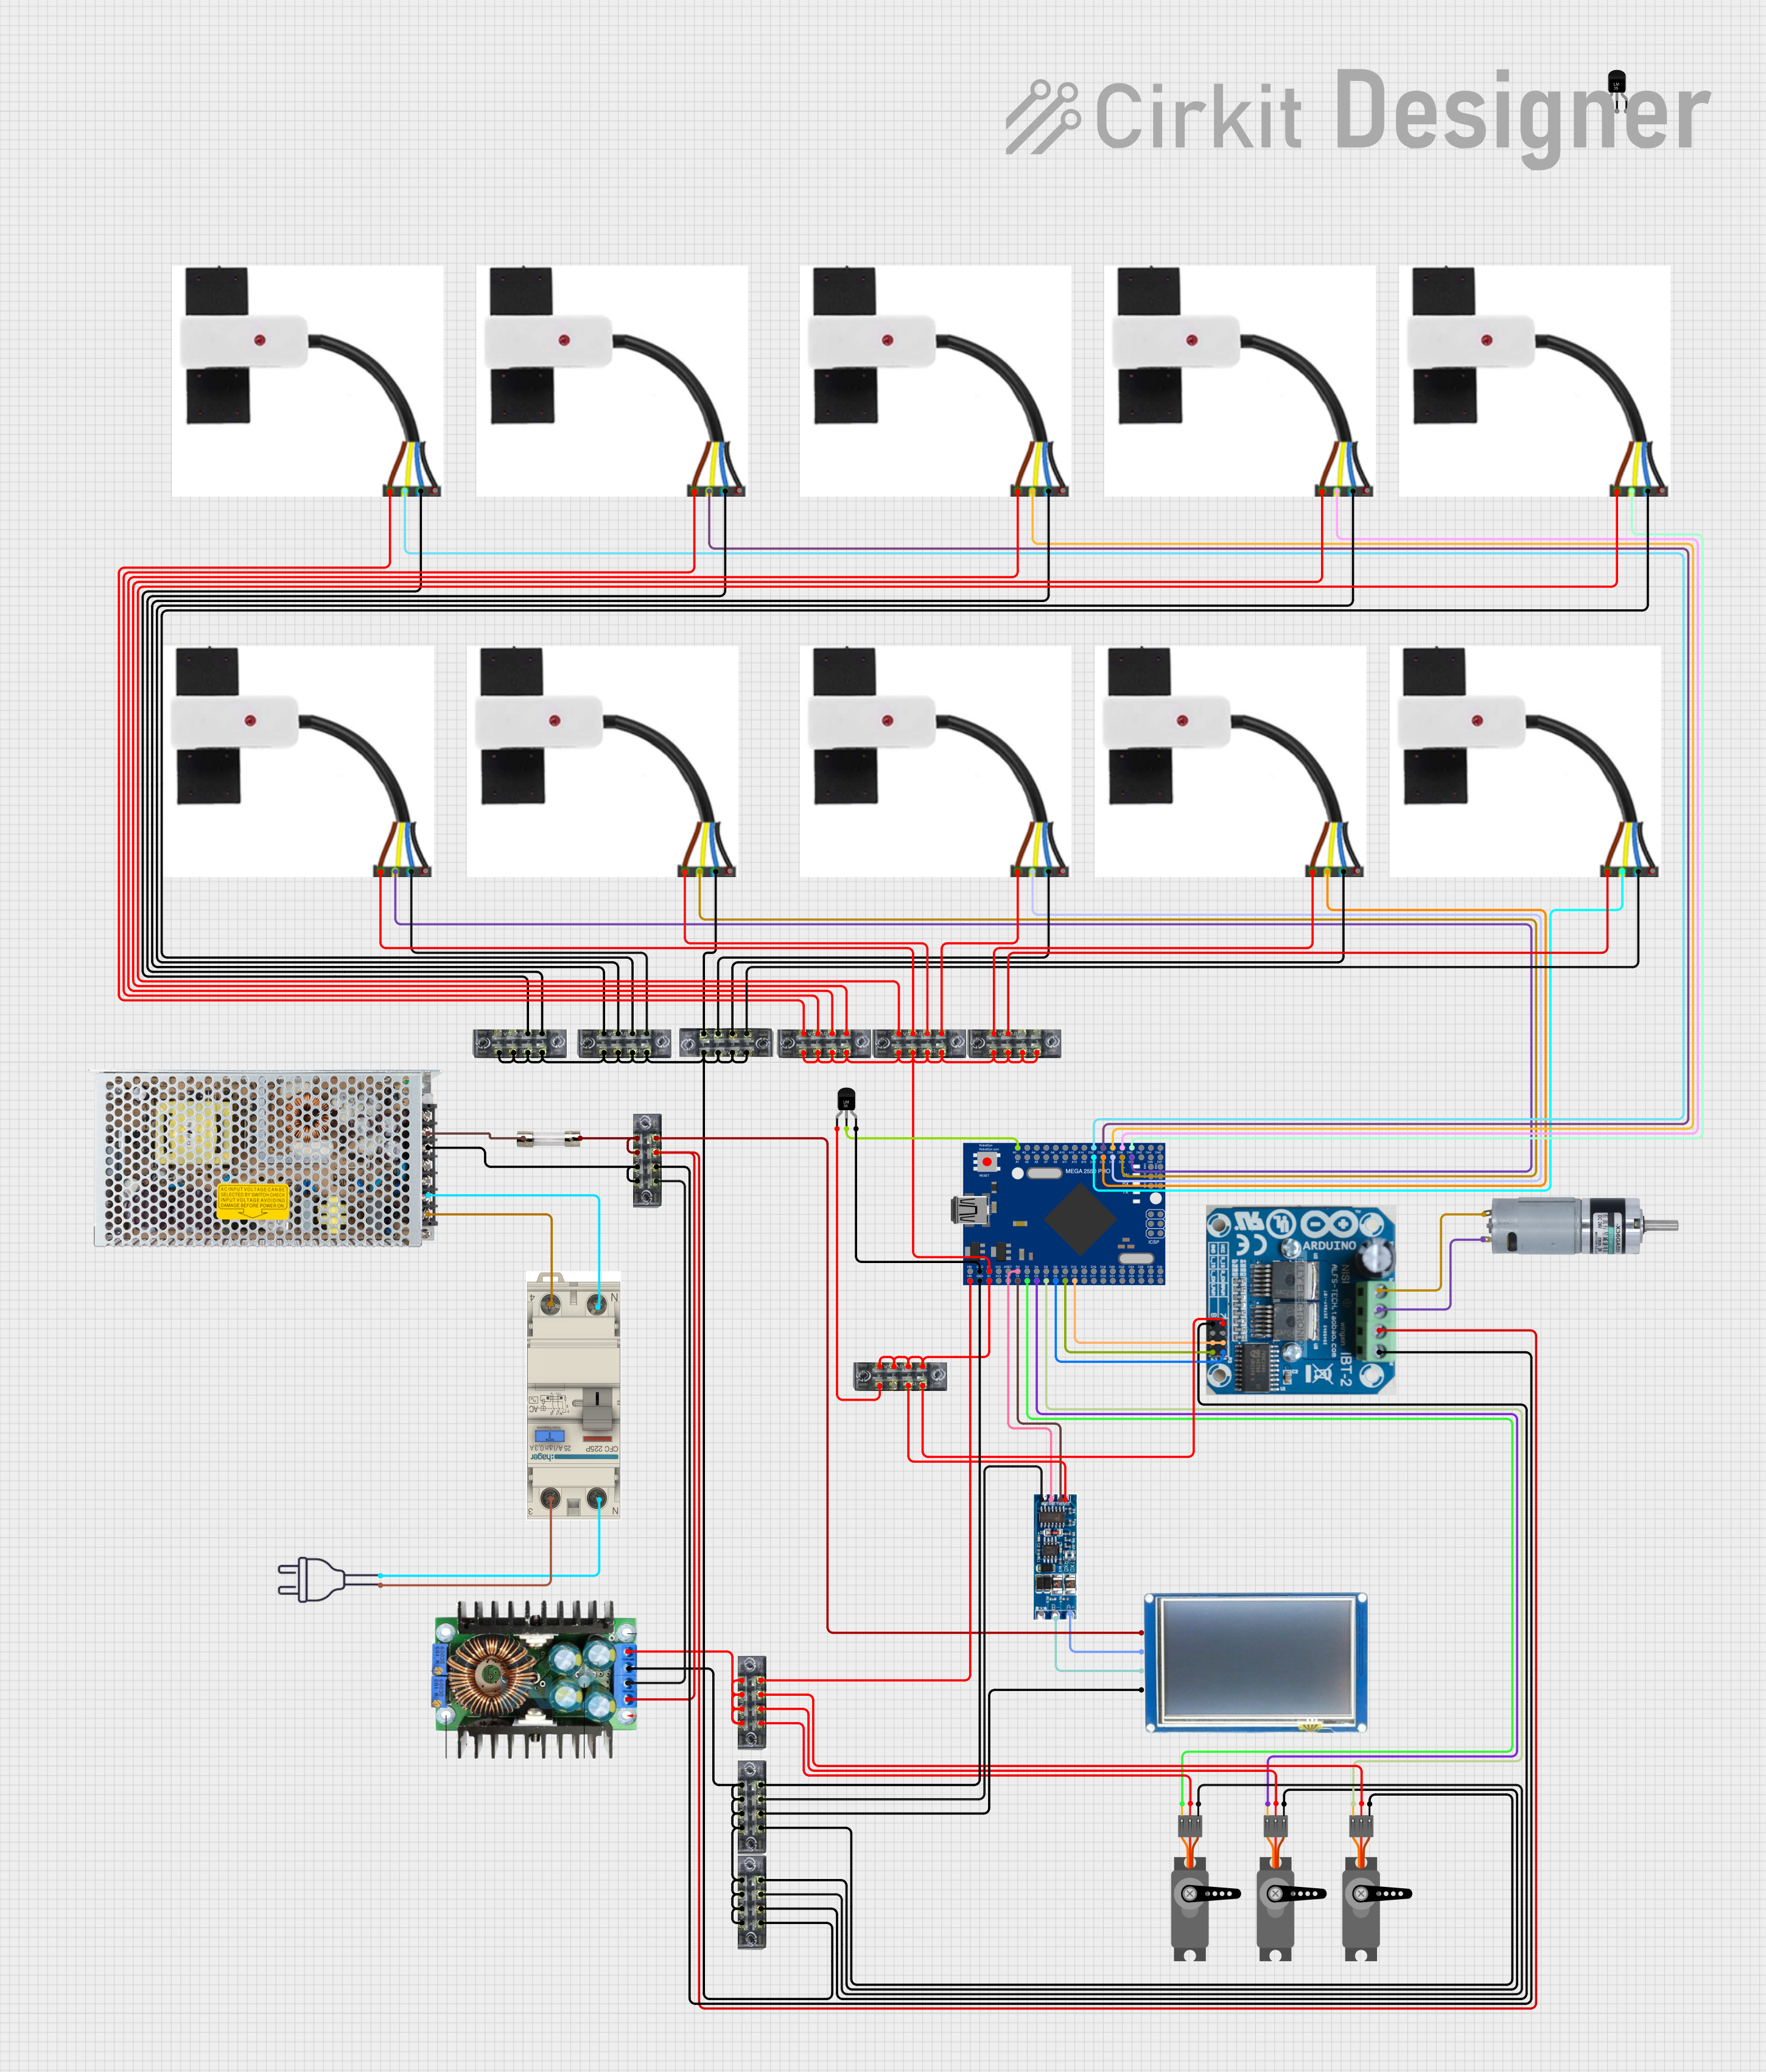
Image of Mega2560-Controlled Automation System with Non-Contact Liquid Level Sensing and Motor Control: A project utilizing terminal block tb1503 in a practical application
Mega2560-Controlled Automation System with Non-Contact Liquid Level Sensing and Motor Control

This circuit appears to be a complex control system centered around an Arduino Mega2560 R3 Pro microcontroller, which interfaces with multiple sensors (XKC-Y26-V non-contact liquid level sensors and an LM35 temperature sensor), servo motors, a touch display, and an IBT-2 H-Bridge motor driver for controlling a planetary gearbox motor. The system also includes a UART TTL to RS485 converter for communication, likely with the touch display, and a power management subsystem with a switching power supply, fuses, and circuit breakers for safety and voltage regulation (XL4016). The absence of embedded code suggests that the functionality of the microcontroller is not defined within the provided data.

Open Project in Cirkit Designer
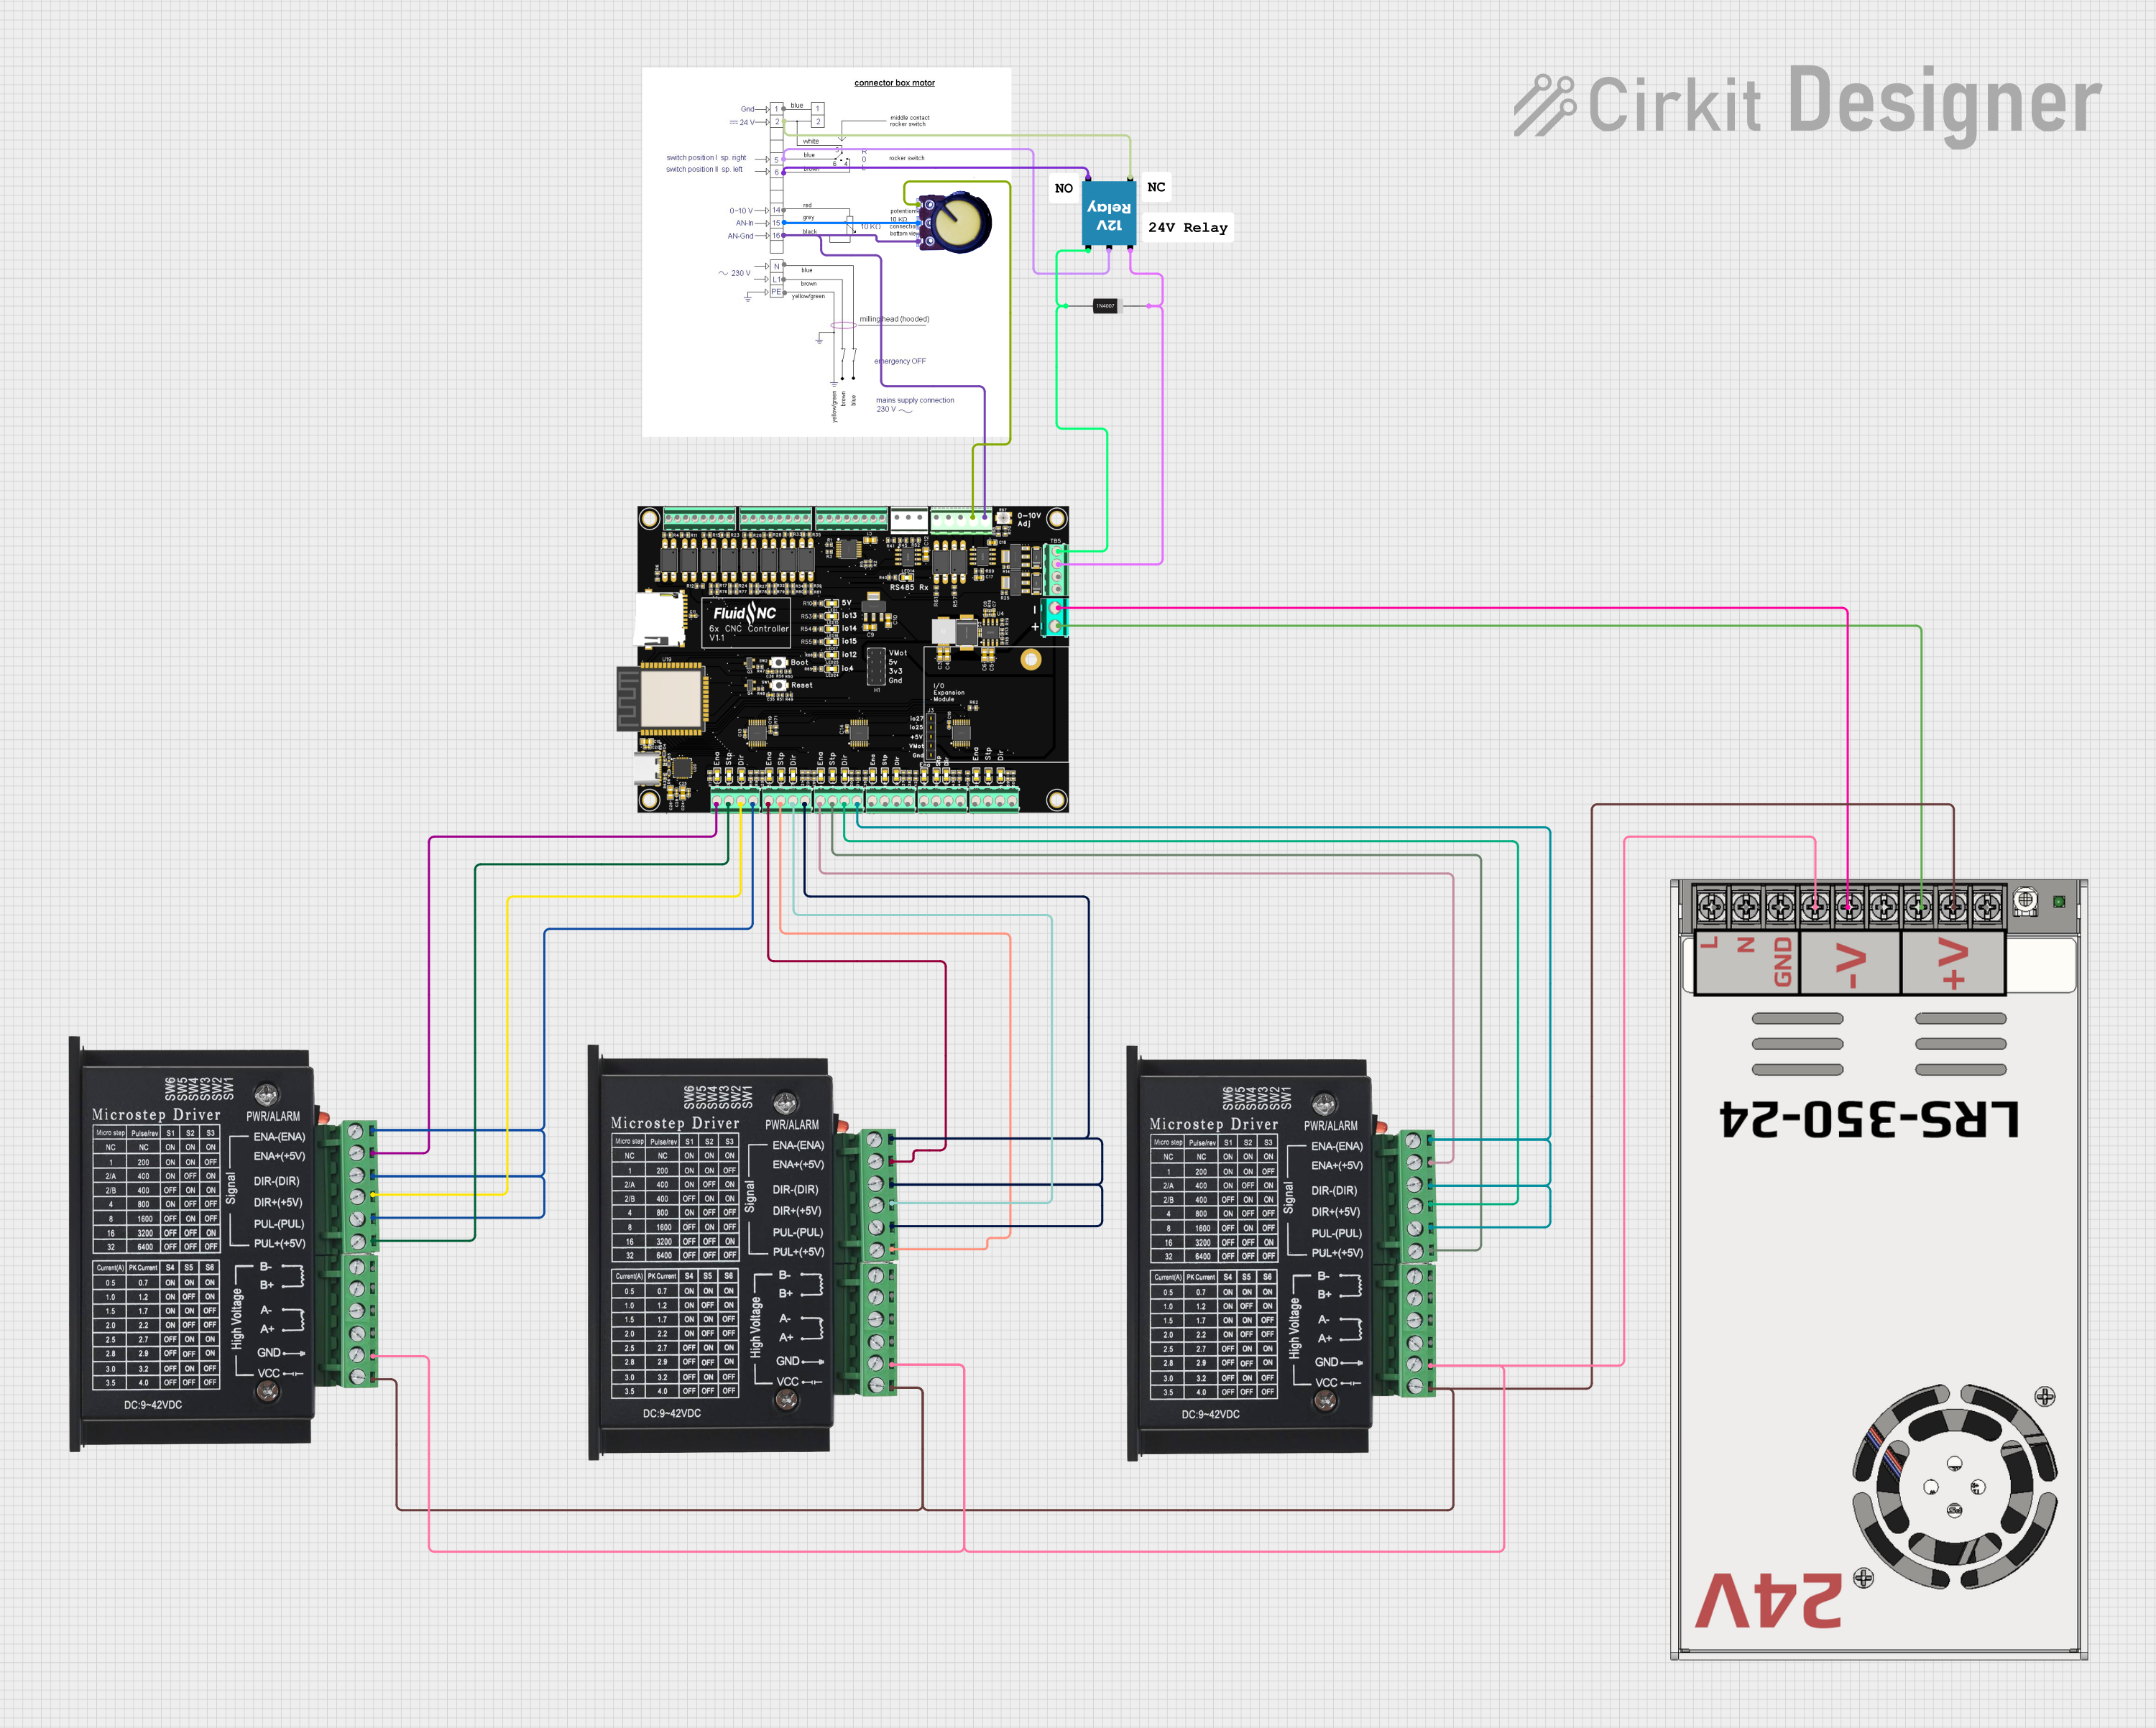
Image of TB6600 Stepper Motor Driver with CNC Control and Power Management: A project utilizing terminal block tb1503 in a practical application
TB6600 Stepper Motor Driver with CNC Control and Power Management

This circuit controls three TB6600 stepper motor drivers, which are connected to a 6xCNC controller for driving three separate stepper motors. A MW LRS-350-24 power supply provides +24V to the drivers and the CNC controller. Additionally, a 12V relay with a flyback diode is interfaced with the CNC controller for switching purposes, and a potentiometer is connected for analog input to the controller.

Open Project in Cirkit Designer

Technical Specifications

Pin Configuration and Descriptions

The TB1503 terminal block has three screw terminals, each corresponding to a connection point for wires. Below is the pin configuration:

Terminal Number Description Function
1 Input/Output Terminal 1 Connects to the first wire or circuit
2 Input/Output Terminal 2 Connects to the second wire or circuit
3 Input/Output Terminal 3 Connects to the third wire or circuit

Usage Instructions

How to Use the TB1503 in a Circuit

  1. Prepare the Wires:

    • Strip the insulation from the ends of the wires to expose approximately 5-7 mm of the conductor.
    • Ensure the wire gauge is within the supported range (22-12 AWG).
  2. Connect the Wires:

    • Loosen the screw on the terminal block using a screwdriver.
    • Insert the exposed wire end into the terminal slot.
    • Tighten the screw to secure the wire. Ensure the connection is firm but avoid overtightening, which could damage the wire or terminal.
  3. Mount the Terminal Block:

    • If panel mounting, secure the terminal block to the panel using screws.
    • If PCB mounting, solder the terminal block pins to the PCB pads.
  4. Verify Connections:

    • Double-check all connections to ensure there are no loose wires or short circuits.

Important Considerations and Best Practices

Example: Connecting TB1503 to an Arduino UNO

The TB1503 can be used to connect external components, such as sensors or actuators, to an Arduino UNO. Below is an example of wiring a simple LED circuit:

  1. Connect one terminal of the TB1503 to the Arduino's digital pin (e.g., D13).
  2. Connect the second terminal to the LED's anode (longer leg).
  3. Connect the third terminal to the LED's cathode (shorter leg) and then to the Arduino's GND.

Here is the Arduino code to blink the LED:

// Define the pin connected to the TB1503 terminal block
const int ledPin = 13;

void setup() {
  // Set the pin mode to OUTPUT
  pinMode(ledPin, OUTPUT);
}

void loop() {
  // Turn the LED on
  digitalWrite(ledPin, HIGH);
  delay(1000); // Wait for 1 second

  // Turn the LED off
  digitalWrite(ledPin, LOW);
  delay(1000); // Wait for 1 second
}

Troubleshooting and FAQs

Common Issues

  1. Loose Connections:

    • Problem: Wires are not securely connected, leading to intermittent or no signal.
    • Solution: Ensure screws are tightened properly and wires are fully inserted into the terminal slots.
  2. Overheating:

    • Problem: Terminal block becomes hot during operation.
    • Solution: Check that the current does not exceed the rated 15A. Use thicker wires if necessary.
  3. Wire Slippage:

    • Problem: Wires slip out of the terminal block.
    • Solution: Use ferrules or crimp connectors to improve wire retention.
  4. Damaged Screws or Threads:

    • Problem: Screws or threads are stripped, preventing proper tightening.
    • Solution: Replace the terminal block if the damage is severe. Avoid overtightening in the future.

FAQs

This concludes the documentation for the Terminal Block TB1503.