
How to Use 3 Point Terminal Block: Examples, Pinouts, and Specs
 Design with 3 Point Terminal Block in Cirkit Designer
Introduction
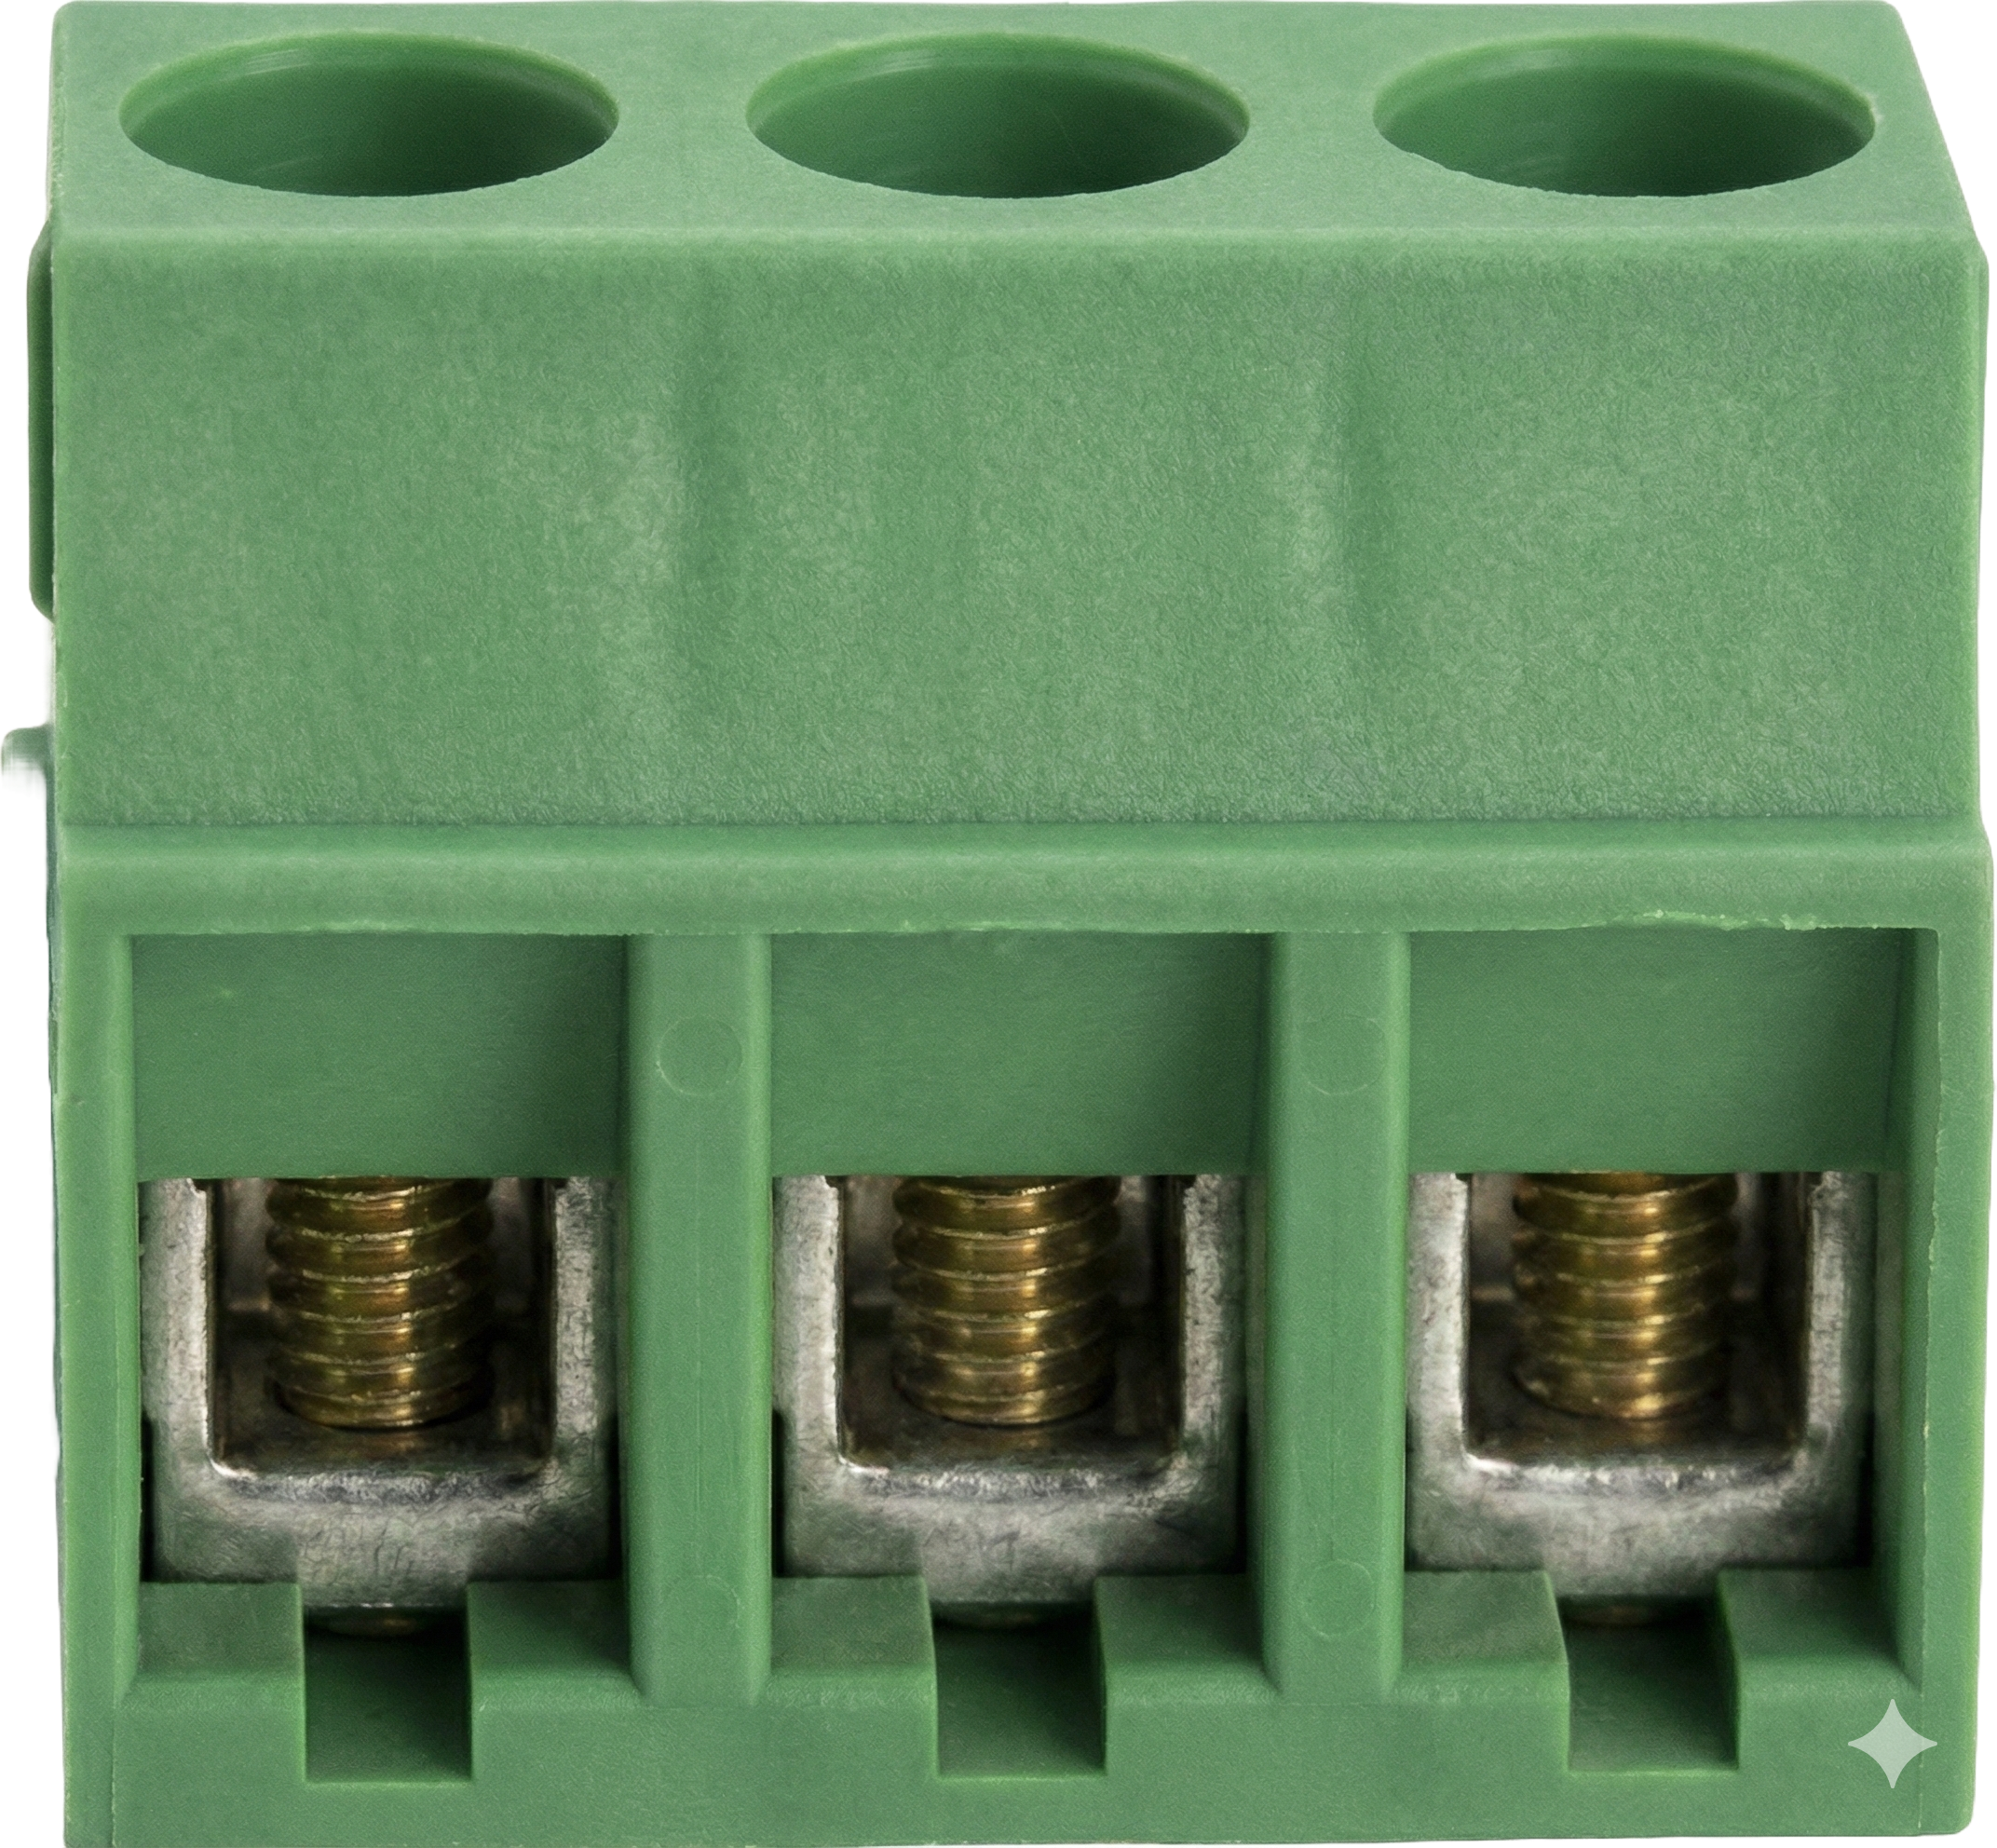
A 3 Point Terminal Block is a type of electrical connector designed to securely connect three wires or conductors. It features a plastic housing with three metal terminals, where wires can be inserted and fastened using screws or clamps. This component is widely used in electrical and electronic systems to facilitate easy, reliable, and reusable connections.
Explore Projects Built with 3 Point Terminal Block
 Open Project in Cirkit Designer
 Open Project in Cirkit Designer
 Open Project in Cirkit Designer
 Open Project in Cirkit Designer
Explore Projects Built with 3 Point Terminal Block
Open Project in Cirkit DesignerOpen Project in Cirkit DesignerOpen Project in Cirkit DesignerOpen Project in Cirkit DesignerCommon Applications and Use Cases
- Industrial Control Systems: Used for connecting sensors, actuators, and control devices.
- Power Distribution: Ideal for splitting or combining power lines in low-voltage systems.
- Prototyping and Testing: Provides a convenient way to connect and disconnect wires during development.
- Home Automation: Used in smart home devices for connecting power and signal lines.
- PCB Mounting: Often used on printed circuit boards for external connections.
Technical Specifications
Key Technical Details
| Parameter | Value/Description |
|---|---|
| Number of Terminals | 3 |
| Rated Voltage | Typically 250V AC/DC (varies by model) |
| Rated Current | Typically 10A to 15A (varies by model) |
| Wire Size Compatibility | 22 AWG to 12 AWG |
| Terminal Type | Screw or clamp-based |
| Mounting Style | PCB mount or DIN rail mount |
| Material | Plastic housing with metal (brass or steel) terminals |
| Operating Temperature | -40°C to +105°C |
Pin Configuration and Descriptions
The 3 Point Terminal Block does not have traditional "pins" like ICs but instead has three terminals for wire connections. Below is a description of the terminals:
| Terminal Number | Description |
|---|---|
| 1 | First wire connection point |
| 2 | Second wire connection point |
| 3 | Third wire connection point |
Usage Instructions
How to Use the Component in a Circuit
Prepare the Wires:
- Strip the insulation from the ends of the wires to expose about 5-7 mm of the conductor.
- Ensure the exposed conductor is clean and free of oxidation.
Insert the Wires:
- Loosen the screws or clamps on the terminal block using a screwdriver.
- Insert the exposed conductor of each wire into the corresponding terminal.
Secure the Wires:
- Tighten the screws or clamps to secure the wires in place.
- Ensure the connection is firm but avoid overtightening, which could damage the wire or terminal.
Connect to the Circuit:
- Mount the terminal block on a PCB or DIN rail as required.
- Connect the terminal block to the rest of the circuit using appropriate wiring.
Important Considerations and Best Practices
- Wire Compatibility: Ensure the wire gauge is compatible with the terminal block specifications.
- Tightening Torque: Use the recommended torque to avoid damaging the terminal or wire.
- Insulation Clearance: Ensure no exposed conductor is left outside the terminal to prevent short circuits.
- Environmental Conditions: Use terminal blocks rated for the operating temperature and humidity of your application.
- Testing: After installation, test the connections for continuity and mechanical stability.
Example: Connecting to an Arduino UNO
While a 3 Point Terminal Block is not directly connected to an Arduino UNO, it can be used to interface external components like sensors or power supplies. Below is an example of using a terminal block to connect a 12V power supply to an Arduino UNO via a voltage regulator.
Circuit Diagram
- Terminal 1: Connects to the positive terminal of the 12V power supply.
- Terminal 2: Connects to the input of a 7805 voltage regulator.
- Terminal 3: Connects to the ground of the power supply and Arduino.
Arduino Code Example
// Example code for reading a sensor connected via a terminal block
// Ensure the sensor is properly connected to the terminal block and Arduino

const int sensorPin = A0; // Analog pin connected to the sensor output

void setup() {
  Serial.begin(9600); // Initialize serial communication
  pinMode(sensorPin, INPUT); // Set the sensor pin as input
}

void loop() {
  int sensorValue = analogRead(sensorPin); // Read the sensor value
  Serial.print("Sensor Value: ");
  Serial.println(sensorValue); // Print the sensor value to the Serial Monitor
  delay(1000); // Wait for 1 second before the next reading
}
Troubleshooting and FAQs
Common Issues and Solutions
| Issue | Possible Cause | Solution |
|---|---|---|
| Loose wire connections | Screws/clamps not tightened properly | Tighten the screws/clamps securely. |
| Intermittent connections | Oxidized or damaged wire ends | Clean or re-strip the wire ends. |
| Overheating of terminals | Exceeding current rating | Use a terminal block with a higher current rating. |
| Short circuits | Exposed conductor outside the terminal | Ensure proper insulation clearance. |
| Terminal block damage | Excessive tightening of screws | Use the recommended tightening torque. |
FAQs
Can I use a 3 Point Terminal Block for high-voltage applications?
- Yes, but ensure the terminal block is rated for the voltage and current of your application.
How do I mount the terminal block on a PCB?
- Use a PCB-mount terminal block with solderable pins. Insert the pins into the PCB holes and solder them securely.
Can I connect wires of different gauges to the same terminal block?
- Yes, as long as the wire gauges are within the terminal block's compatibility range.
What tools are required to use a terminal block?
- A screwdriver (flathead or Phillips, depending on the terminal block) and a wire stripper.
Is it safe to use a terminal block outdoors?
- Only if the terminal block is rated for outdoor use and protected from moisture and extreme temperatures.
By following this documentation, you can effectively use a 3 Point Terminal Block in your projects and troubleshoot common issues with ease.