How to Use Gravity: Analog AC Current Sensor: Examples, Pinouts, and Specs
Introduction
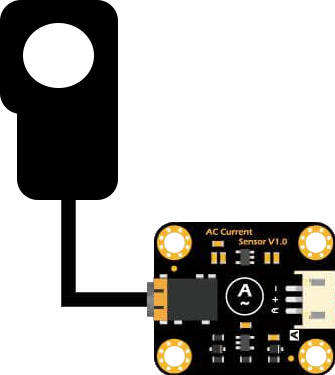
The Gravity: Analog AC Current Sensor (SEN0211), manufactured by DFRobot, is a versatile and easy-to-use sensor designed to measure alternating current (AC). It works by converting the current flowing through a conductor into a proportional voltage output, enabling real-time monitoring and analysis of AC electrical systems. This sensor is ideal for applications such as energy monitoring, home automation, industrial equipment diagnostics, and educational projects.
With its compact design and compatibility with microcontrollers like Arduino, the Gravity: Analog AC Current Sensor is a reliable choice for both beginners and experienced users looking to measure AC current in their projects.
Explore Projects Built with Gravity: Analog AC Current Sensor
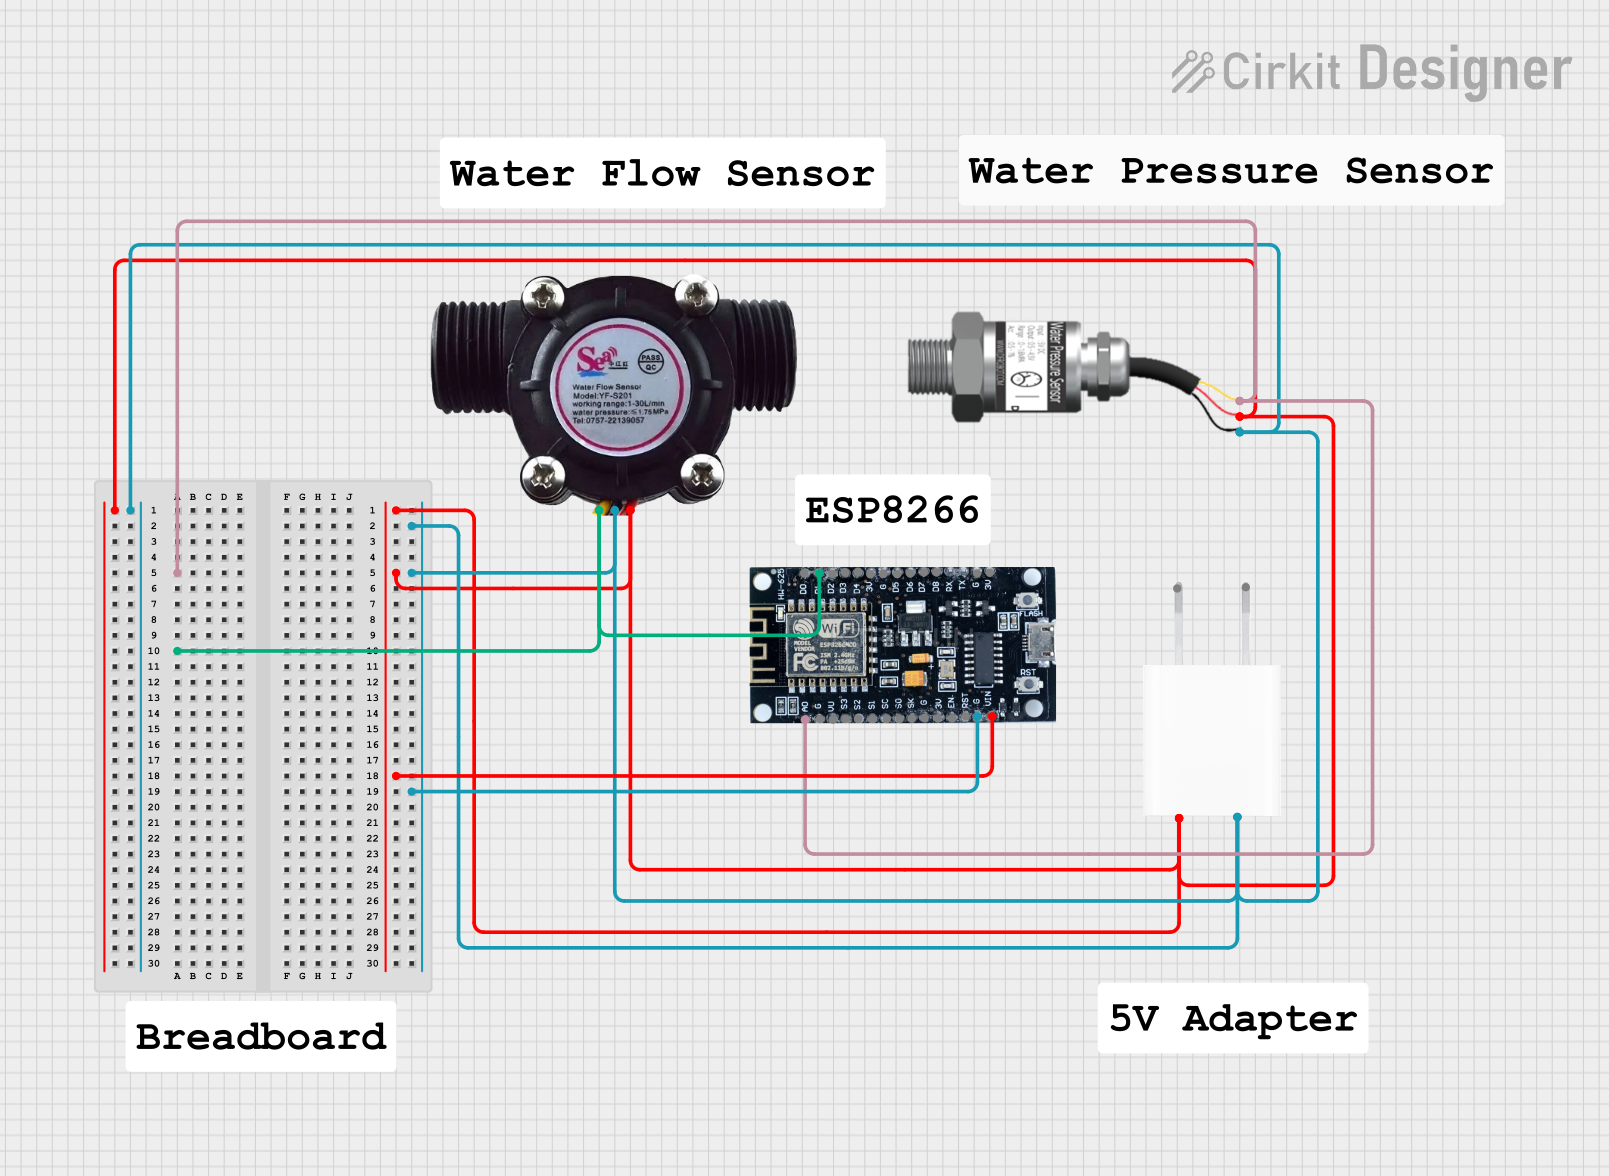
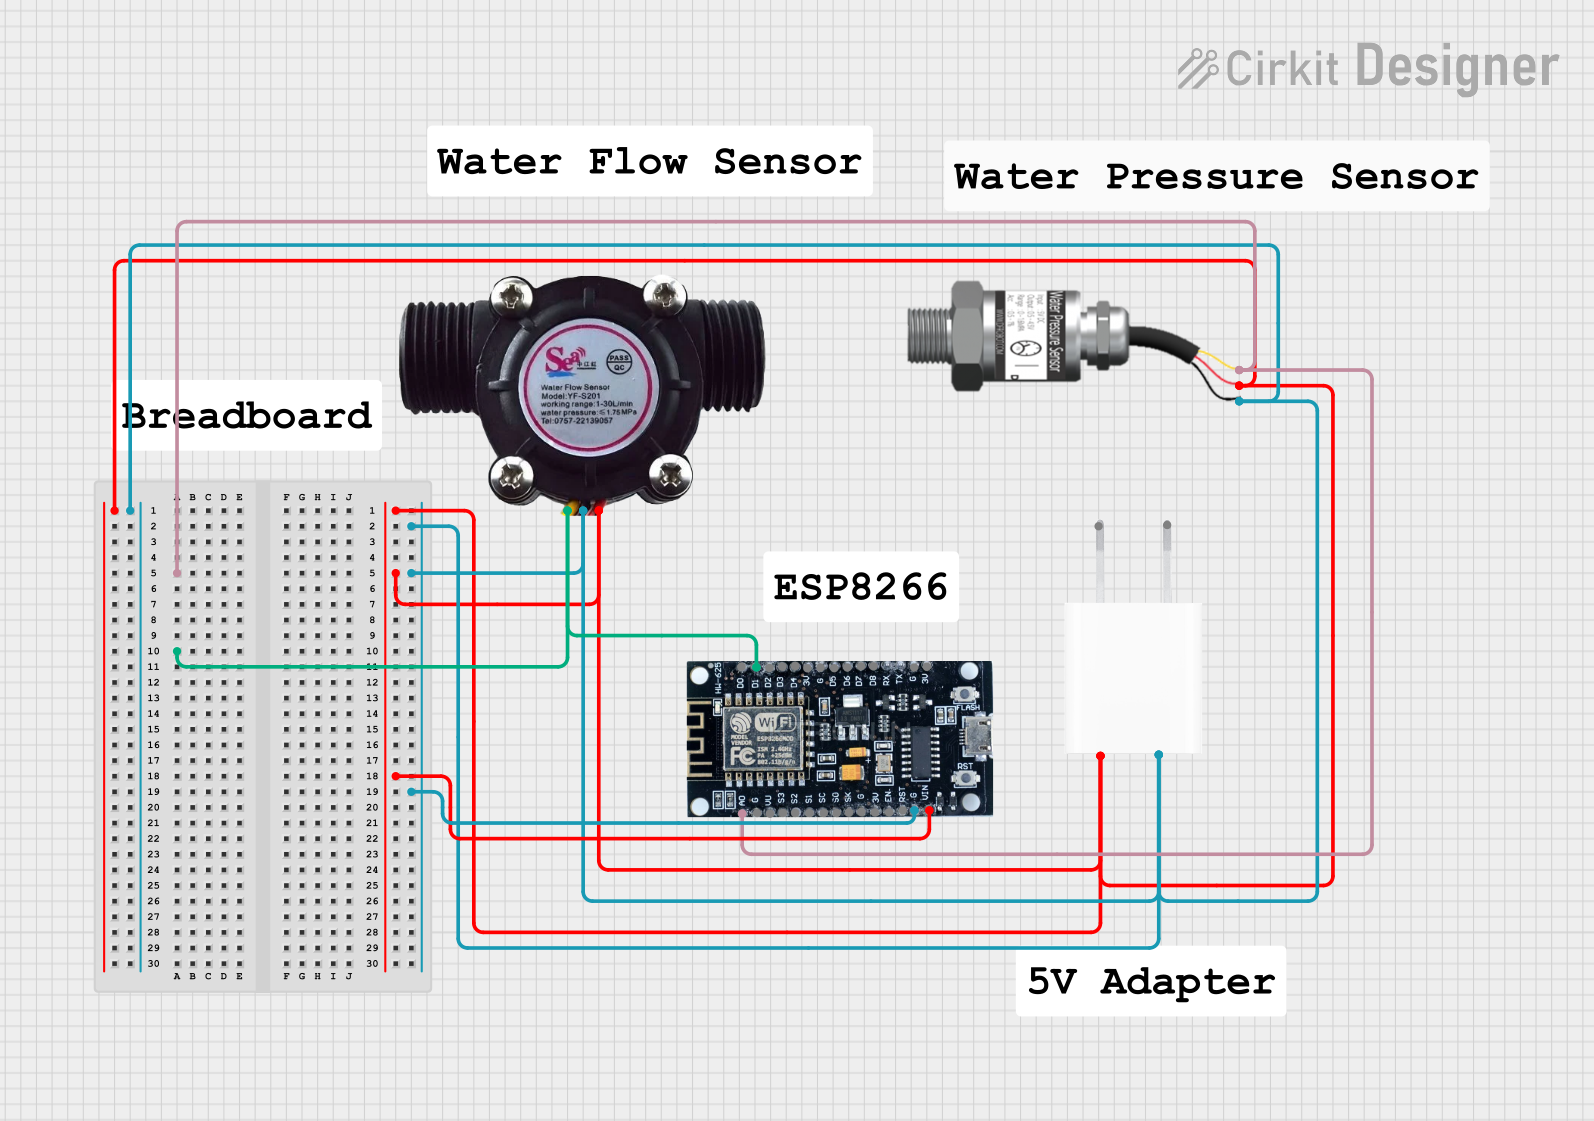
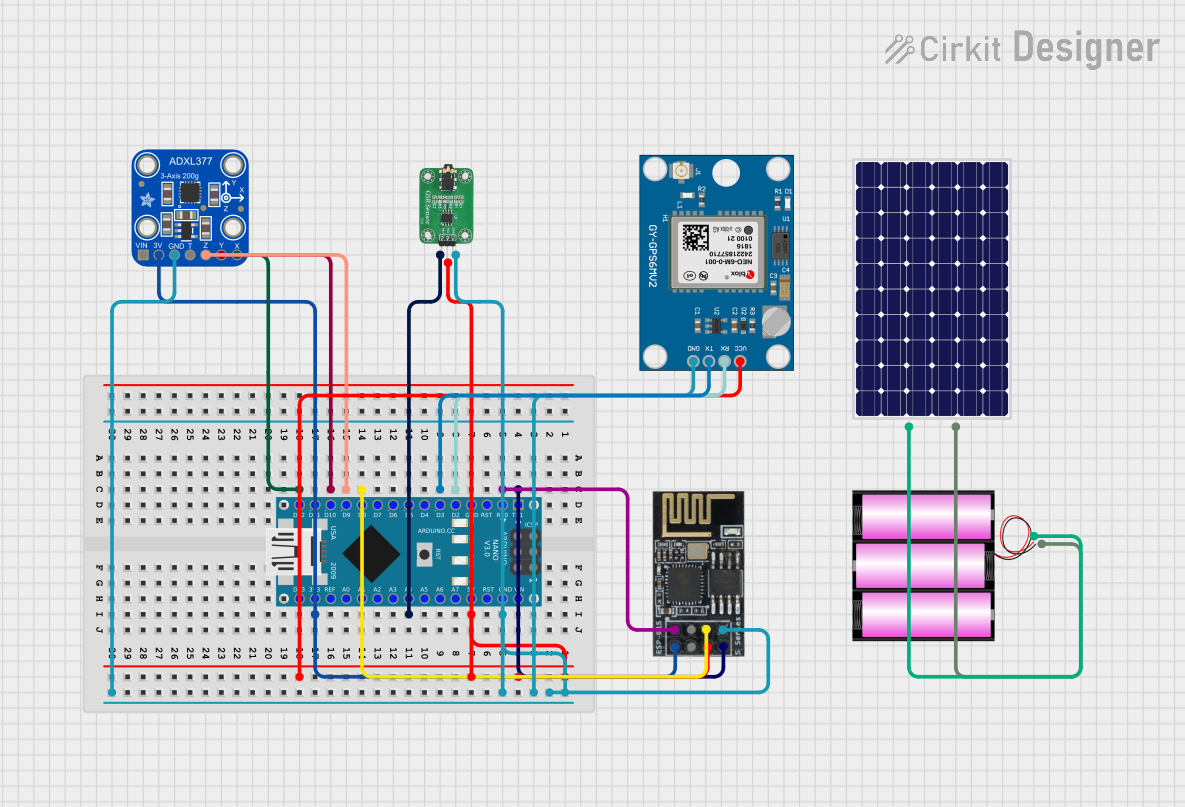

Explore Projects Built with Gravity: Analog AC Current Sensor
Technical Specifications
Below are the key technical details and pin configuration for the Gravity: Analog AC Current Sensor:
Key Technical Details
| Parameter | Specification |
|---|---|
| Manufacturer | DFRobot |
| Part Number | SEN0211 |
| Input Current Range | 0 to 5A AC |
| Output Voltage Range | 0.2V to 2.8V |
| Supply Voltage | 5V DC |
| Accuracy | ±5% |
| Interface Type | Analog |
| Operating Temperature | -25°C to 70°C |
| Dimensions | 38mm x 20mm x 15mm |
| Weight | 10g |
Pin Configuration
The sensor has a 3-pin interface for easy connection to microcontrollers. The pinout is as follows:
| Pin Name | Description |
|---|---|
| VCC | Power supply input (5V DC) |
| GND | Ground |
| SIG | Analog signal output (voltage proportional to AC current) |
Usage Instructions
How to Use the Sensor in a Circuit
Connect the Sensor:
- Connect the VCC pin to the 5V output of your microcontroller or power supply.
- Connect the GND pin to the ground of your microcontroller or power supply.
- Connect the SIG pin to an analog input pin on your microcontroller (e.g., A0 on an Arduino UNO).
Pass the AC Conductor Through the Sensor:
- Place the AC conductor (e.g., a single wire carrying AC current) through the hole in the sensor. Ensure that only one conductor passes through the sensor for accurate measurement.
Read the Output:
- The sensor outputs an analog voltage proportional to the AC current flowing through the conductor. Use an analog-to-digital converter (ADC) on your microcontroller to read the voltage and calculate the current.
Important Considerations and Best Practices
- Calibration: The sensor may require calibration to ensure accurate readings. Use a known current source to determine the relationship between the output voltage and the actual current.
- Single Conductor Only: Ensure that only one conductor passes through the sensor. If both live and neutral wires pass through, the magnetic fields will cancel out, resulting in incorrect readings.
- Avoid Overcurrent: The sensor is designed for currents up to 5A AC. Exceeding this limit may damage the sensor or result in inaccurate readings.
- Noise Filtering: Use appropriate filtering techniques in your code or circuit to reduce noise and improve measurement stability.
Example Code for Arduino UNO
Below is an example Arduino sketch to read the sensor's output and calculate the AC current:
// Gravity: Analog AC Current Sensor (SEN0211) Example Code
// This code reads the sensor's analog output and calculates the AC current.

const int sensorPin = A0;  // Analog pin connected to SIG pin of the sensor
const float sensitivity = 0.185; // Sensor sensitivity in V/A (calibration factor)
const float offsetVoltage = 2.5; // Voltage at 0A (midpoint of the sensor output)

void setup() {
  Serial.begin(9600); // Initialize serial communication
  pinMode(sensorPin, INPUT); // Set the sensor pin as input
}

void loop() {
  int sensorValue = analogRead(sensorPin); // Read the analog value
  float voltage = sensorValue * (5.0 / 1023.0); // Convert to voltage
  float current = (voltage - offsetVoltage) / sensitivity; // Calculate current

  // Print the results to the Serial Monitor
  Serial.print("Voltage: ");
  Serial.print(voltage, 3); // Print voltage with 3 decimal places
  Serial.print(" V, Current: ");
  Serial.print(current, 3); // Print current with 3 decimal places
  Serial.println(" A");

  delay(500); // Wait for 500ms before the next reading
}
Notes on the Code
- The
sensitivityandoffsetVoltagevalues may vary slightly between sensors. Adjust these values during calibration for better accuracy. - The code assumes a 10-bit ADC resolution (1024 levels) on the Arduino UNO.
Troubleshooting and FAQs
Common Issues and Solutions
No Output or Incorrect Readings:
- Ensure that the sensor is powered correctly (5V to the VCC pin).
- Verify that only one conductor passes through the sensor.
Fluctuating or Noisy Readings:
- Add a capacitor (e.g., 0.1µF) between the SIG pin and GND to filter noise.
- Use software averaging or smoothing techniques in your code.
Output Voltage Exceeds Expected Range:
- Check if the current exceeds the sensor's 5A limit. Reduce the current or use a higher-rated sensor.
Calibration Issues:
- Use a multimeter or a known current source to calibrate the sensor. Adjust the
sensitivityandoffsetVoltagevalues in the code accordingly.
- Use a multimeter or a known current source to calibrate the sensor. Adjust the
FAQs
Q: Can this sensor measure DC current?
A: No, the Gravity: Analog AC Current Sensor is designed specifically for AC current measurement. It cannot measure DC current.
Q: Can I use this sensor with a Raspberry Pi?
A: Yes, but since the Raspberry Pi lacks an onboard ADC, you will need an external ADC module (e.g., MCP3008) to read the sensor's analog output.
Q: What is the maximum wire diameter that can pass through the sensor?
A: The sensor can accommodate wires with a diameter of up to 10mm.
Q: How do I improve the accuracy of the sensor?
A: Perform a proper calibration using a known current source, and ensure that the sensor is not exposed to external magnetic fields or electrical noise.
By following this documentation, you can effectively integrate the Gravity: Analog AC Current Sensor into your projects for accurate and reliable AC current measurement.