
How to Use flame sensor: Examples, Pinouts, and Specs
 Design with flame sensor in Cirkit Designer
Introduction
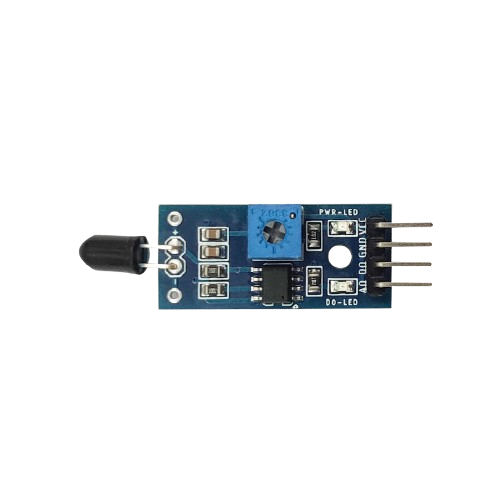
The Flame Sensor (Manufacturer: Zadetector, Part ID: 220v) is a device designed to detect the presence of fire or flames by sensing the infrared (IR) radiation emitted by the flame. This sensor is widely used in fire alarm systems, industrial safety applications, and home automation systems to provide early warnings of fire hazards. Its ability to detect flames quickly and accurately makes it an essential component in environments where fire safety is critical.
Explore Projects Built with flame sensor
 Open Project in Cirkit Designer
 Open Project in Cirkit Designer
 Open Project in Cirkit Designer
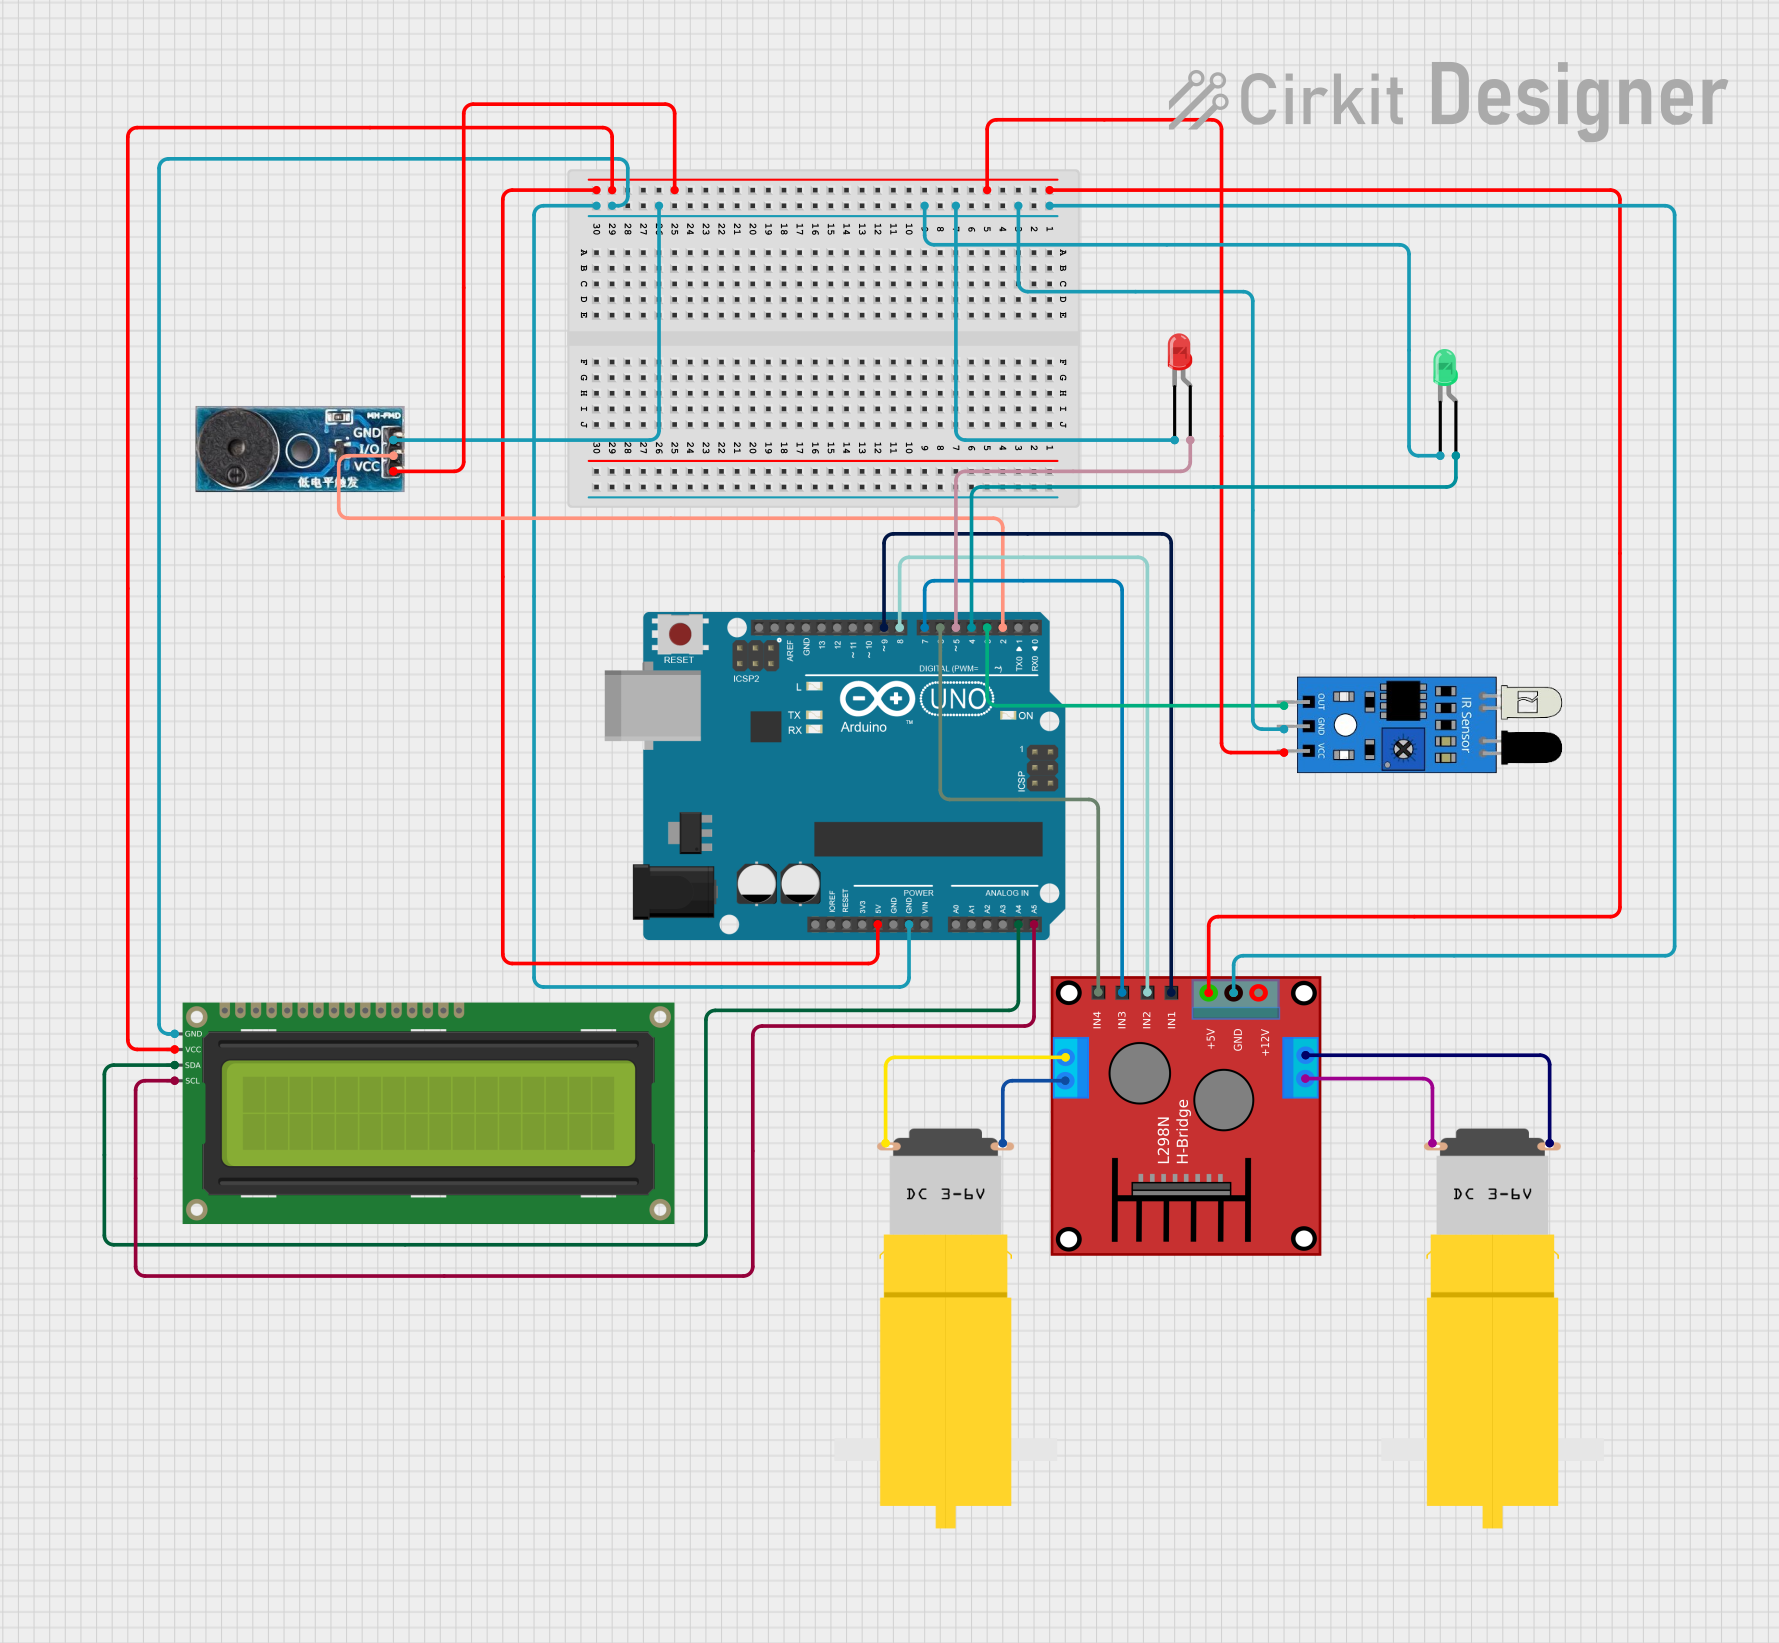 Open Project in Cirkit Designer
Explore Projects Built with flame sensor
Open Project in Cirkit DesignerOpen Project in Cirkit DesignerOpen Project in Cirkit DesignerOpen Project in Cirkit DesignerCommon Applications
- Fire alarm and detection systems
- Industrial safety monitoring
- Gas stove flame monitoring
- Robotics and automation (e.g., fire-fighting robots)
- Home safety systems
Technical Specifications
The following table outlines the key technical details of the Zadetector Flame Sensor (220v):
| Parameter | Value |
|---|---|
| Operating Voltage | 3.3V to 5V |
| Detection Range | 760 nm to 1100 nm (IR wavelength) |
| Detection Angle | 60° |
| Output Type | Digital (D0) and Analog (A0) |
| Operating Temperature | -25°C to 85°C |
| Dimensions | 32mm x 14mm x 8mm |
Pin Configuration and Descriptions
The flame sensor module typically has three pins. The table below describes each pin:
| Pin | Name | Description |
|---|---|---|
| 1 | VCC | Power supply pin. Connect to 3.3V or 5V. |
| 2 | GND | Ground pin. Connect to the ground of the circuit. |
| 3 | OUT | Output pin. Provides a digital signal (HIGH or LOW) or analog voltage based on flame detection. |
Usage Instructions
How to Use the Flame Sensor in a Circuit
- Power the Sensor: Connect the VCC pin to a 3.3V or 5V power source and the GND pin to the ground of your circuit.
- Connect the Output:
- For digital output, connect the OUT pin to a digital input pin on your microcontroller (e.g., Arduino).
- For analog output, connect the OUT pin to an analog input pin on your microcontroller.
- Adjust Sensitivity: Use the onboard potentiometer to adjust the sensitivity of the sensor. Turning the potentiometer clockwise increases sensitivity, while turning it counterclockwise decreases sensitivity.
- Monitor the Output:
- When a flame is detected, the digital output pin (D0) will go LOW.
- The analog output pin (A0) will provide a voltage proportional to the intensity of the detected flame.
Important Considerations and Best Practices
- Avoid Direct Sunlight: The sensor may give false readings if exposed to direct sunlight or other strong IR sources.
- Distance and Angle: Ensure the flame is within the sensor's detection range (60° angle and appropriate distance) for accurate readings.
- Power Supply: Use a stable power supply to avoid noise in the output signal.
- Testing Environment: Test the sensor in a controlled environment before deploying it in critical applications.
Example: Connecting to an Arduino UNO
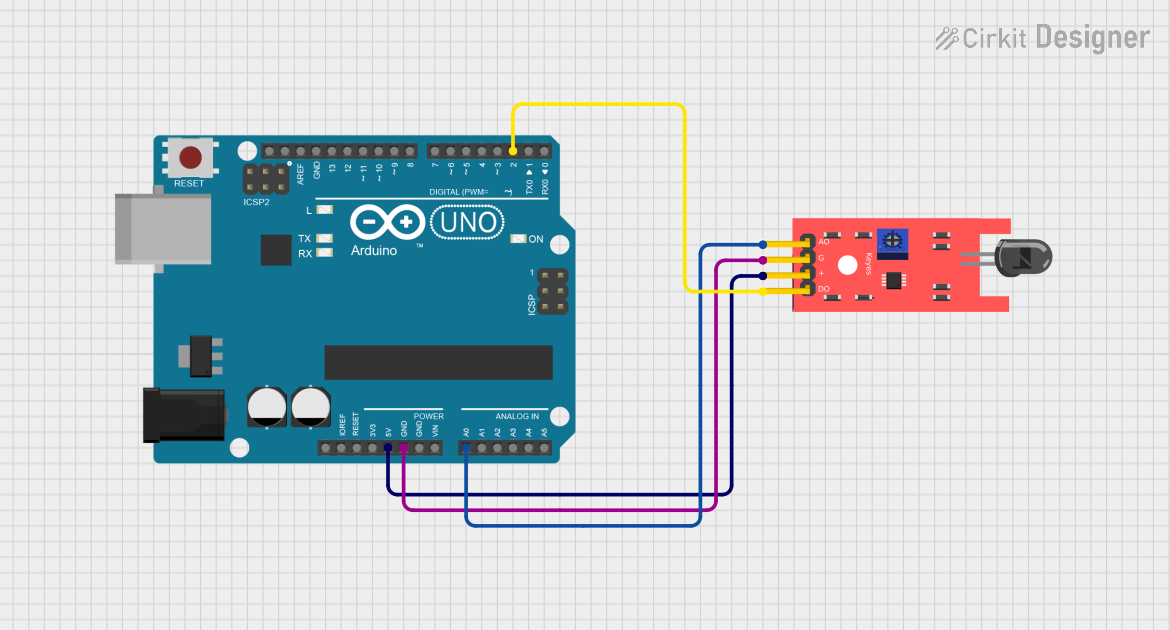
Below is an example of how to connect and use the flame sensor with an Arduino UNO:
Circuit Connections
- Connect the VCC pin of the flame sensor to the 5V pin on the Arduino.
- Connect the GND pin of the flame sensor to the GND pin on the Arduino.
- Connect the OUT pin of the flame sensor to digital pin 2 on the Arduino.
Arduino Code
// Flame Sensor Example Code
// This code reads the digital output of the flame sensor and turns on an LED
// if a flame is detected.

const int flameSensorPin = 2; // Digital pin connected to the flame sensor OUT pin
const int ledPin = 13;        // Built-in LED pin on Arduino

void setup() {
  pinMode(flameSensorPin, INPUT); // Set flame sensor pin as input
  pinMode(ledPin, OUTPUT);        // Set LED pin as output
  Serial.begin(9600);             // Initialize serial communication
}

void loop() {
  int flameDetected = digitalRead(flameSensorPin); // Read the flame sensor output

  if (flameDetected == LOW) {
    // Flame detected (LOW signal from sensor)
    digitalWrite(ledPin, HIGH); // Turn on LED
    Serial.println("Flame detected!");
  } else {
    // No flame detected (HIGH signal from sensor)
    digitalWrite(ledPin, LOW);  // Turn off LED
    Serial.println("No flame detected.");
  }

  delay(500); // Wait for 500ms before the next reading
}
Troubleshooting and FAQs
Common Issues and Solutions
Sensor Not Detecting Flames:
- Cause: The flame is outside the detection range or angle.
- Solution: Ensure the flame is within the 60° detection angle and appropriate distance.
False Positives:
- Cause: Strong IR sources (e.g., sunlight or incandescent bulbs) interfering with the sensor.
- Solution: Shield the sensor from external IR sources or use it in a controlled environment.
Unstable Output:
- Cause: Noise in the power supply or loose connections.
- Solution: Use a stable power supply and check all connections.
Sensitivity Issues:
- Cause: Incorrect potentiometer adjustment.
- Solution: Adjust the potentiometer to achieve the desired sensitivity.
FAQs
Q1: Can the flame sensor detect flames through glass?
A1: No, the sensor cannot detect flames through glass as glass blocks most IR radiation.
Q2: What is the maximum distance the sensor can detect a flame?
A2: The detection distance depends on the flame size and intensity. Typically, it can detect flames up to 1 meter away under ideal conditions.
Q3: Can I use the flame sensor outdoors?
A3: While it is possible, the sensor may give false readings due to sunlight or other environmental factors. Use it in a shaded or controlled environment for best results.
Q4: Is the sensor compatible with 3.3V microcontrollers?
A4: Yes, the sensor operates within a voltage range of 3.3V to 5V, making it compatible with most microcontrollers.