How to Use dfr robot lightning sensor: Examples, Pinouts, and Specs

Introduction
The DFR Robot Lightning Sensor by Si Chavez (Part ID: Lightning Sensor) is a versatile light intensity sensor designed specifically for DFRobot robots. This sensor is capable of detecting varying levels of light intensity, making it ideal for applications such as line following, obstacle avoidance, and environmental light monitoring. Its compact design and ease of integration make it a popular choice for robotics enthusiasts and developers.
Explore Projects Built with dfr robot lightning sensor


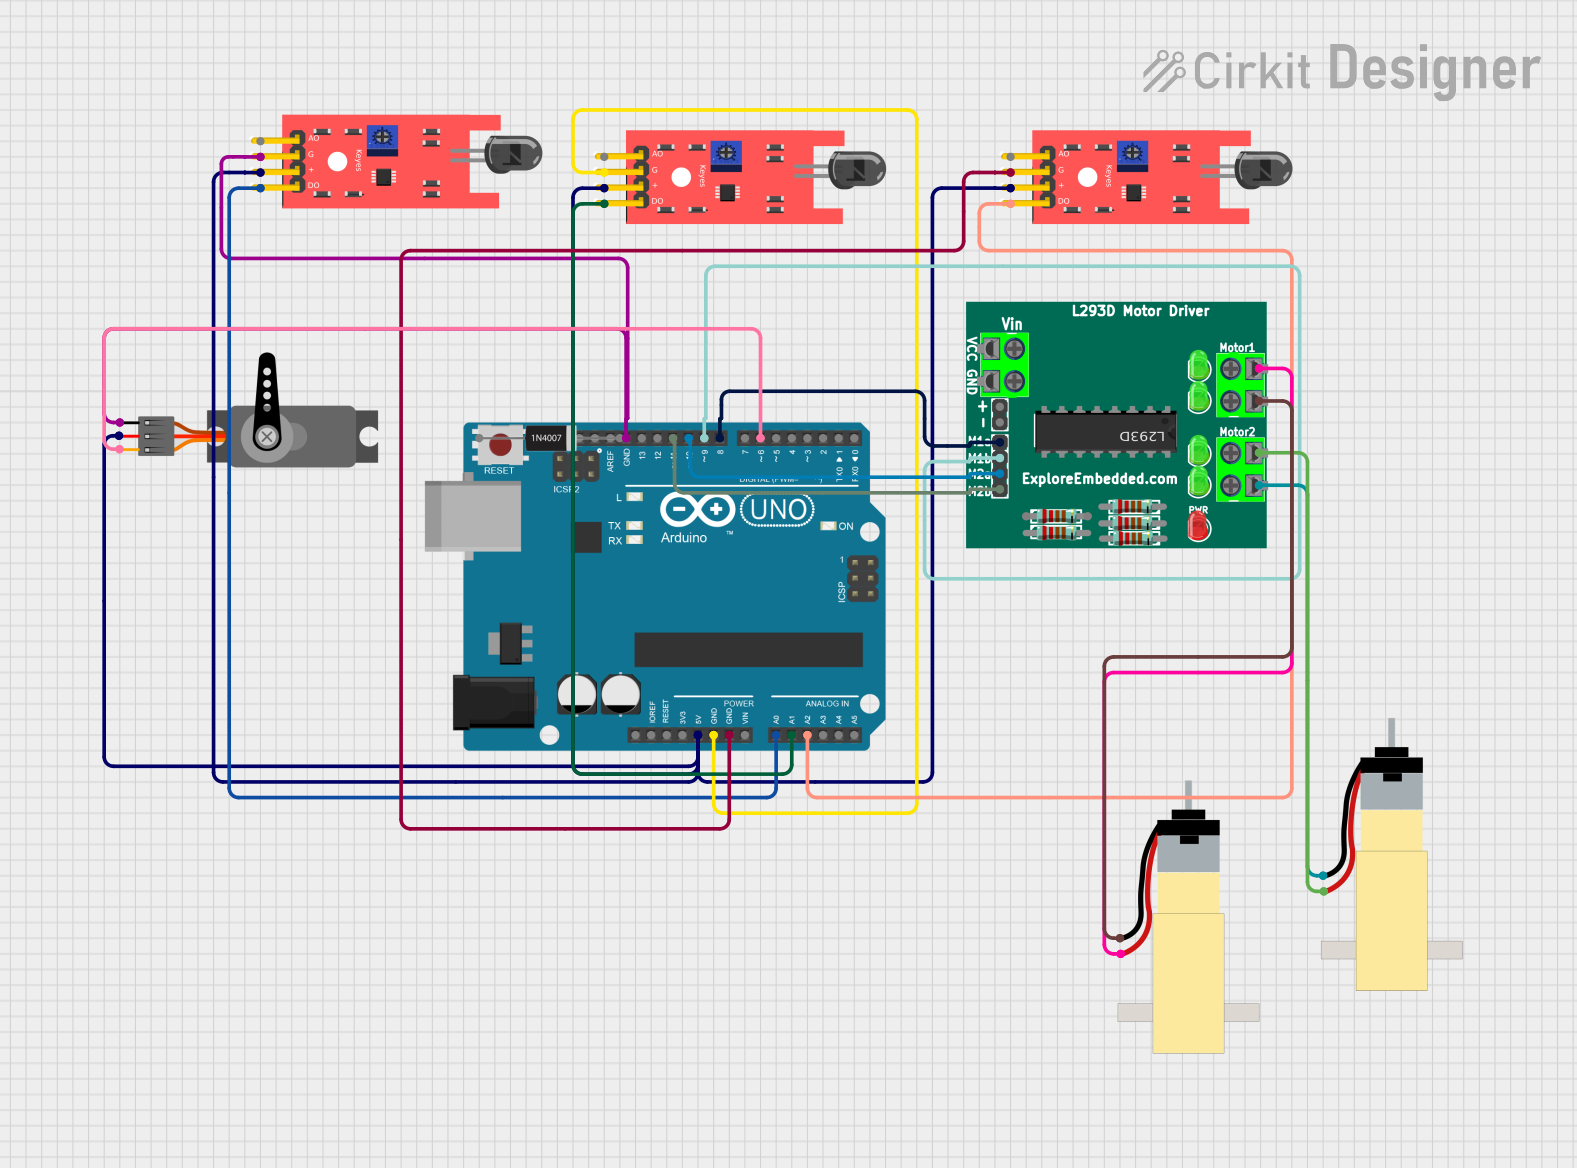
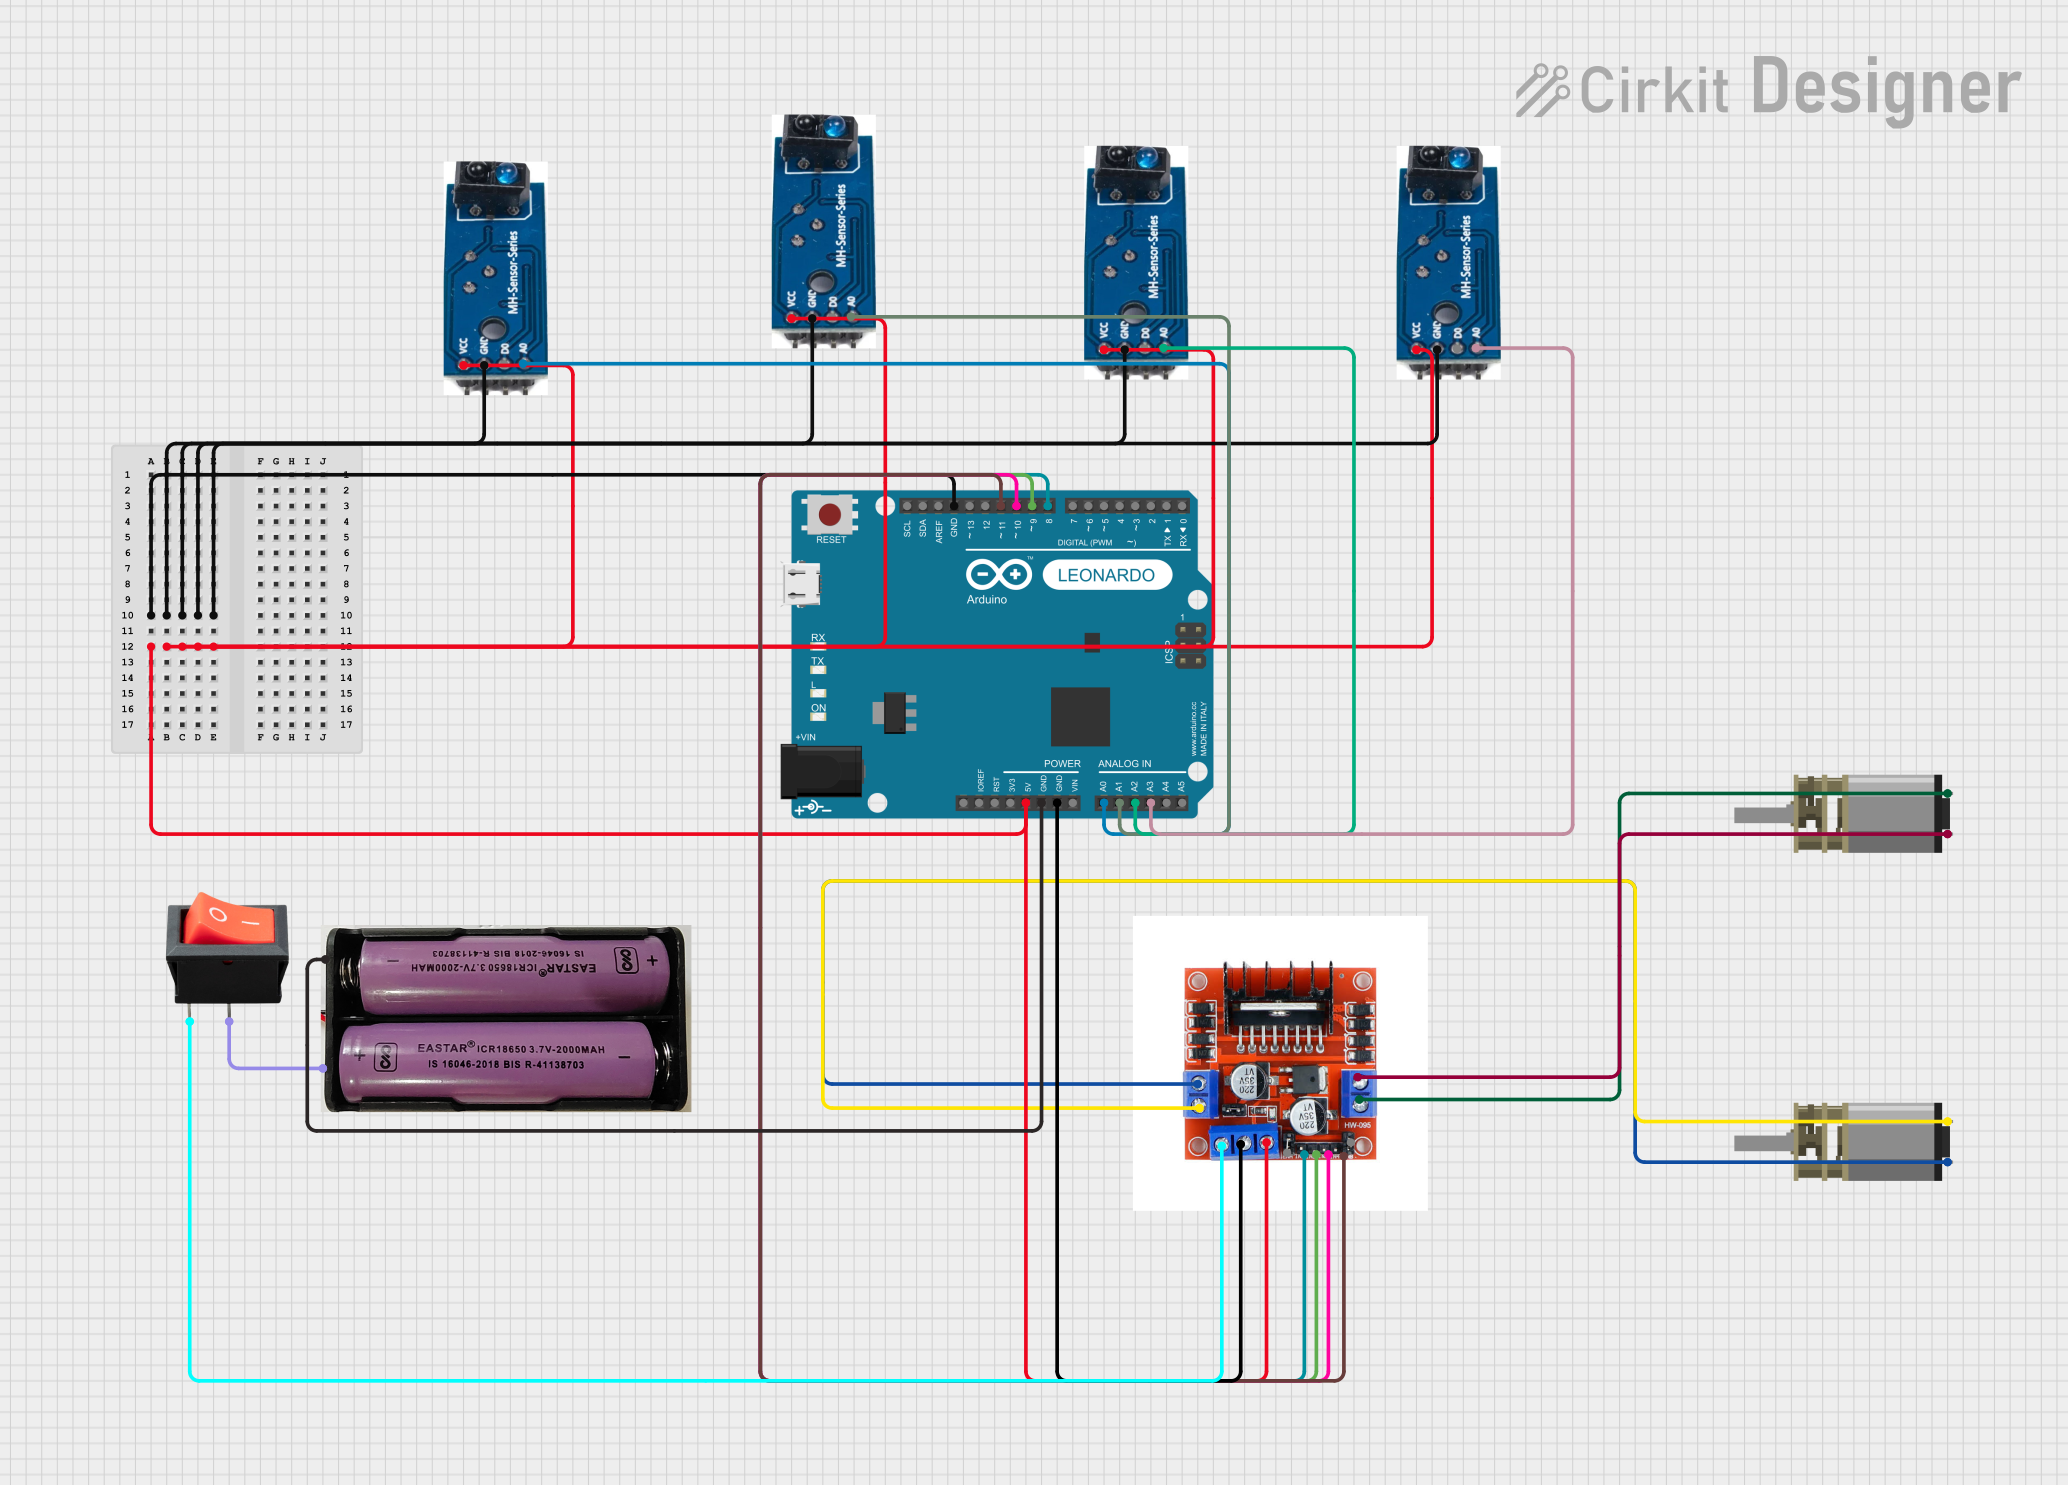
Explore Projects Built with dfr robot lightning sensor
Common Applications and Use Cases
- Line Following Robots: Detects light intensity differences to follow a path.
- Obstacle Avoidance: Identifies changes in light patterns caused by obstacles.
- Ambient Light Monitoring: Measures environmental light levels for adaptive robot behavior.
- Educational Projects: Ideal for learning about light sensors and robotics.
Technical Specifications
Below are the key technical details of the DFR Robot Lightning Sensor:
| Parameter | Value |
|---|---|
| Manufacturer | Si Chavez |
| Part ID | Lightning Sensor |
| Operating Voltage | 3.3V to 5V |
| Operating Current | ≤ 20mA |
| Output Type | Analog Voltage |
| Light Detection Range | 0 to 1000 Lux |
| Dimensions | 20mm x 15mm x 5mm |
| Interface | 3-pin (VCC, GND, OUT) |
Pin Configuration and Descriptions
The sensor has a 3-pin interface for easy connection to microcontrollers or other devices. Below is the pinout description:
| Pin | Name | Description |
|---|---|---|
| 1 | VCC | Power supply pin (3.3V to 5V) |
| 2 | GND | Ground connection |
| 3 | OUT | Analog output pin that provides light intensity data |
Usage Instructions
How to Use the Component in a Circuit
Connect the Sensor:
- Connect the VCC pin to the 3.3V or 5V power supply of your microcontroller.
- Connect the GND pin to the ground of your microcontroller.
- Connect the OUT pin to an analog input pin on your microcontroller.
Read the Output:
- The sensor outputs an analog voltage proportional to the detected light intensity. A higher voltage indicates higher light intensity.
Integrate with a Microcontroller:
- The sensor can be easily interfaced with platforms like Arduino UNO. Use the analogRead() function to read the sensor's output.
Important Considerations and Best Practices
- Power Supply: Ensure the sensor is powered within its operating voltage range (3.3V to 5V).
- Placement: Avoid placing the sensor in direct sunlight for extended periods, as this may affect its accuracy.
- Calibration: For precise applications, calibrate the sensor to account for ambient light conditions.
- Wiring: Use short and secure connections to minimize noise in the analog signal.
Example Code for Arduino UNO
Below is an example Arduino sketch to read data from the DFR Robot Lightning Sensor:
// DFR Robot Lightning Sensor Example Code
// This code reads the analog output of the sensor and prints the light intensity
// to the Serial Monitor. Ensure the sensor is connected to A0 on the Arduino UNO.

const int sensorPin = A0; // Define the analog pin connected to the sensor
int sensorValue = 0;      // Variable to store the sensor reading

void setup() {
  Serial.begin(9600); // Initialize serial communication at 9600 baud
  pinMode(sensorPin, INPUT); // Set the sensor pin as an input
}

void loop() {
  sensorValue = analogRead(sensorPin); // Read the analog value from the sensor
  float lightIntensity = (sensorValue / 1023.0) * 1000;
  // Convert the analog value to light intensity in Lux
  // Assuming a 0-1000 Lux range and 10-bit ADC resolution

  Serial.print("Light Intensity: ");
  Serial.print(lightIntensity);
  Serial.println(" Lux"); // Print the light intensity in Lux

  delay(500); // Wait for 500ms before the next reading
}
Troubleshooting and FAQs
Common Issues and Solutions
No Output or Incorrect Readings:
- Cause: Loose or incorrect wiring.
- Solution: Double-check all connections, ensuring VCC, GND, and OUT are properly connected.
Fluctuating Readings:
- Cause: Electrical noise or unstable power supply.
- Solution: Use a decoupling capacitor (e.g., 0.1µF) between VCC and GND to stabilize the power supply.
Sensor Not Responding to Light Changes:
- Cause: Sensor placement in an unsuitable environment.
- Solution: Ensure the sensor is not obstructed and is placed in an area with varying light conditions.
Output Voltage Exceeds Expected Range:
- Cause: Incorrect power supply voltage.
- Solution: Verify that the power supply voltage is within the 3.3V to 5V range.
FAQs
Q1: Can this sensor be used outdoors?
A1: Yes, but it is recommended to protect the sensor from direct sunlight and extreme weather conditions.
Q2: What is the maximum distance for detecting light?
A2: The sensor does not measure distance but rather light intensity. Its range is 0 to 1000 Lux.
Q3: Can I use this sensor with a Raspberry Pi?
A3: Yes, the sensor can be connected to a Raspberry Pi's analog-to-digital converter (ADC) module, as the Raspberry Pi lacks native analog input pins.
Q4: How do I calibrate the sensor?
A4: You can calibrate the sensor by taking readings in a controlled environment and mapping the output to the desired light intensity range.
By following this documentation, you can effectively integrate and utilize the DFR Robot Lightning Sensor in your projects.