The Lithium-ion Battery 10000mAh is a rechargeable energy storage device that utilizes lithium ions as the primary component of its electrolyte. Known for its high energy density, lightweight design, and long cycle life, this battery is widely used in portable electronic devices, such as smartphones, tablets, power banks, and IoT devices. Its compact size and reliable performance make it an ideal choice for applications requiring efficient and long-lasting power solutions.
Explore Projects Built with Lithium-ion Battery 10000mah
Use Cirkit Designer to design, explore, and prototype these projects online. Some projects support real-time simulation. Click "Open Project" to start designing instantly!
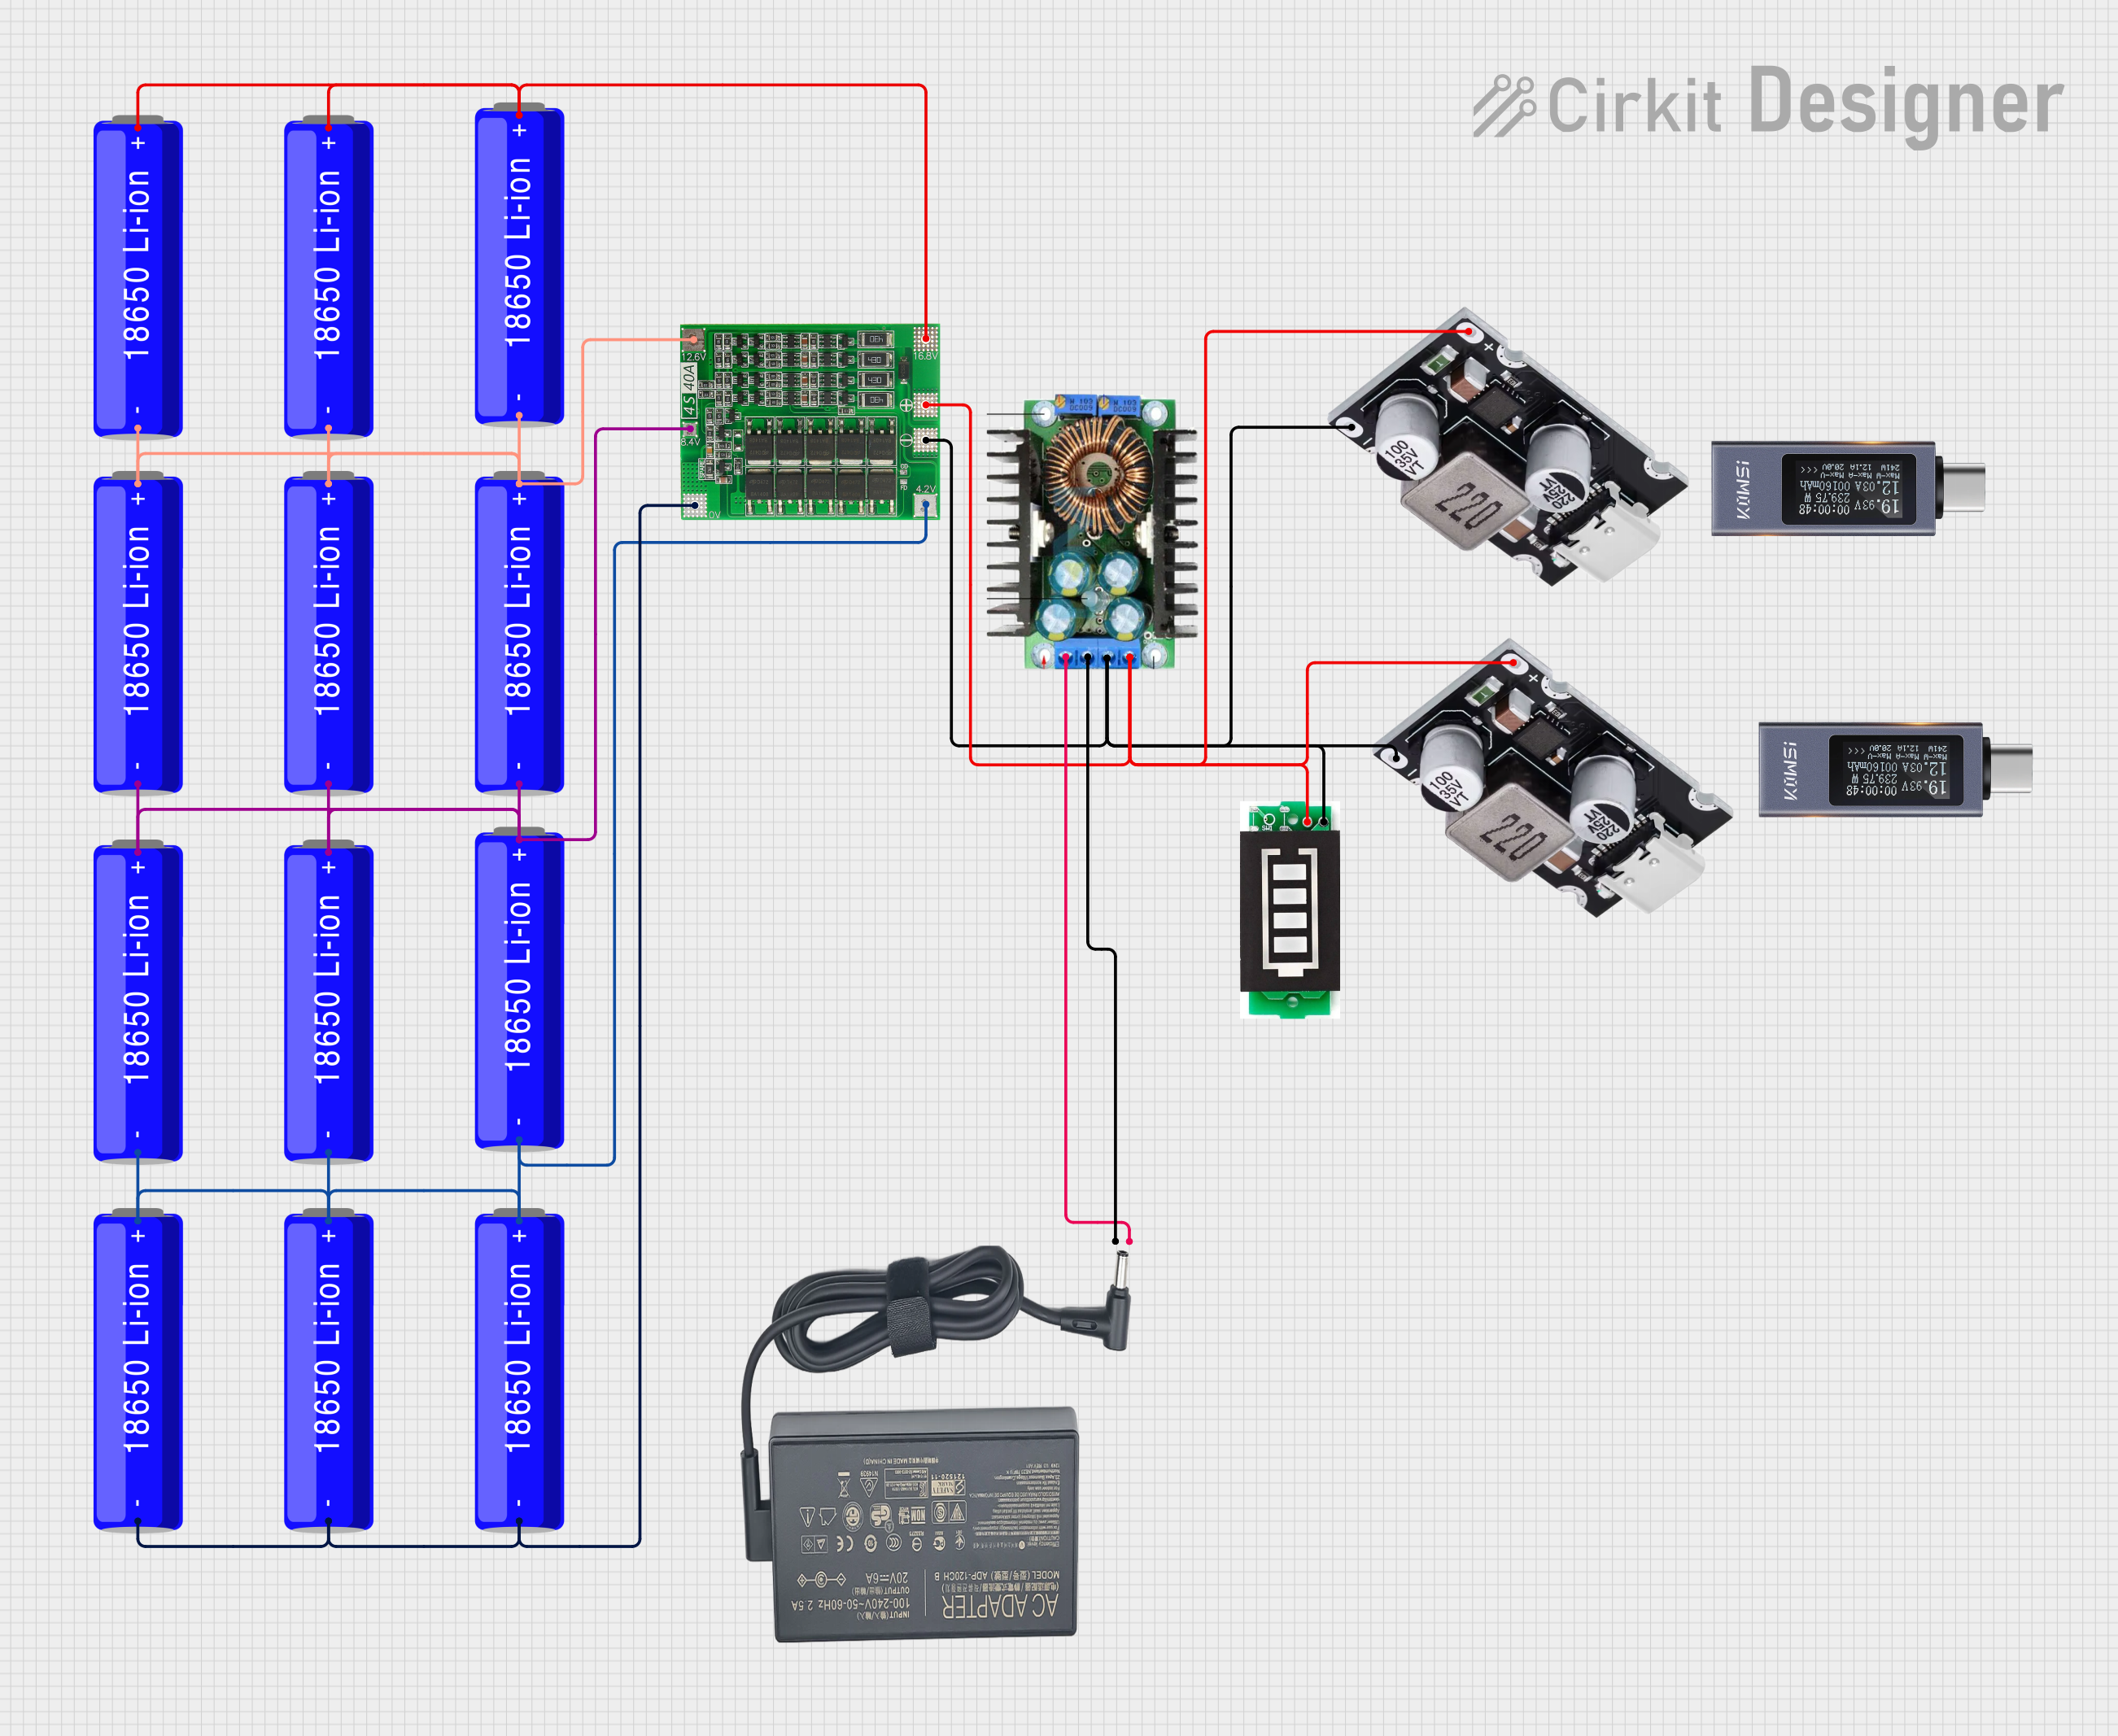
This circuit is a battery management and charging system for a 4S Li-ion battery pack. It includes multiple 18650 Li-ion batteries connected to a 4S40A BMS for balancing and protection, a battery indicator for monitoring charge status, and an XL4016 module for voltage regulation. The system is designed to be charged via a 20V input from a charger.
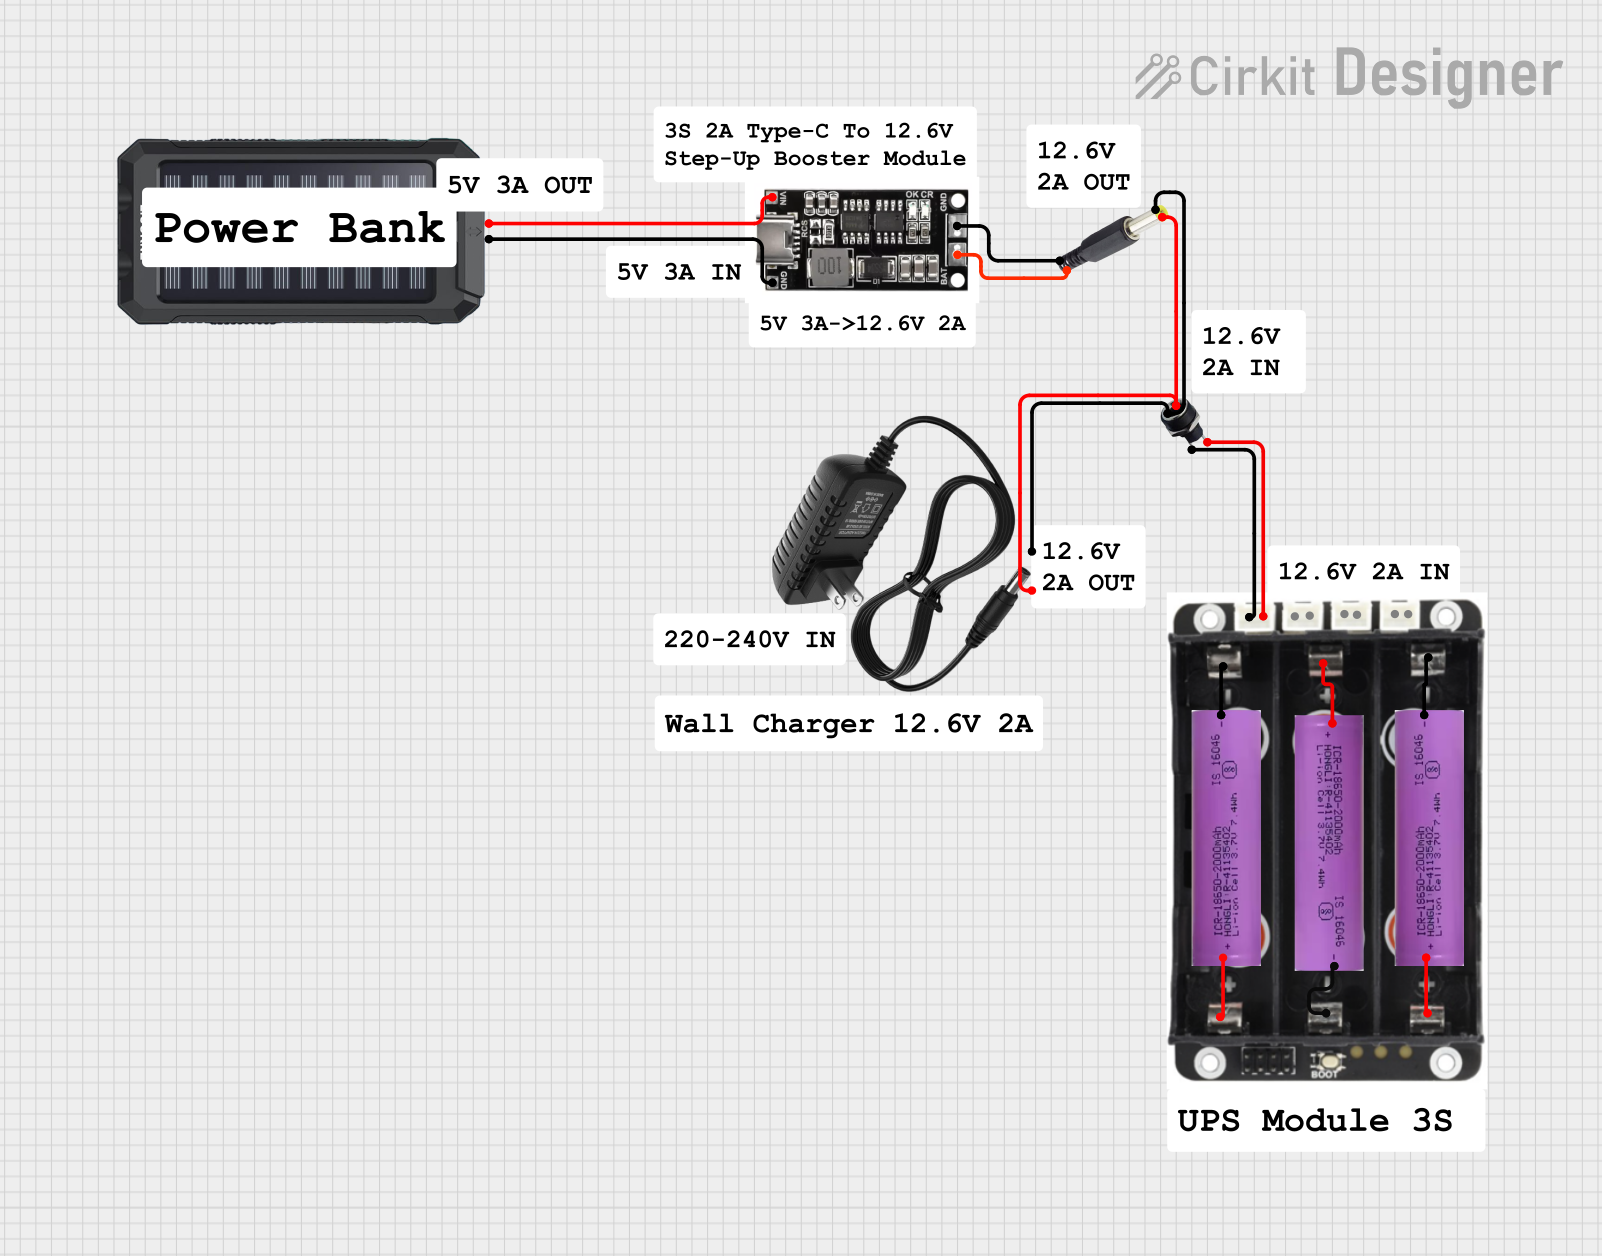
This circuit is a power management system that integrates a 12V power supply, a solar charger power bank, and multiple Li-ion batteries to provide a stable power output. The Waveshare UPS 3S manages the input from the power sources and batteries, ensuring continuous power delivery. The MRB045 module is used to interface the solar charger with the rest of the system.
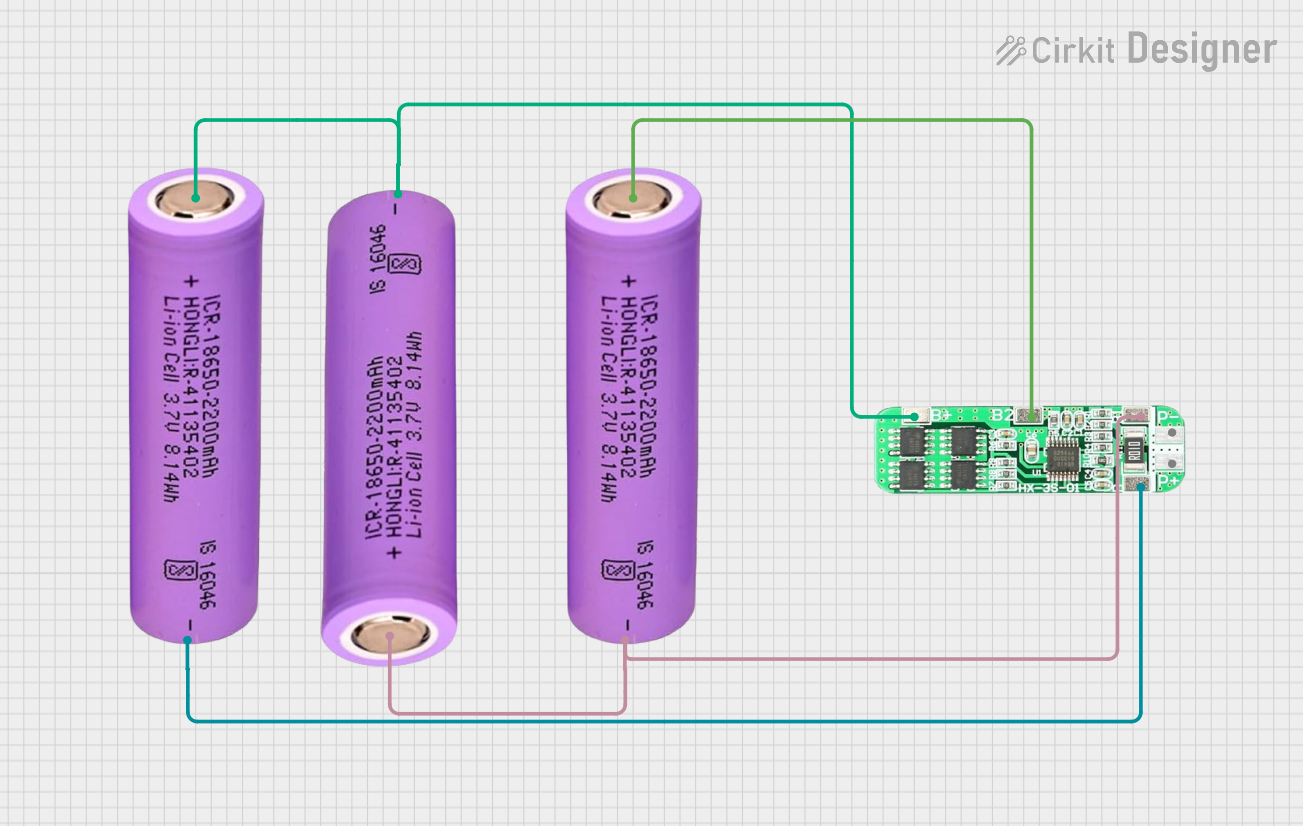
This circuit consists of three 18650 batteries connected in series to a 3S 10A Li-ion 18650 Charger Protection Board Module. The protection board manages the charging and discharging of the battery pack, ensuring safe operation by balancing the cells and providing overcharge, over-discharge, and short-circuit protection.
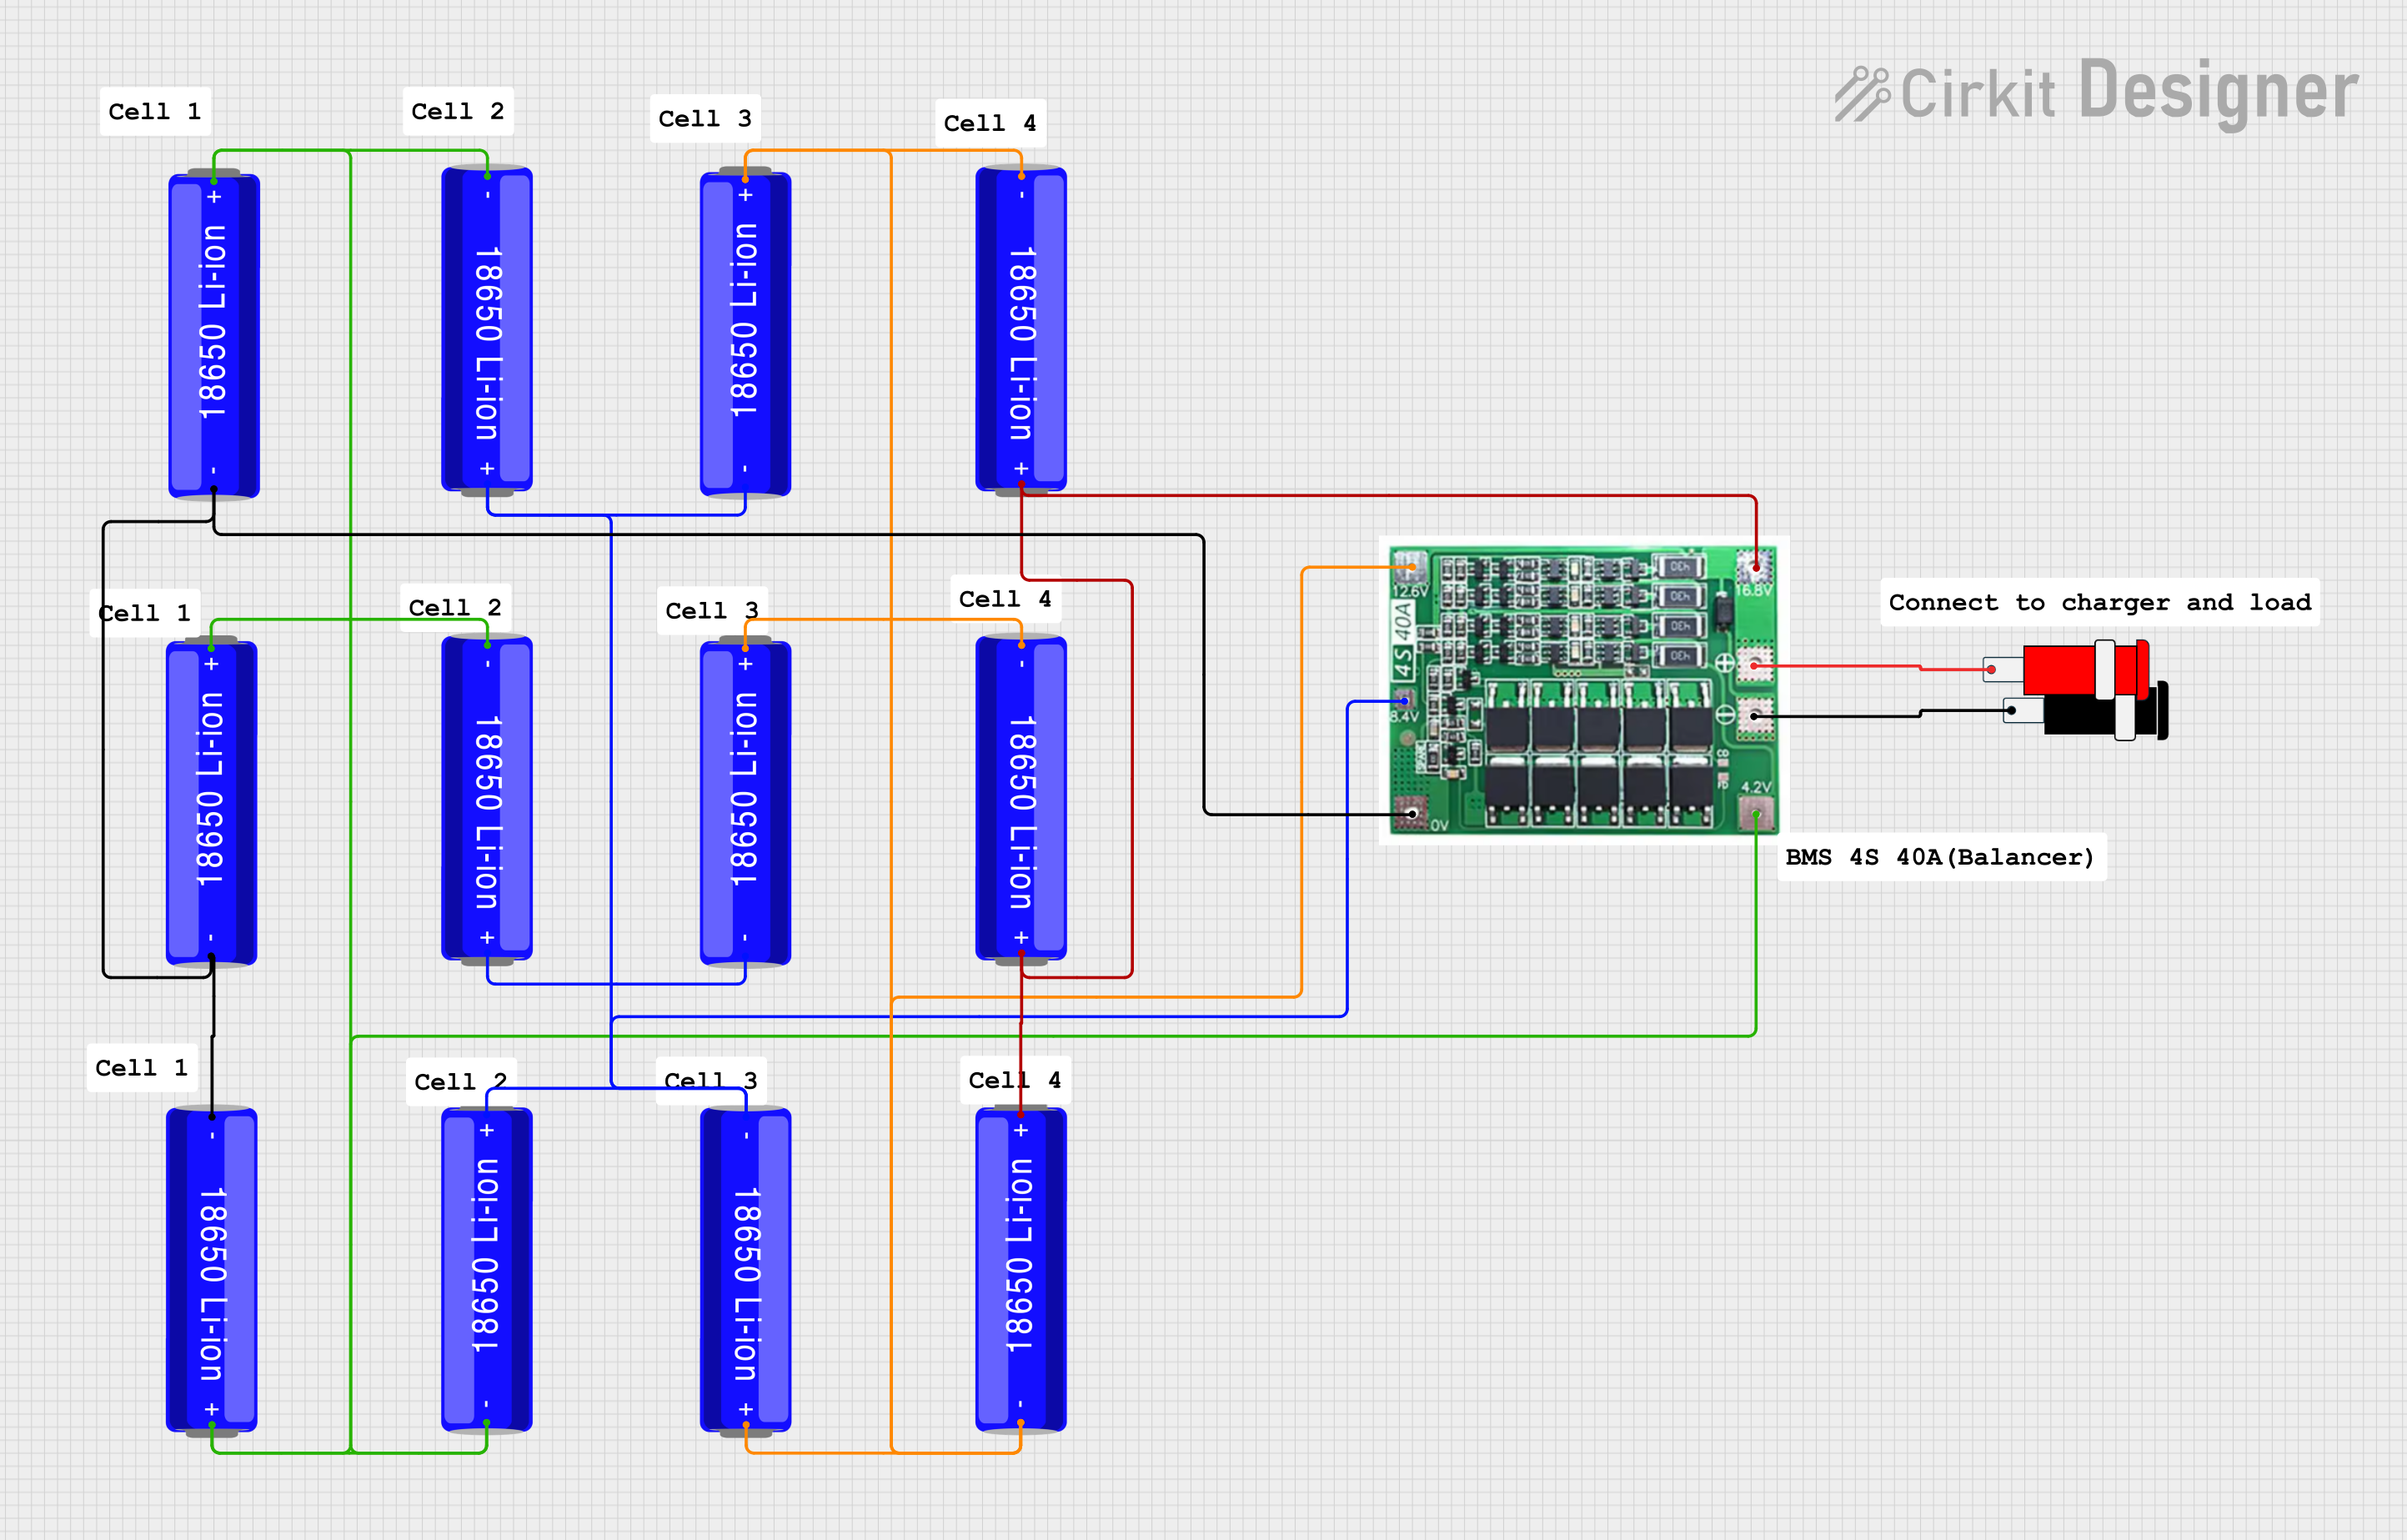
This circuit consists of a battery management system (BMS) connected to a series of 18650 Li-ion batteries arranged in a 4S configuration to provide a regulated output voltage. The BMS ensures safe charging and discharging of the batteries, while a connector provides a 5V output for external devices.
The following table outlines the key technical details of the Lithium-ion Battery 10000mAh:
Parameter
Specification
Nominal Voltage
3.7V
Capacity
10000mAh (10Ah)
Energy Density
~250 Wh/kg
Charge Voltage
4.2V (maximum)
Discharge Cutoff Voltage
2.5V (minimum)
Maximum Discharge Current
2C (20A)
Standard Charge Current
0.5C (5A)
Cycle Life
~500-1000 cycles
Operating Temperature
-20°C to 60°C (discharge)
Storage Temperature
-20°C to 45°C
Dimensions
Varies by manufacturer
Weight
~200g
Pin Configuration and Descriptions
Lithium-ion batteries typically have two or three terminals. The table below describes the pin configuration:
Pin Name
Description
+ (Positive)
Positive terminal for charging/discharging
- (Negative)
Negative terminal for charging/discharging
T (Optional)
Temperature sensor for monitoring (if present)
Usage Instructions
How to Use the Lithium-ion Battery in a Circuit
Charging the Battery:
Use a dedicated Lithium-ion battery charger module (e.g., TP4056) to safely charge the battery.
Ensure the charging voltage does not exceed 4.2V and the charging current is within the recommended range (e.g., 0.5C or 5A for this battery).
Connect the positive terminal of the battery to the charger's positive input and the negative terminal to the charger's negative input.
Discharging the Battery:
Connect the battery to your load circuit, ensuring the polarity is correct.
Use a battery protection circuit to prevent over-discharge (below 2.5V) and overcurrent conditions.
Connecting to an Arduino UNO:
Use a voltage regulator (e.g., LM7805 or a buck converter) to step down the battery's voltage to 5V for powering the Arduino UNO.
Example connection:
Battery positive terminal → Voltage regulator input
Voltage regulator output → Arduino UNO 5V pin
Battery negative terminal → Arduino UNO GND pin
Important Considerations and Best Practices
Safety First: Never short-circuit the battery terminals, as this can cause overheating, fire, or explosion.
Battery Protection: Always use a battery management system (BMS) or protection circuit to prevent overcharging, over-discharging, and overcurrent.
Storage: Store the battery in a cool, dry place at ~40% charge for long-term storage.
Temperature Monitoring: If the battery includes a temperature sensor pin (T), connect it to a monitoring circuit to ensure safe operation.
Sample Arduino Code for Monitoring Battery Voltage
The following code demonstrates how to monitor the battery voltage using an Arduino UNO and a voltage divider circuit:
// Define the analog pin connected to the voltage divider
const int batteryPin = A0;

// Define the voltage divider ratio (e.g., R1 = 10k, R2 = 10k)
const float voltageDividerRatio = 2.0;

// Define the reference voltage of the Arduino (5V for UNO)
const float referenceVoltage = 5.0;

void setup() {
  Serial.begin(9600); // Initialize serial communication
}

void loop() {
  int analogValue = analogRead(batteryPin); // Read the analog pin
  float batteryVoltage = (analogValue / 1023.0) * referenceVoltage * voltageDividerRatio;

  // Print the battery voltage to the Serial Monitor
  Serial.print("Battery Voltage: ");
  Serial.print(batteryVoltage);
  Serial.println(" V");

  delay(1000); // Wait for 1 second before the next reading
}
Note: Use a voltage divider to scale down the battery voltage to within the Arduino's 0-5V ADC range. For example, if the battery voltage is 3.7V, a 1:1 resistor ratio will divide it to 1.85V.
Troubleshooting and FAQs
Common Issues and Solutions
Battery Not Charging:
Cause: Charger module not functioning or incorrect connections.
Solution: Verify the charger's input voltage and connections. Ensure the charger is compatible with Lithium-ion batteries.
Battery Overheating:
Cause: Overcurrent during charging or discharging.
Solution: Use a charger with current limiting and a load circuit with appropriate current draw.
Battery Drains Quickly:
Cause: High self-discharge rate or excessive load.
Solution: Check for parasitic loads and ensure the battery is not damaged.
Arduino Reads Incorrect Voltage:
Cause: Incorrect voltage divider ratio or loose connections.
Solution: Verify the resistor values in the voltage divider and ensure secure connections.
FAQs
Q: Can I use this battery to directly power a 5V device? A: No, the nominal voltage of 3.7V is insufficient for 5V devices. Use a boost converter to step up the voltage.
Q: How do I know when the battery is fully charged? A: The charger module will typically indicate full charge when the current drops to a trickle, and the voltage reaches 4.2V.
Q: Is it safe to leave the battery connected to the charger? A: It is not recommended to leave the battery connected to the charger for extended periods. Use a charger with overcharge protection.
Q: Can I connect multiple batteries in series or parallel? A: Yes, but ensure you use a proper battery management system (BMS) to balance the cells and provide protection.
By following this documentation, you can safely and effectively use the Lithium-ion Battery 10000mAh in your projects.


 Open Project in Cirkit Designer