
How to Use CJMCU-055: Examples, Pinouts, and Specs
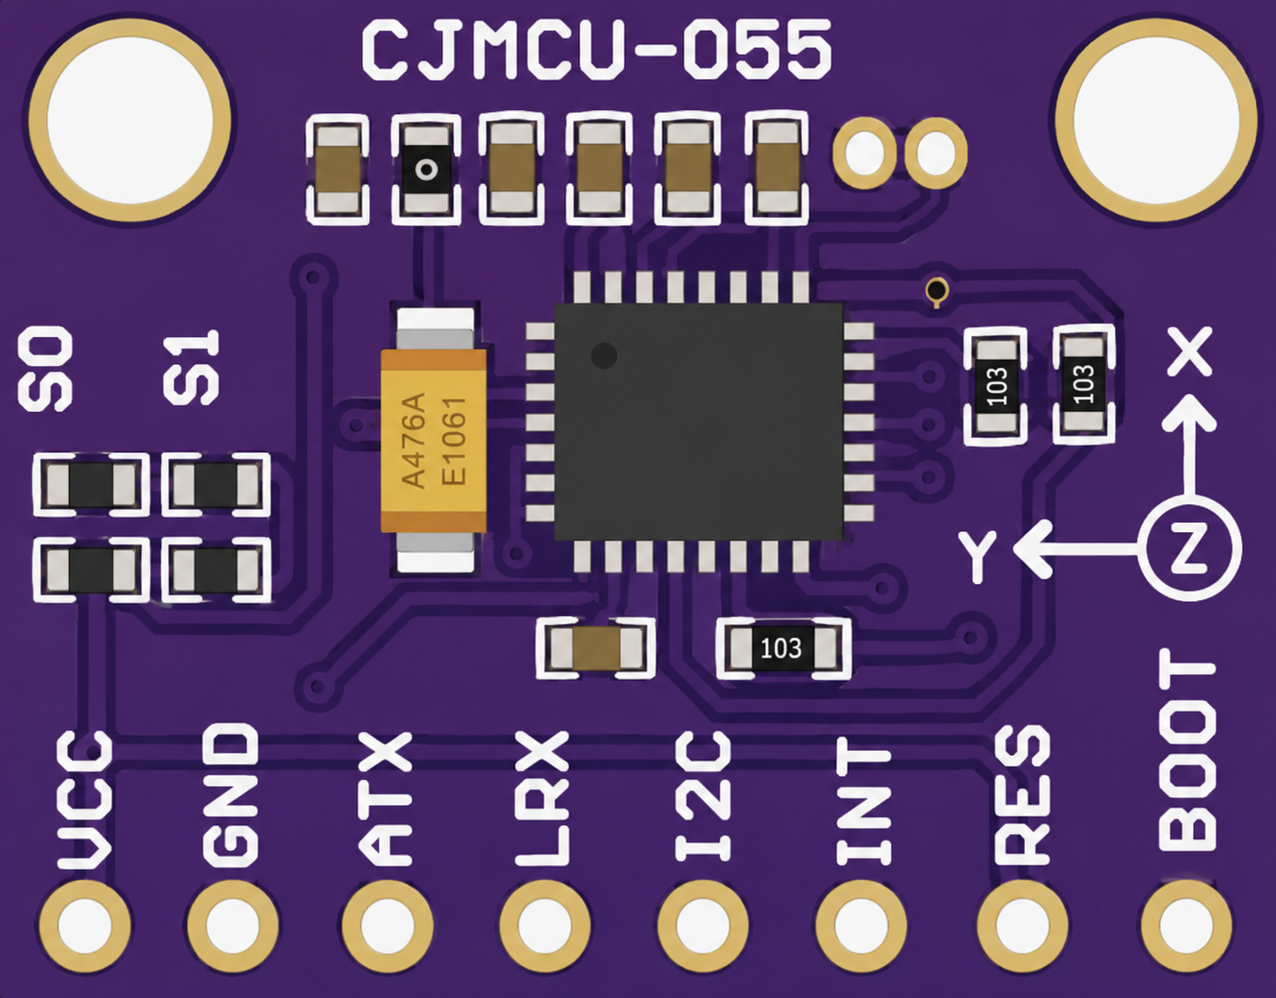
 Design with CJMCU-055 in Cirkit Designer
Introduction
The CJMCU-055 is a high-precision digital pressure sensor manufactured by Shenzhen HangGuo Technology Co., Ltd. (Part ID: MCU-055). This sensor is designed to measure atmospheric pressure and temperature, making it ideal for applications requiring accurate environmental monitoring. It communicates via the I2C interface, ensuring easy integration with microcontrollers and development boards.
Explore Projects Built with CJMCU-055
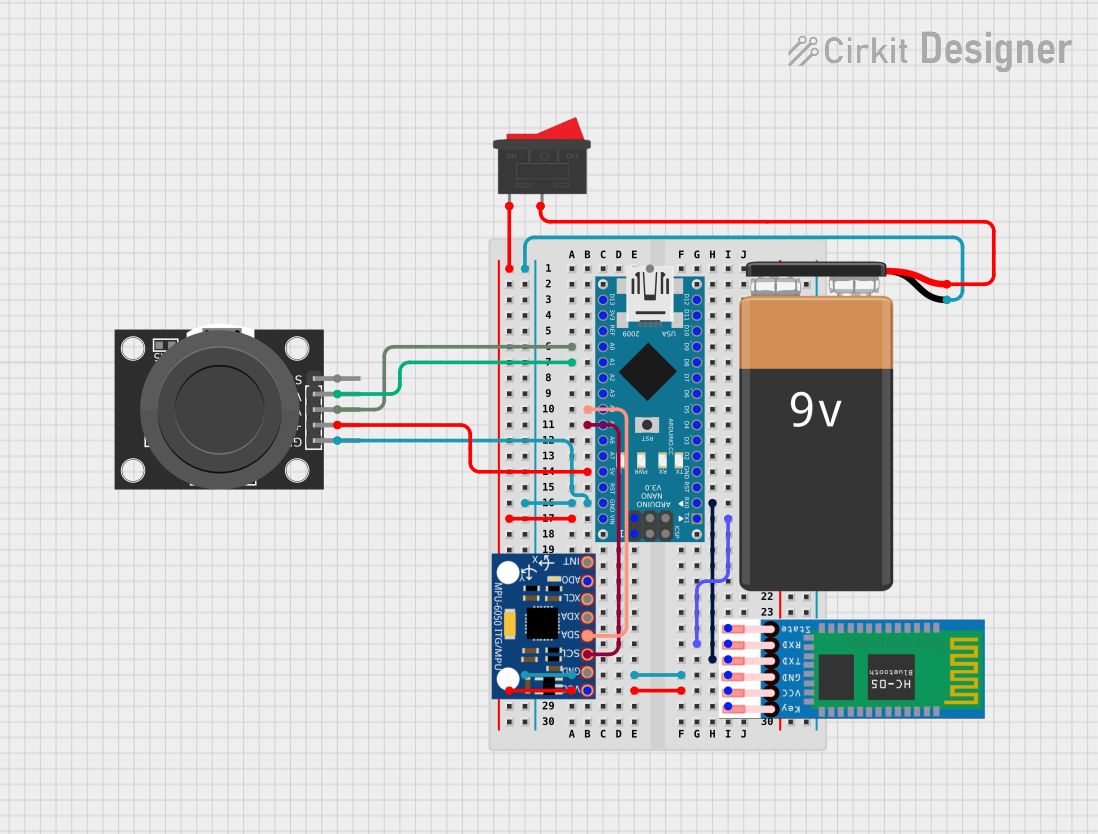 Open Project in Cirkit Designer
 Open Project in Cirkit Designer
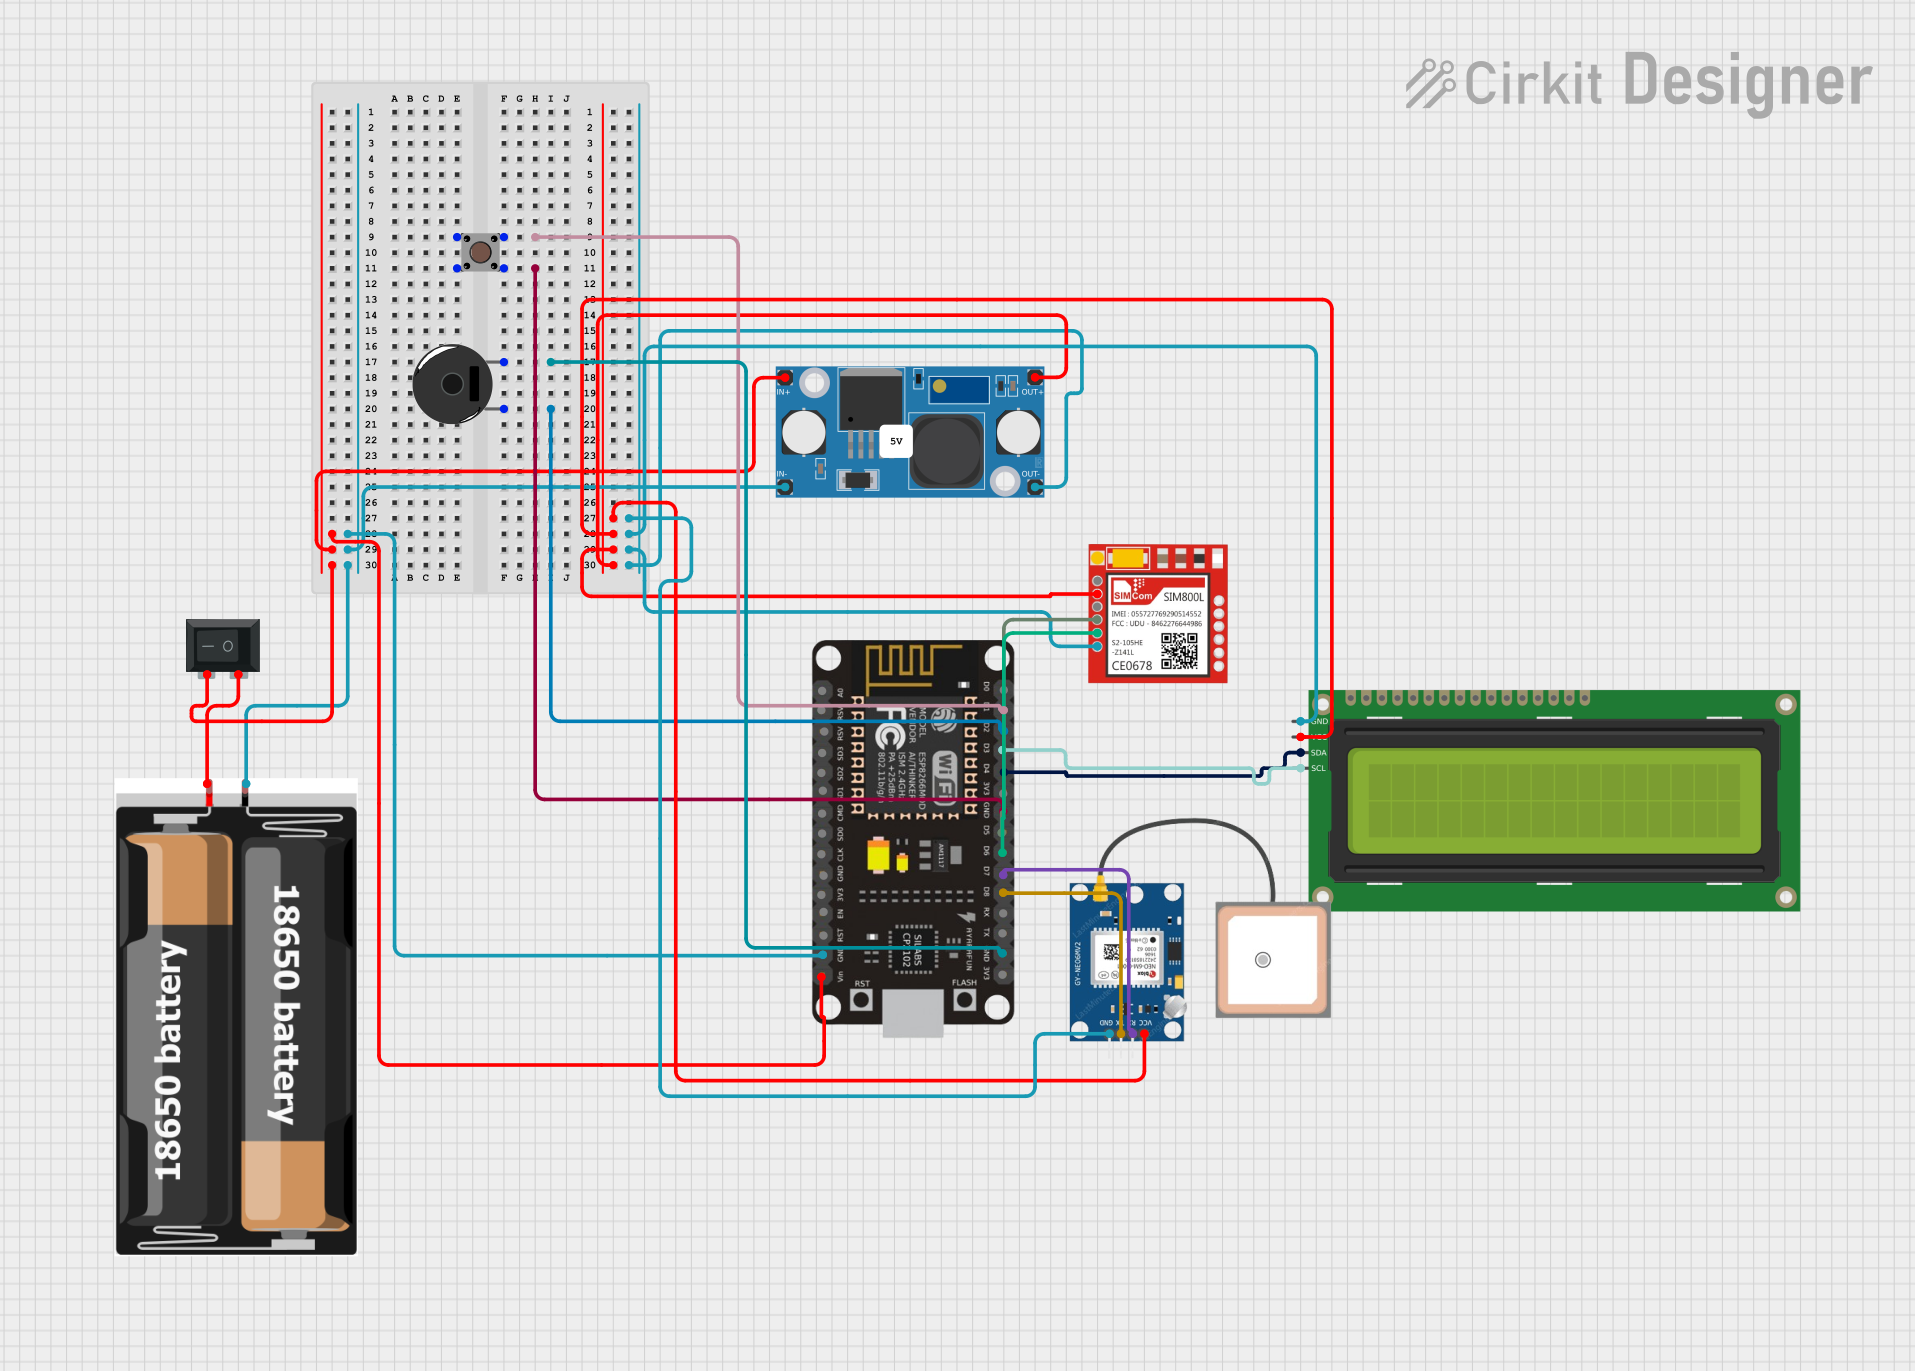 Open Project in Cirkit Designer
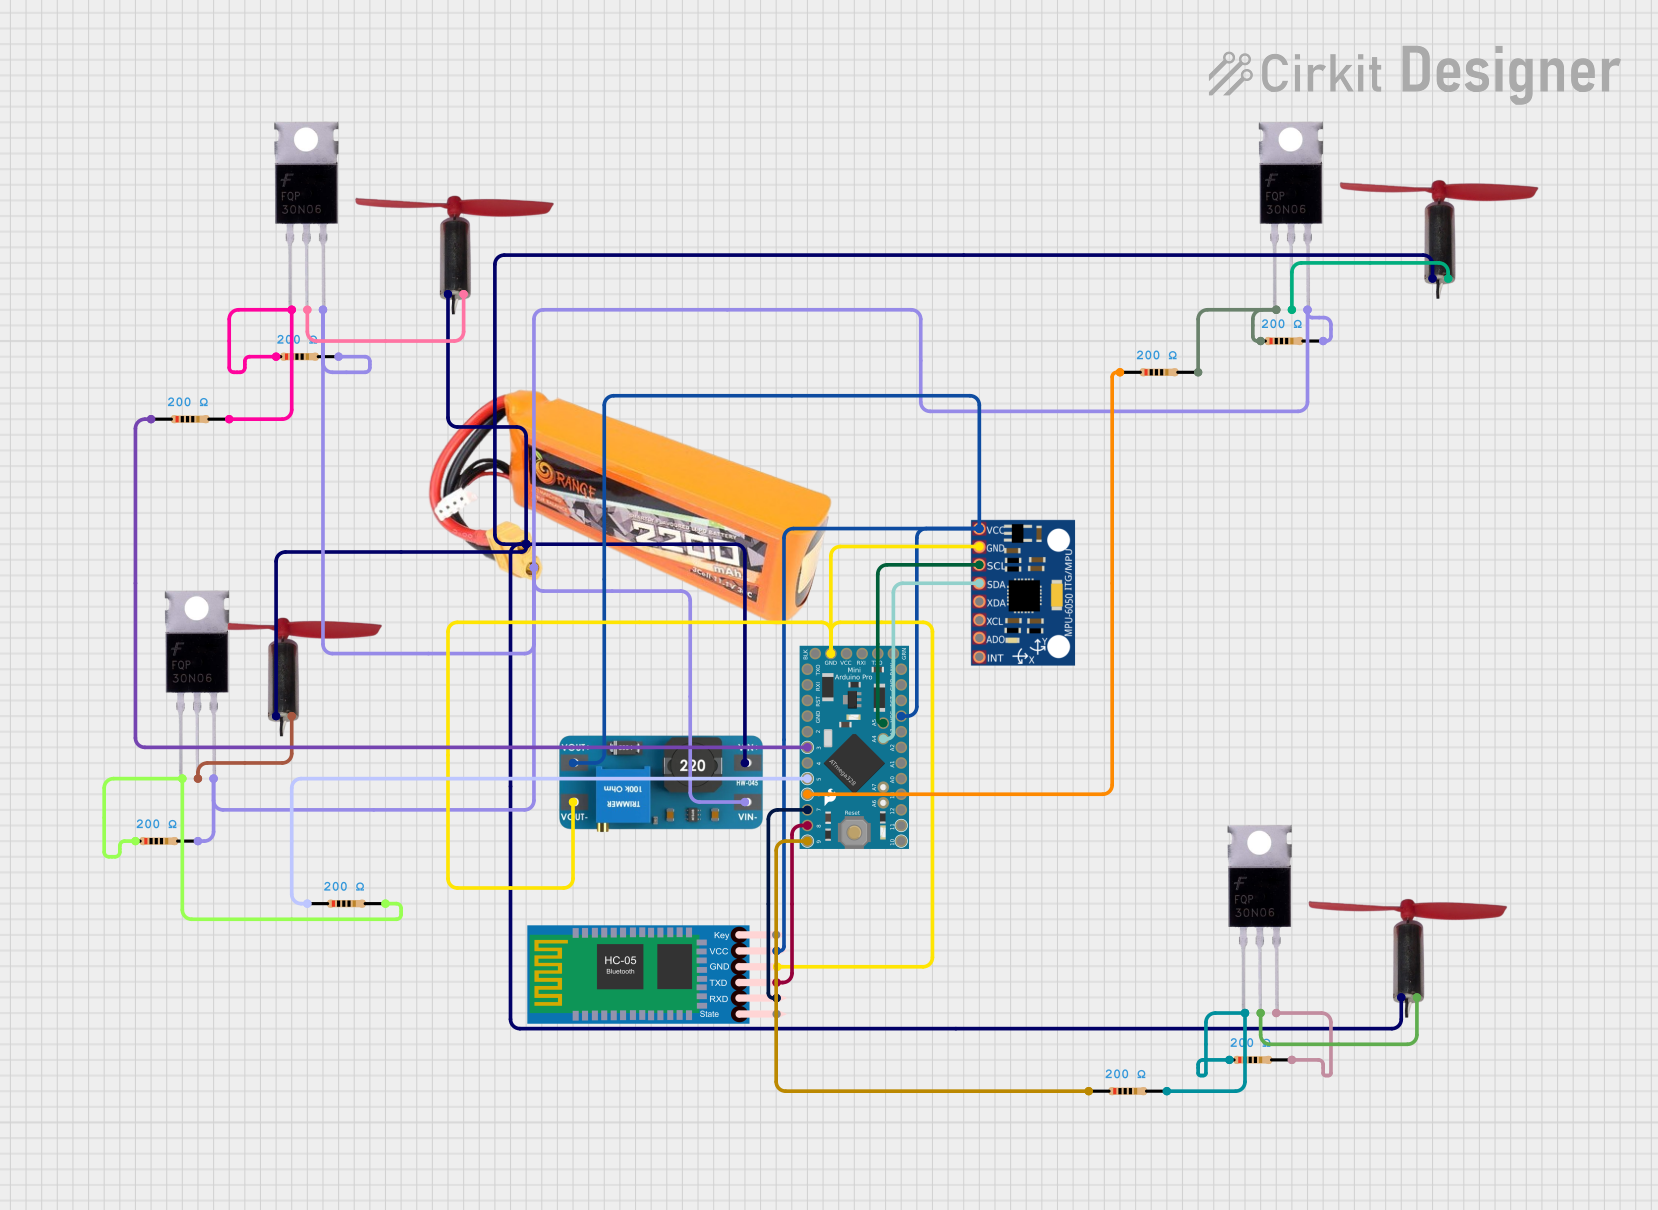 Open Project in Cirkit Designer
Explore Projects Built with CJMCU-055
Open Project in Cirkit DesignerOpen Project in Cirkit DesignerOpen Project in Cirkit DesignerOpen Project in Cirkit DesignerCommon Applications and Use Cases
- Weather stations for atmospheric pressure and temperature monitoring
- Altitude measurement in drones and UAVs
- Barometric pressure sensing in IoT devices
- Environmental monitoring systems
- Portable weather forecasting tools
Technical Specifications
The CJMCU-055 offers reliable performance with the following key specifications:
| Parameter | Value |
|---|---|
| Operating Voltage | 3.3V to 5V |
| Communication Interface | I2C |
| Pressure Measurement Range | 300 hPa to 1100 hPa |
| Temperature Measurement Range | -40°C to +85°C |
| Pressure Resolution | 0.01 hPa |
| Temperature Resolution | 0.01°C |
| Operating Current | ~5 µA (low power mode) |
| Dimensions | 15mm x 15mm x 3mm |
Pin Configuration and Descriptions
The CJMCU-055 has a simple pinout for easy integration:
| Pin | Name | Description |
|---|---|---|
| 1 | VCC | Power supply input (3.3V to 5V) |
| 2 | GND | Ground connection |
| 3 | SDA | I2C data line |
| 4 | SCL | I2C clock line |
| 5 | ADDR | I2C address selection (connect to GND or VCC) |
| 6 | INT | Interrupt output (optional, for advanced use cases) |
Usage Instructions
How to Use the CJMCU-055 in a Circuit
- Power Supply: Connect the VCC pin to a 3.3V or 5V power source and the GND pin to ground.
- I2C Communication: Connect the SDA and SCL pins to the corresponding I2C pins on your microcontroller (e.g., Arduino UNO).
- I2C Address Selection: Use the ADDR pin to set the I2C address:
- Connect to GND for the default address (e.g.,
0x76). - Connect to VCC for an alternate address (e.g.,
0x77).
- Connect to GND for the default address (e.g.,
- Optional Interrupt: If needed, connect the INT pin to a GPIO pin on your microcontroller for interrupt-based applications.
Important Considerations and Best Practices
- Use pull-up resistors (typically 4.7kΩ) on the SDA and SCL lines for proper I2C communication.
- Ensure the power supply voltage matches the sensor's operating range (3.3V to 5V).
- Avoid placing the sensor in environments with excessive moisture or dust, as this may affect accuracy.
- Calibrate the sensor if required for your specific application.
Example Code for Arduino UNO
Below is an example of how to interface the CJMCU-055 with an Arduino UNO using the I2C protocol:
#include <Wire.h>

// Define the I2C address of the CJMCU-055 sensor
#define CJMCU055_ADDRESS 0x76

void setup() {
  Wire.begin(); // Initialize I2C communication
  Serial.begin(9600); // Start serial communication for debugging

  // Check if the sensor is connected
  Wire.beginTransmission(CJMCU055_ADDRESS);
  if (Wire.endTransmission() == 0) {
    Serial.println("CJMCU-055 sensor detected!");
  } else {
    Serial.println("Error: CJMCU-055 sensor not detected.");
    while (1); // Halt execution if the sensor is not found
  }
}

void loop() {
  // Request pressure and temperature data from the sensor
  Wire.beginTransmission(CJMCU055_ADDRESS);
  Wire.write(0xF7); // Command to read pressure and temperature registers
  Wire.endTransmission();
  Wire.requestFrom(CJMCU055_ADDRESS, 6); // Request 6 bytes of data

  if (Wire.available() == 6) {
    // Read pressure and temperature data
    uint8_t data[6];
    for (int i = 0; i < 6; i++) {
      data[i] = Wire.read();
    }

    // Convert the data to pressure and temperature values
    long pressure = ((long)data[0] << 16) | ((long)data[1] << 8) | data[2];
    long temperature = ((long)data[3] << 16) | ((long)data[4] << 8) | data[5];

    // Print the results (conversion formulas may vary based on the sensor's datasheet)
    Serial.print("Pressure: ");
    Serial.print(pressure / 100.0); // Example conversion to hPa
    Serial.println(" hPa");

    Serial.print("Temperature: ");
    Serial.print(temperature / 100.0); // Example conversion to °C
    Serial.println(" °C");
  }

  delay(1000); // Wait 1 second before the next reading
}
Troubleshooting and FAQs
Common Issues and Solutions
Sensor Not Detected on I2C Bus
- Cause: Incorrect wiring or I2C address mismatch.
- Solution: Verify the connections and ensure the ADDR pin is set correctly. Use an I2C scanner sketch to detect the sensor's address.
Inaccurate Readings
- Cause: Environmental interference or lack of calibration.
- Solution: Ensure the sensor is placed in a stable environment and perform calibration if necessary.
No Data Received
- Cause: Missing pull-up resistors on SDA and SCL lines.
- Solution: Add 4.7kΩ pull-up resistors to the SDA and SCL lines.
FAQs
Q: Can the CJMCU-055 operate at 5V?
A: Yes, the sensor supports an operating voltage range of 3.3V to 5V.
Q: How do I change the I2C address?
A: Use the ADDR pin to select the I2C address. Connect it to GND for the default address (0x76) or to VCC for the alternate address (0x77).
Q: Is the sensor suitable for outdoor use?
A: While the sensor can operate in a wide temperature range, it is not waterproof. Use appropriate enclosures for outdoor applications.