How to Use Speaker: Examples, Pinouts, and Specs
Introduction
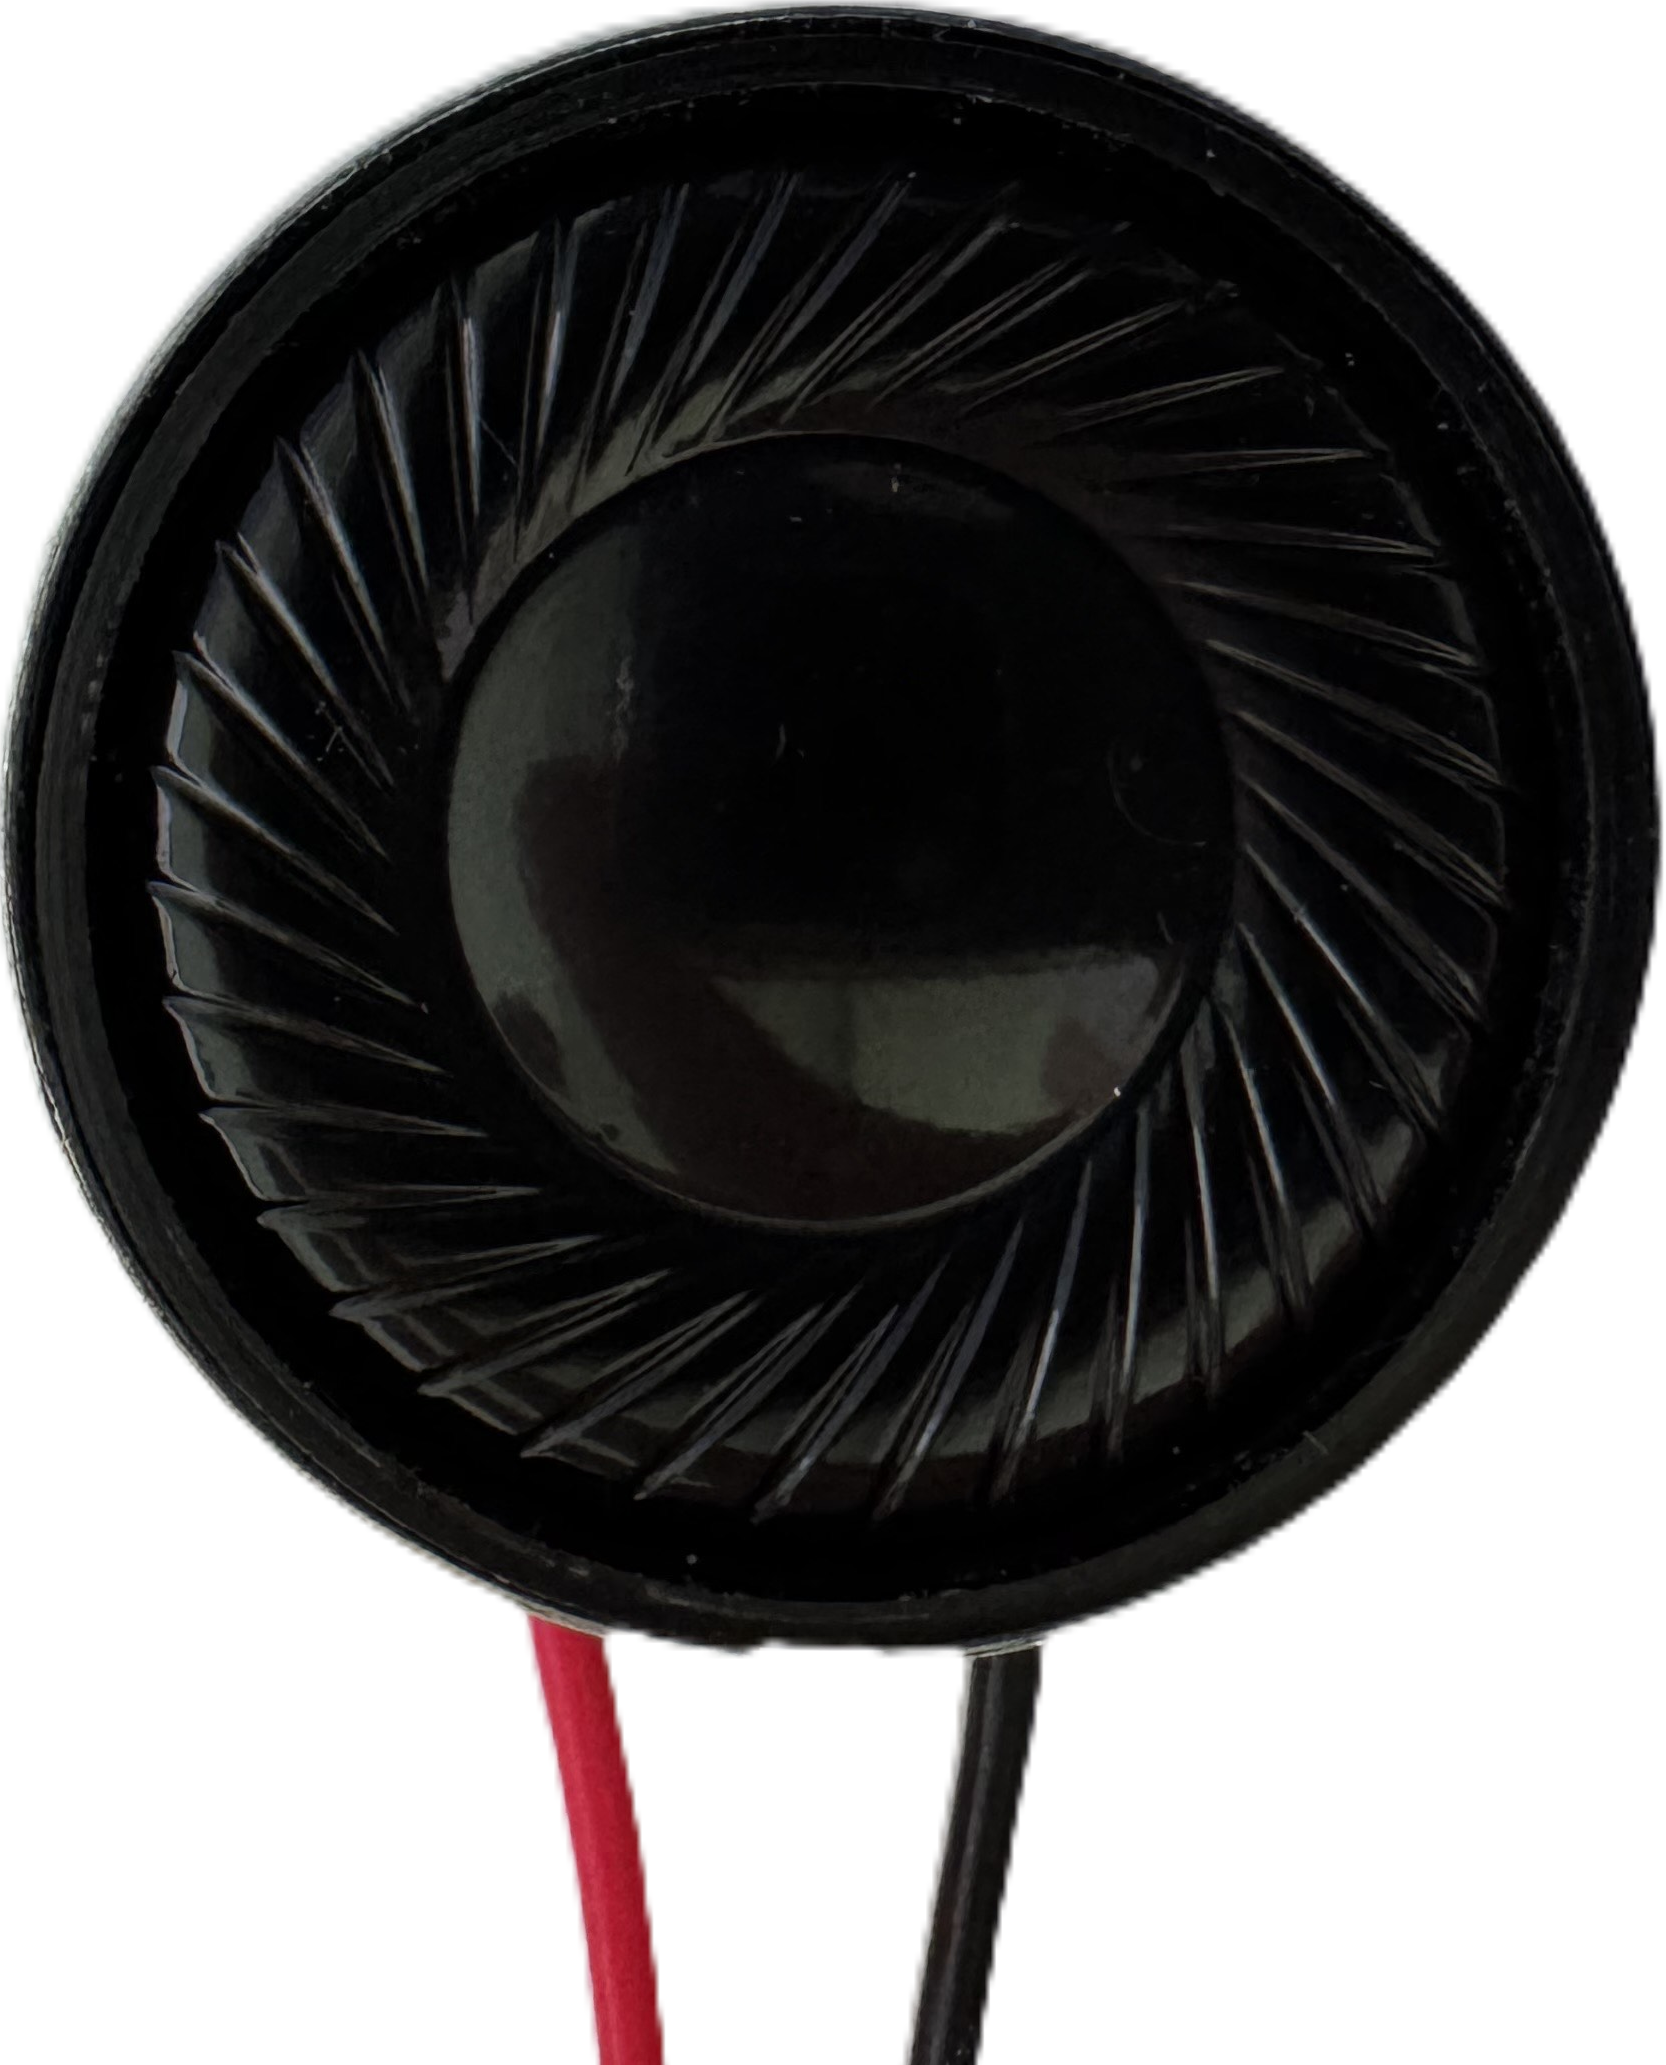
A speaker is a device that converts electrical energy into sound, allowing audio signals to be heard. It is a fundamental component in audio systems, used to reproduce sound from various sources such as music players, computers, televisions, and communication devices. Speakers come in various sizes and types, including dynamic, piezoelectric, and electrostatic, each suited for specific applications.
Common applications and use cases:
- Audio playback in home theater systems, smartphones, and computers.
- Public address systems and loudspeakers.
- Embedded systems for sound notifications or alarms.
- DIY electronics projects, such as Arduino-based audio systems.
Explore Projects Built with Speaker


Explore Projects Built with Speaker
Technical Specifications
Below are the general technical specifications for a typical small speaker used in electronics projects:
| Parameter | Value |
|---|---|
| Operating Voltage | 3V to 12V |
| Impedance | 4Ω, 8Ω, or 16Ω |
| Power Rating | 0.5W to 5W |
| Frequency Response | 20Hz to 20kHz (varies by model) |
| Sound Pressure Level | ~85dB (varies by model) |
| Dimensions | Varies (e.g., 40mm, 50mm, etc.) |
Pin Configuration and Descriptions
Speakers typically have two terminals or wires for connection:
| Pin/Terminal | Description |
|---|---|
| Positive (+) | Connects to the positive terminal of the audio source or amplifier. |
| Negative (-) | Connects to the ground or negative terminal of the audio source. |
Usage Instructions
How to Use the Speaker in a Circuit
- Determine the Speaker's Impedance and Power Rating: Ensure the speaker's impedance matches the output impedance of your audio source or amplifier. Also, verify that the power rating of the speaker is suitable for the application.
- Connect to an Audio Source:
- For low-power applications, connect the speaker directly to an audio output pin (e.g., from a microcontroller or audio module).
- For higher power applications, use an audio amplifier circuit to drive the speaker.
- Polarity: Connect the positive terminal of the speaker to the positive output of the audio source or amplifier, and the negative terminal to the ground.
Important Considerations and Best Practices
- Amplification: Most microcontrollers (e.g., Arduino) cannot directly drive a speaker due to insufficient current. Use an amplifier circuit or a transistor to boost the signal.
- Power Handling: Avoid exceeding the speaker's power rating to prevent damage.
- Enclosure: Place the speaker in an appropriate enclosure to enhance sound quality and protect it from physical damage.
- Filtering: Use capacitors or resistors to filter unwanted frequencies if needed.
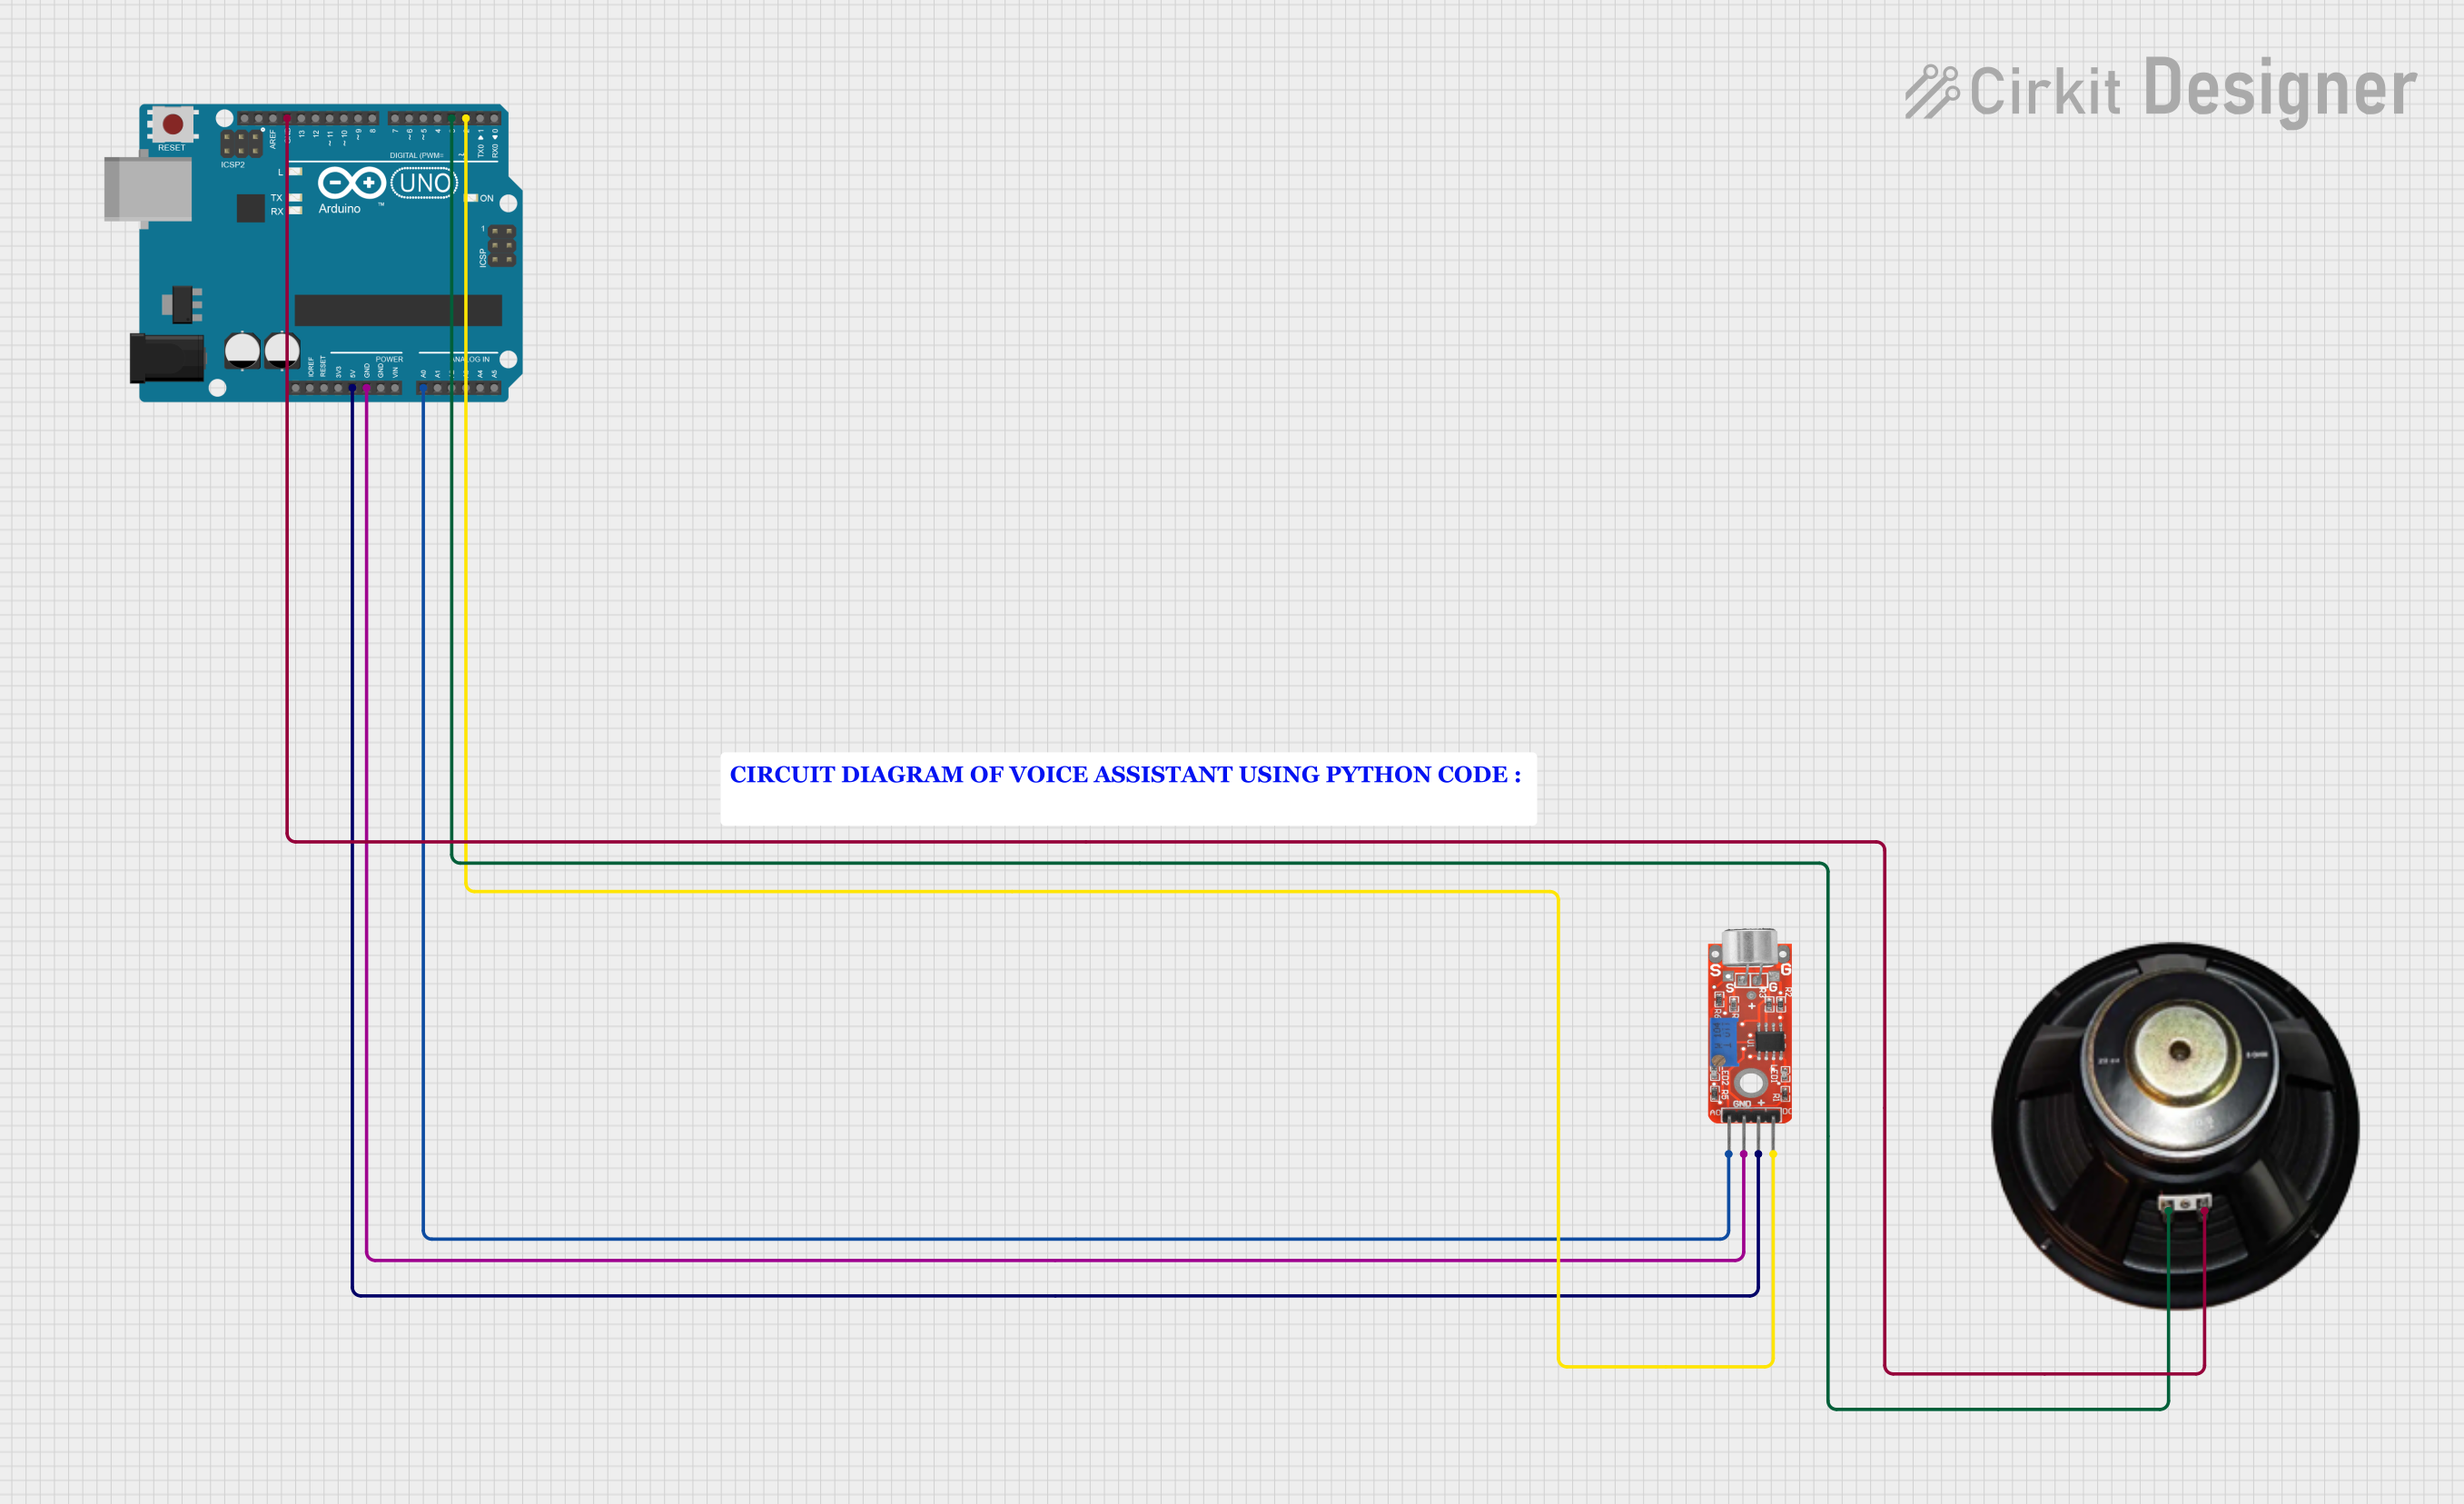
Example: Connecting a Speaker to an Arduino UNO
Below is an example of how to connect an 8Ω speaker to an Arduino UNO using a simple transistor amplifier circuit.
Circuit Diagram
- Connect the speaker's positive terminal to the collector of an NPN transistor (e.g., 2N2222).
- Connect the emitter of the transistor to ground.
- Connect a 1kΩ resistor between the Arduino's PWM pin (e.g., pin 9) and the base of the transistor.
- Connect the speaker's negative terminal to ground.
- Optionally, add a 100µF capacitor in series with the speaker to block DC signals.
Arduino Code
// Simple Arduino code to generate a tone on a speaker
// Connect the speaker to pin 9 via a transistor amplifier

int speakerPin = 9; // PWM pin connected to the speaker

void setup() {
  pinMode(speakerPin, OUTPUT); // Set the speaker pin as an output
}

void loop() {
  // Generate a 1kHz tone for 500ms
  tone(speakerPin, 1000, 500);
  delay(1000); // Wait for 1 second before repeating
}
Troubleshooting and FAQs
Common Issues and Solutions
No Sound from the Speaker:
- Cause: Incorrect wiring or insufficient power.
- Solution: Verify the connections and ensure the amplifier or audio source provides enough power.
Distorted Sound:
- Cause: Overdriving the speaker or mismatched impedance.
- Solution: Reduce the input signal or use a speaker with the correct impedance.
Speaker Gets Hot:
- Cause: Exceeding the power rating of the speaker.
- Solution: Lower the volume or use a speaker with a higher power rating.
Low Volume:
- Cause: Insufficient amplification.
- Solution: Use an audio amplifier circuit to boost the signal.
FAQs
Can I connect a speaker directly to an Arduino?
- No, the Arduino cannot supply enough current to drive a speaker directly. Use a transistor or an amplifier circuit.
What type of speaker should I use for my project?
- For small DIY projects, an 8Ω, 0.5W speaker is commonly used. Choose a speaker based on your power and sound quality requirements.
How do I improve the sound quality of my speaker?
- Use a proper enclosure, ensure impedance matching, and use an amplifier with low distortion.
By following this documentation, you can effectively integrate a speaker into your electronic projects and troubleshoot common issues.