How to Use Adafruit OLED Monochrome 128x32 SPI: Examples, Pinouts, and Specs
Introduction
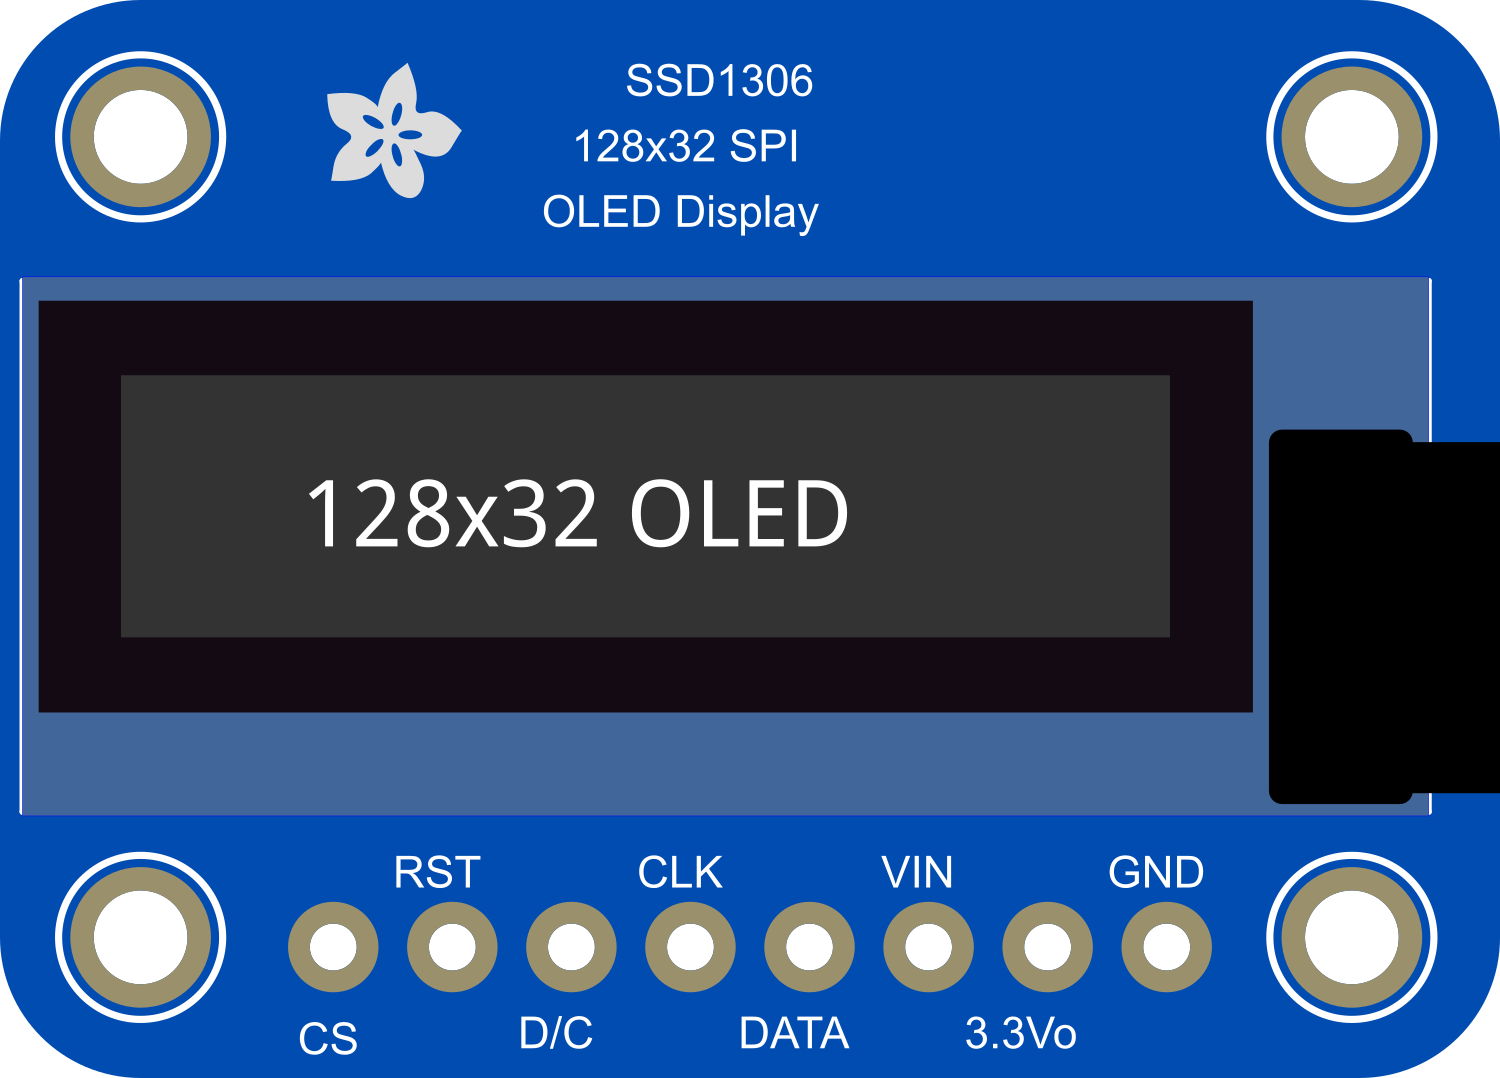
The Adafruit OLED Monochrome 128x32 SPI is a compact and versatile display module capable of rendering text and graphics with high contrast and clarity. Utilizing Organic Light Emitting Diode (OLED) technology, this display offers excellent viewing angles and performance under various lighting conditions. It is commonly used in wearable devices, instrumentation panels, and any application where a small, high-quality display is required. The SPI communication protocol allows for fast data transfer and easy interfacing with a wide range of microcontrollers, including the popular Arduino UNO.
Explore Projects Built with Adafruit OLED Monochrome 128x32 SPI


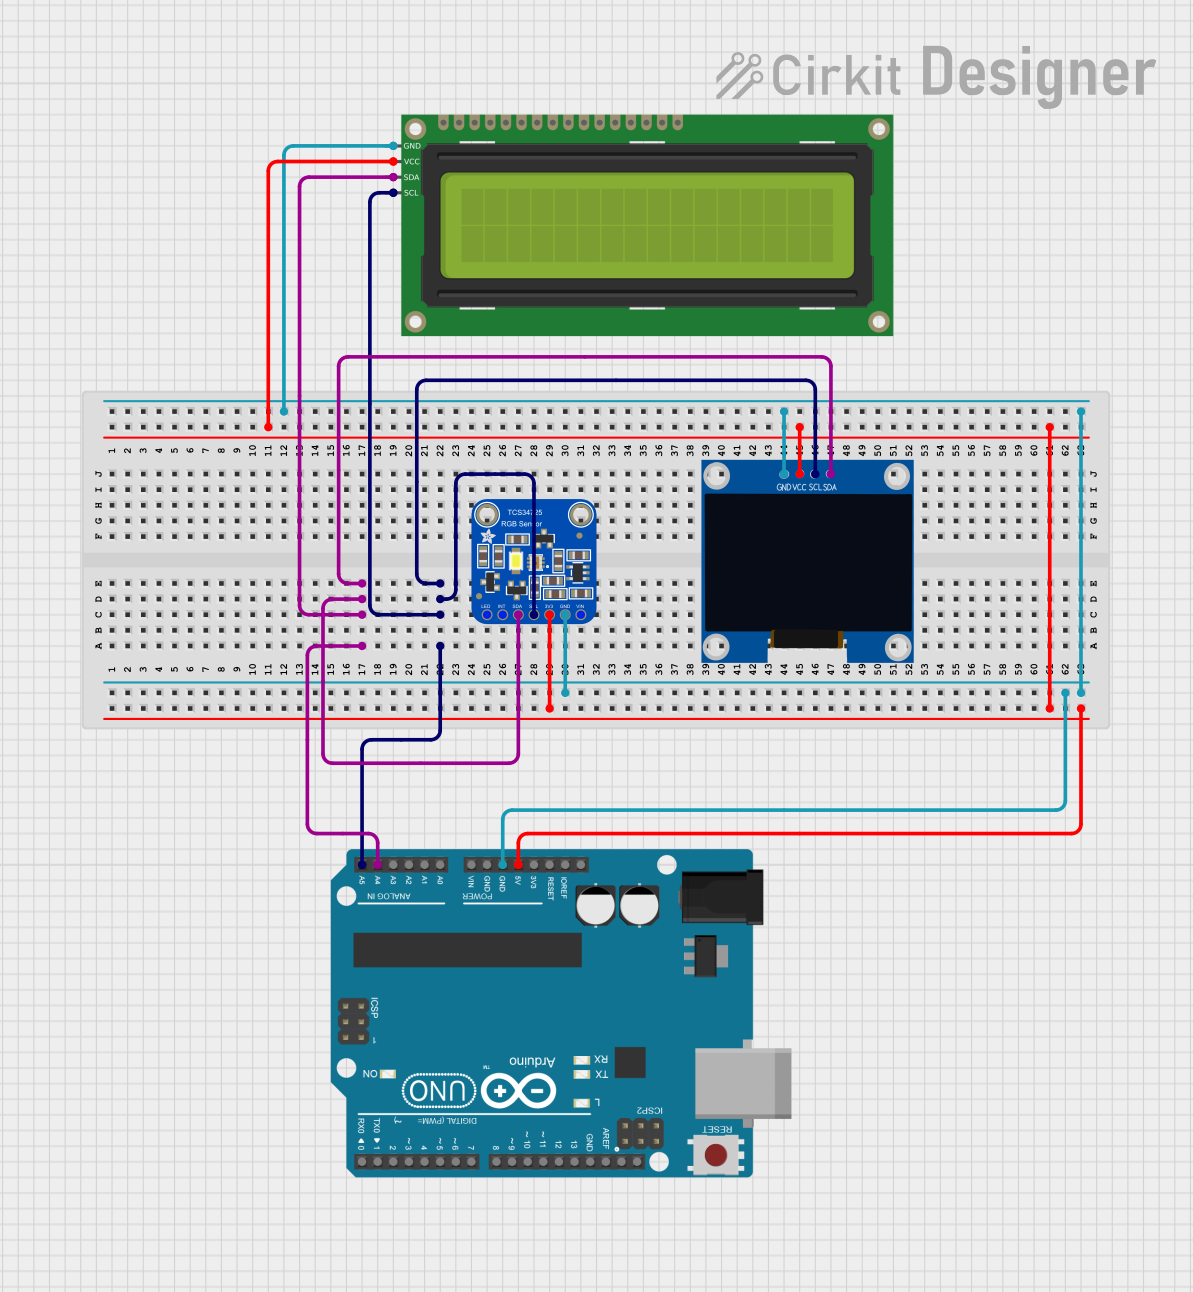

Explore Projects Built with Adafruit OLED Monochrome 128x32 SPI
Technical Specifications
Key Technical Details
- Display Type: Monochrome OLED
- Resolution: 128x32 pixels
- Color Depth: 1-bit (black & white)
- Interface: SPI (Serial Peripheral Interface)
- Operating Voltage: 3.3V to 5V
- Maximum Current: 20mA (typical usage)
- Dimensions: 35mm x 33mm x 4mm (including pins)
Pin Configuration and Descriptions
| Pin Number | Name | Description |
|---|---|---|
| 1 | GND | Ground connection |
| 2 | VCC | Power supply (3.3V - 5V) |
| 3 | SCL | SPI Clock Line |
| 4 | SDA | SPI Data Line |
| 5 | RES | Reset pin (active low) |
| 6 | DC | Data/Command control pin |
| 7 | CS | Chip Select (active low) |
Usage Instructions
Interfacing with a Circuit
To use the Adafruit OLED Monochrome 128x32 SPI display in your project, follow these steps:
- Connect the display pins to your microcontroller according to the pin configuration table.
- Ensure that the power supply voltage matches the operating voltage of the display.
- Initialize the display using the appropriate library for your microcontroller.
- Use the library functions to draw text, graphics, or animations on the display.
Important Considerations and Best Practices
- Always power off your circuit before making or changing connections.
- Use a logic level converter if your microcontroller operates at a different logic level than the display.
- Avoid exposing the display to direct sunlight or high temperatures to prevent damage.
- When designing a PCB or using a breadboard, ensure that the connections are secure to prevent intermittent issues.
Example Code for Arduino UNO
Below is an example code snippet for interfacing the Adafruit OLED Monochrome 128x32 SPI with an Arduino UNO. This code assumes the use of the Adafruit GFX and Adafruit SSD1306 libraries, which can be installed via the Arduino Library Manager.
#include <SPI.h>
#include <Wire.h>
#include <Adafruit_GFX.h>
#include <Adafruit_SSD1306.h>

// Screen dimensions
#define SCREEN_WIDTH 128
#define SCREEN_HEIGHT 32

// Pin definitions
#define OLED_MOSI   9
#define OLED_CLK   10
#define OLED_DC    11
#define OLED_CS    12
#define OLED_RESET 13

Adafruit_SSD1306 display(SCREEN_WIDTH, SCREEN_HEIGHT,
  &SPI, OLED_DC, OLED_RESET, OLED_CS);

void setup() {
  display.begin(SSD1306_SWITCHCAPVCC);
  display.display();
  delay(2000);
  display.clearDisplay();
}

void loop() {
  display.setTextSize(1);
  display.setTextColor(WHITE);
  display.setCursor(0,0);
  display.print(F("Hello, World!"));
  display.display();
  delay(2000);
}
Troubleshooting and FAQs
Common Issues
- Display not powering on: Check the power connections and ensure the voltage is within the specified range.
- Garbled or no display: Verify the SPI connections and ensure that the correct pins are used.
- Dim display: Adjust the contrast or check if the display is receiving adequate power.
Solutions and Tips for Troubleshooting
- Double-check all wiring against the pin configuration table.
- Ensure that the correct libraries are installed and included in your sketch.
- Reset the display using the RES pin if the display is not responding correctly.
- Consult the Adafruit forums or support channels for assistance with specific issues.
FAQs
Q: Can I use this display with a 5V microcontroller? A: Yes, the display can be powered with 5V, but ensure that the logic levels for SPI communication match the display's requirements.
Q: How do I install the required libraries for the Arduino UNO? A: You can install the Adafruit GFX and Adafruit SSD1306 libraries through the Arduino IDE Library Manager or by downloading them from the Adafruit GitHub repository.
Q: Is it possible to display images on this OLED? A: Yes, you can display bitmap images by converting them into the appropriate format using the Adafruit GFX library functions.
For further assistance, refer to the Adafruit Learning System or the community forums where you can find additional resources and support from other users.