How to Use Ion engine: Examples, Pinouts, and Specs
Introduction
The Ion Engine, manufactured by "me" with part ID "no," is a type of propulsion system that generates thrust by accelerating ions using electricity. This technology is commonly used in spacecraft for long-duration missions due to its high efficiency and low thrust. Ion engines are pivotal in modern space exploration, enabling missions that require precise and sustained propulsion over extended periods.
Explore Projects Built with Ion engine
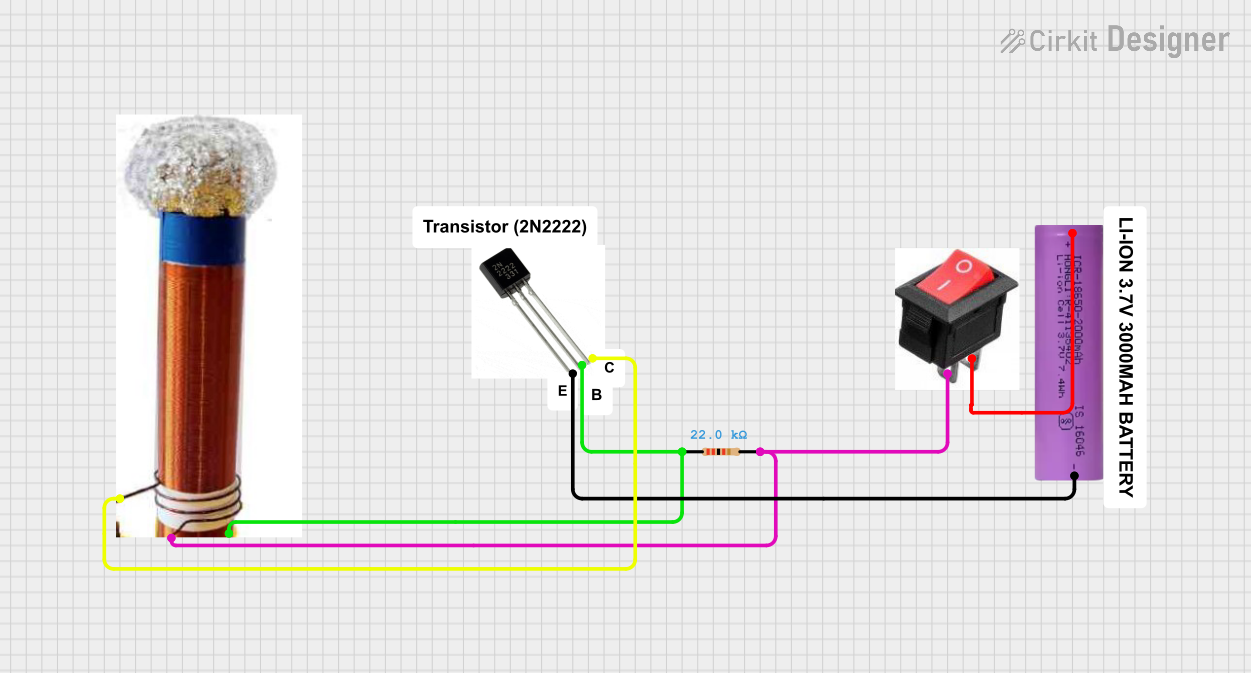
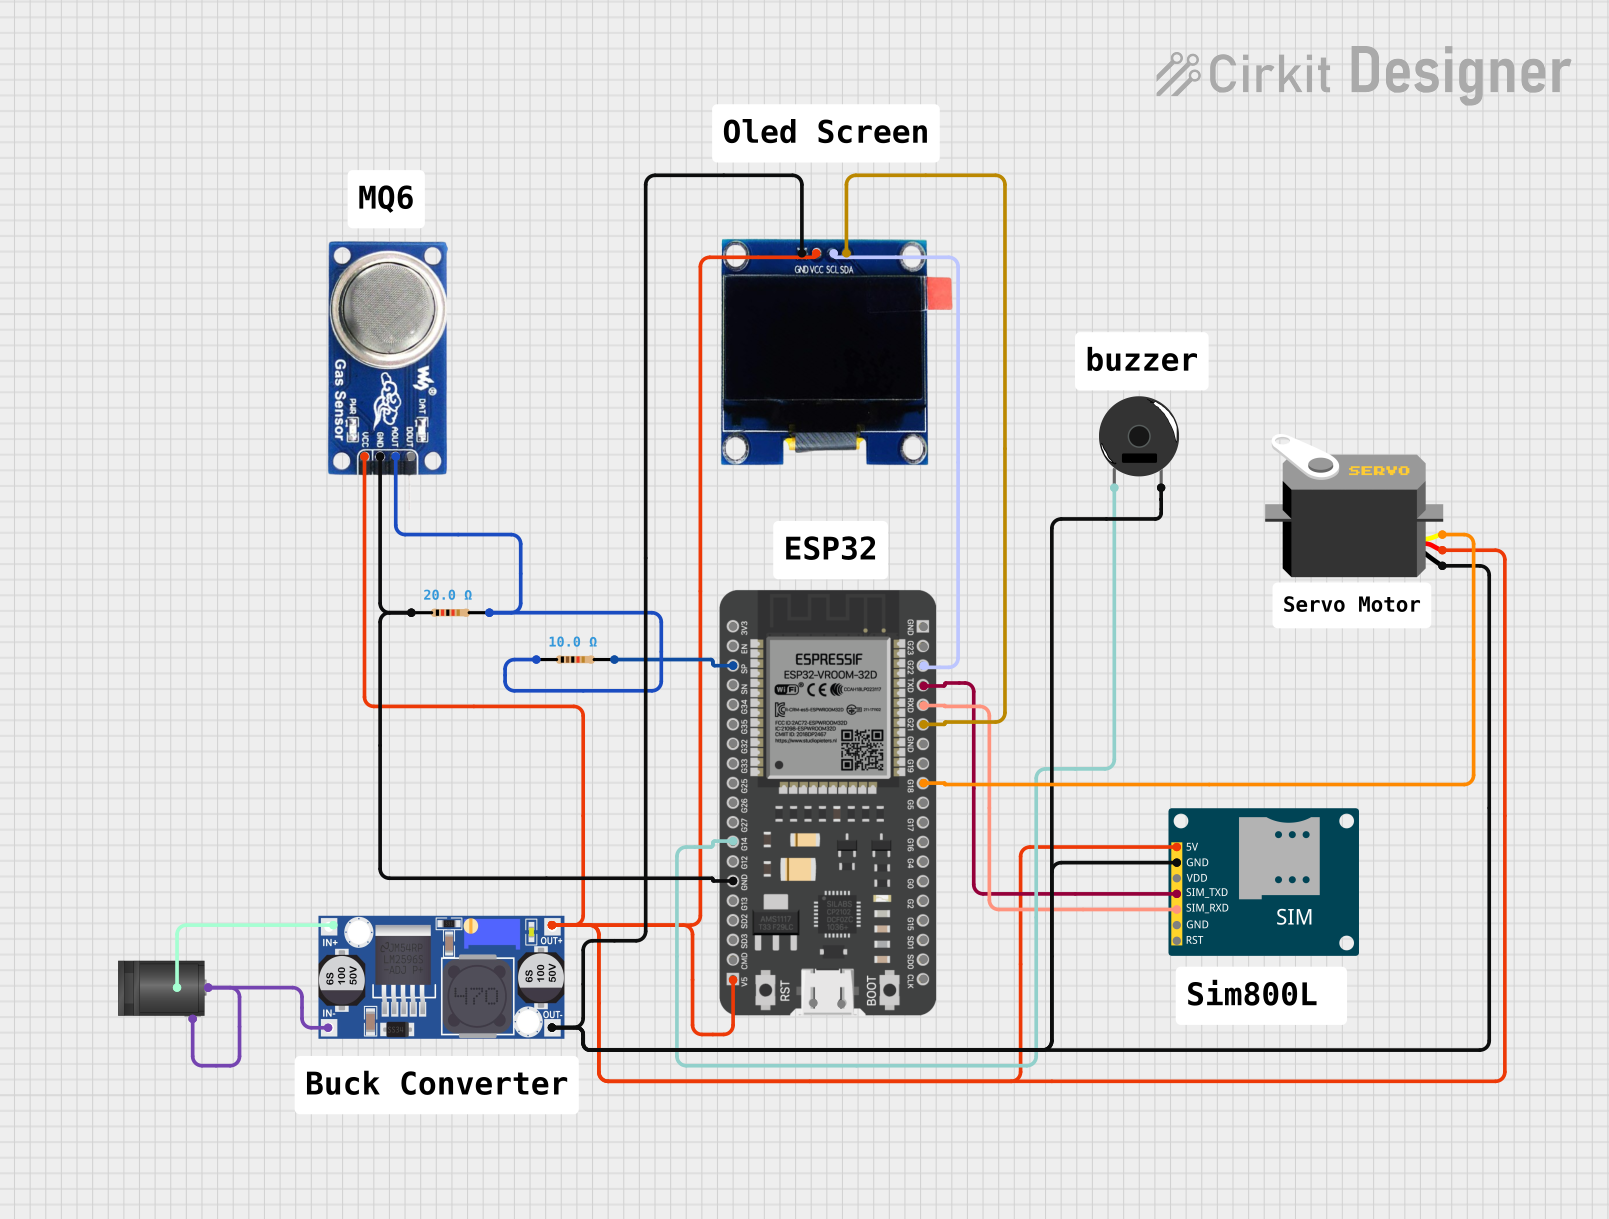
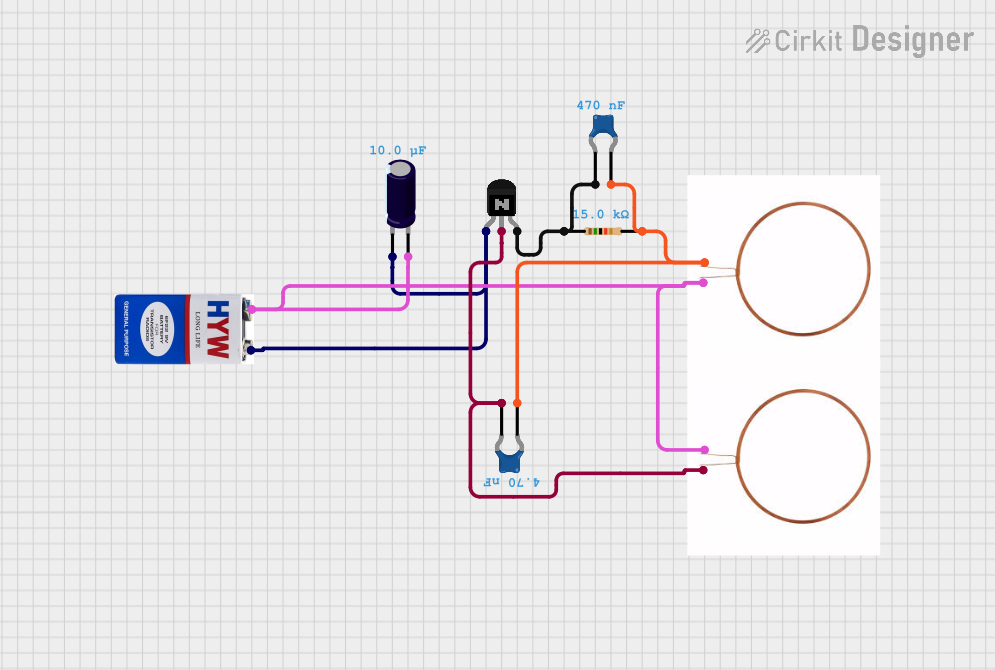
Explore Projects Built with Ion engine
Common Applications and Use Cases
- Spacecraft Propulsion: Used in deep space missions for efficient and sustained thrust.
- Satellite Station-Keeping: Maintains the position of satellites in their designated orbits.
- Interplanetary Missions: Facilitates travel between planets with minimal fuel consumption.
- Scientific Probes: Powers probes sent to study distant celestial bodies.
Technical Specifications
Key Technical Details
| Parameter | Value |
|---|---|
| Voltage | 3000 V |
| Current | 1.5 A |
| Power Rating | 4500 W |
| Thrust | 0.5 N |
| Specific Impulse | 3000 s |
| Propellant | Xenon |
| Efficiency | 70% |
| Operating Temperature | -40°C to 60°C |
Pin Configuration and Descriptions
| Pin Number | Pin Name | Description |
|---|---|---|
| 1 | V+ | Positive Voltage Input (3000 V) |
| 2 | V- | Negative Voltage Input (Ground) |
| 3 | Control | Control Signal Input |
| 4 | Thrust Output | Thrust Measurement Output |
| 5 | Temp Sensor | Temperature Sensor Output |
| 6 | Status | Status Indicator Output |
Usage Instructions
How to Use the Component in a Circuit
Power Supply:
- Connect the V+ pin to a high-voltage power supply (3000 V).
- Connect the V- pin to the ground of the power supply.
Control Signal:
- Use a microcontroller (e.g., Arduino UNO) to send control signals to the Control pin.
- The control signal regulates the ion acceleration process.
Thrust Measurement:
- Connect the Thrust Output pin to an appropriate measurement device to monitor thrust levels.
Temperature Monitoring:
- Connect the Temp Sensor pin to a temperature monitoring system to ensure the engine operates within the specified temperature range.
Status Monitoring:
- Connect the Status pin to an indicator (e.g., LED) to monitor the operational status of the ion engine.
Important Considerations and Best Practices
- High Voltage Safety: Ensure all connections are secure and insulated to prevent electrical hazards.
- Cooling: Implement adequate cooling mechanisms to maintain the operating temperature within the specified range.
- Control Signal Integrity: Use shielded cables for control signals to prevent interference.
- Regular Maintenance: Periodically check connections and components for wear and tear.
Example Code for Arduino UNO
// Ion Engine Control with Arduino UNO

const int controlPin = 3; // Control signal pin
const int statusPin = 6;  // Status indicator pin

void setup() {
  pinMode(controlPin, OUTPUT); // Set control pin as output
  pinMode(statusPin, INPUT);   // Set status pin as input
  Serial.begin(9600);          // Initialize serial communication
}

void loop() {
  digitalWrite(controlPin, HIGH); // Activate ion engine
  delay(1000);                    // Run for 1 second
  digitalWrite(controlPin, LOW);  // Deactivate ion engine
  delay(1000);                    // Wait for 1 second

  int status = digitalRead(statusPin); // Read status pin
  if (status == HIGH) {
    Serial.println("Ion Engine is operational");
  } else {
    Serial.println("Ion Engine is not operational");
  }
}
Troubleshooting and FAQs
Common Issues Users Might Face
No Thrust Output:
- Solution: Check power supply connections and ensure the control signal is correctly applied.
Overheating:
- Solution: Verify the cooling system is functioning and the operating environment is within the specified temperature range.
Control Signal Interference:
- Solution: Use shielded cables and ensure the control signal source is stable.
Status Indicator Not Working:
- Solution: Check the status pin connection and ensure the indicator device (e.g., LED) is functional.
FAQs
Q1: Can the ion engine be used in atmospheric conditions?
- A1: No, ion engines are designed for use in the vacuum of space where they can operate efficiently.
Q2: What type of propellant is used?
- A2: The ion engine uses Xenon as the propellant.
Q3: How do I ensure the engine operates within the specified temperature range?
- A3: Implement adequate cooling mechanisms and monitor the temperature using the Temp Sensor pin.
Q4: Can I control the thrust level?
- A4: Yes, the thrust level can be controlled by varying the control signal applied to the Control pin.
Q5: What should I do if the engine does not start?
- A5: Check all connections, ensure the power supply is providing the correct voltage, and verify the control signal is being correctly applied.
This documentation provides a comprehensive guide to understanding, using, and troubleshooting the Ion Engine. Whether you are a beginner or an experienced user, following these guidelines will help you effectively integrate this component into your projects.