How to Use Duinotech Wi-Fi Mini DHT11 Temperature and Humidity Sensor Shield: Examples, Pinouts, and Specs
Introduction
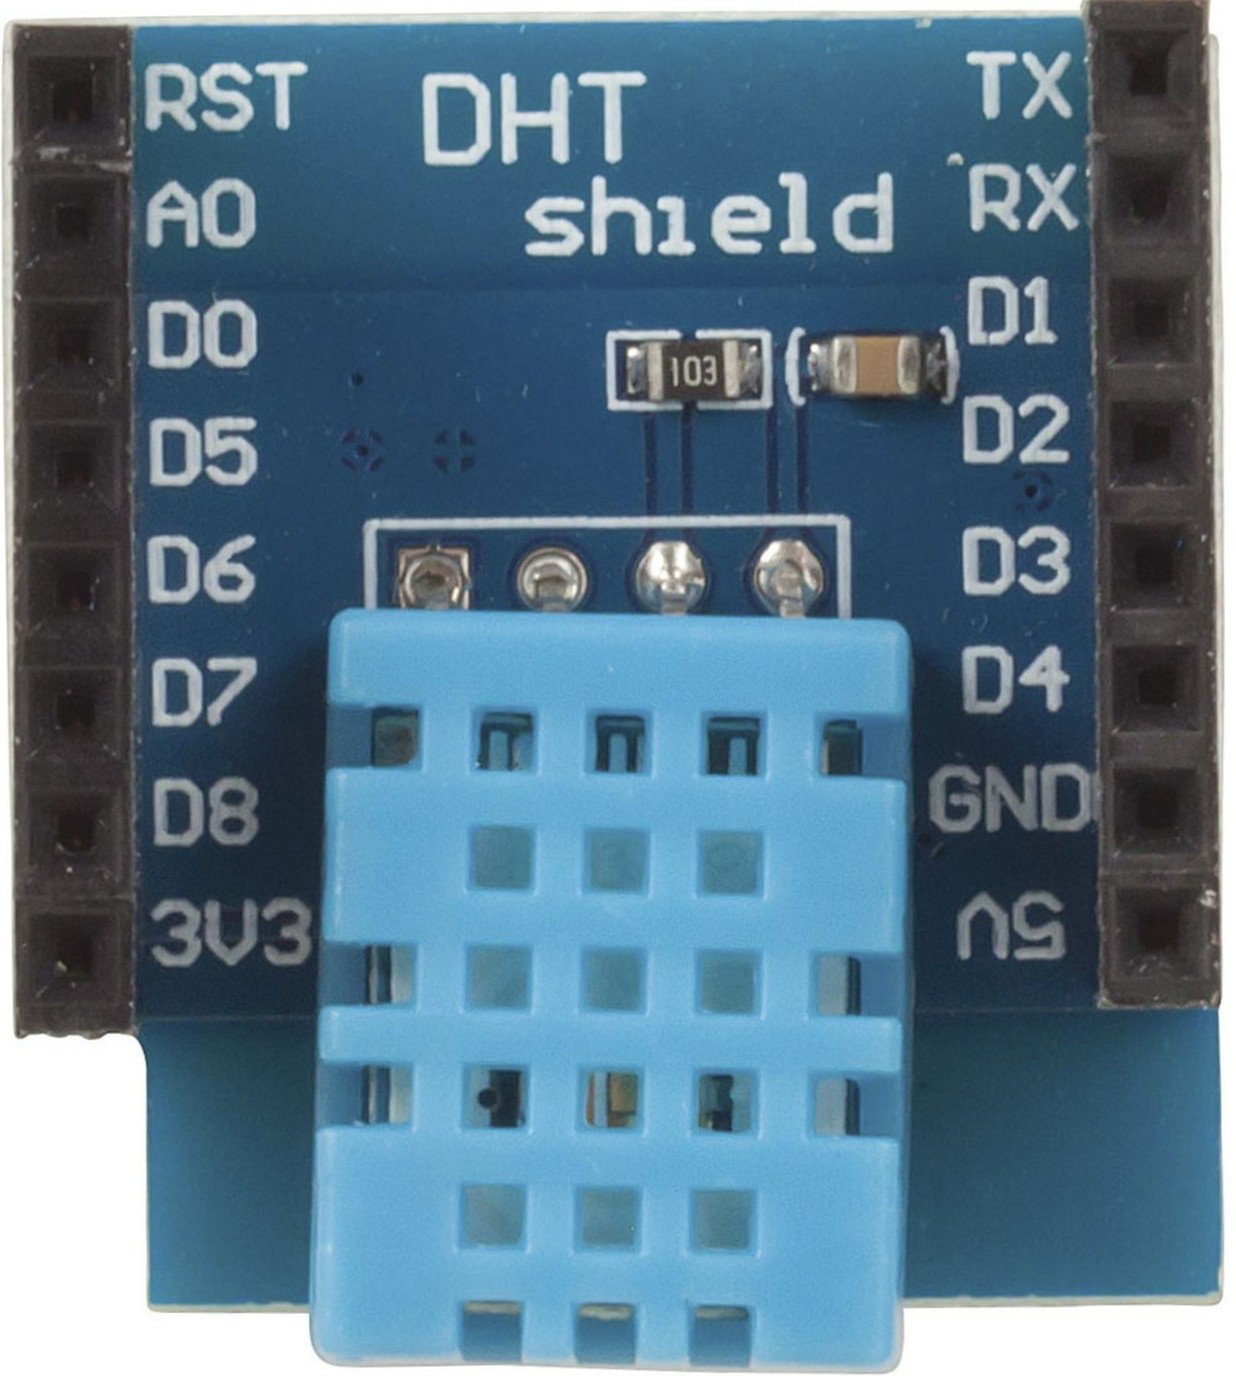
The Duinotech Wi-Fi Mini DHT11 Temperature and Humidity Sensor Shield (XC3856) is a compact and versatile module designed for IoT applications. It integrates the reliable DHT11 sensor for measuring temperature and humidity, along with built-in Wi-Fi capabilities for seamless wireless data transmission. This shield is ideal for projects requiring environmental monitoring and remote data access, such as smart home systems, weather stations, and industrial automation.
Explore Projects Built with Duinotech Wi-Fi Mini DHT11 Temperature and Humidity Sensor Shield
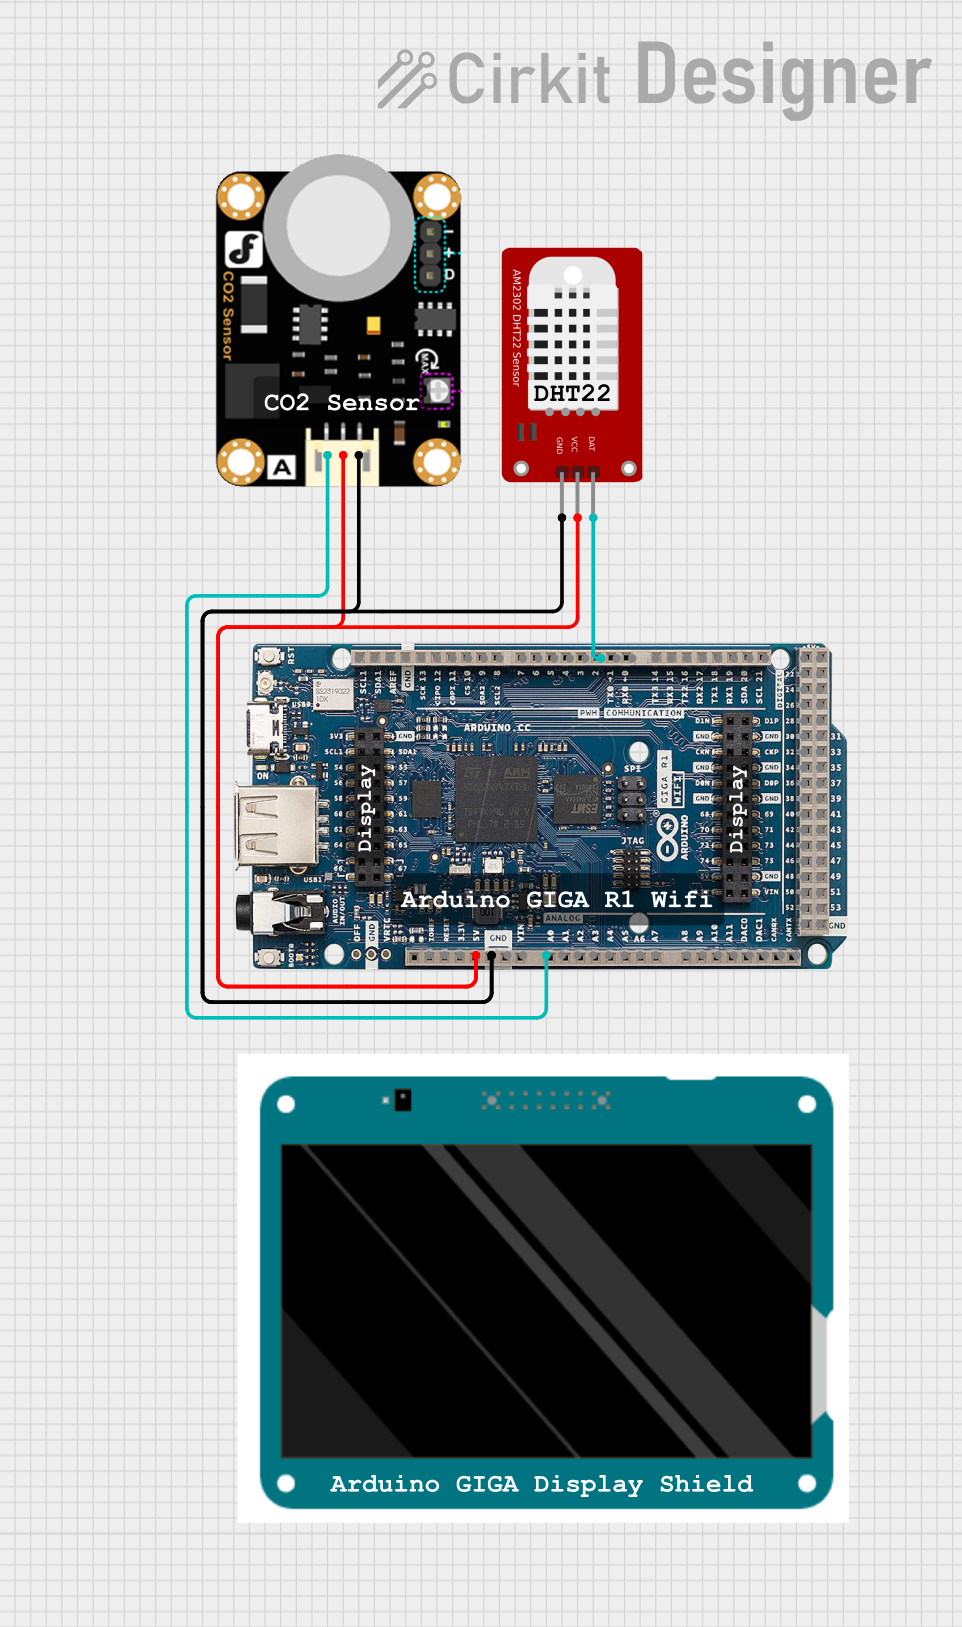

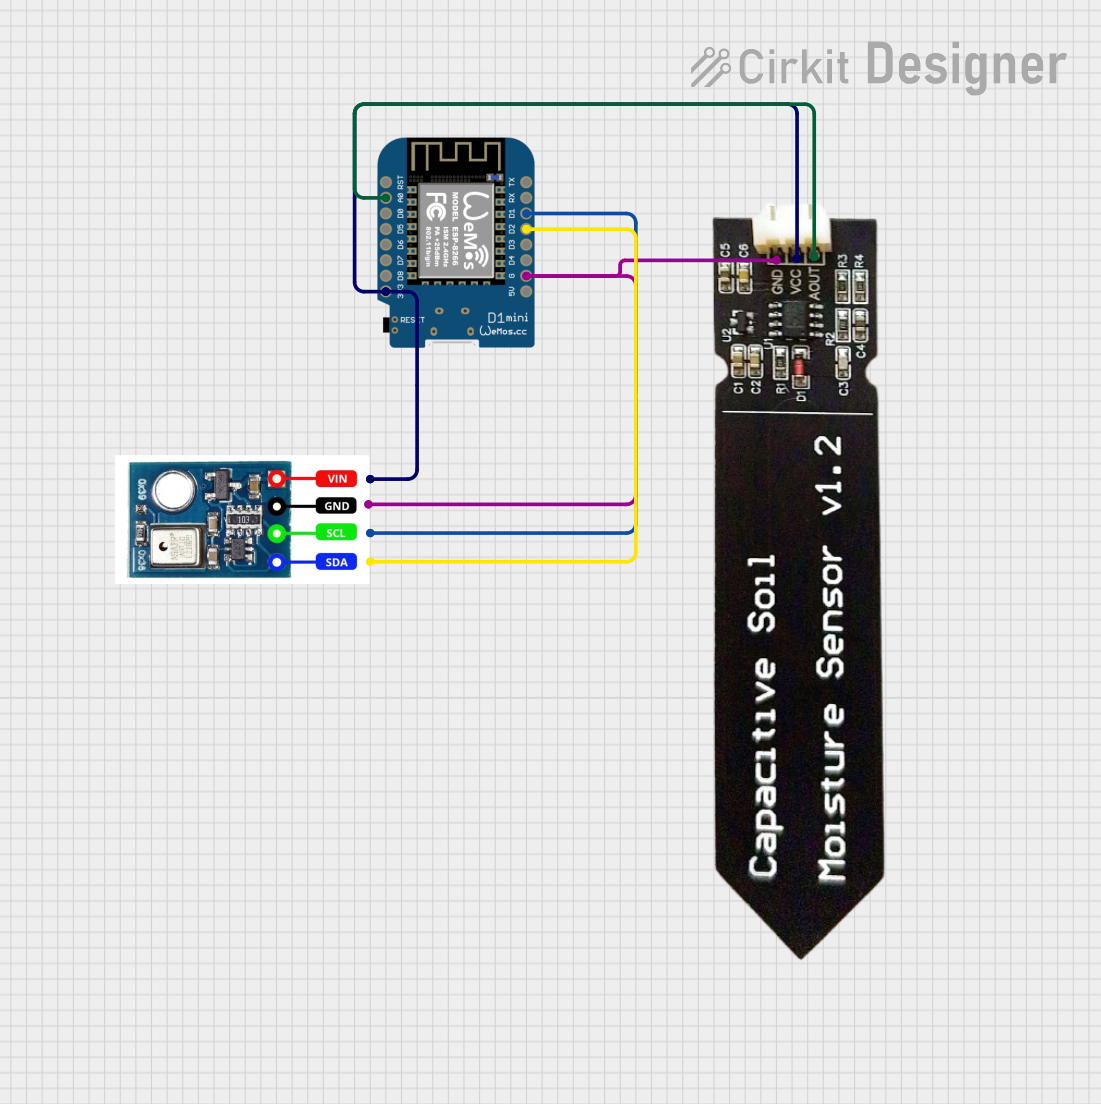
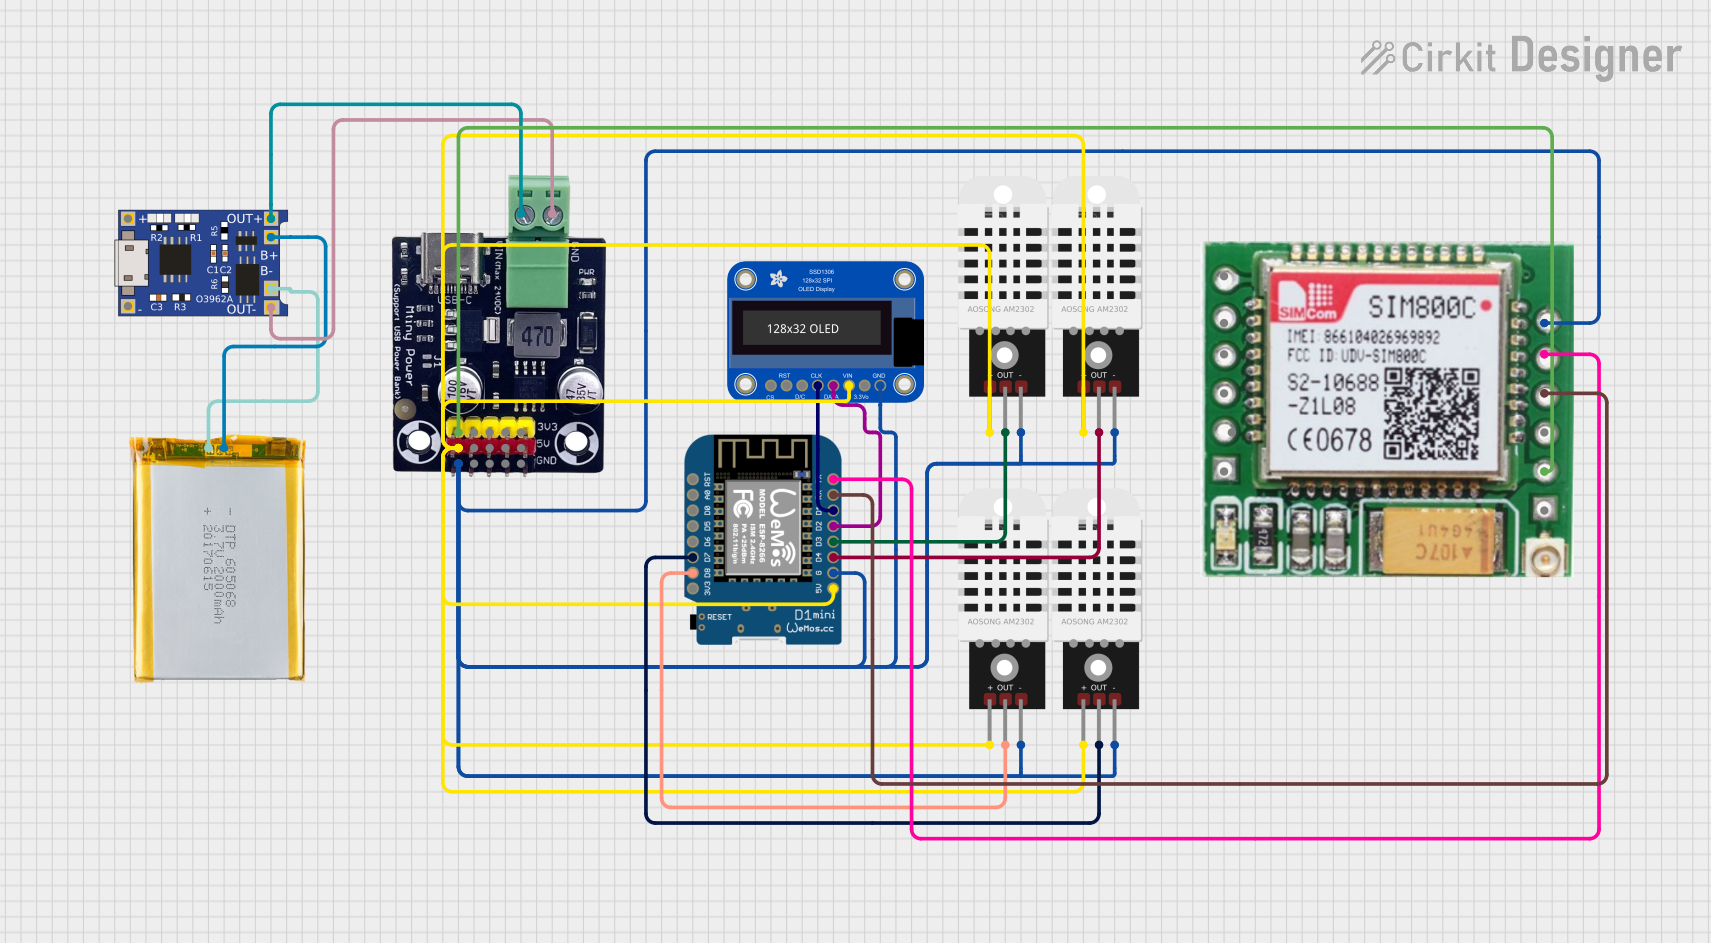
Explore Projects Built with Duinotech Wi-Fi Mini DHT11 Temperature and Humidity Sensor Shield
Common Applications and Use Cases
- Smart home automation (e.g., HVAC control, environmental monitoring)
- Weather stations and climate monitoring
- IoT-based data logging and remote sensing
- Educational projects and prototyping
Technical Specifications
Key Technical Details
| Parameter | Value |
|---|---|
| Manufacturer | Duinotech |
| Part ID | XC3856 |
| Sensor Type | DHT11 (Temperature & Humidity) |
| Temperature Range | 0°C to 50°C |
| Humidity Range | 20% to 90% RH (non-condensing) |
| Temperature Accuracy | ±2°C |
| Humidity Accuracy | ±5% RH |
| Operating Voltage | 3.3V to 5V |
| Wi-Fi Standard | 802.11 b/g/n |
| Communication Protocol | UART (Serial) |
| Dimensions | 35mm x 25mm x 8mm |
Pin Configuration and Descriptions
| Pin Name | Pin Number | Description |
|---|---|---|
| VCC | 1 | Power input (3.3V to 5V) |
| GND | 2 | Ground connection |
| TX | 3 | UART Transmit pin (connect to RX of microcontroller) |
| RX | 4 | UART Receive pin (connect to TX of microcontroller) |
| DHT_OUT | 5 | Data output from the DHT11 sensor |
Usage Instructions
How to Use the Component in a Circuit
- Power the Shield: Connect the
VCCpin to a 3.3V or 5V power source and theGNDpin to ground. - Connect UART Pins:
- Connect the
TXpin of the shield to theRXpin of your microcontroller (e.g., Arduino UNO). - Connect the
RXpin of the shield to theTXpin of your microcontroller.
- Connect the
- DHT11 Data Pin: The
DHT_OUTpin provides temperature and humidity data. This pin is internally connected to the shield's microcontroller, so you can access the data via UART communication. - Wi-Fi Configuration: Use AT commands or a compatible library to configure the Wi-Fi module for your network.
Important Considerations and Best Practices
- Ensure the operating voltage is within the specified range (3.3V to 5V) to avoid damage.
- Place the shield in a location with good airflow for accurate temperature and humidity readings.
- Avoid exposing the DHT11 sensor to water or high humidity levels beyond its specified range.
- Use a level shifter if connecting to a 3.3V microcontroller to ensure proper UART communication.
Example Code for Arduino UNO
Below is an example code to read temperature and humidity data from the shield and send it over Wi-Fi:
#include <SoftwareSerial.h>

// Define software serial pins for communication with the shield
SoftwareSerial wifiSerial(2, 3); // RX, TX

void setup() {
  Serial.begin(9600); // Initialize Serial Monitor
  wifiSerial.begin(9600); // Initialize communication with the shield

  // Send a basic AT command to check Wi-Fi module response
  wifiSerial.println("AT");
  delay(1000);

  // Configure the Wi-Fi module (replace with your SSID and password)
  wifiSerial.println("AT+CWJAP=\"YourSSID\",\"YourPassword\"");
  delay(5000);

  Serial.println("Wi-Fi setup complete.");
}

void loop() {
  // Request temperature and humidity data from the shield
  wifiSerial.println("GET_TEMP_HUMIDITY");
  delay(1000);

  // Read and display the response
  while (wifiSerial.available()) {
    String data = wifiSerial.readString();
    Serial.println("Sensor Data: " + data);
  }

  delay(5000); // Wait before the next reading
}
Notes:
- Replace
"YourSSID"and"YourPassword"with your Wi-Fi credentials. - Ensure the shield's firmware supports the
GET_TEMP_HUMIDITYcommand or modify the code accordingly.
Troubleshooting and FAQs
Common Issues and Solutions
No Response from the Shield
- Cause: Incorrect UART connections or baud rate mismatch.
- Solution: Verify the
TXandRXconnections and ensure the baud rate matches the shield's default (9600 bps).
Inaccurate Temperature or Humidity Readings
- Cause: Poor airflow or sensor exposure to extreme conditions.
- Solution: Place the shield in a well-ventilated area and avoid exceeding the sensor's operating range.
Wi-Fi Connection Fails
- Cause: Incorrect SSID/password or weak signal strength.
- Solution: Double-check the credentials and ensure the shield is within range of the Wi-Fi router.
Data Transmission Delays
- Cause: Network congestion or high latency.
- Solution: Test the shield on a less congested network or reduce the data transmission frequency.
FAQs
Q1: Can I use this shield with a 3.3V microcontroller?
A1: Yes, the shield supports 3.3V operation. However, ensure proper UART voltage levels using a level shifter if needed.
Q2: How do I update the firmware of the Wi-Fi module?
A2: Refer to the manufacturer's documentation for firmware update instructions. Typically, this involves using a USB-to-UART adapter and a firmware flashing tool.
Q3: Can I use this shield without Wi-Fi?
A3: Yes, you can use the DHT11 sensor functionality without configuring the Wi-Fi module.
Q4: What is the maximum range of the Wi-Fi module?
A4: The Wi-Fi module supports a range of up to 30 meters indoors, depending on environmental factors.
This concludes the documentation for the Duinotech Wi-Fi Mini DHT11 Temperature and Humidity Sensor Shield (XC3856).