How to Use MicoAir743v2_1: Examples, Pinouts, and Specs
Introduction
The MicoAir743v2_1 is a compact, low-power wireless communication module developed by MicoAir. It is specifically designed for Internet of Things (IoT) applications, offering advanced connectivity options and efficient data transmission capabilities. This module is ideal for applications requiring reliable wireless communication, such as smart home devices, industrial automation, and wearable technology.
Explore Projects Built with MicoAir743v2_1
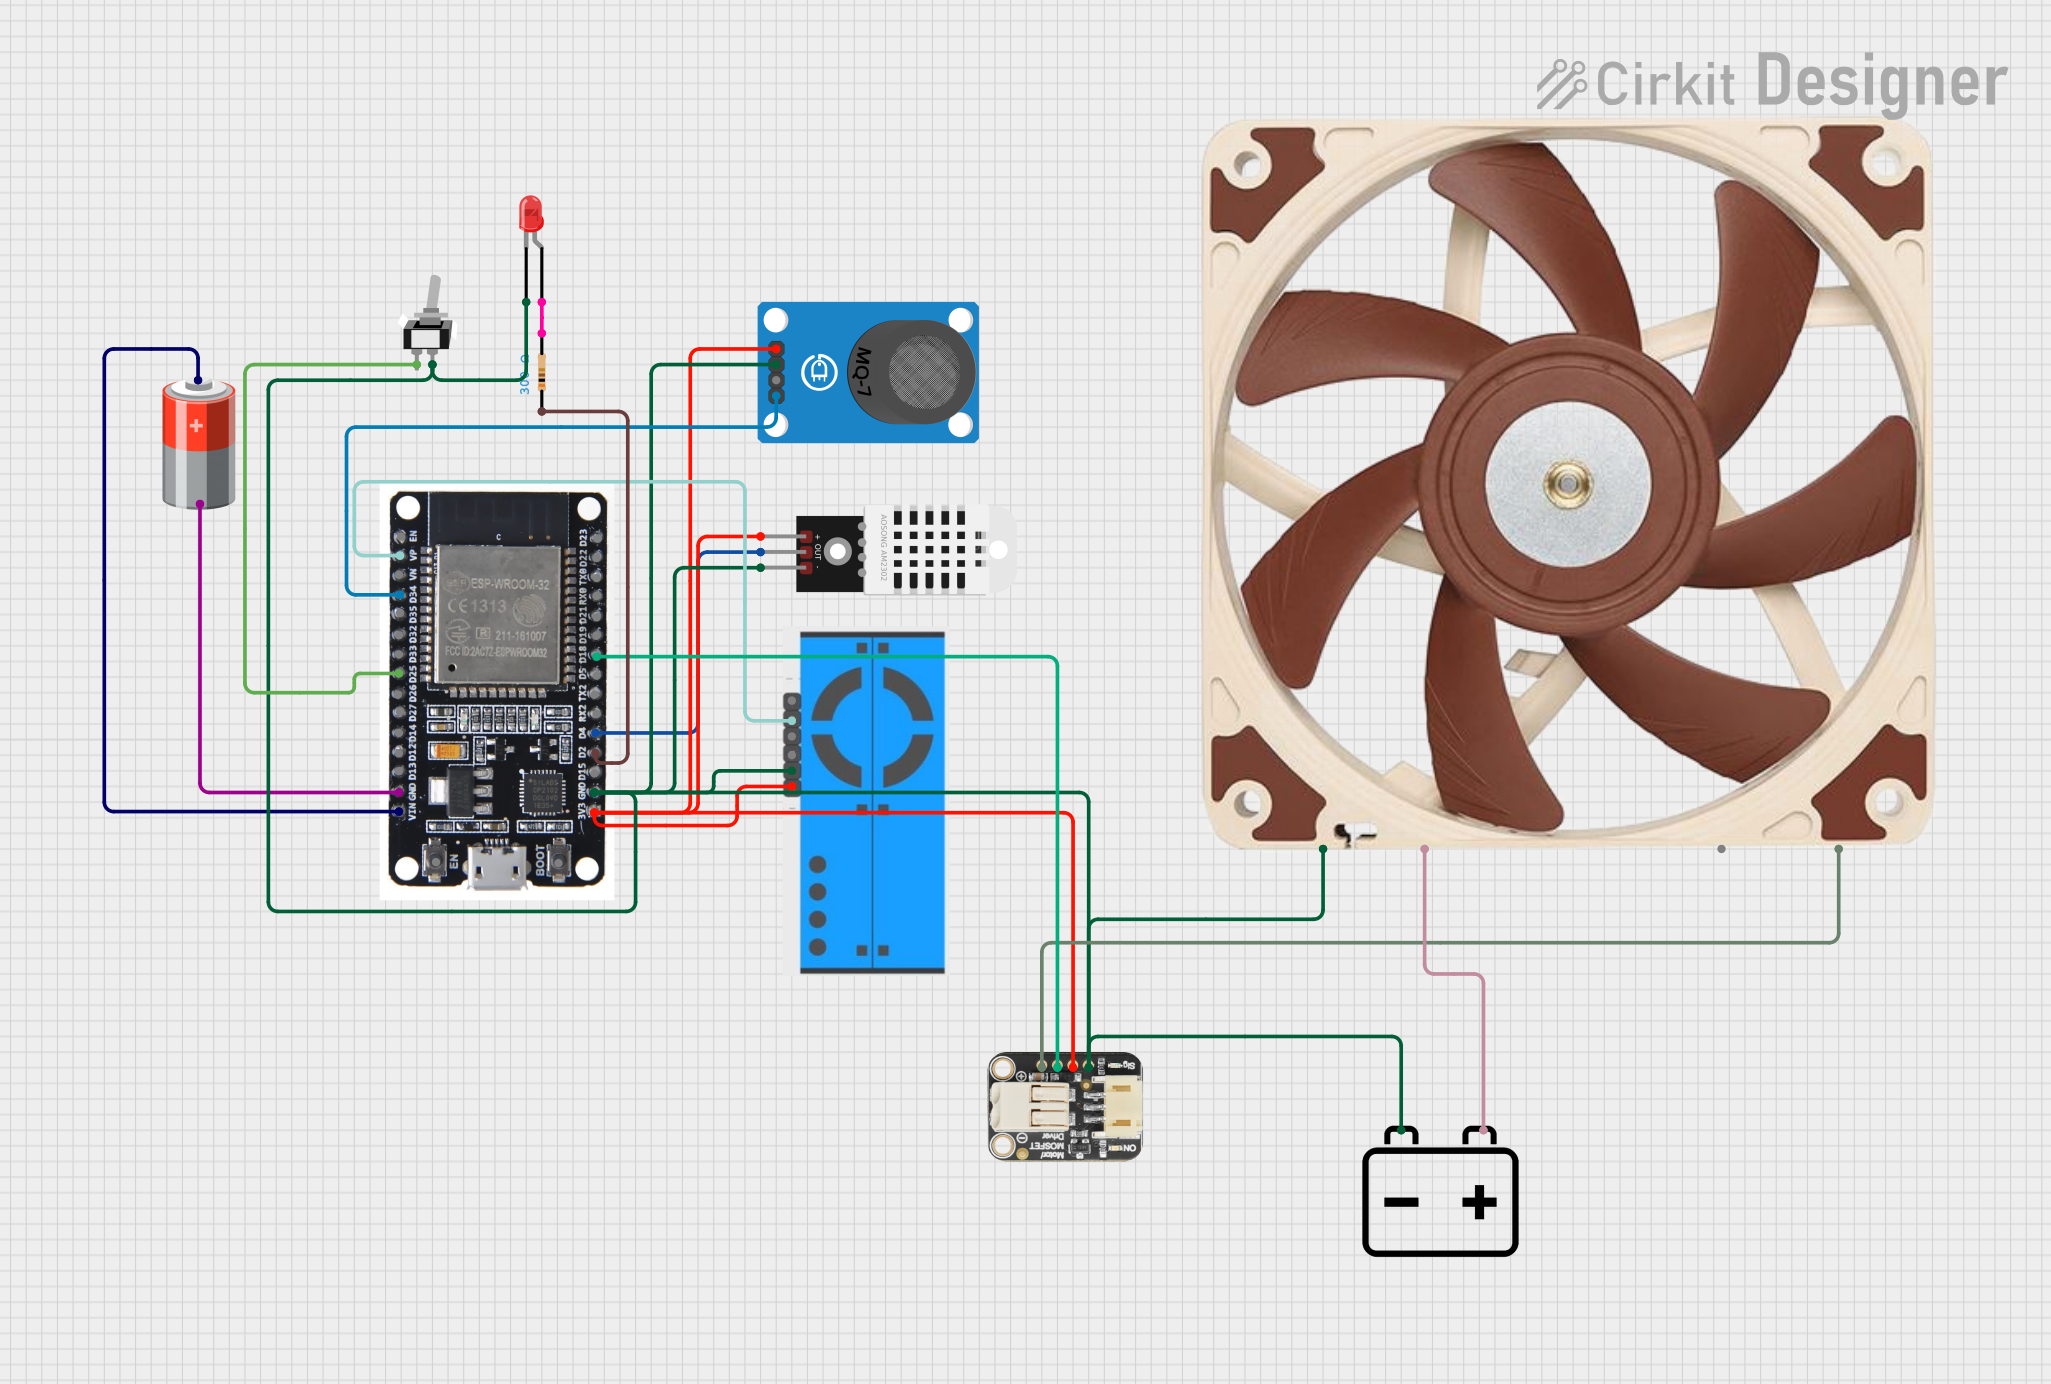

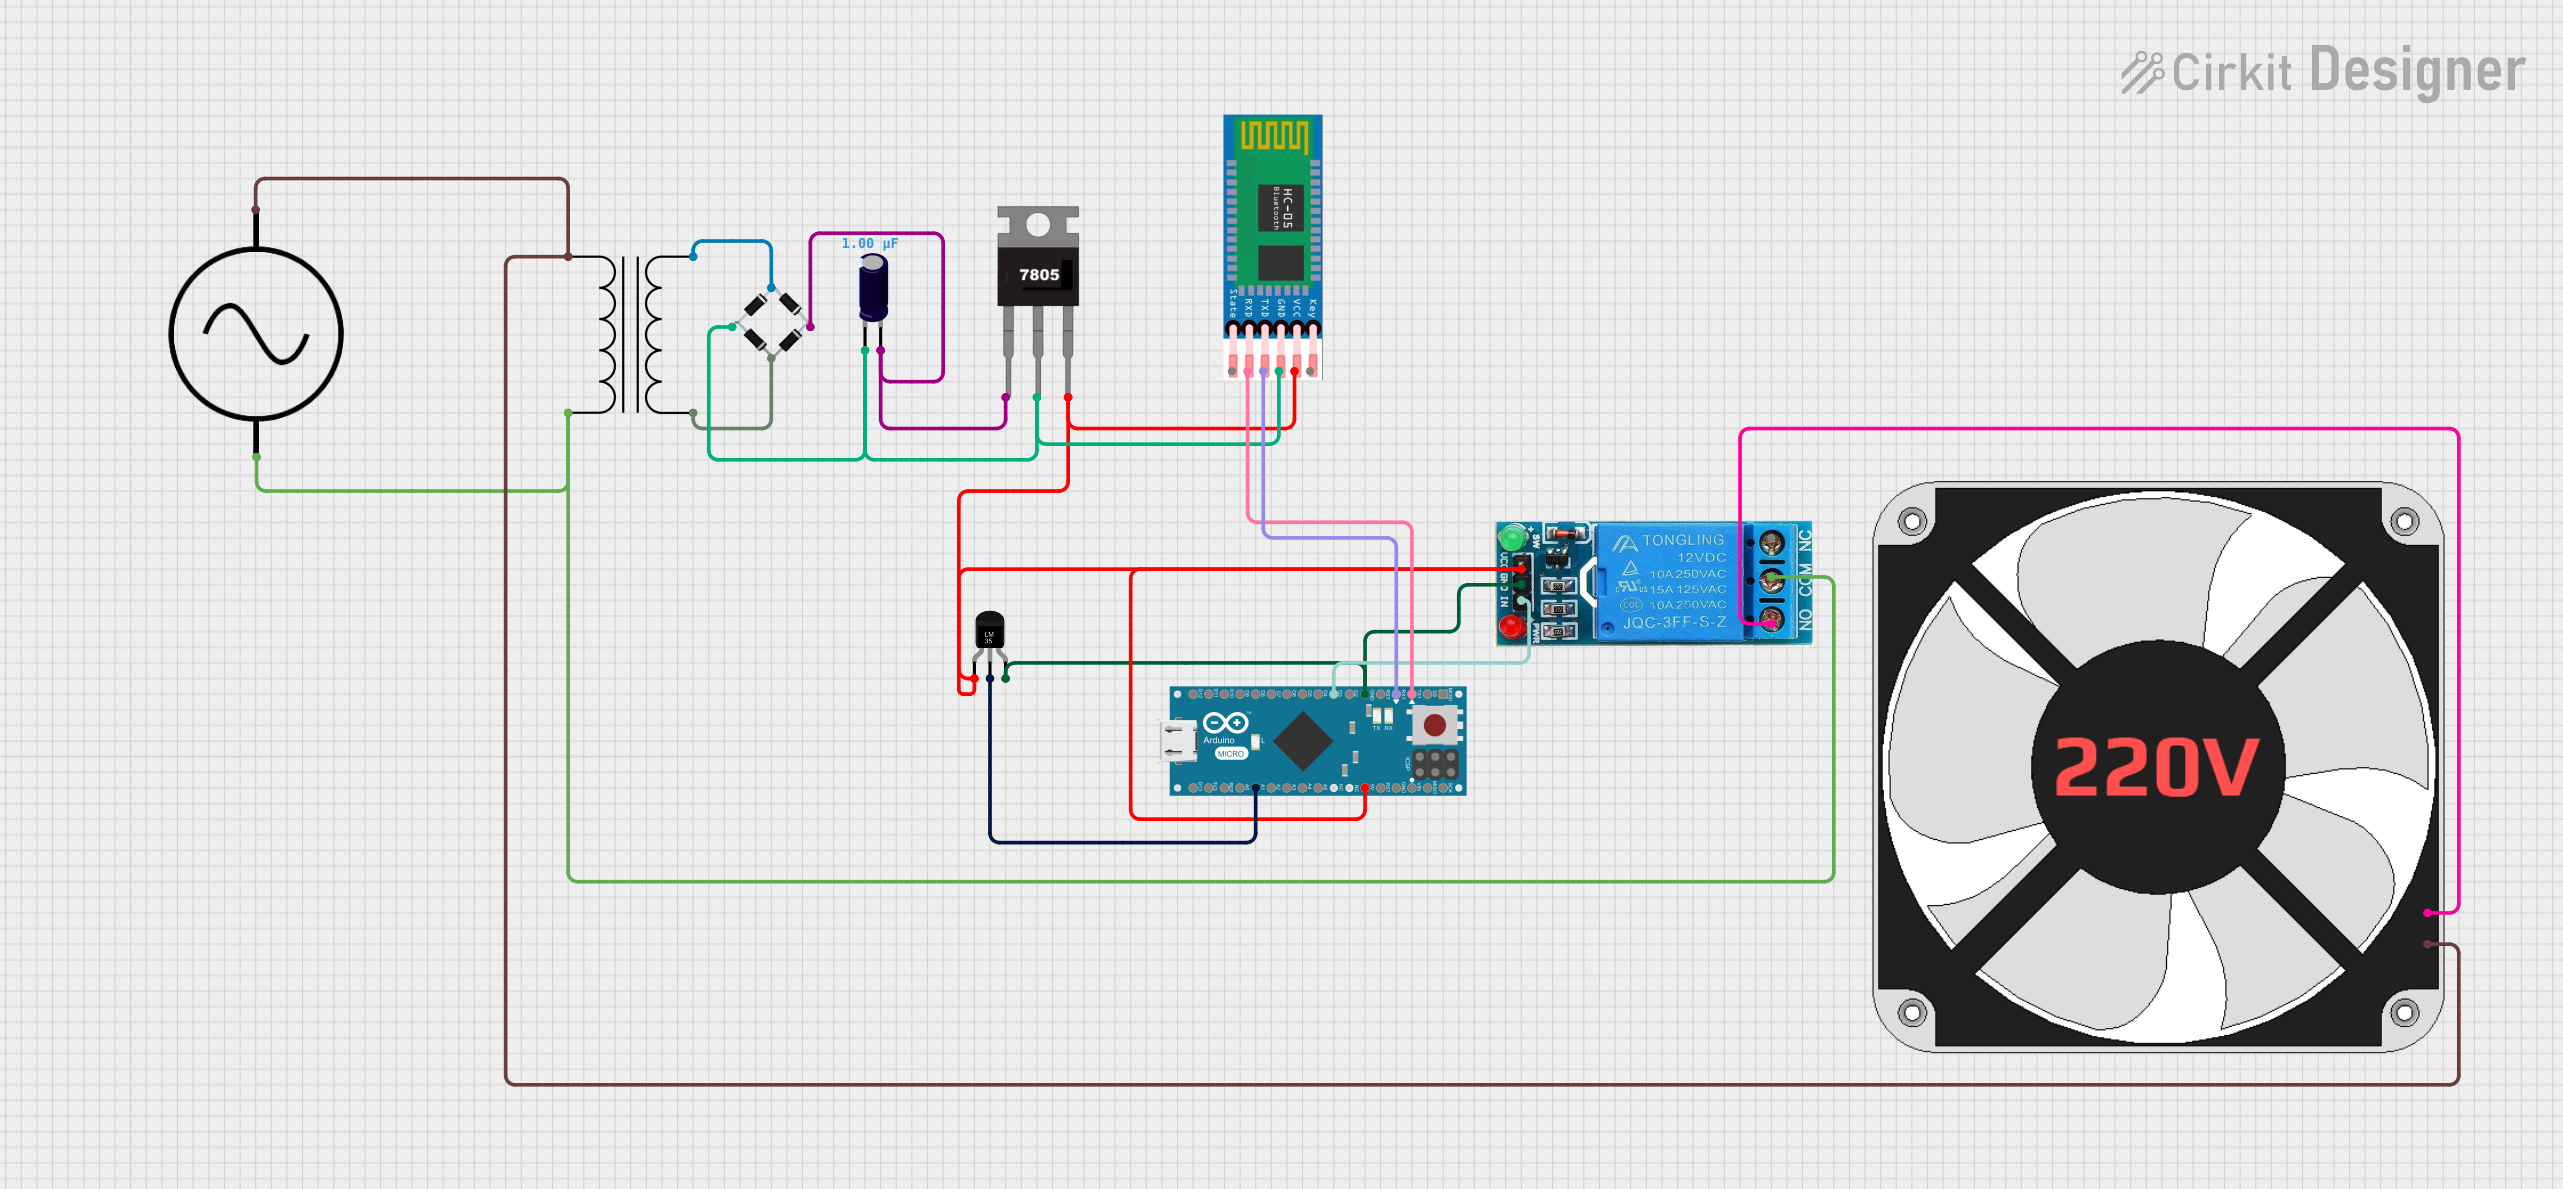

Explore Projects Built with MicoAir743v2_1
Common Applications
- Smart home systems (e.g., lighting, security, and HVAC control)
- Industrial IoT (e.g., sensor networks and machine monitoring)
- Wearable devices (e.g., fitness trackers and health monitors)
- Remote monitoring and control systems
- Wireless data logging and telemetry
Technical Specifications
Key Technical Details
| Parameter | Value |
|---|---|
| Manufacturer | MicoAir |
| Part ID | MicoAir743v2 |
| Wireless Protocols | Wi-Fi (802.11 b/g/n), Bluetooth 5.0 |
| Operating Voltage | 3.3V |
| Power Consumption | 10 mA (idle), 150 mA (max TX) |
| Data Rate | Up to 72 Mbps (Wi-Fi), 2 Mbps (Bluetooth) |
| Operating Temperature | -40°C to +85°C |
| Dimensions | 18 mm x 12 mm x 2.5 mm |
| Antenna | Integrated PCB antenna |
| Communication Interfaces | UART, SPI, I2C |
| Flash Memory | 4 MB |
| RAM | 512 KB |
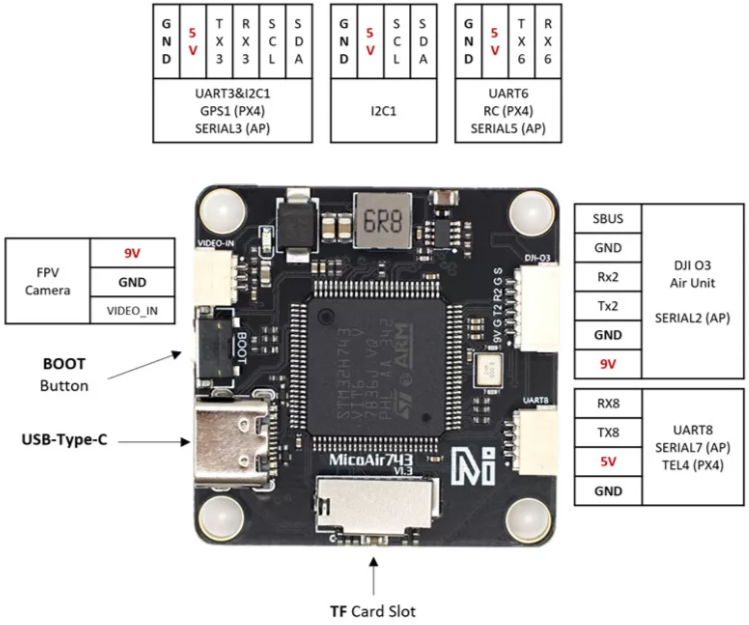
Pin Configuration and Descriptions
The MicoAir743v2_1 module has 12 pins, as described in the table below:
| Pin Number | Pin Name | Description |
|---|---|---|
| 1 | GND | Ground |
| 2 | VCC | Power supply (3.3V) |
| 3 | TXD | UART Transmit Data |
| 4 | RXD | UART Receive Data |
| 5 | GPIO0 | General Purpose I/O (configurable) |
| 6 | GPIO1 | General Purpose I/O (configurable) |
| 7 | SPI_MOSI | SPI Master Out Slave In |
| 8 | SPI_MISO | SPI Master In Slave Out |
| 9 | SPI_CLK | SPI Clock |
| 10 | I2C_SCL | I2C Clock Line |
| 11 | I2C_SDA | I2C Data Line |
| 12 | RESET | Active-low reset pin |
Usage Instructions
How to Use the MicoAir743v2_1 in a Circuit
- Power Supply: Connect the VCC pin to a stable 3.3V power source and the GND pin to ground.
- Communication Interface: Choose the appropriate communication protocol (UART, SPI, or I2C) based on your application. Connect the corresponding pins to your microcontroller or host device.
- Antenna: The module includes an integrated PCB antenna. Ensure that the area around the antenna is free from obstructions or metallic components to maximize signal strength.
- Reset: Use the RESET pin to initialize the module if needed. Pull the pin low momentarily to reset the module.
Important Considerations
- Power Supply: Ensure a clean and stable 3.3V power source to avoid communication issues.
- Pin Protection: Avoid applying voltages higher than 3.3V to any pin to prevent damage.
- Firmware Updates: The module supports over-the-air (OTA) firmware updates. Refer to the manufacturer's documentation for update procedures.
- Antenna Placement: For optimal wireless performance, avoid placing the module near large metal objects or inside enclosures that block RF signals.
Example: Connecting to an Arduino UNO
The MicoAir743v2_1 can be connected to an Arduino UNO using the UART interface. Below is an example of how to send and receive data using the module.
Wiring Diagram
| MicoAir743v2_1 Pin | Arduino UNO Pin |
|---|---|
| VCC | 3.3V |
| GND | GND |
| TXD | RX (Pin 0) |
| RXD | TX (Pin 1) |
| RESET | Digital Pin 7 |
Arduino Code Example
// Include necessary libraries
#include <SoftwareSerial.h>

// Define RX and TX pins for SoftwareSerial
SoftwareSerial MicoAir(10, 11); // RX = Pin 10, TX = Pin 11

void setup() {
  // Initialize serial communication with the module
  Serial.begin(9600); // Communication with PC
  MicoAir.begin(9600); // Communication with MicoAir743v2_1

  // Reset the module
  pinMode(7, OUTPUT); // Set RESET pin as output
  digitalWrite(7, LOW); // Pull RESET pin low
  delay(100); // Wait for 100 ms
  digitalWrite(7, HIGH); // Release RESET pin

  Serial.println("MicoAir743v2_1 Initialized");
}

void loop() {
  // Send data to the module
  MicoAir.println("Hello, MicoAir743v2_1!");

  // Check if data is available from the module
  if (MicoAir.available()) {
    String data = MicoAir.readString();
    Serial.println("Received: " + data); // Print received data to Serial Monitor
  }

  delay(1000); // Wait for 1 second
}
Troubleshooting and FAQs
Common Issues
- No Communication with the Module
- Solution: Verify the wiring connections, especially the TX and RX pins. Ensure the baud rate in the code matches the module's default baud rate (9600 bps).
- Weak Wireless Signal
- Solution: Check the placement of the module. Ensure the antenna area is unobstructed and free from interference.
- Module Not Powering On
- Solution: Confirm that the VCC pin is receiving a stable 3.3V supply. Check for loose connections or damaged wires.
- Reset Pin Not Working
- Solution: Ensure the RESET pin is pulled low for at least 50 ms before being released.
FAQs
- Can the MicoAir743v2_1 operate at 5V?
- No, the module is designed to operate at 3.3V. Applying 5V may damage the module.
- Does the module support OTA updates?
- Yes, the MicoAir743v2_1 supports over-the-air firmware updates. Refer to the manufacturer's guide for detailed instructions.
- What is the maximum range of the module?
- The range depends on environmental factors but typically reaches up to 100 meters in open spaces for Wi-Fi and 10 meters for Bluetooth.
- Can I use multiple modules in the same network?
- Yes, the module supports multi-device communication. Ensure proper configuration of network IDs and addresses.
This concludes the documentation for the MicoAir743v2_1. For further assistance, refer to the official MicoAir support resources.