How to Use Makerlabvn: Examples, Pinouts, and Specs
Introduction
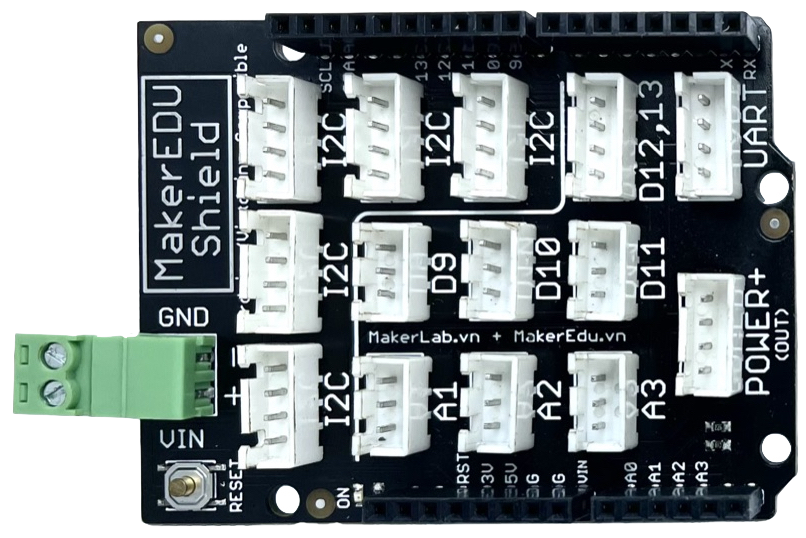
The Makerlabvn MakerEDU Shield is an electronic prototyping platform designed by Makervn to simplify the process of creating custom electronic projects. It is an Arduino-compatible shield that provides a user-friendly interface for hobbyists, educators, and professionals to experiment with different electronic components and build prototypes with ease. The shield is commonly used in educational settings for teaching electronics and programming, as well as by DIY enthusiasts for building interactive projects.
Explore Projects Built with Makerlabvn
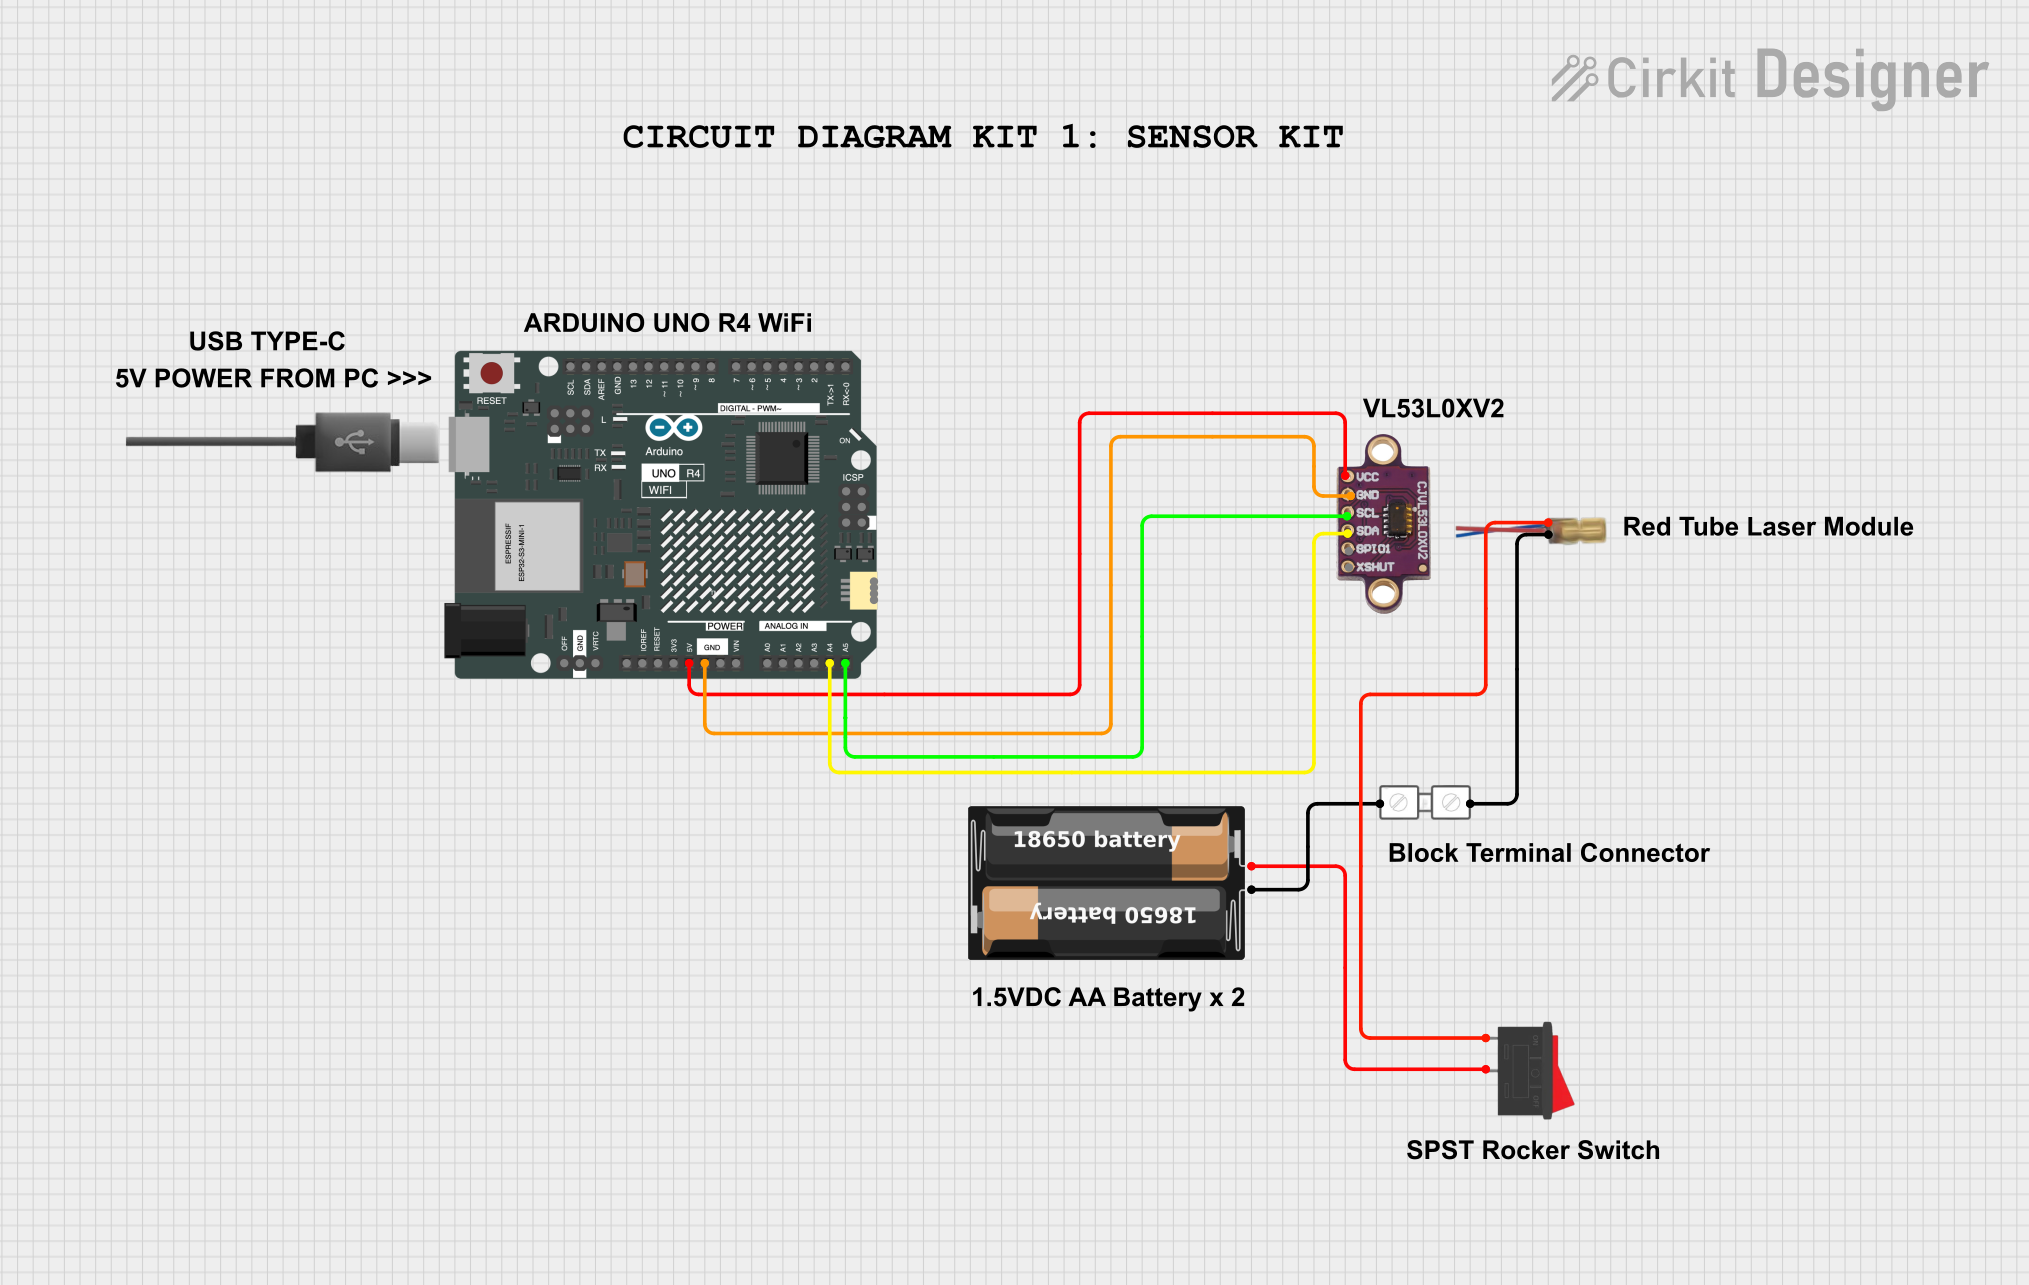
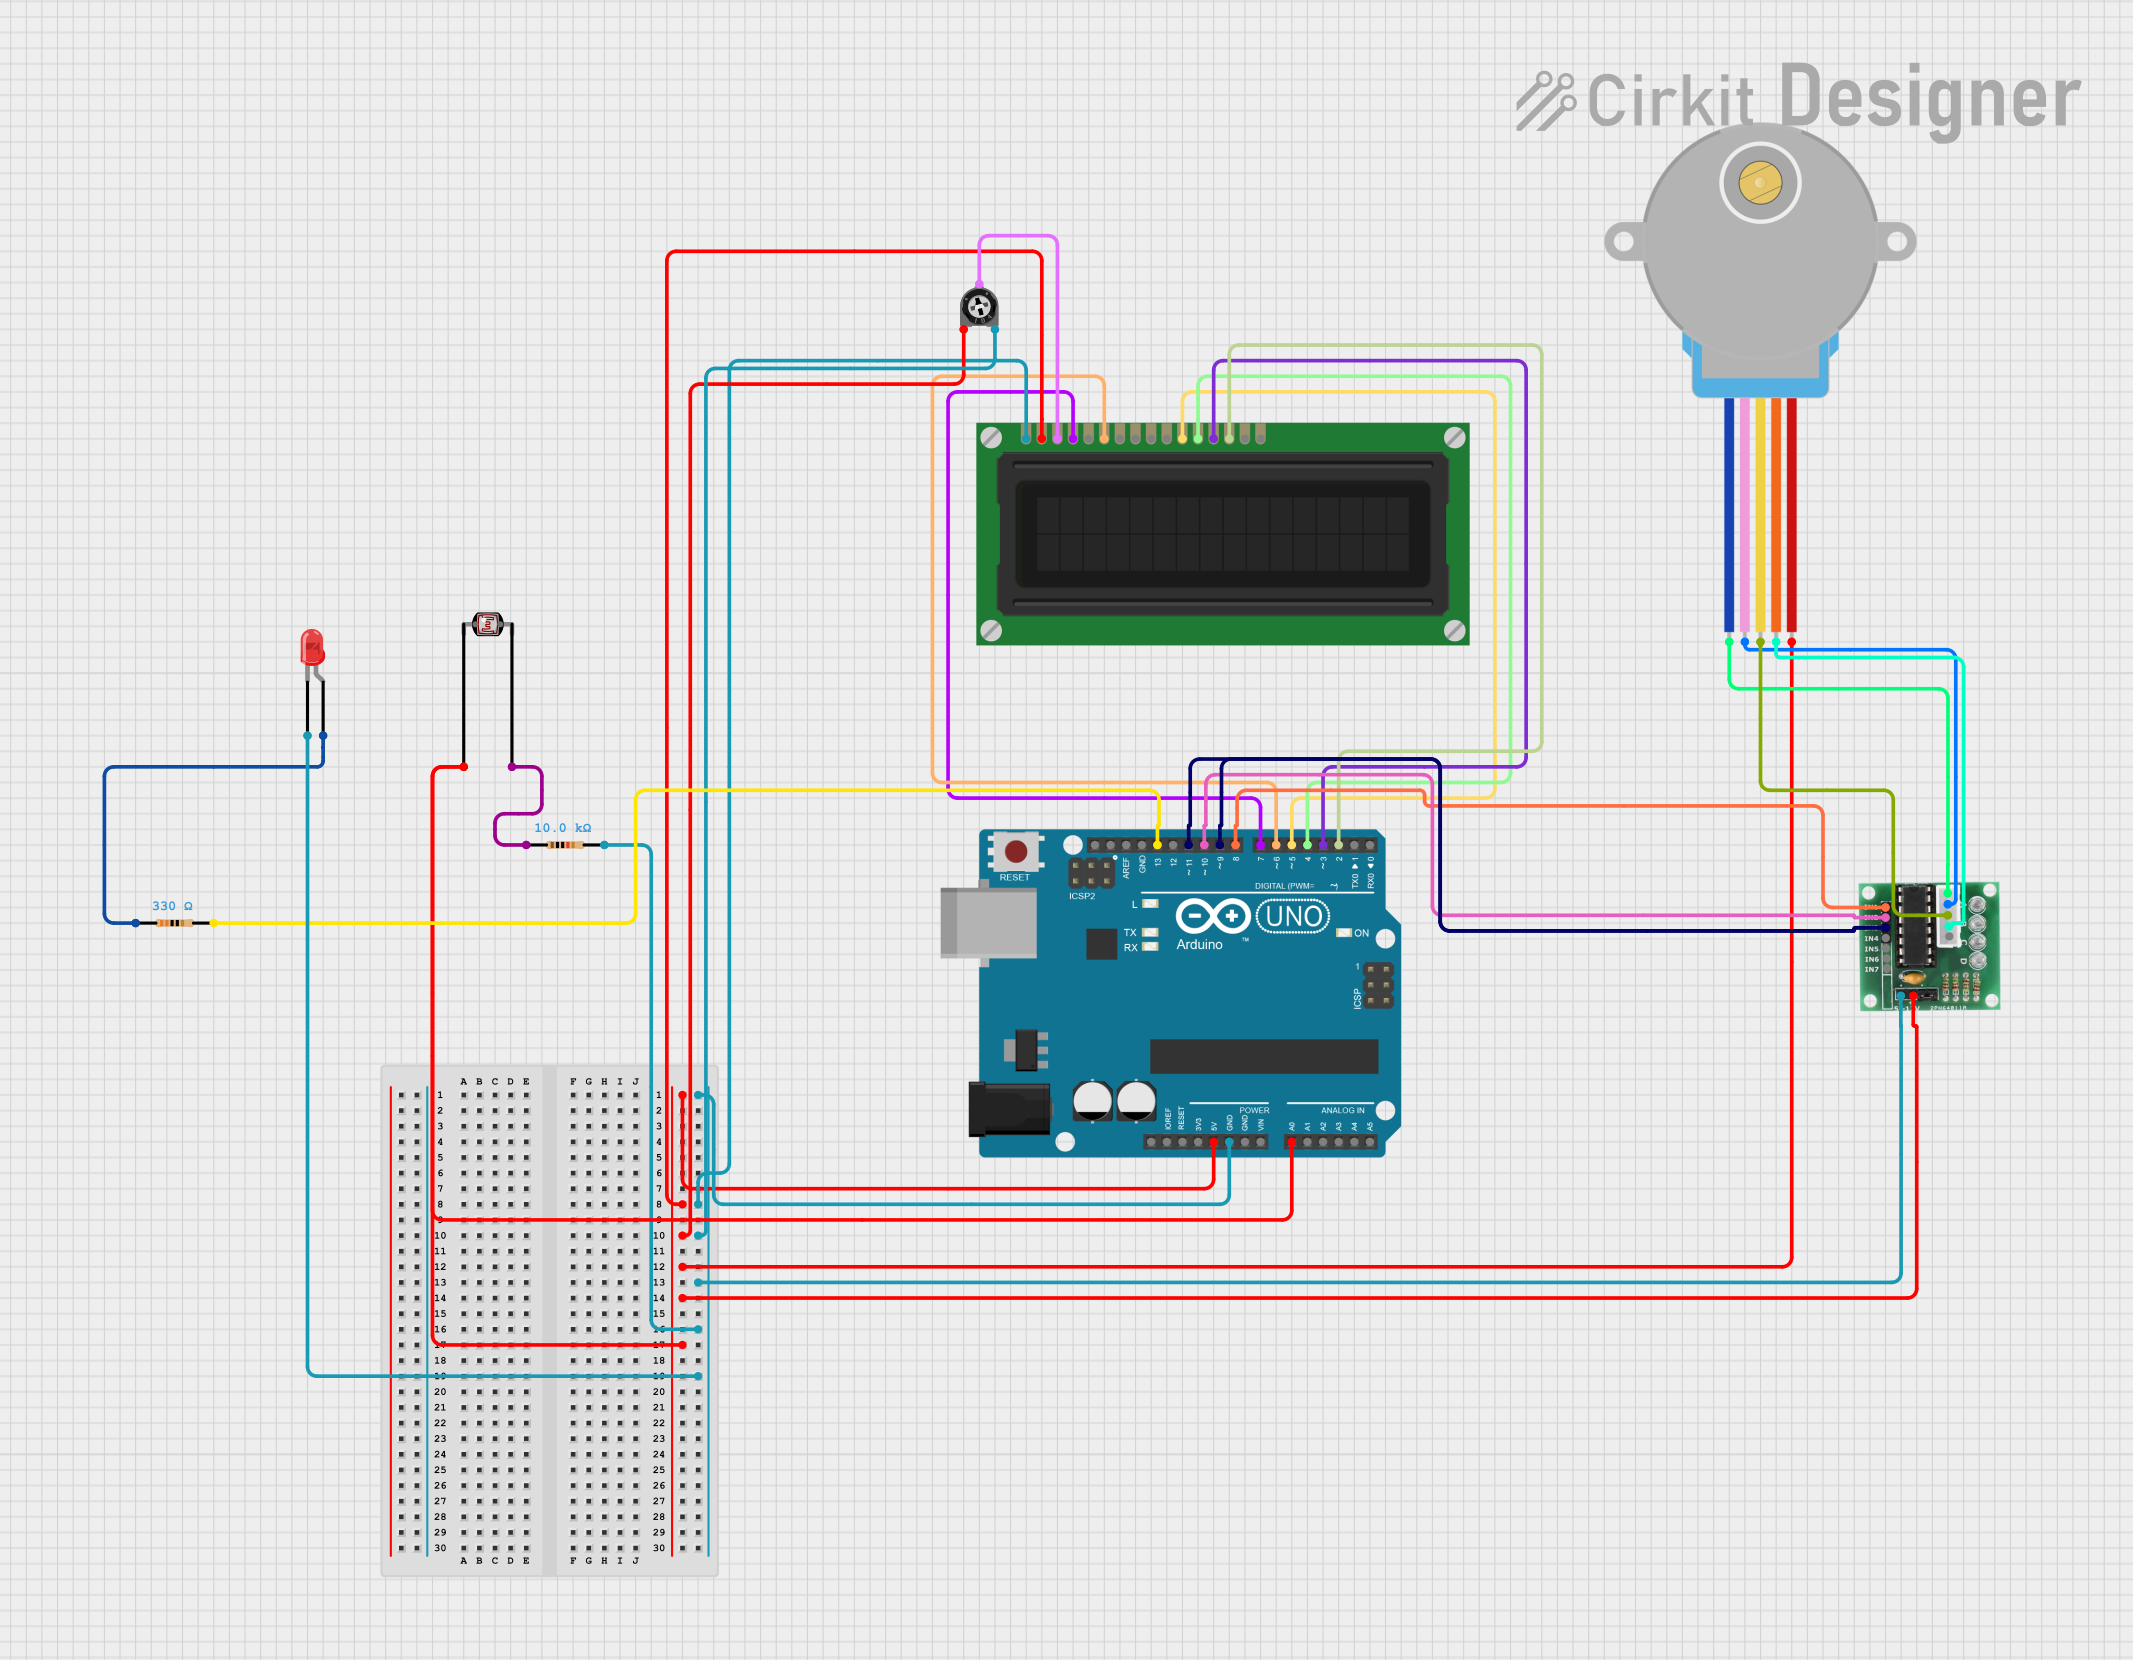

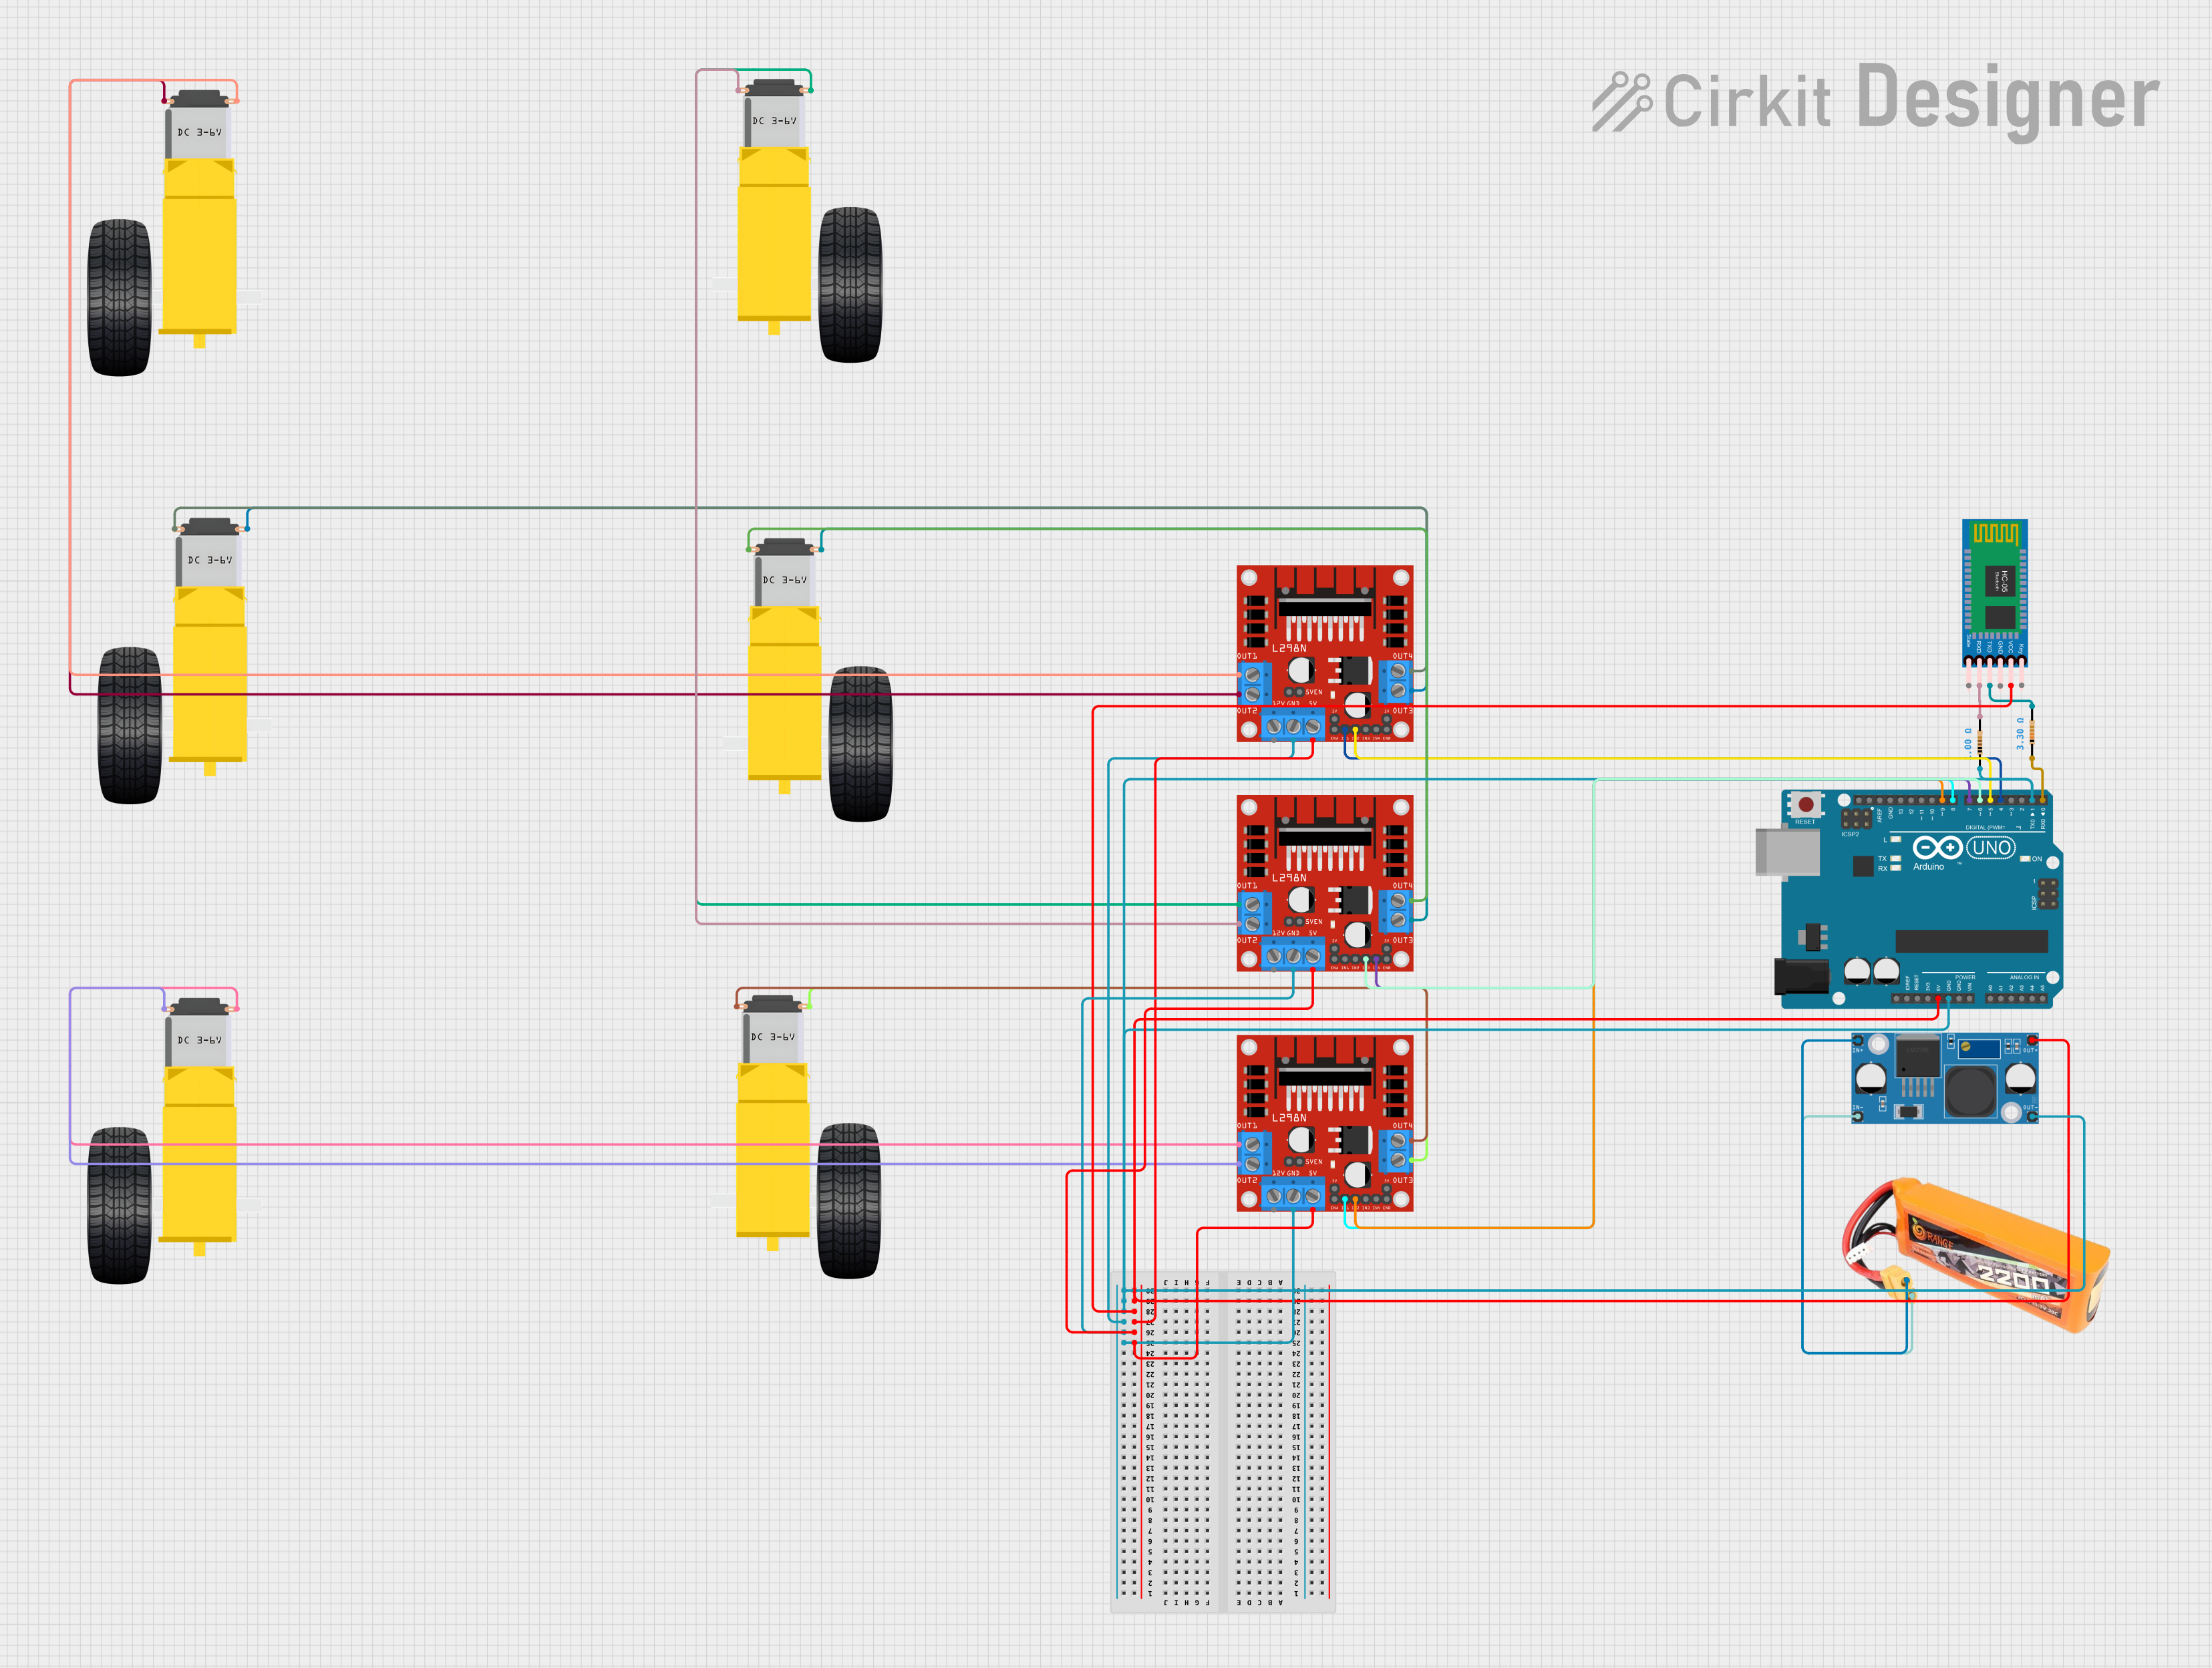
Explore Projects Built with Makerlabvn
Common Applications and Use Cases
- Educational tools for teaching electronics and programming
- Rapid prototyping of electronic circuits
- DIY electronic projects and interactive art installations
- Robotics and automation systems
- Sensor interfacing and data logging
Technical Specifications
Key Technical Details
- Operating Voltage: 5V (supplied from Arduino board)
- Input Voltage (recommended): 7-12V
- Input Voltage (limits): 6-20V
- Digital I/O Pins: 14 (of which 6 provide PWM output)
- Analog Input Pins: 6
- DC Current per I/O Pin: 40 mA
- DC Current for 3.3V Pin: 50 mA
Pin Configuration and Descriptions
| Pin Number | Function | Description |
|---|---|---|
| D0-D13 | Digital I/O | Digital pins, PWM available on D3, D5, D6, D9, D10, D11 |
| A0-A5 | Analog Input | Analog input pins |
| 3.3V | Power Output | 3.3V supply pin |
| 5V | Power Output | 5V supply pin from Arduino |
| GND | Ground | Ground pins |
| RST | Reset | Reset pin, connected to Arduino reset |
| VIN | Voltage Input | Input voltage to Arduino (unused if USB powered) |
Usage Instructions
How to Use the Component in a Circuit
- Mounting the Shield: Carefully align the MakerEDU Shield pins with the headers on the Arduino UNO and press down gently to ensure a secure fit.
- Powering the System: Connect the Arduino UNO to a power source via USB or an external power supply.
- Connecting Components: Utilize the shield's provided interfaces to connect various sensors, actuators, and other components.
- Programming: Upload your code to the Arduino UNO using the Arduino IDE or other compatible software.
Important Considerations and Best Practices
- Always power off the Arduino before mounting or removing the MakerEDU Shield.
- Double-check connections to ensure correct polarity and pin alignment.
- Avoid exceeding the maximum current ratings for each pin to prevent damage.
- Use external power sources when connecting components that require more current than the Arduino can provide.
Example Code for Arduino UNO
// Example code for blinking an LED on pin D13 of the MakerEDU Shield

void setup() {
  pinMode(13, OUTPUT); // Set digital pin 13 as an output
}

void loop() {
  digitalWrite(13, HIGH); // Turn the LED on
  delay(1000);            // Wait for a second
  digitalWrite(13, LOW);  // Turn the LED off
  delay(1000);            // Wait for a second
}
Troubleshooting and FAQs
Common Issues Users Might Face
- LEDs or other components not working: Check connections and ensure that the pins are configured correctly in the code.
- Inconsistent behavior: Verify that the power supply is adequate and stable.
- Unable to upload code: Ensure the correct board and port are selected in the Arduino IDE, and the USB cable is properly connected.
Solutions and Tips for Troubleshooting
- Re-seat the MakerEDU Shield on the Arduino UNO to ensure a good connection.
- Inspect the shield and Arduino for any visible signs of damage or short circuits.
- Use a multimeter to check for continuity and proper voltages on the shield's pins.
- Consult the Arduino community forums or Makervn support for additional assistance.
FAQs
Q: Can the MakerEDU Shield be used with other Arduino boards? A: The shield is designed for the Arduino UNO form factor but may be compatible with other boards that share the same pin layout.
Q: How do I extend the functionality of the MakerEDU Shield? A: You can connect additional modules and shields, as long as they do not conflict with the pins used by the MakerEDU Shield.
Q: Is it possible to use the MakerEDU Shield without an Arduino? A: No, the shield is designed to be an extension of the Arduino platform and requires an Arduino board to function.