The Reylax DT-NT24V-300W is a high-performance power supply unit (PSU) designed to convert AC mains power into a stable 24V DC output. With a maximum power output of 300 watts and a current capacity of 12.5 amps, this PSU is ideal for powering a wide range of electronic devices, including industrial equipment, LED lighting systems, 3D printers, and motor drivers.
Explore Projects Built with 24v 300w 12.5A PSU
Use Cirkit Designer to design, explore, and prototype these projects online. Some projects support real-time simulation. Click "Open Project" to start designing instantly!
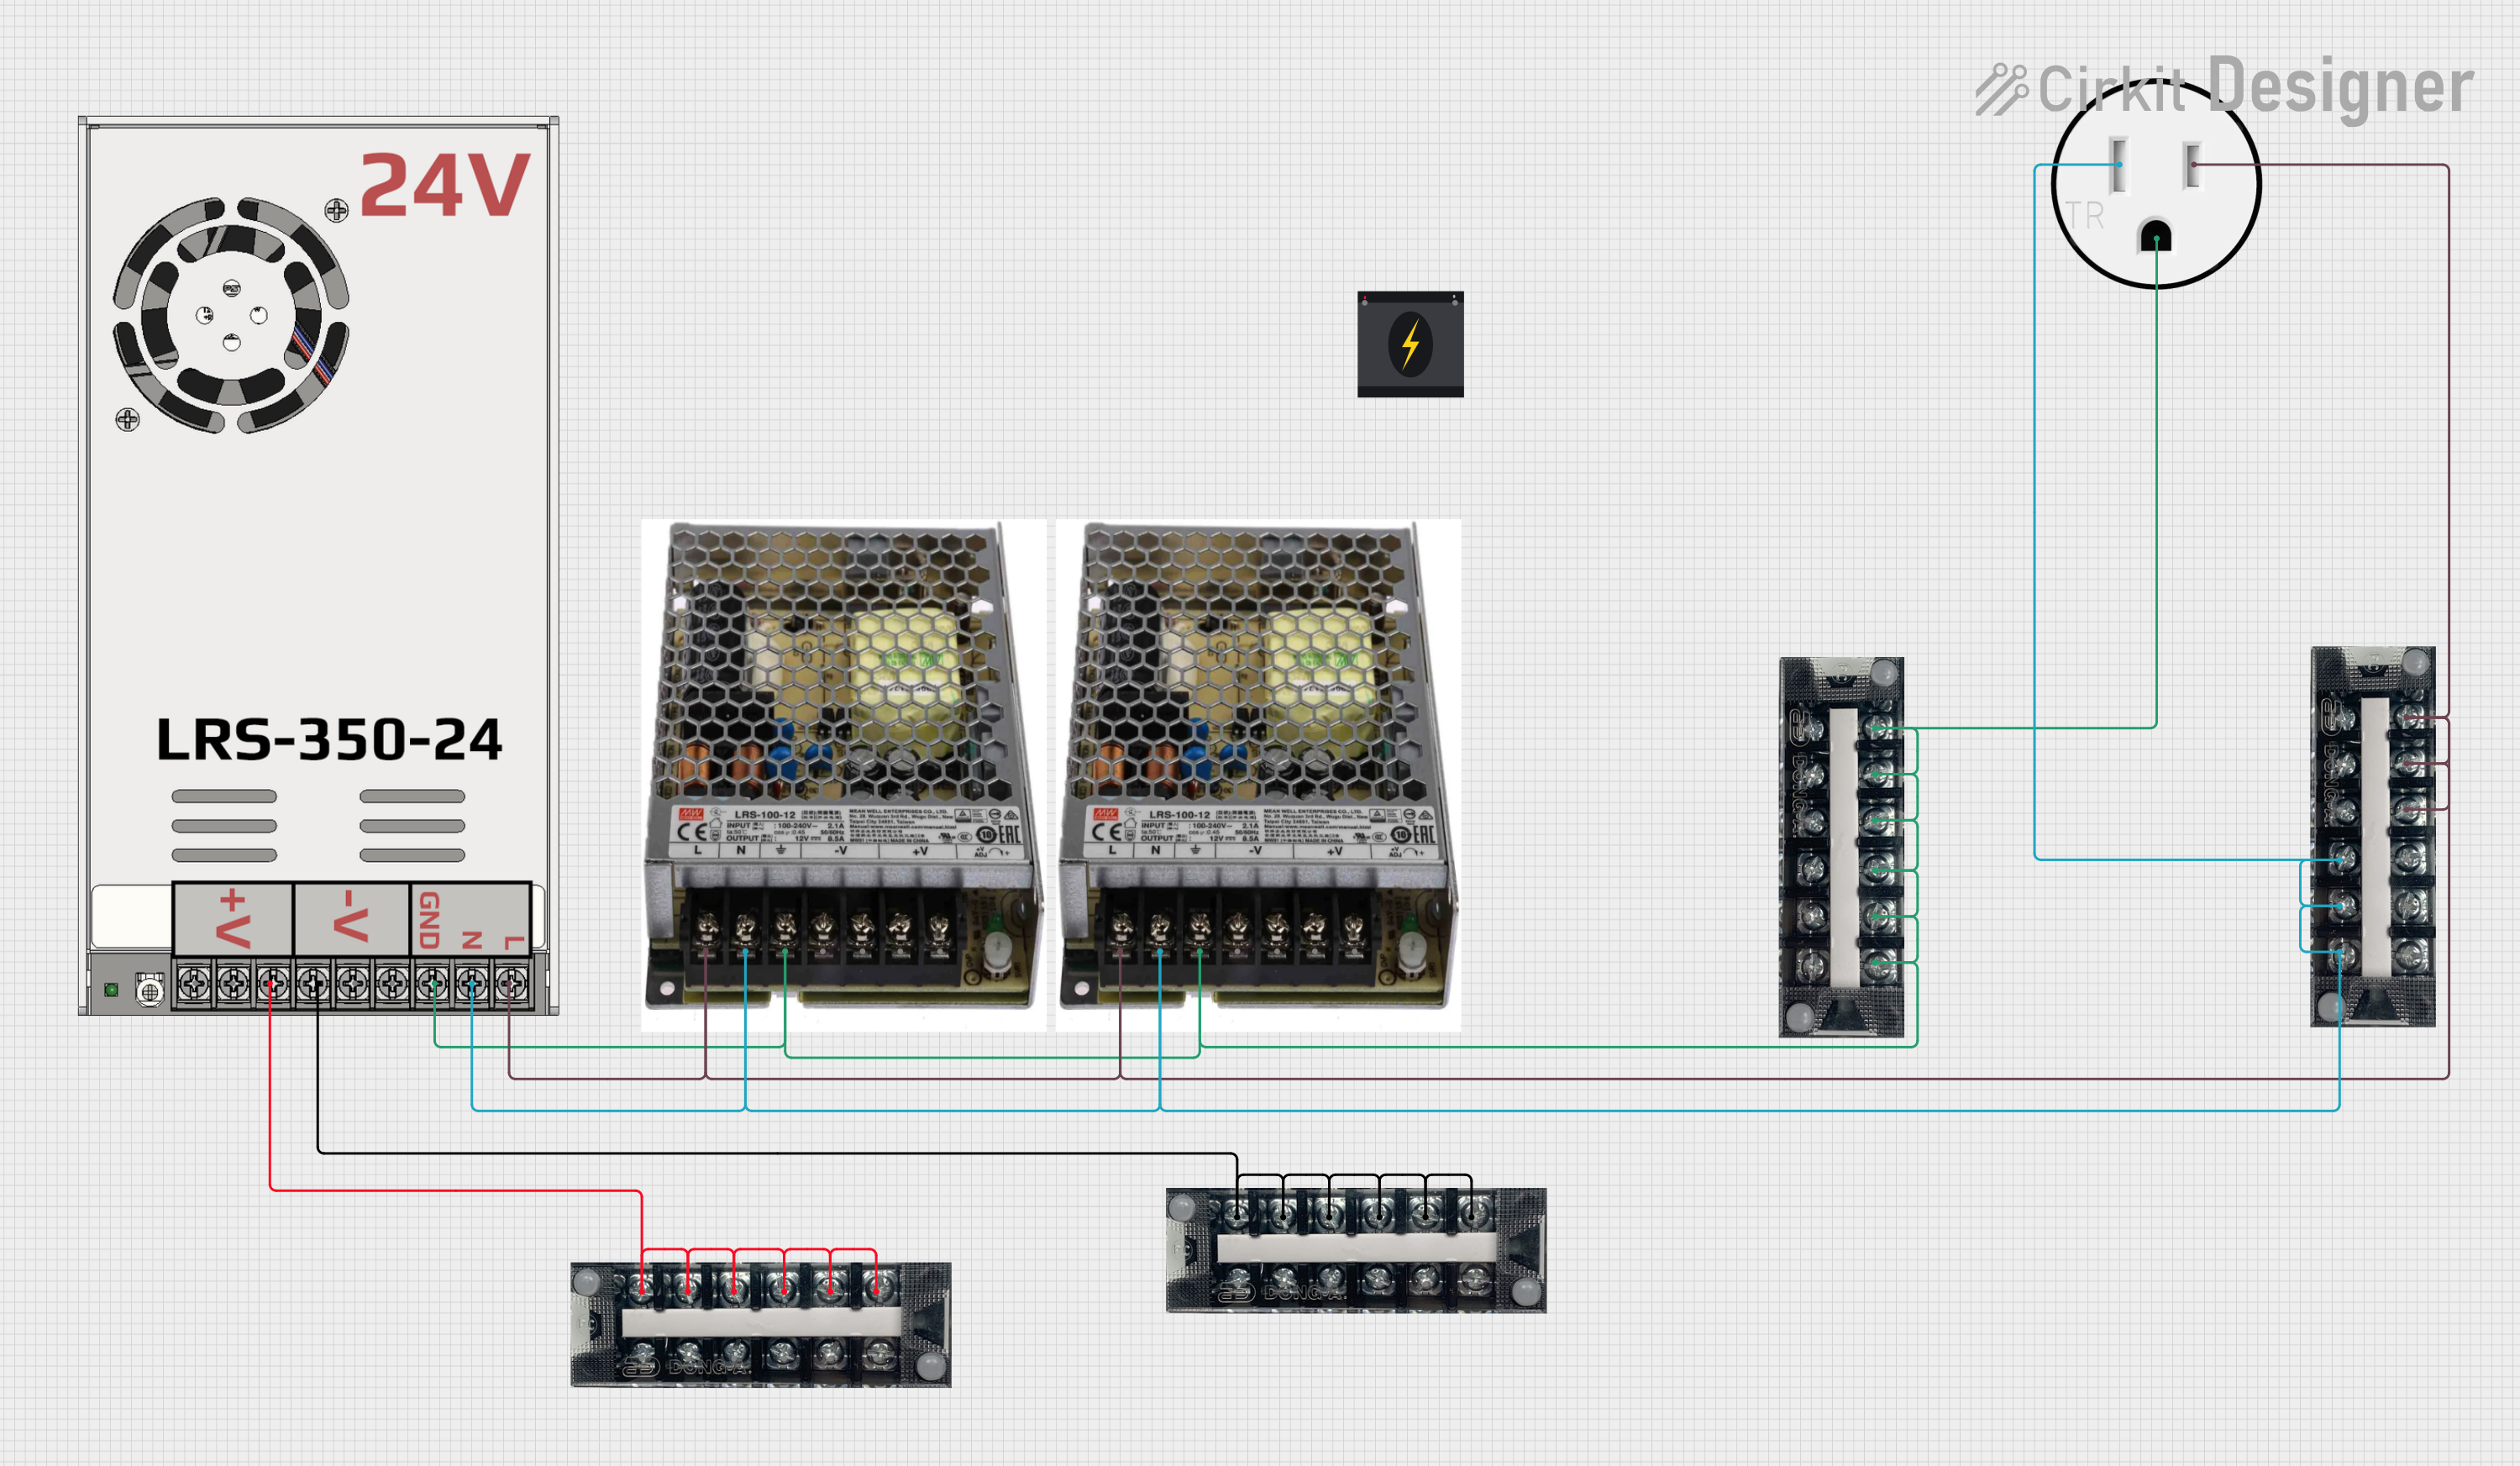
This circuit is designed to convert 240V AC power to both 12V and 24V DC outputs using multiple SMPS units. Terminal blocks are used to organize and distribute the power, while a 120V outlet provides additional AC power access. The circuit is likely used for powering various electronic devices that require different voltage levels.
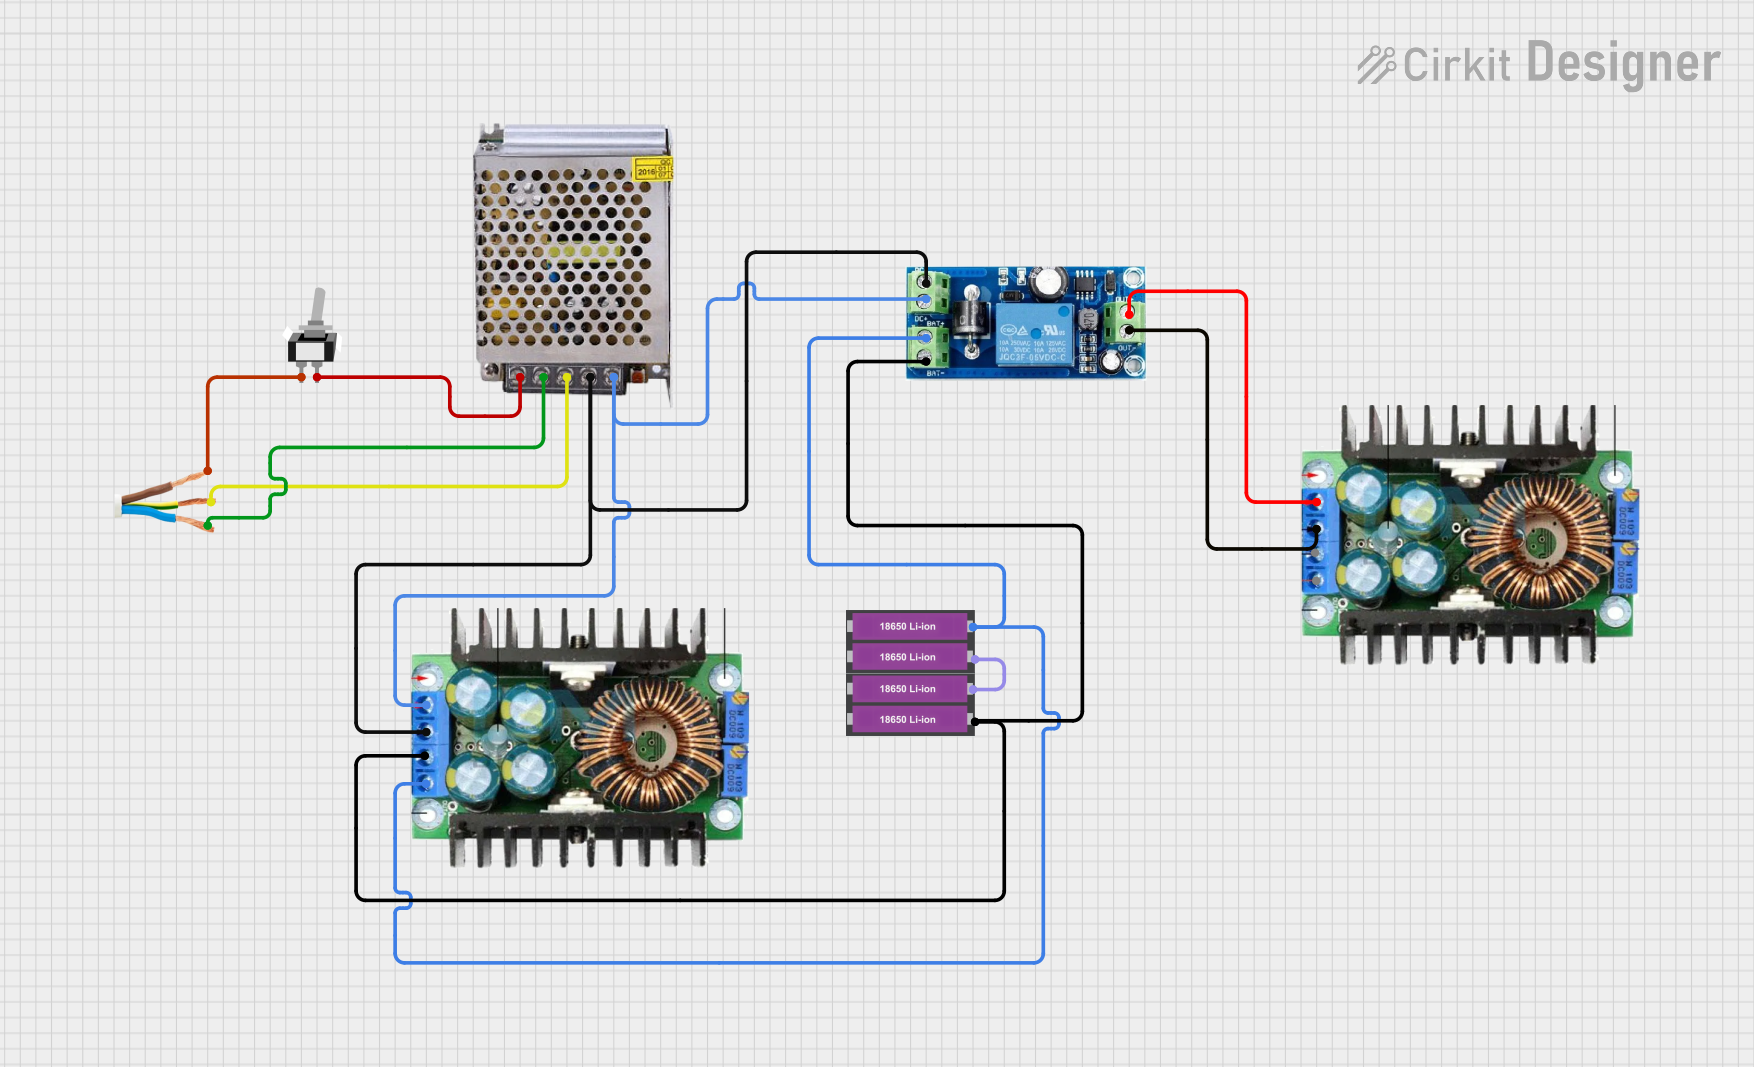
This circuit is designed to provide an uninterruptible power supply (UPS) system with a 12V DC output. It includes a 12V 5A power supply connected to an AC source through a toggle switch, which charges a pair of 18650 Li-ion batteries via a voltage regulator (XL4016). The UPS module ensures a continuous power supply to the load by switching between the power supply and the battery bank.
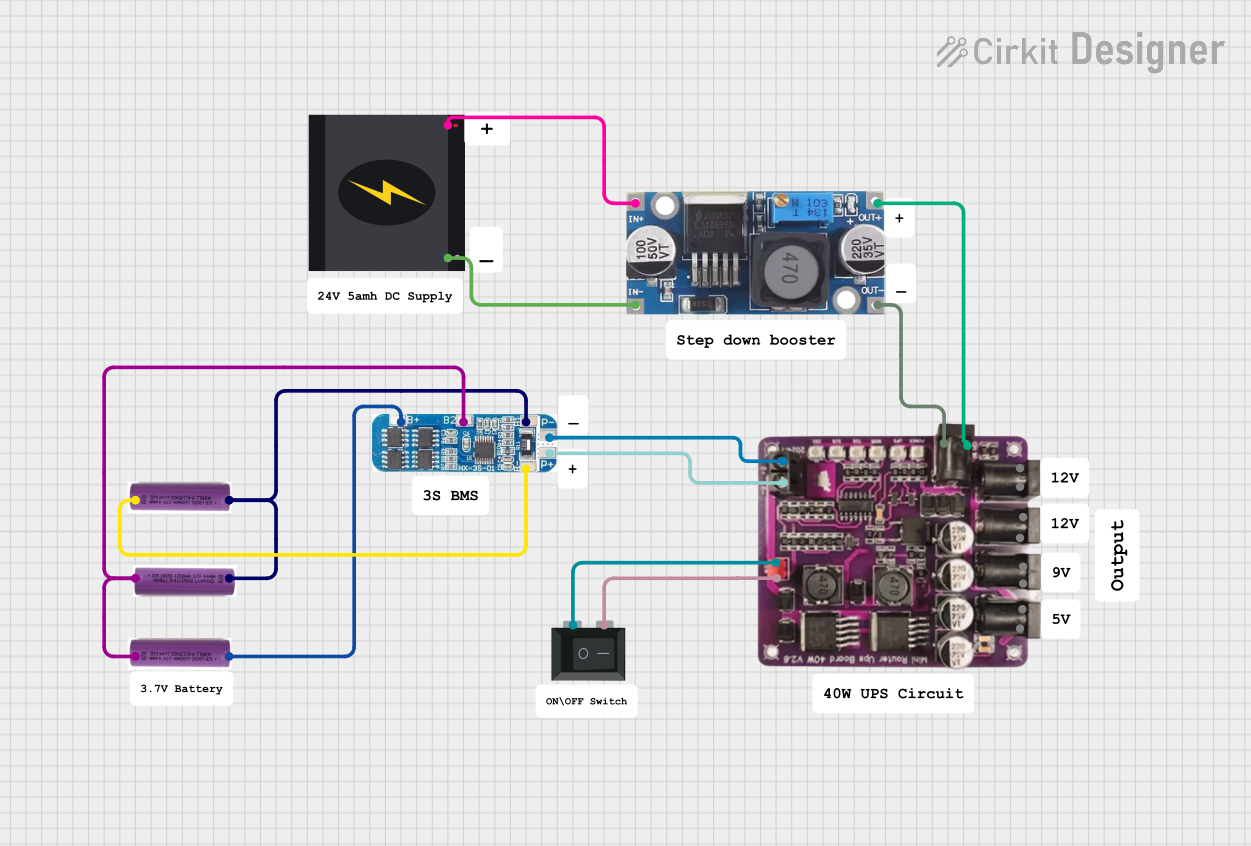
This circuit is a power management system that steps down a 240V AC input to a lower DC voltage using a buck converter, which then powers a 40W UPS. The UPS is controlled by a rocker switch and is backed up by a battery management system (BMS) connected to three 3.7V batteries in series, ensuring continuous power supply.
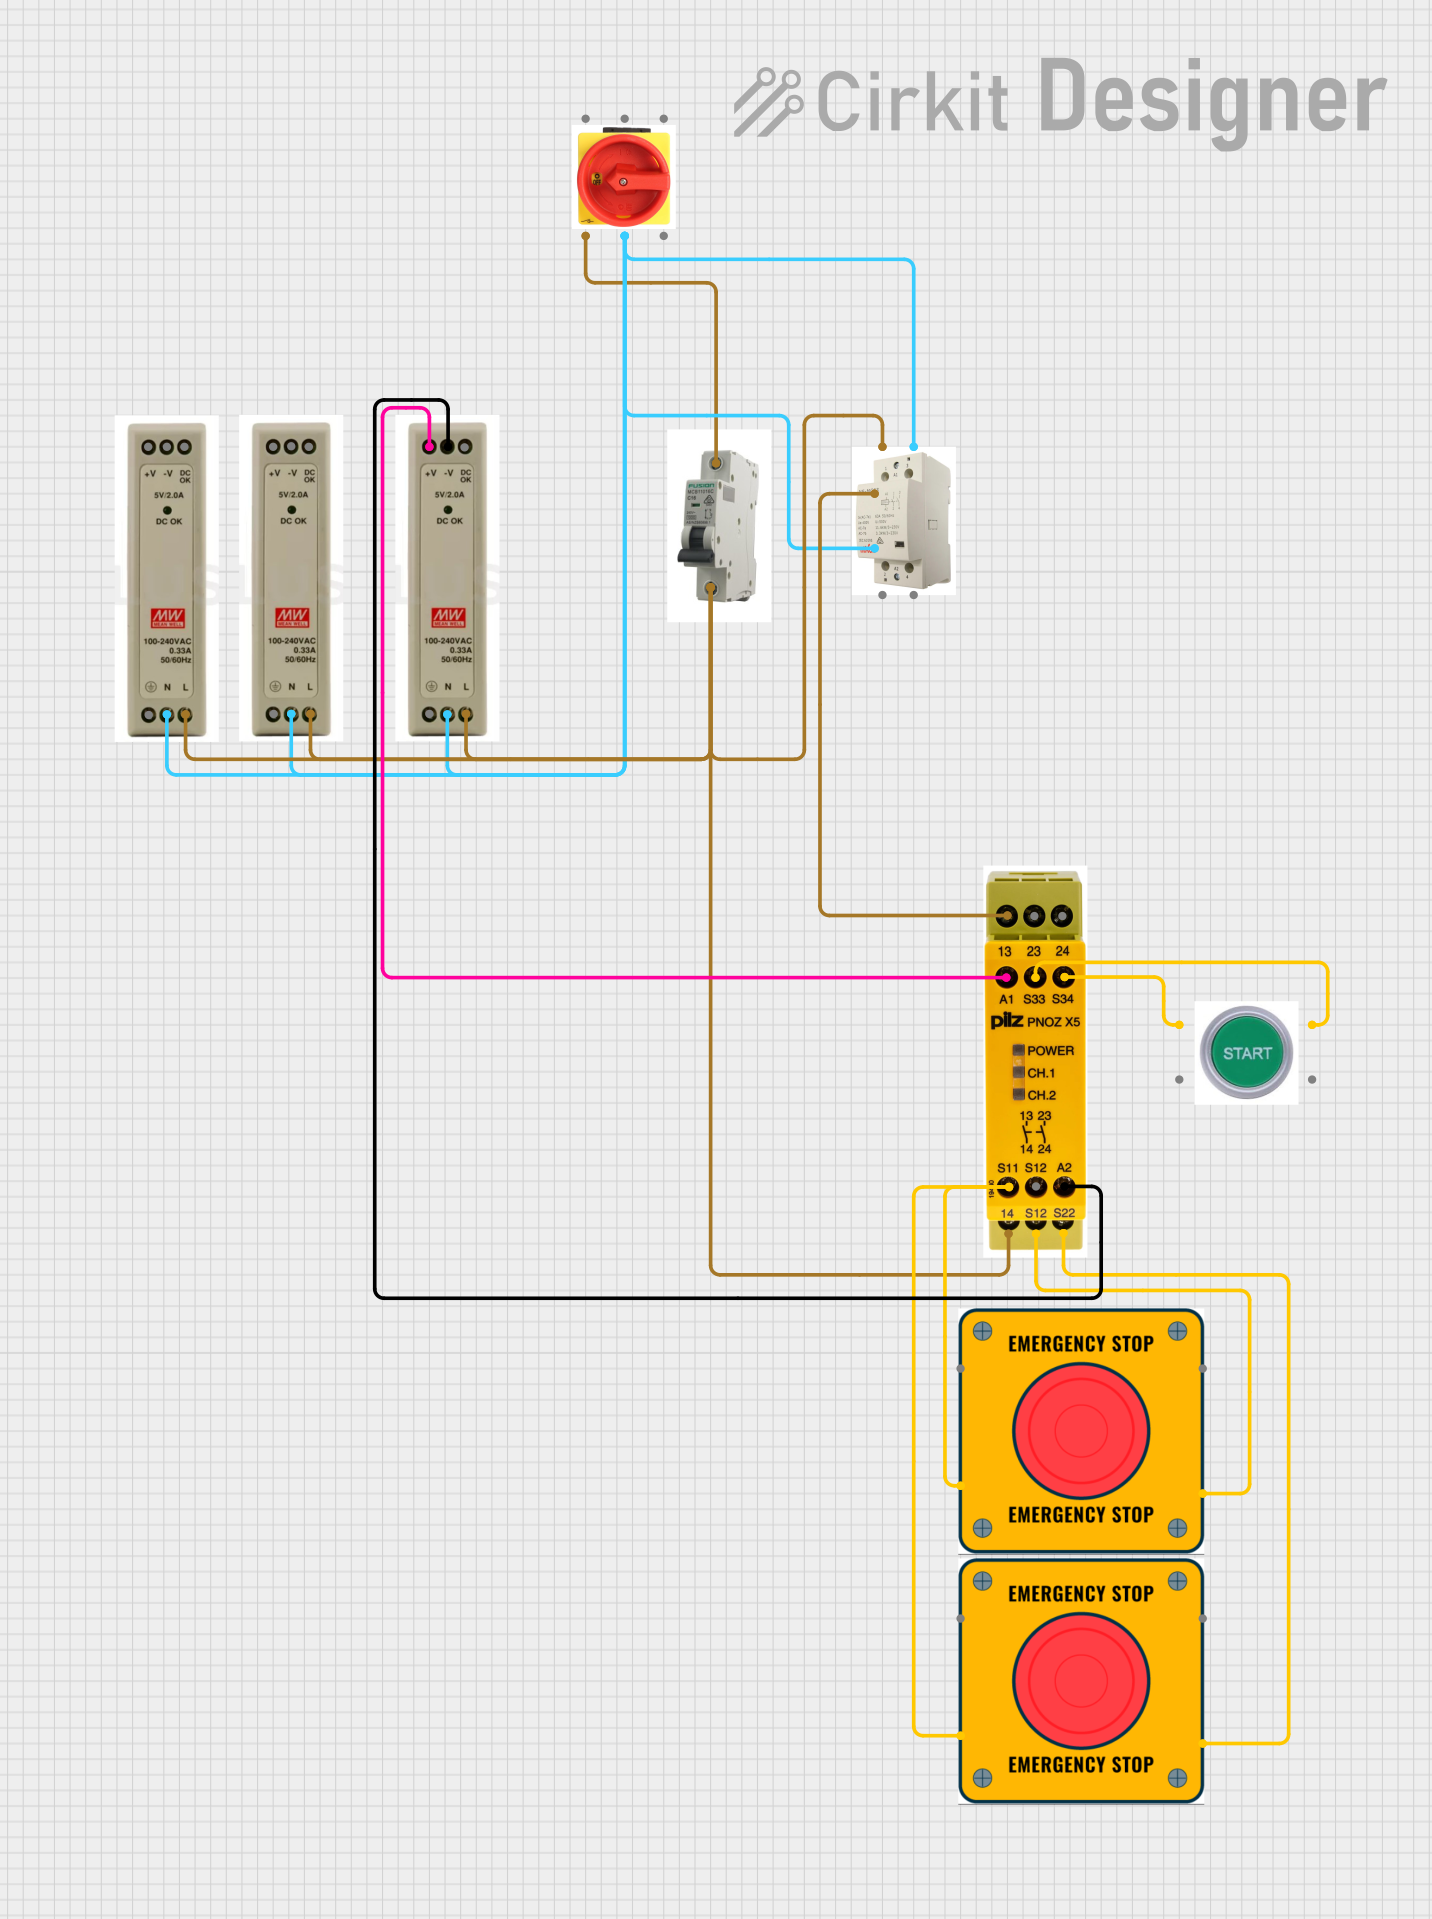
This circuit is designed for power distribution and safety control in an industrial setting. It features a main isolator and circuit breaker for power management, multiple PSUs for 5V, 12V, and 24V outputs, and a safety relay system that interfaces with E-stop buttons and a start switch to control a main contactor, ensuring safe operation and emergency power cut-off capabilities.
Industrial Automation: Powering sensors, actuators, and controllers.
LED Lighting: Driving high-power LED strips and modules.
3D Printing: Supplying power to heated beds, stepper motors, and control boards.
Robotics: Providing stable power for motors and control systems.
DIY Electronics: Suitable for hobbyists working on high-power projects.
Technical Specifications
The following table outlines the key technical details of the Reylax DT-NT24V-300W:
Parameter
Value
Manufacturer
Reylax
Part ID
DT-NT24V-300W
Input Voltage Range
100-240V AC, 50/60Hz
Output Voltage
24V DC
Maximum Output Power
300W
Maximum Output Current
12.5A
Efficiency
≥ 85%
Operating Temperature
-10°C to +50°C
Cooling Method
Built-in fan (active cooling)
Dimensions
215mm x 115mm x 50mm
Weight
800g
Safety Features
Overload, overvoltage, and short-circuit protection
Pin Configuration and Descriptions
The PSU features screw terminal connections for input and output. The pin configuration is as follows:
Input Terminals
Pin
Label
Description
1
L
Live AC input (100-240V AC)
2
N
Neutral AC input
3
GND
Earth/ground connection
Output Terminals
Pin
Label
Description
1
+V
Positive 24V DC output
2
-V
Negative 24V DC output (ground)
Usage Instructions
How to Use the Component in a Circuit
Mounting the PSU: Secure the PSU in a well-ventilated area to ensure proper cooling. Avoid placing it near heat sources or in enclosed spaces without airflow.
Connecting the Input:
Connect the L terminal to the live wire of the AC mains.
Connect the N terminal to the neutral wire of the AC mains.
Connect the GND terminal to the earth/ground wire for safety.
Connecting the Output:
Connect the +V terminal to the positive input of your load.
Connect the -V terminal to the negative input (ground) of your load.
Powering On: After verifying all connections, plug the PSU into the AC mains and switch it on. The built-in fan will activate, indicating the PSU is operational.
Important Considerations and Best Practices
Load Requirements: Ensure the total power consumption of your load does not exceed 300W or 12.5A.
Ventilation: Maintain at least 10cm of clearance around the PSU for proper airflow.
Wiring: Use appropriately rated wires for both input and output connections to handle the current safely.
Polarity: Double-check the polarity of the output connections to avoid damaging your devices.
Safety: Always disconnect the PSU from the mains before making any wiring changes.
Example: Using the PSU with an Arduino UNO
The Reylax DT-NT24V-300W can be used to power devices connected to an Arduino UNO. For example, you can use it to drive a 24V DC motor controlled by the Arduino. Below is a sample wiring and code snippet:
Wiring
Connect the +V terminal of the PSU to the positive terminal of the motor driver.
Connect the -V terminal of the PSU to the ground terminal of the motor driver.
Connect the motor driver to the Arduino UNO as per the motor driver's datasheet.
Code Example
// Example code to control a 24V DC motor using an Arduino UNO
// and a motor driver powered by the Reylax DT-NT24V-300W PSU.

const int motorPin = 9; // PWM pin connected to the motor driver

void setup() {
  pinMode(motorPin, OUTPUT); // Set motorPin as an output
}

void loop() {
  analogWrite(motorPin, 128); // Set motor speed to 50% (128 out of 255)
  delay(5000); // Run motor for 5 seconds

  analogWrite(motorPin, 0); // Stop the motor
  delay(2000); // Wait for 2 seconds before restarting
}
Troubleshooting and FAQs
Common Issues and Solutions
PSU Does Not Power On:
Check the AC mains connection and ensure the input voltage is within the specified range (100-240V AC).
Verify that the fuse inside the PSU is not blown.
No Output Voltage:
Ensure the load is connected properly to the output terminals.
Check for overload or short-circuit conditions that may have triggered the PSU's protection features.
Overheating:
Ensure the PSU is installed in a well-ventilated area.
Check if the load exceeds the PSU's maximum power rating.
Noise or Flickering in Connected Devices:
Verify that the PSU's output is properly filtered and stable.
Check for loose connections or insufficient wire gauge.
FAQs
Q1: Can I use this PSU to charge batteries?
A1: This PSU is not designed for direct battery charging. Use a dedicated battery charger with appropriate charging profiles.
Q2: Is the PSU suitable for outdoor use?
A2: No, the PSU is not weatherproof. It should only be used in dry, indoor environments.
Q3: Can I adjust the output voltage?
A3: No, the output voltage is fixed at 24V DC and cannot be adjusted.
Q4: What happens if I exceed the maximum current rating?
A4: The PSU's overload protection will activate, shutting down the output to prevent damage. Reduce the load and restart the PSU.


 Open Project in Cirkit Designer