How to Use Heating Coil: Examples, Pinouts, and Specs

 Design with Heating Coil in Cirkit Designer
Introduction
The Heating Coil (Manufacturer: Dani Xavier, Part ID: 6969) is a resistive element designed to convert electrical energy into heat through the process of Joule heating. When an electric current passes through the coil, its resistance generates heat, making it an essential component in a wide range of heating applications.
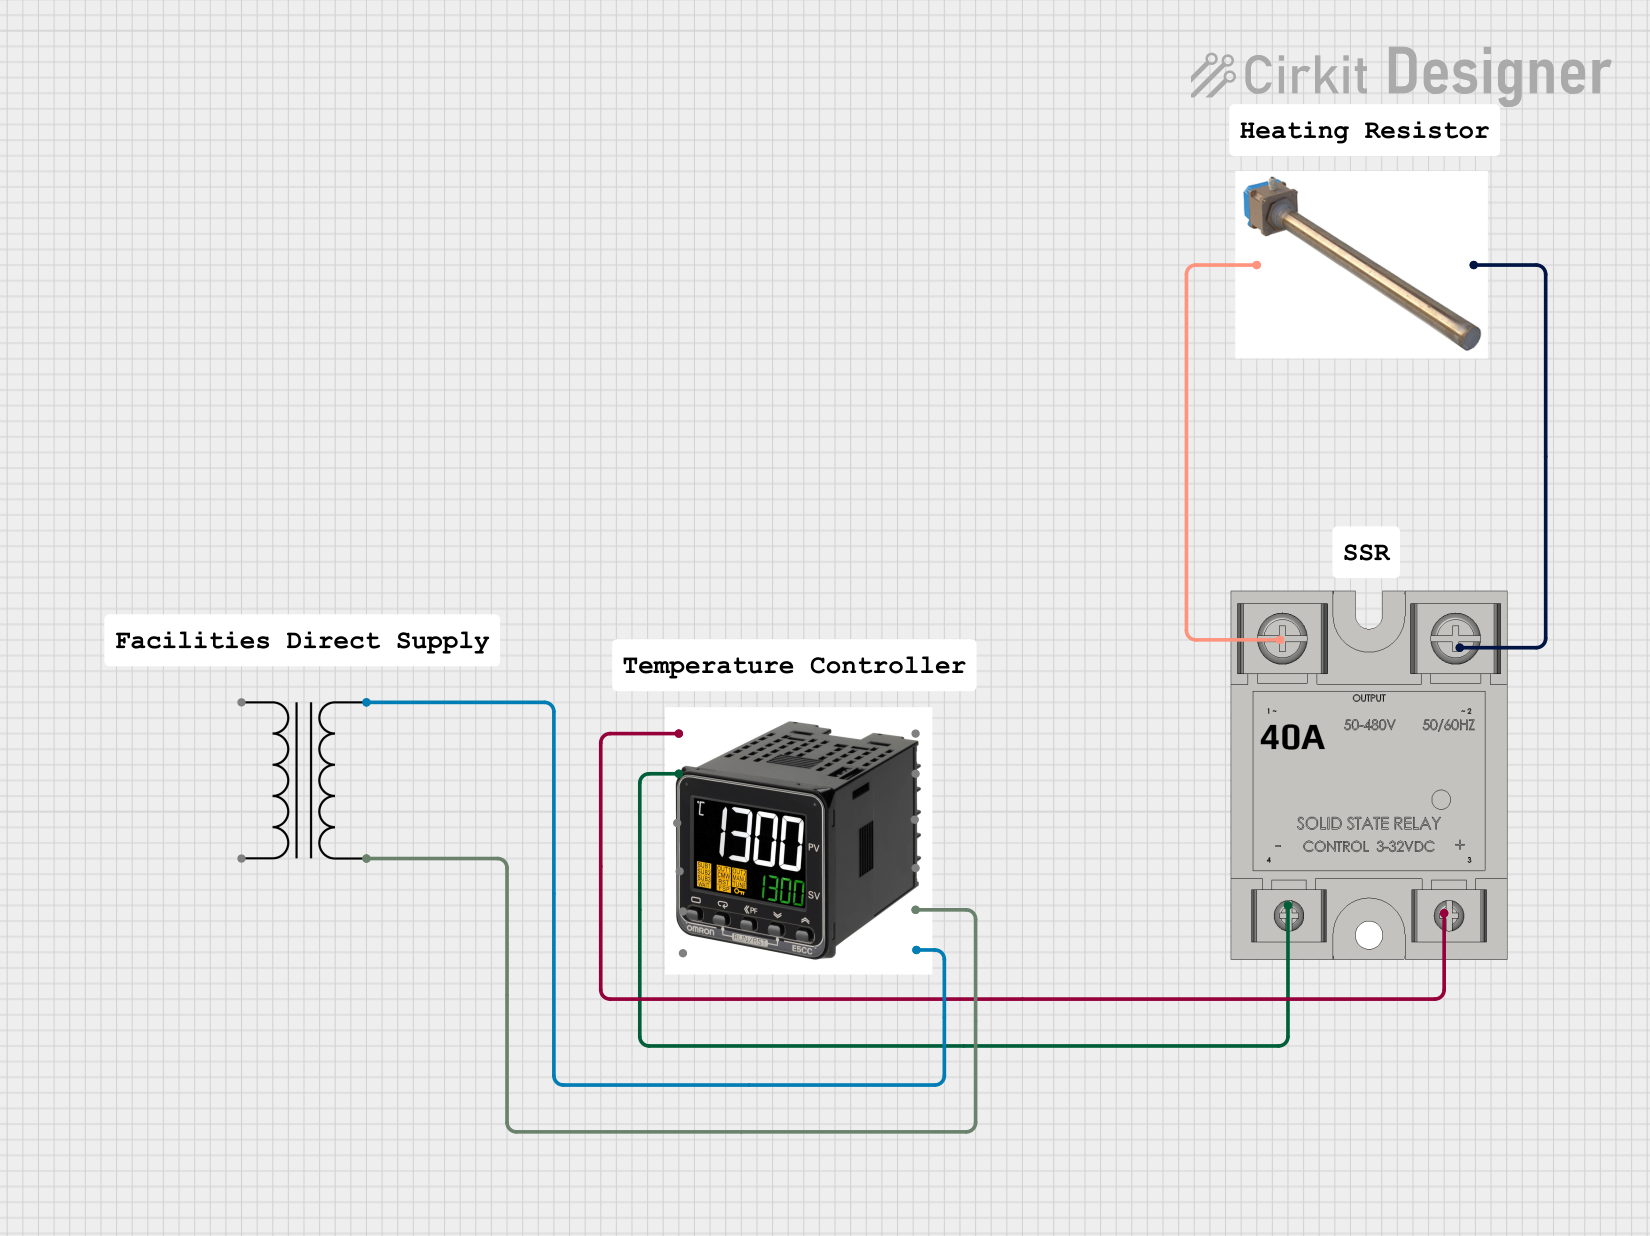
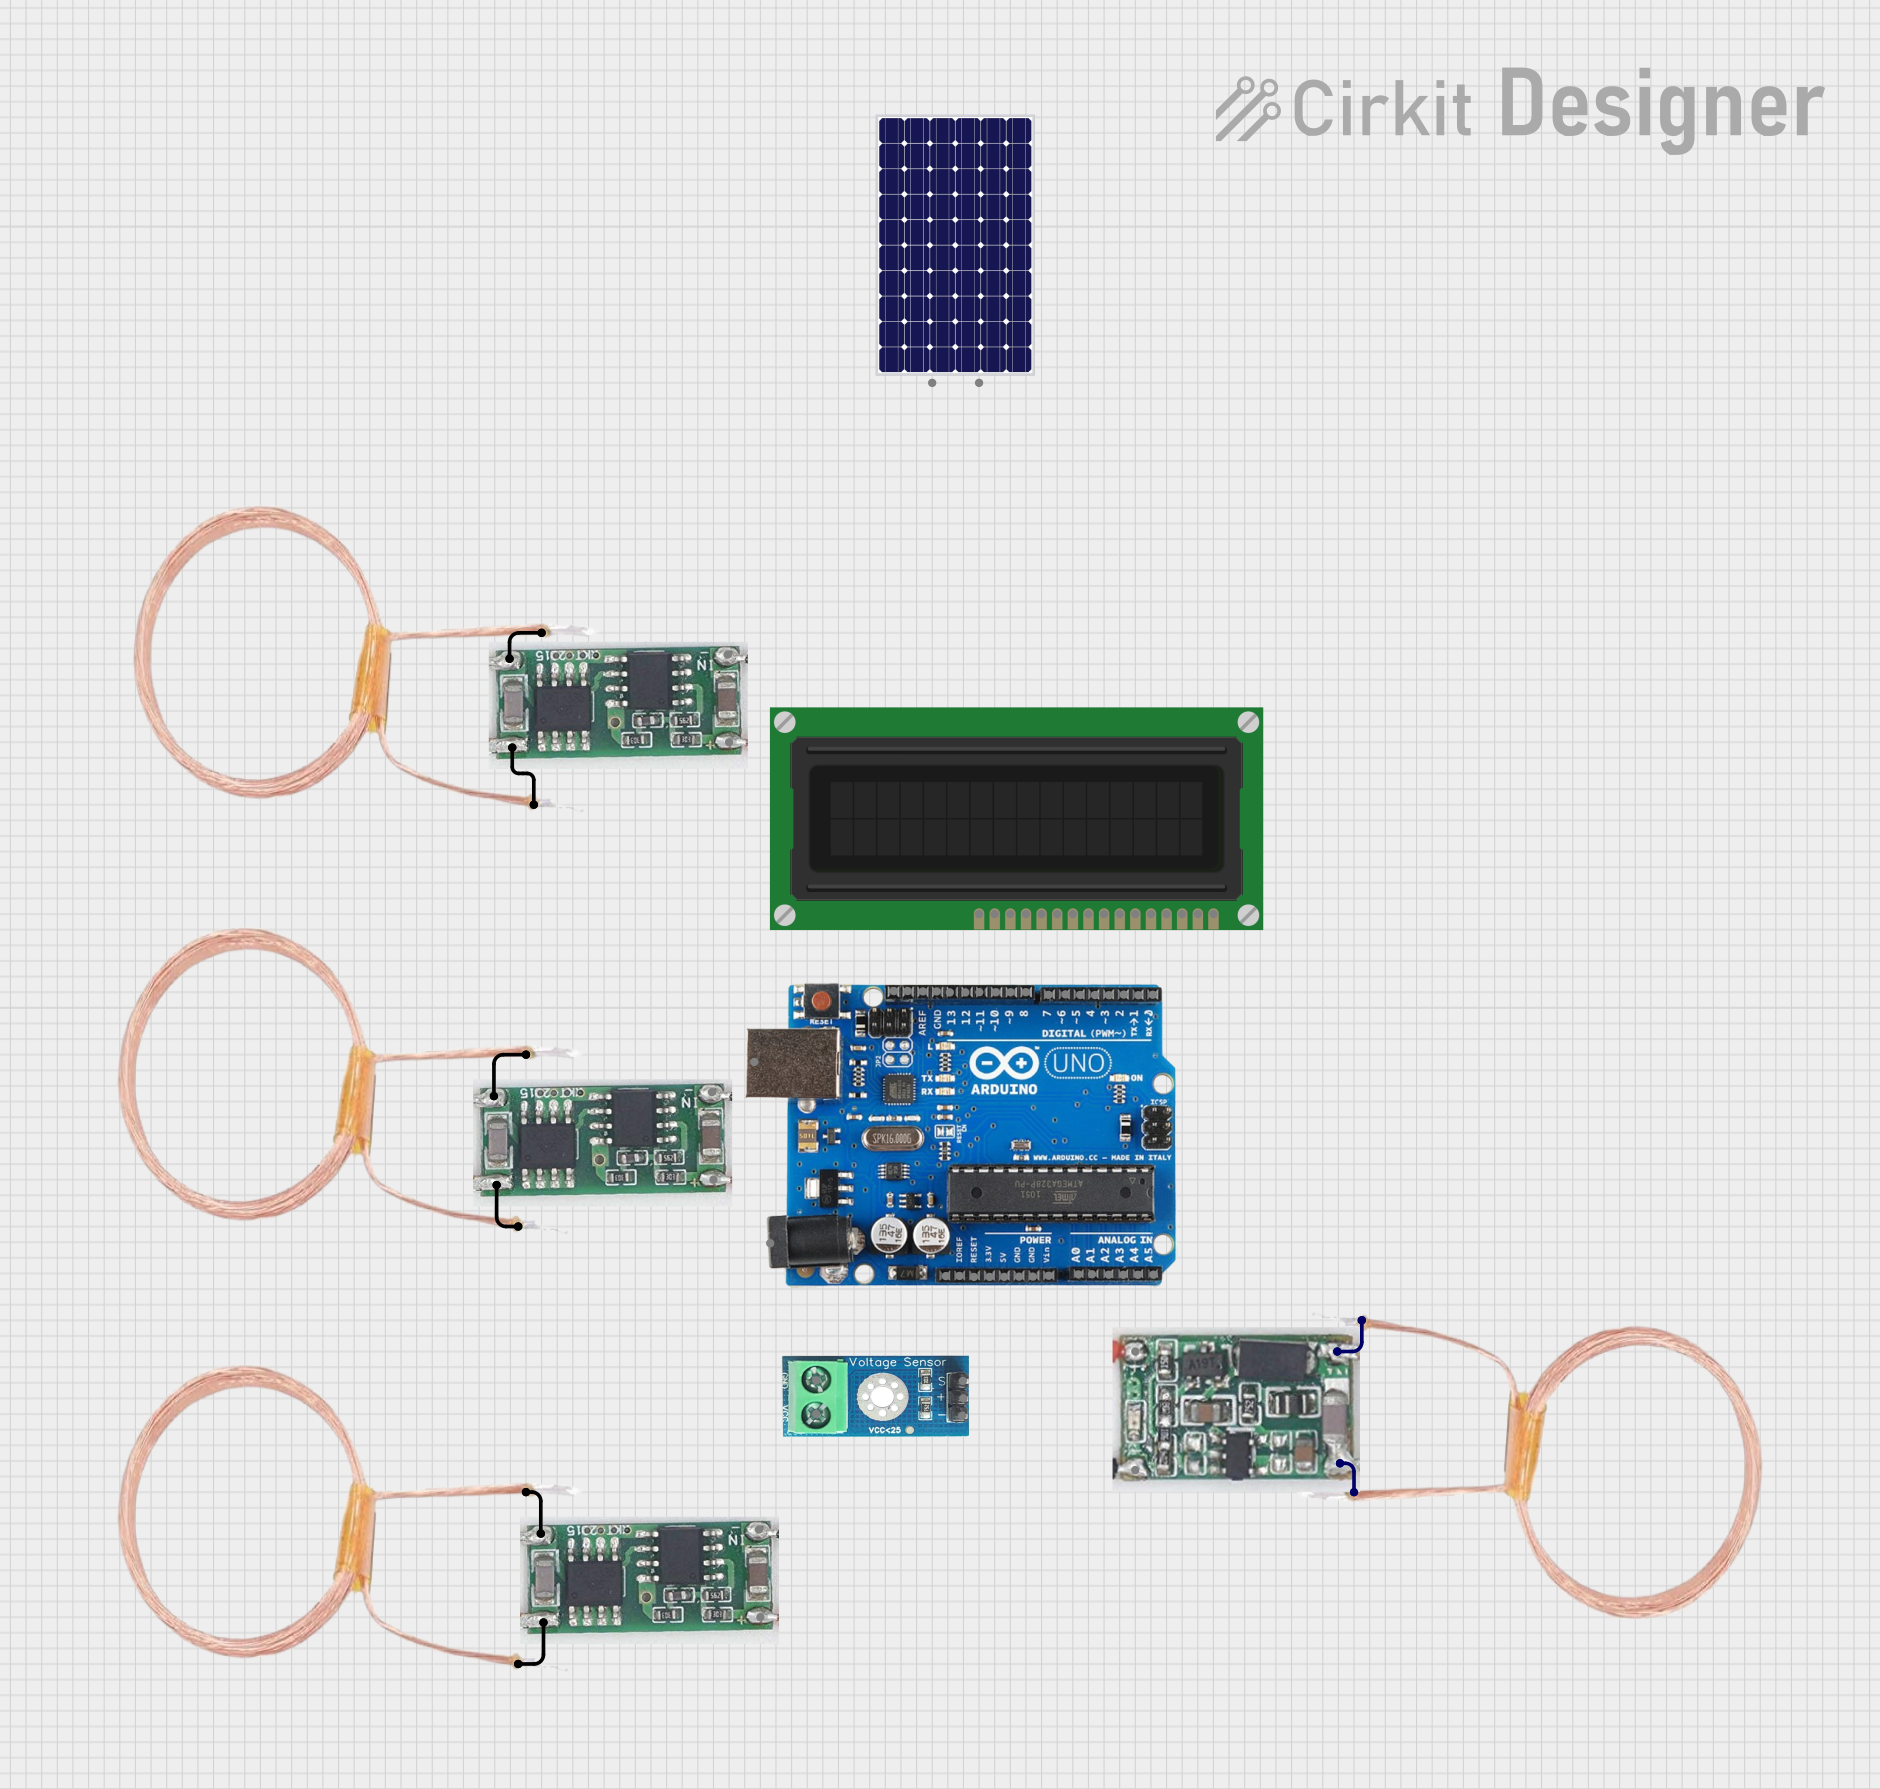
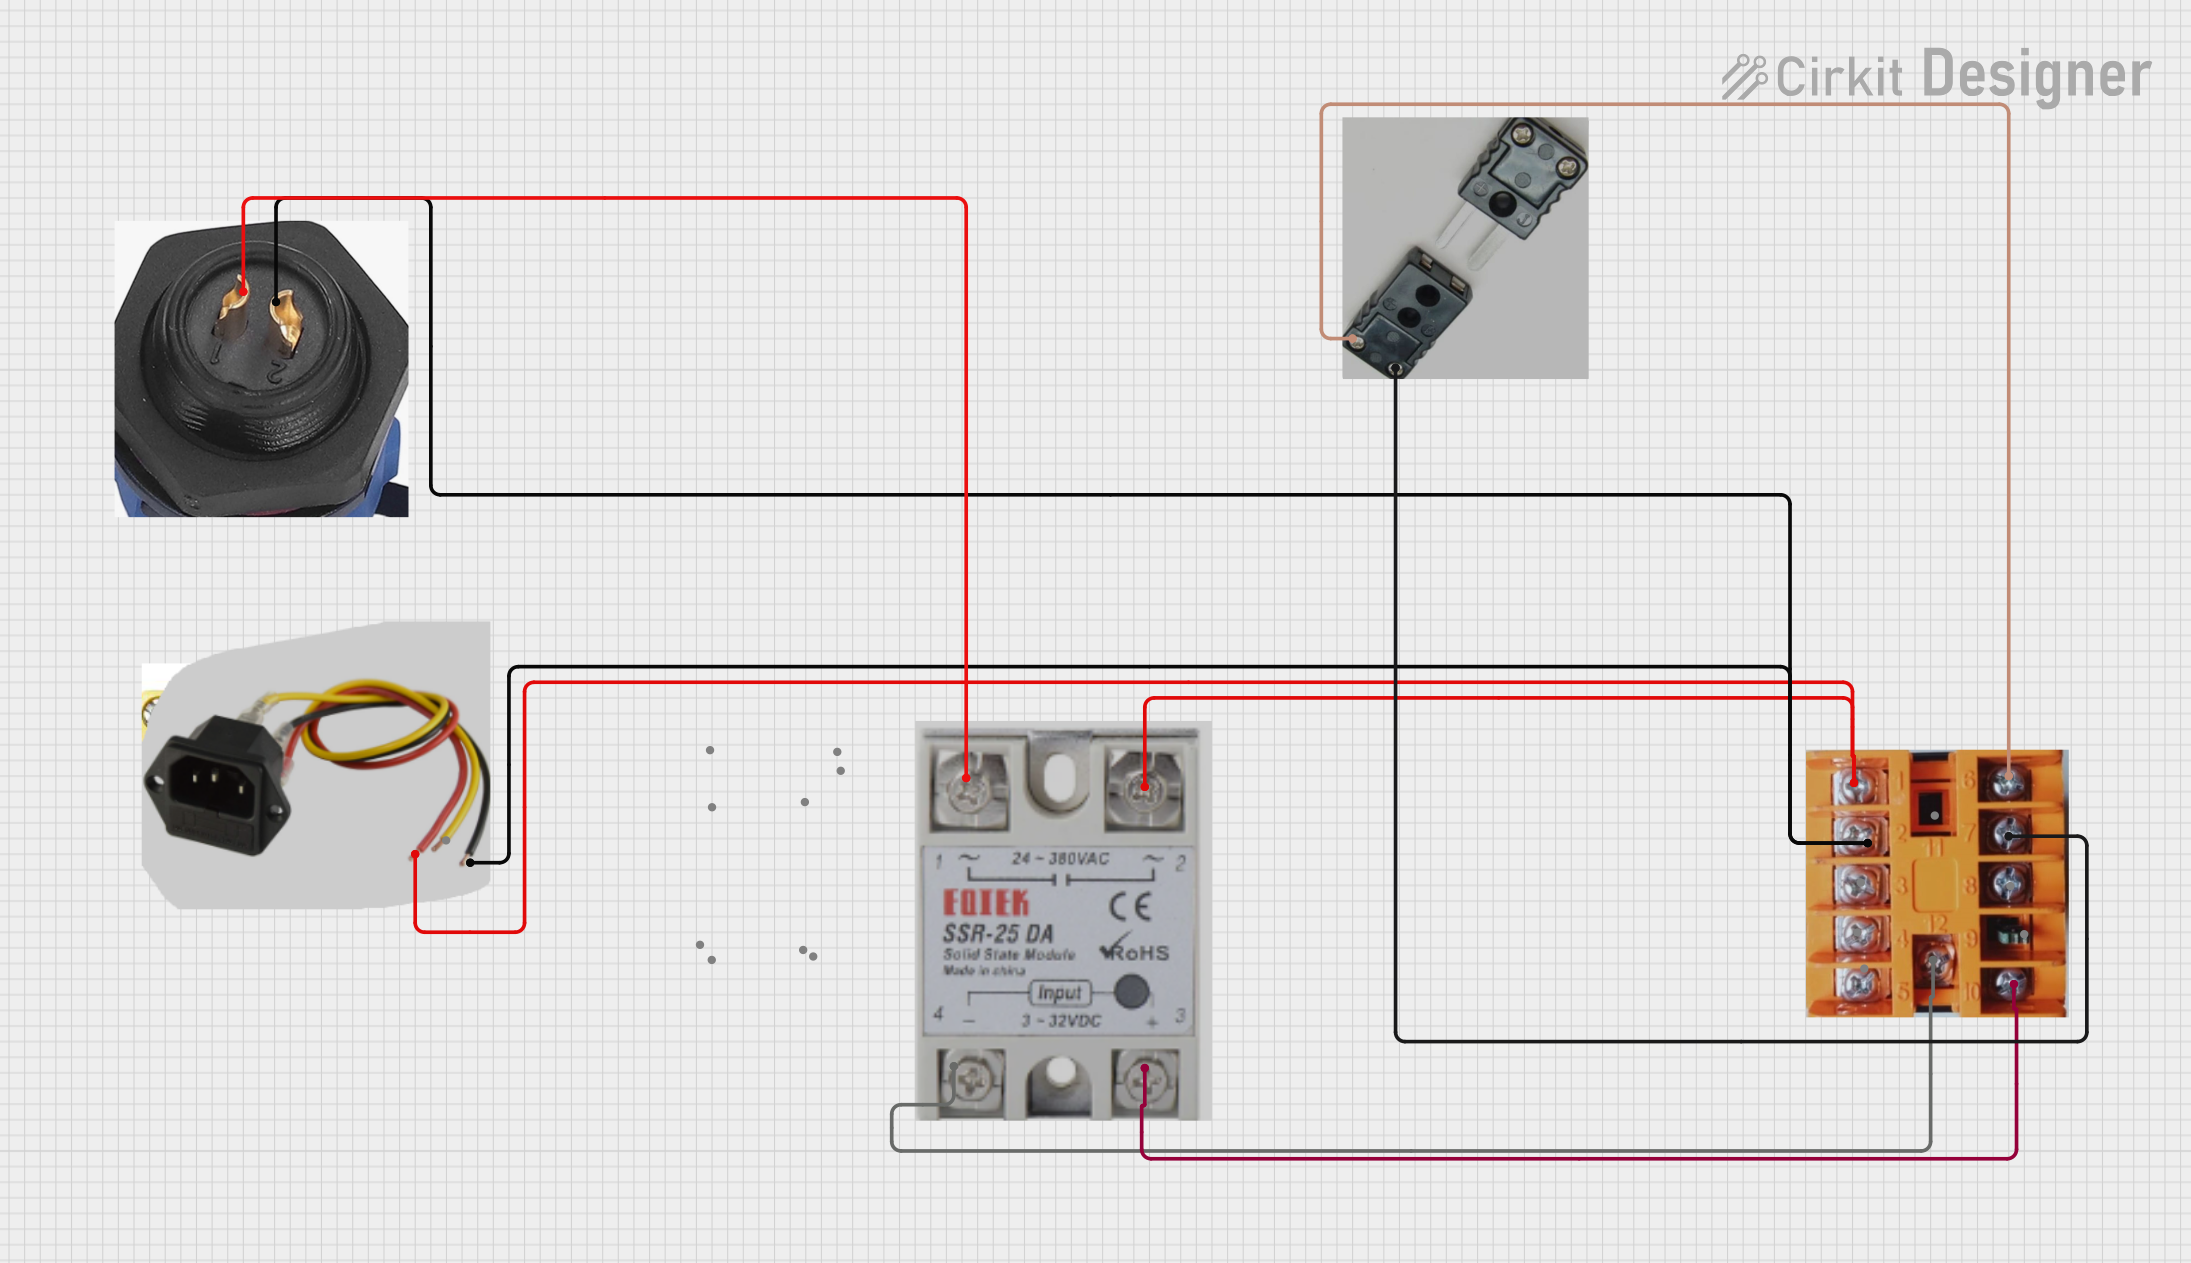
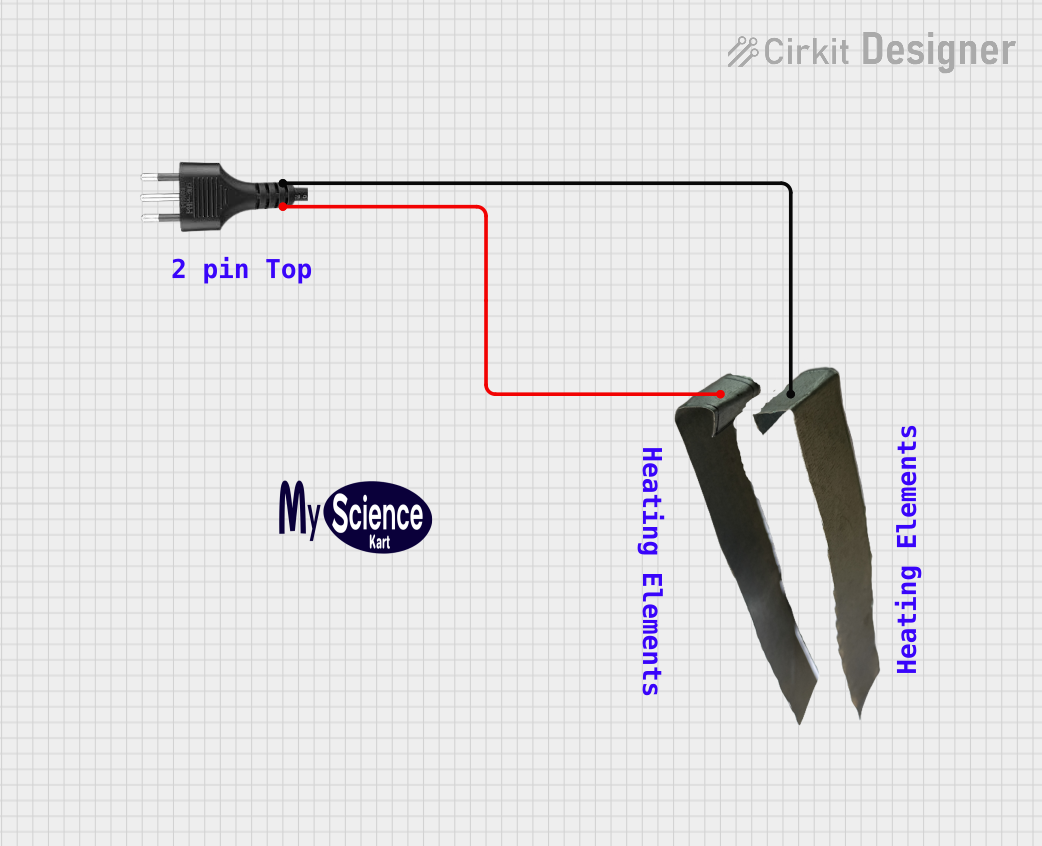
Explore Projects Built with Heating Coil

 Open Project in Cirkit Designer
 Open Project in Cirkit Designer
 Open Project in Cirkit Designer
 Open Project in Cirkit Designer
Explore Projects Built with Heating Coil

 Open Project in Cirkit Designer
 Open Project in Cirkit Designer
 Open Project in Cirkit Designer
 Open Project in Cirkit Designer
Common Applications and Use Cases
- Electric heaters (e.g., space heaters, water heaters)
- Industrial heating systems
- Electric ovens and toasters
- Soldering irons
- Laboratory equipment requiring controlled heating
- Defrosting systems in refrigeration units
Technical Specifications
The following table outlines the key technical details of the Dani Xavier Heating Coil (Part ID: 6969):
| Parameter | Value |
|---|---|
| Manufacturer | Dani Xavier |
| Part ID | 6969 |
| Operating Voltage | 12V - 240V (depending on model) |
| Power Rating | 50W - 2000W (model-specific) |
| Resistance Range | 5Ω - 100Ω (model-specific) |
| Maximum Operating Temperature | 1200°C |
| Material | Nichrome (Nickel-Chromium Alloy) |
| Dimensions | Varies by model |
| Insulation | Ceramic or Mica (optional) |
Pin Configuration and Descriptions
Heating coils typically have two terminals for electrical connections. The table below describes the pin configuration:
| Pin | Description |
|---|---|
| Pin 1 | Positive terminal for power input |
| Pin 2 | Negative terminal for power input (ground) |
Note: Ensure proper polarity and secure connections to avoid overheating or damage.
Usage Instructions
How to Use the Heating Coil in a Circuit
Determine Power Requirements: Calculate the required voltage and current based on the coil's resistance and power rating using Ohm's Law: [ P = V \times I \quad \text{and} \quad V = I \times R ] where (P) is power, (V) is voltage, (I) is current, and (R) is resistance.
Connect the Terminals:
- Connect Pin 1 to the positive terminal of the power supply.
- Connect Pin 2 to the negative terminal (ground).
Use a Controller (Optional): For precise temperature control, integrate a thermostat, PWM controller, or microcontroller (e.g., Arduino UNO) with a relay or MOSFET.
Ensure Proper Insulation: Use ceramic or mica insulation to prevent short circuits and ensure safe operation.
Monitor Temperature: Use a thermocouple or temperature sensor to monitor the coil's temperature and prevent overheating.
Important Considerations and Best Practices
- Power Supply: Ensure the power supply matches the coil's voltage and current requirements.
- Ventilation: Operate the coil in a well-ventilated area to dissipate heat effectively.
- Safety: Avoid direct contact with the coil during operation to prevent burns.
- Mounting: Secure the coil using heat-resistant mounts to prevent movement or damage.
- Overcurrent Protection: Use a fuse or circuit breaker to protect the coil from excessive current.
Example: Using a Heating Coil with Arduino UNO
Below is an example of controlling a heating coil using an Arduino UNO and a relay module:
// Example: Controlling a heating coil with Arduino UNO and a relay module
// Ensure the relay module is rated for the coil's voltage and current

const int relayPin = 7; // Pin connected to the relay module

void setup() {
  pinMode(relayPin, OUTPUT); // Set relay pin as output
  digitalWrite(relayPin, LOW); // Ensure relay is off at startup
}

void loop() {
  // Turn the heating coil ON
  digitalWrite(relayPin, HIGH);
  delay(5000); // Keep the coil on for 5 seconds

  // Turn the heating coil OFF
  digitalWrite(relayPin, LOW);
  delay(5000); // Keep the coil off for 5 seconds
}
Warning: Ensure the relay module and power supply are properly rated for the heating coil to avoid damage or hazards.
Troubleshooting and FAQs
Common Issues and Solutions
| Issue | Possible Cause | Solution |
|---|---|---|
| Coil does not heat up | Insufficient power supply | Verify voltage and current requirements. |
| Coil overheats or burns out | Excessive voltage or current | Use a properly rated power supply. |
| Uneven heating | Damaged or worn-out coil | Inspect and replace the coil if needed. |
| Circuit breaker trips frequently | Overcurrent or short circuit | Check connections and use a fuse. |
| Coil emits smoke or unusual smell | Dirt, debris, or insulation failure | Clean the coil and check for damage. |
FAQs
Can I use the heating coil with a DC power supply?
- Yes, as long as the voltage and current match the coil's specifications.
What is the lifespan of the heating coil?
- The lifespan depends on usage and operating conditions but typically ranges from 1,000 to 10,000 hours.
Can I control the temperature of the heating coil?
- Yes, use a thermostat, PWM controller, or microcontroller for precise temperature control.
Is the heating coil safe to use indoors?
- Yes, but ensure proper ventilation and follow safety guidelines to prevent overheating or fire hazards.
By following this documentation, you can safely and effectively integrate the Dani Xavier Heating Coil (Part ID: 6969) into your projects.