
How to Use USB Host Shield 2.0: Examples, Pinouts, and Specs
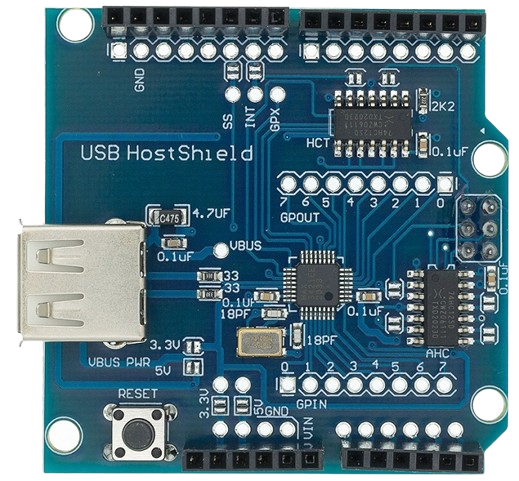
 Design with USB Host Shield 2.0 in Cirkit Designer
Introduction
The USB Host Shield 2.0, manufactured by Arduino (Part ID: UNO), is a hardware module designed to enable microcontrollers to connect and communicate with USB devices. This shield allows for functionalities such as data transfer, device control, and interaction with peripherals like keyboards, mice, game controllers, and USB storage devices. It is particularly useful in projects requiring USB host capabilities, which are not natively supported by most microcontrollers.
Explore Projects Built with USB Host Shield 2.0
 Open Project in Cirkit Designer
 Open Project in Cirkit Designer
 Open Project in Cirkit Designer
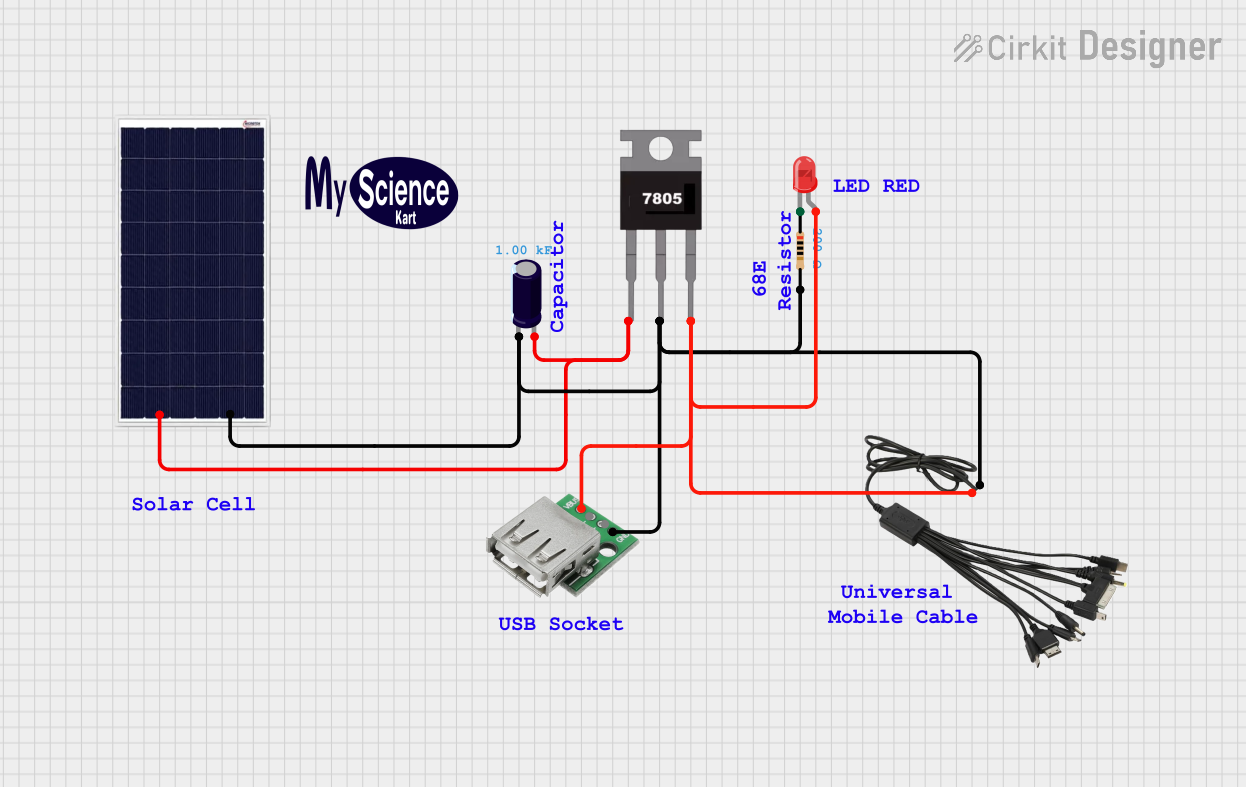 Open Project in Cirkit Designer
Explore Projects Built with USB Host Shield 2.0
Open Project in Cirkit DesignerOpen Project in Cirkit DesignerOpen Project in Cirkit DesignerOpen Project in Cirkit DesignerCommon Applications and Use Cases
- Connecting USB peripherals (e.g., keyboards, mice, and game controllers) to microcontrollers.
- Reading and writing data to USB storage devices.
- Interfacing with USB-based sensors or diagnostic tools.
- Developing USB communication protocols for custom devices.
- Robotics and automation projects requiring USB device integration.
Technical Specifications
Key Technical Details
- Microcontroller Compatibility: Arduino UNO, Mega, Leonardo, and other Arduino boards.
- USB Standard: USB 2.0 (Full-Speed and Low-Speed support).
- Operating Voltage: 5V (supplied by the Arduino board).
- Current Consumption: Approximately 100mA (excluding connected USB devices).
- Communication Interface: SPI (Serial Peripheral Interface).
- Chipset: MAX3421E USB Peripheral/Host Controller.
- Dimensions: Standard Arduino shield form factor.
Pin Configuration and Descriptions
The USB Host Shield 2.0 connects to the Arduino board via the following pins:
| Pin | Function | Description |
|---|---|---|
| D10 | SPI Chip Select (SS) | Used to select the MAX3421E chip for SPI communication. |
| D11 | SPI Master Out Slave In (MOSI) | Transfers data from the Arduino to the USB Host Shield. |
| D12 | SPI Master In Slave Out (MISO) | Transfers data from the USB Host Shield to the Arduino. |
| D13 | SPI Clock (SCK) | Provides the clock signal for SPI communication. |
| GND | Ground | Common ground connection between the Arduino and the shield. |
| 5V | Power Supply | Supplies power to the USB Host Shield. |
| INT | Interrupt | Used by the MAX3421E to signal the Arduino when an event occurs (e.g., USB data ready). |
Usage Instructions
How to Use the USB Host Shield 2.0 in a Circuit
Hardware Setup:
- Mount the USB Host Shield 2.0 onto the Arduino board by aligning the pins and headers.
- Connect the USB device (e.g., keyboard, mouse, or USB drive) to the USB port on the shield.
- Ensure the Arduino board is powered via USB or an external power source.
Install Required Libraries:
- Download and install the USB Host Shield 2.0 Library from the Arduino Library Manager or GitHub.
- Navigate to Sketch > Include Library > Manage Libraries, search for "USB Host Shield 2.0," and install it.
Write and Upload Code:
- Use the example sketches provided in the USB Host Shield 2.0 library to test functionality.
- Below is an example code snippet for detecting a USB device:
#include <Usb.h>
#include <usbhub.h>

// Initialize USB hub object
USB Usb;
USBHub Hub(&Usb);

void setup() {
  Serial.begin(9600); // Start serial communication at 9600 baud
  if (Usb.Init() == -1) {
    Serial.println("USB Host Shield initialization failed!");
    while (1); // Halt execution if initialization fails
  }
  Serial.println("USB Host Shield initialized successfully.");
}

void loop() {
  Usb.Task(); // Continuously poll the USB bus for events
}
- Test the Setup:
- Open the Arduino Serial Monitor to view messages from the USB Host Shield.
- Connect different USB devices to verify compatibility and functionality.
Important Considerations and Best Practices
- Ensure the USB device's power requirements do not exceed the shield's capabilities. Use an external power supply if necessary.
- Avoid connecting high-power USB devices directly to the shield, as it may damage the Arduino board.
- Use the latest version of the USB Host Shield 2.0 library for optimal performance and compatibility.
- Check the shield's SPI pin configuration if using a non-standard Arduino board.
Troubleshooting and FAQs
Common Issues and Solutions
| Issue | Possible Cause | Solution |
|---|---|---|
| USB Host Shield initialization failed. | Incorrect library installation or hardware issue. | Verify the library is installed correctly and check hardware connections. |
| USB device not detected. | Incompatible USB device or insufficient power. | Use a compatible USB device and ensure adequate power supply. |
| Arduino board not responding after upload. | SPI pin conflict with other shields. | Ensure no other shield is using the same SPI pins (D10-D13). |
| Data transfer is slow or unreliable. | Poor USB cable quality or interference. | Use a high-quality USB cable and minimize electrical noise in the circuit. |
FAQs
Can the USB Host Shield 2.0 work with non-Arduino boards?
- Yes, it can work with other microcontrollers that support SPI communication, but additional configuration may be required.
What types of USB devices are supported?
- The shield supports USB HID (Human Interface Devices) like keyboards and mice, USB storage devices, and some game controllers. Compatibility depends on the USB Host Shield 2.0 library.
How do I power high-current USB devices?
- Use an external powered USB hub connected to the shield to supply additional power to the USB device.
Can I use multiple USB devices simultaneously?
- Yes, but you will need a USB hub and additional coding to manage multiple devices.
By following this documentation, users can effectively integrate the USB Host Shield 2.0 into their projects and troubleshoot common issues.