How to Use TR-HTSE: Examples, Pinouts, and Specs

 Design with TR-HTSE in Cirkit Designer
Introduction
The TR-HTSE is a thermal relay designed for temperature control in electrical circuits. It provides reliable protection against overheating by interrupting the circuit when a preset temperature threshold is exceeded. This component is widely used in industrial, commercial, and residential applications to safeguard electrical equipment and systems from thermal damage.
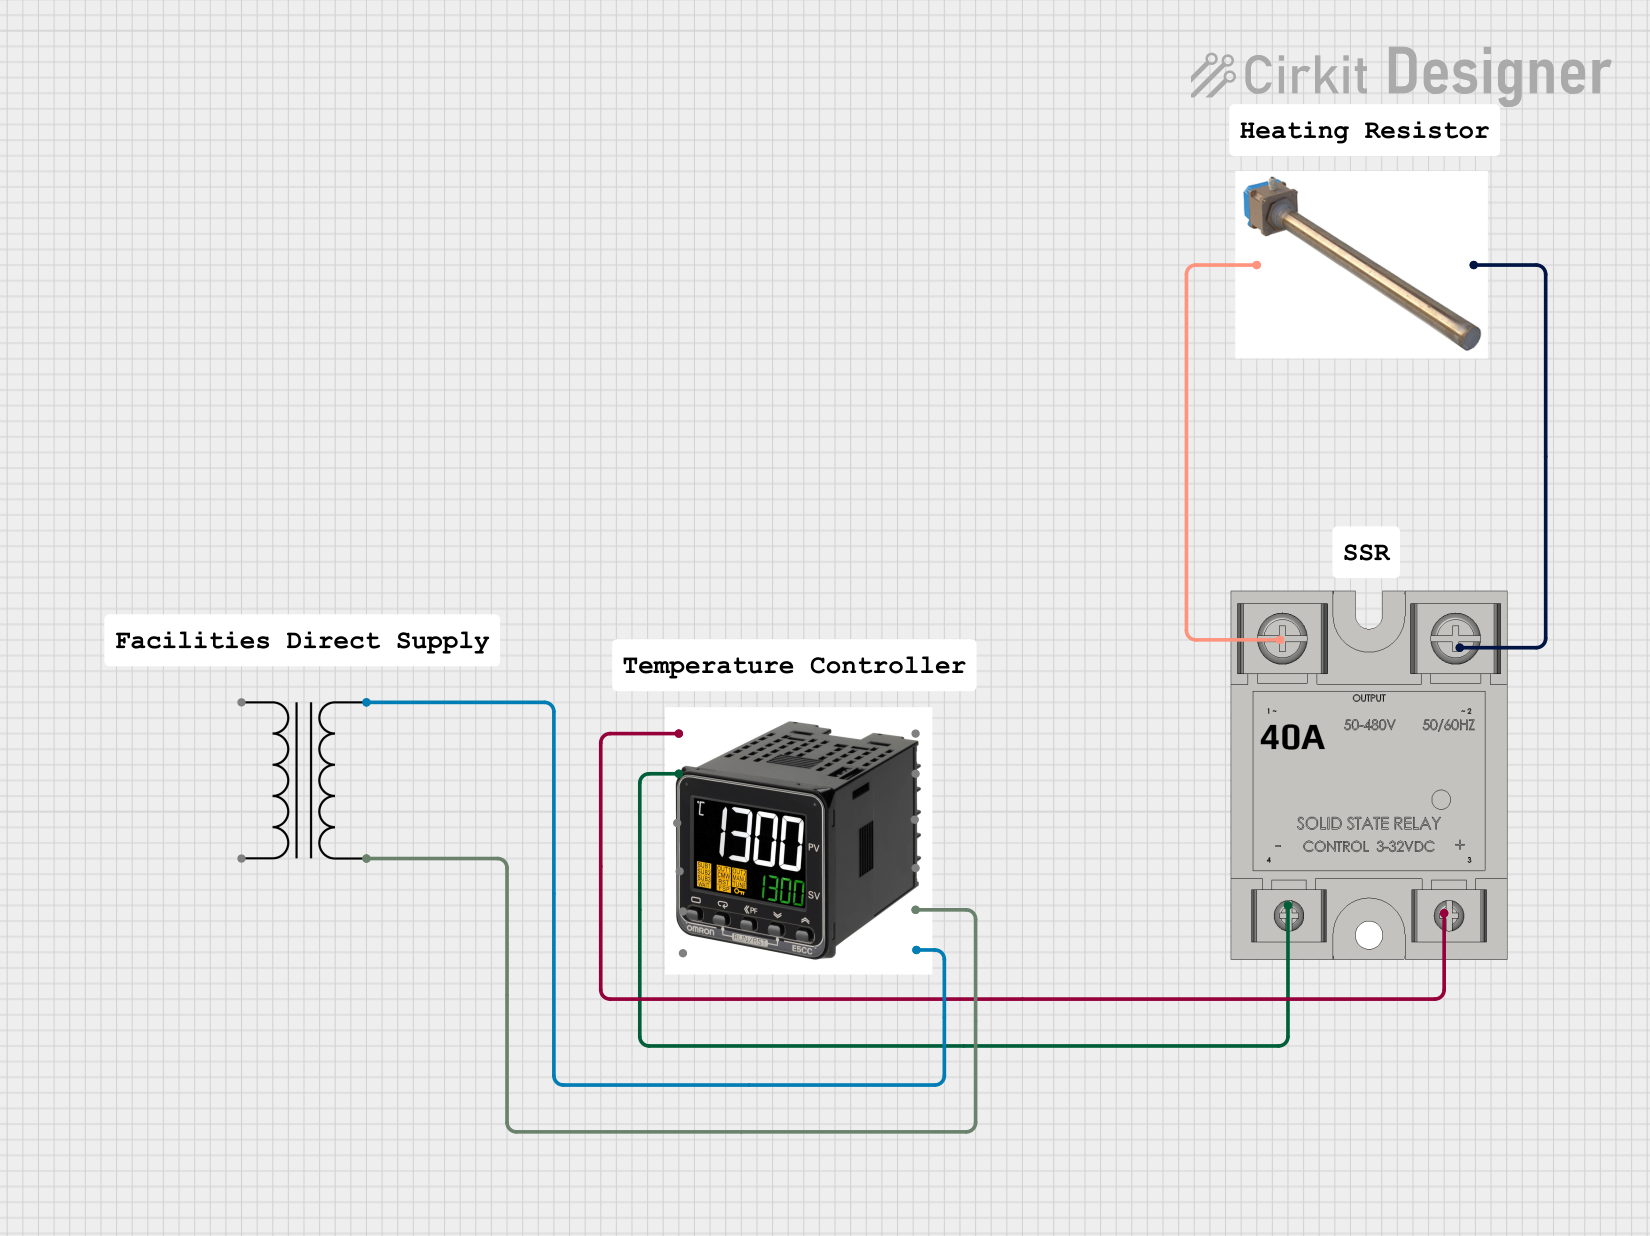
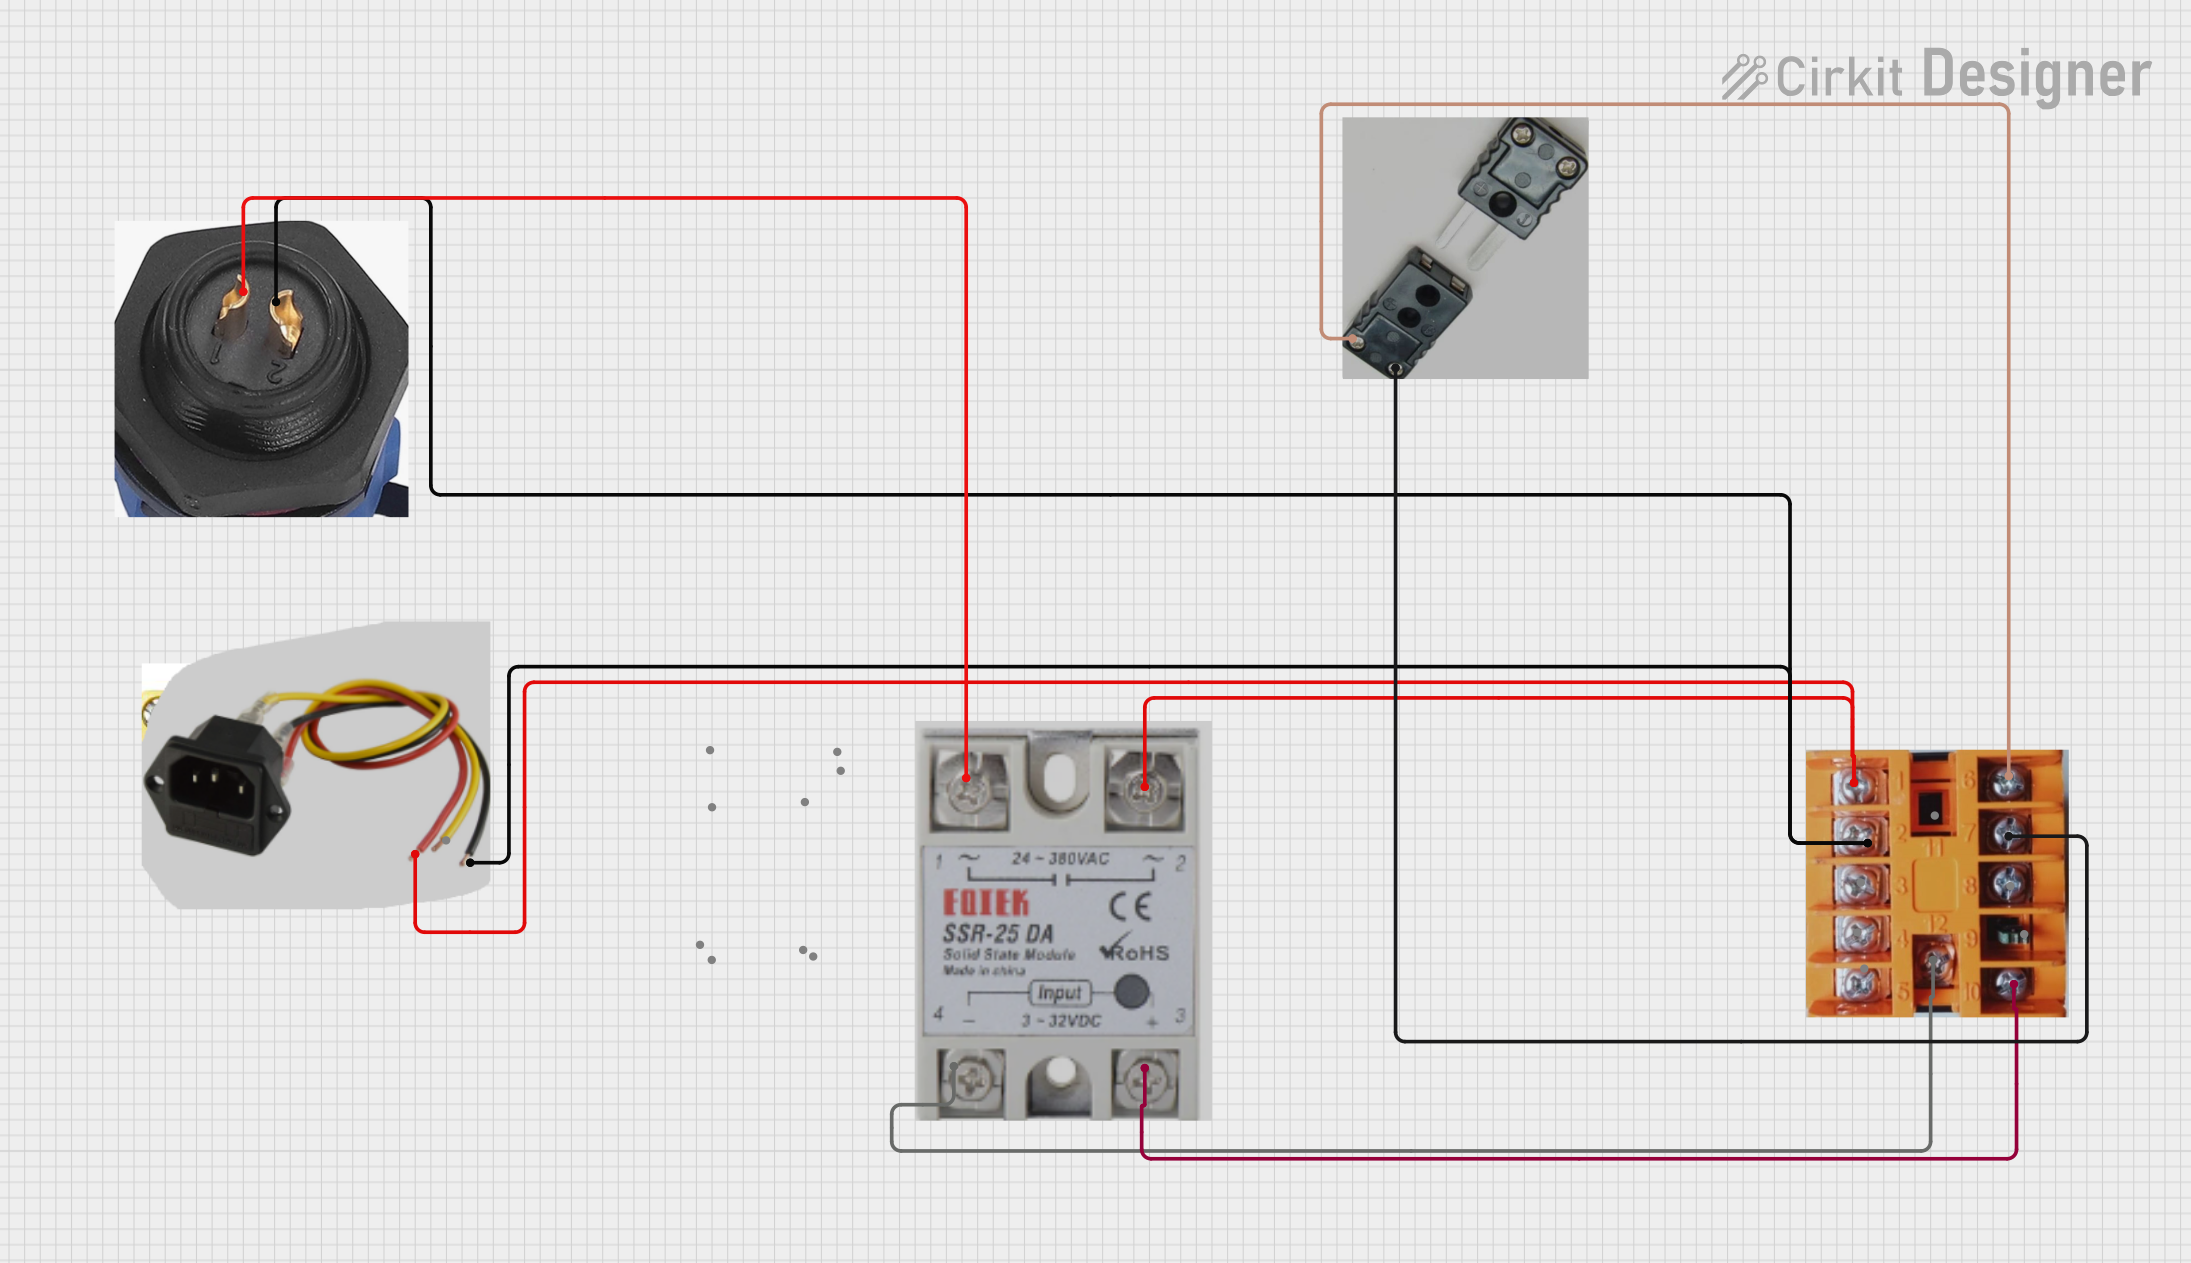
Explore Projects Built with TR-HTSE

 Open Project in Cirkit Designer
 Open Project in Cirkit Designer
 Open Project in Cirkit Designer
 Open Project in Cirkit Designer
Explore Projects Built with TR-HTSE

 Open Project in Cirkit Designer
 Open Project in Cirkit Designer
 Open Project in Cirkit Designer
 Open Project in Cirkit Designer
Common Applications and Use Cases
- Overheating protection for motors, transformers, and other electrical devices.
- Temperature regulation in HVAC systems.
- Safety mechanisms in industrial machinery.
- Thermal monitoring in power distribution systems.
Technical Specifications
Key Technical Details
| Parameter | Value |
|---|---|
| Operating Voltage Range | 24V to 240V AC/DC |
| Current Rating | 0.1A to 10A |
| Temperature Range | -20°C to 120°C (adjustable) |
| Response Time | < 2 seconds |
| Reset Type | Manual or Automatic (selectable) |
| Contact Configuration | Normally Closed (NC) or Normally Open (NO) |
| Insulation Resistance | > 100 MΩ at 500V DC |
| Operating Humidity | 10% to 90% RH (non-condensing) |
| Dimensions | 50mm x 30mm x 20mm |
| Mounting Type | DIN rail or panel mount |
Pin Configuration and Descriptions
| Pin Number | Label | Description |
|---|---|---|
| 1 | L1 | Line input (power supply) |
| 2 | T1 | Load connection (output to the circuit) |
| 3 | NC | Normally Closed contact |
| 4 | NO | Normally Open contact |
| 5 | COM | Common terminal for relay switching |
| 6 | GND | Ground connection |
Usage Instructions
How to Use the TR-HTSE in a Circuit
Wiring the Component:
- Connect the power supply to the
L1pin. - Connect the load (e.g., motor or heater) to the
T1pin. - Use the
COM,NC, andNOpins to integrate the relay into your control circuit:- For normally closed operation, connect the load to the
NCpin. - For normally open operation, connect the load to the
NOpin.
- For normally closed operation, connect the load to the
- Ensure the
GNDpin is connected to the circuit ground.
- Connect the power supply to the
Setting the Temperature Threshold:
- Use the adjustment knob or digital interface (depending on the model) to set the desired temperature threshold within the range of -20°C to 120°C.
Testing the Relay:
- Power on the circuit and gradually increase the temperature of the monitored device.
- Verify that the relay trips (interrupts the circuit) when the set temperature is exceeded.
Resetting the Relay:
- If the relay is set to manual reset mode, press the reset button after the temperature returns to a safe level.
- For automatic reset mode, the relay will reset itself once the temperature drops below the threshold.
Important Considerations and Best Practices
- Ensure the relay's current and voltage ratings match the requirements of your circuit.
- Avoid exposing the relay to excessive moisture or corrosive environments.
- Use proper insulation and secure mounting to prevent accidental short circuits.
- Regularly inspect the relay for signs of wear or damage, especially in high-temperature applications.
Example: Connecting TR-HTSE to an Arduino UNO
The TR-HTSE can be used with an Arduino UNO to monitor and control temperature. Below is an example of how to connect and program the relay:
Circuit Diagram
- Connect the
COMpin of the relay to a digital output pin on the Arduino (e.g., pin 7). - Connect the
NOpin to the load (e.g., a fan or heater). - Connect the
GNDpin of the relay to the Arduino's GND.
Arduino Code
// Define the relay pin
const int relayPin = 7;

void setup() {
  // Initialize the relay pin as an output
  pinMode(relayPin, OUTPUT);
  // Start with the relay off
  digitalWrite(relayPin, LOW);
}

void loop() {
  // Example: Turn the relay on for 5 seconds, then off for 5 seconds
  digitalWrite(relayPin, HIGH); // Activate the relay
  delay(5000);                 // Wait for 5 seconds
  digitalWrite(relayPin, LOW);  // Deactivate the relay
  delay(5000);                 // Wait for 5 seconds
}
Troubleshooting and FAQs
Common Issues and Solutions
| Issue | Possible Cause | Solution |
|---|---|---|
| Relay does not trip at the set temperature | Incorrect temperature threshold setting | Recheck and adjust the temperature setting. |
| Relay trips too early or too late | Faulty temperature sensor | Inspect and replace the sensor if needed. |
| No response from the relay | Improper wiring or loose connections | Verify all connections and ensure proper wiring. |
| Relay does not reset | Manual reset mode is enabled | Press the reset button or switch to automatic mode. |
| Overheating of the relay | Exceeding current or voltage ratings | Ensure the circuit parameters are within the relay's specifications. |
FAQs
Can the TR-HTSE be used with DC circuits?
- Yes, the TR-HTSE supports both AC and DC circuits within the specified voltage range.
What happens if the temperature exceeds the maximum range?
- The relay will trip to protect the circuit, but prolonged exposure to extreme temperatures may damage the relay.
How do I know if the relay is in manual or automatic reset mode?
- Check the mode selector switch or consult the relay's user interface (if applicable).
Can I use the TR-HTSE for low-power applications?
- Yes, the relay is suitable for low-power circuits as long as the current and voltage ratings are met.
By following this documentation, you can effectively integrate the TR-HTSE thermal relay into your projects and ensure reliable temperature control and circuit protection.