
How to Use Bill Acceptor TP70: Examples, Pinouts, and Specs
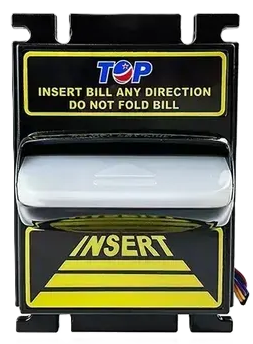
 Design with Bill Acceptor TP70 in Cirkit Designer
Introduction
The Bill Acceptor TP70 is a high-performance device designed to accept and validate banknotes in automated systems. It is commonly used in vending machines, kiosks, gaming machines, and other self-service payment systems. The TP70 features advanced counterfeit detection technology, ensuring secure transactions, and is built for reliability and ease of integration. Its compact design and versatile interface make it suitable for a wide range of applications.
Explore Projects Built with Bill Acceptor TP70
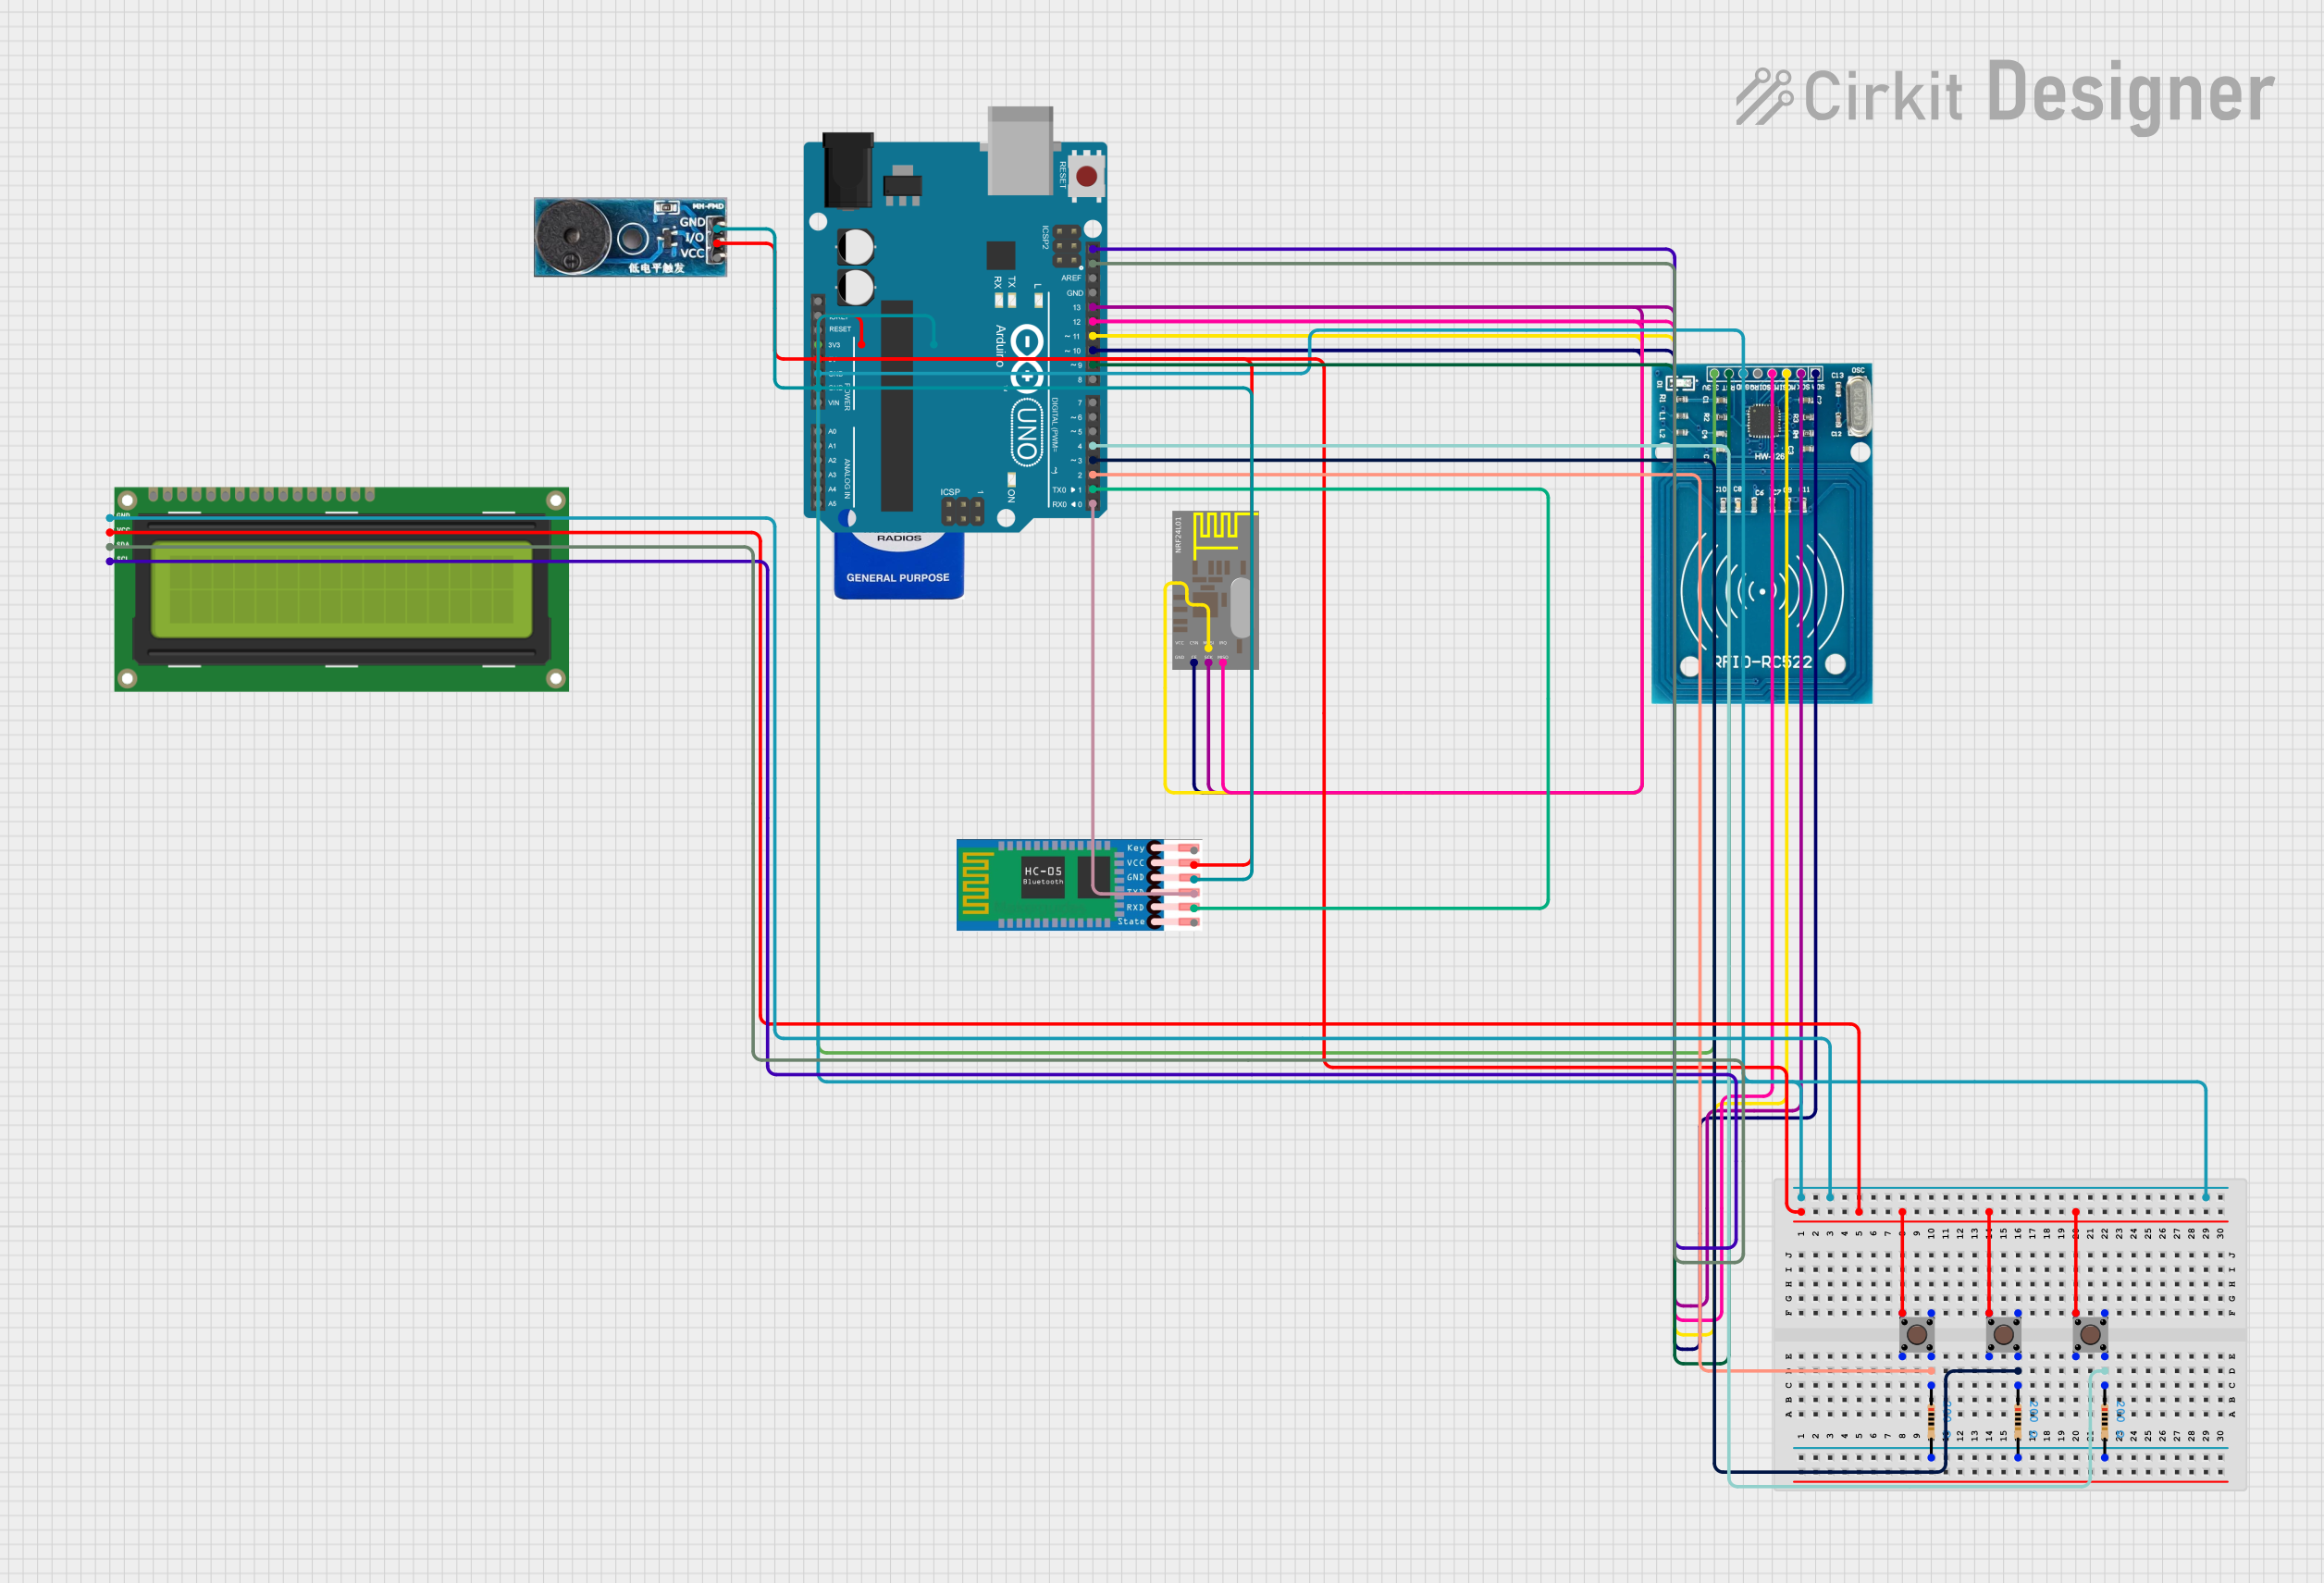
 Open Project in Cirkit Designer
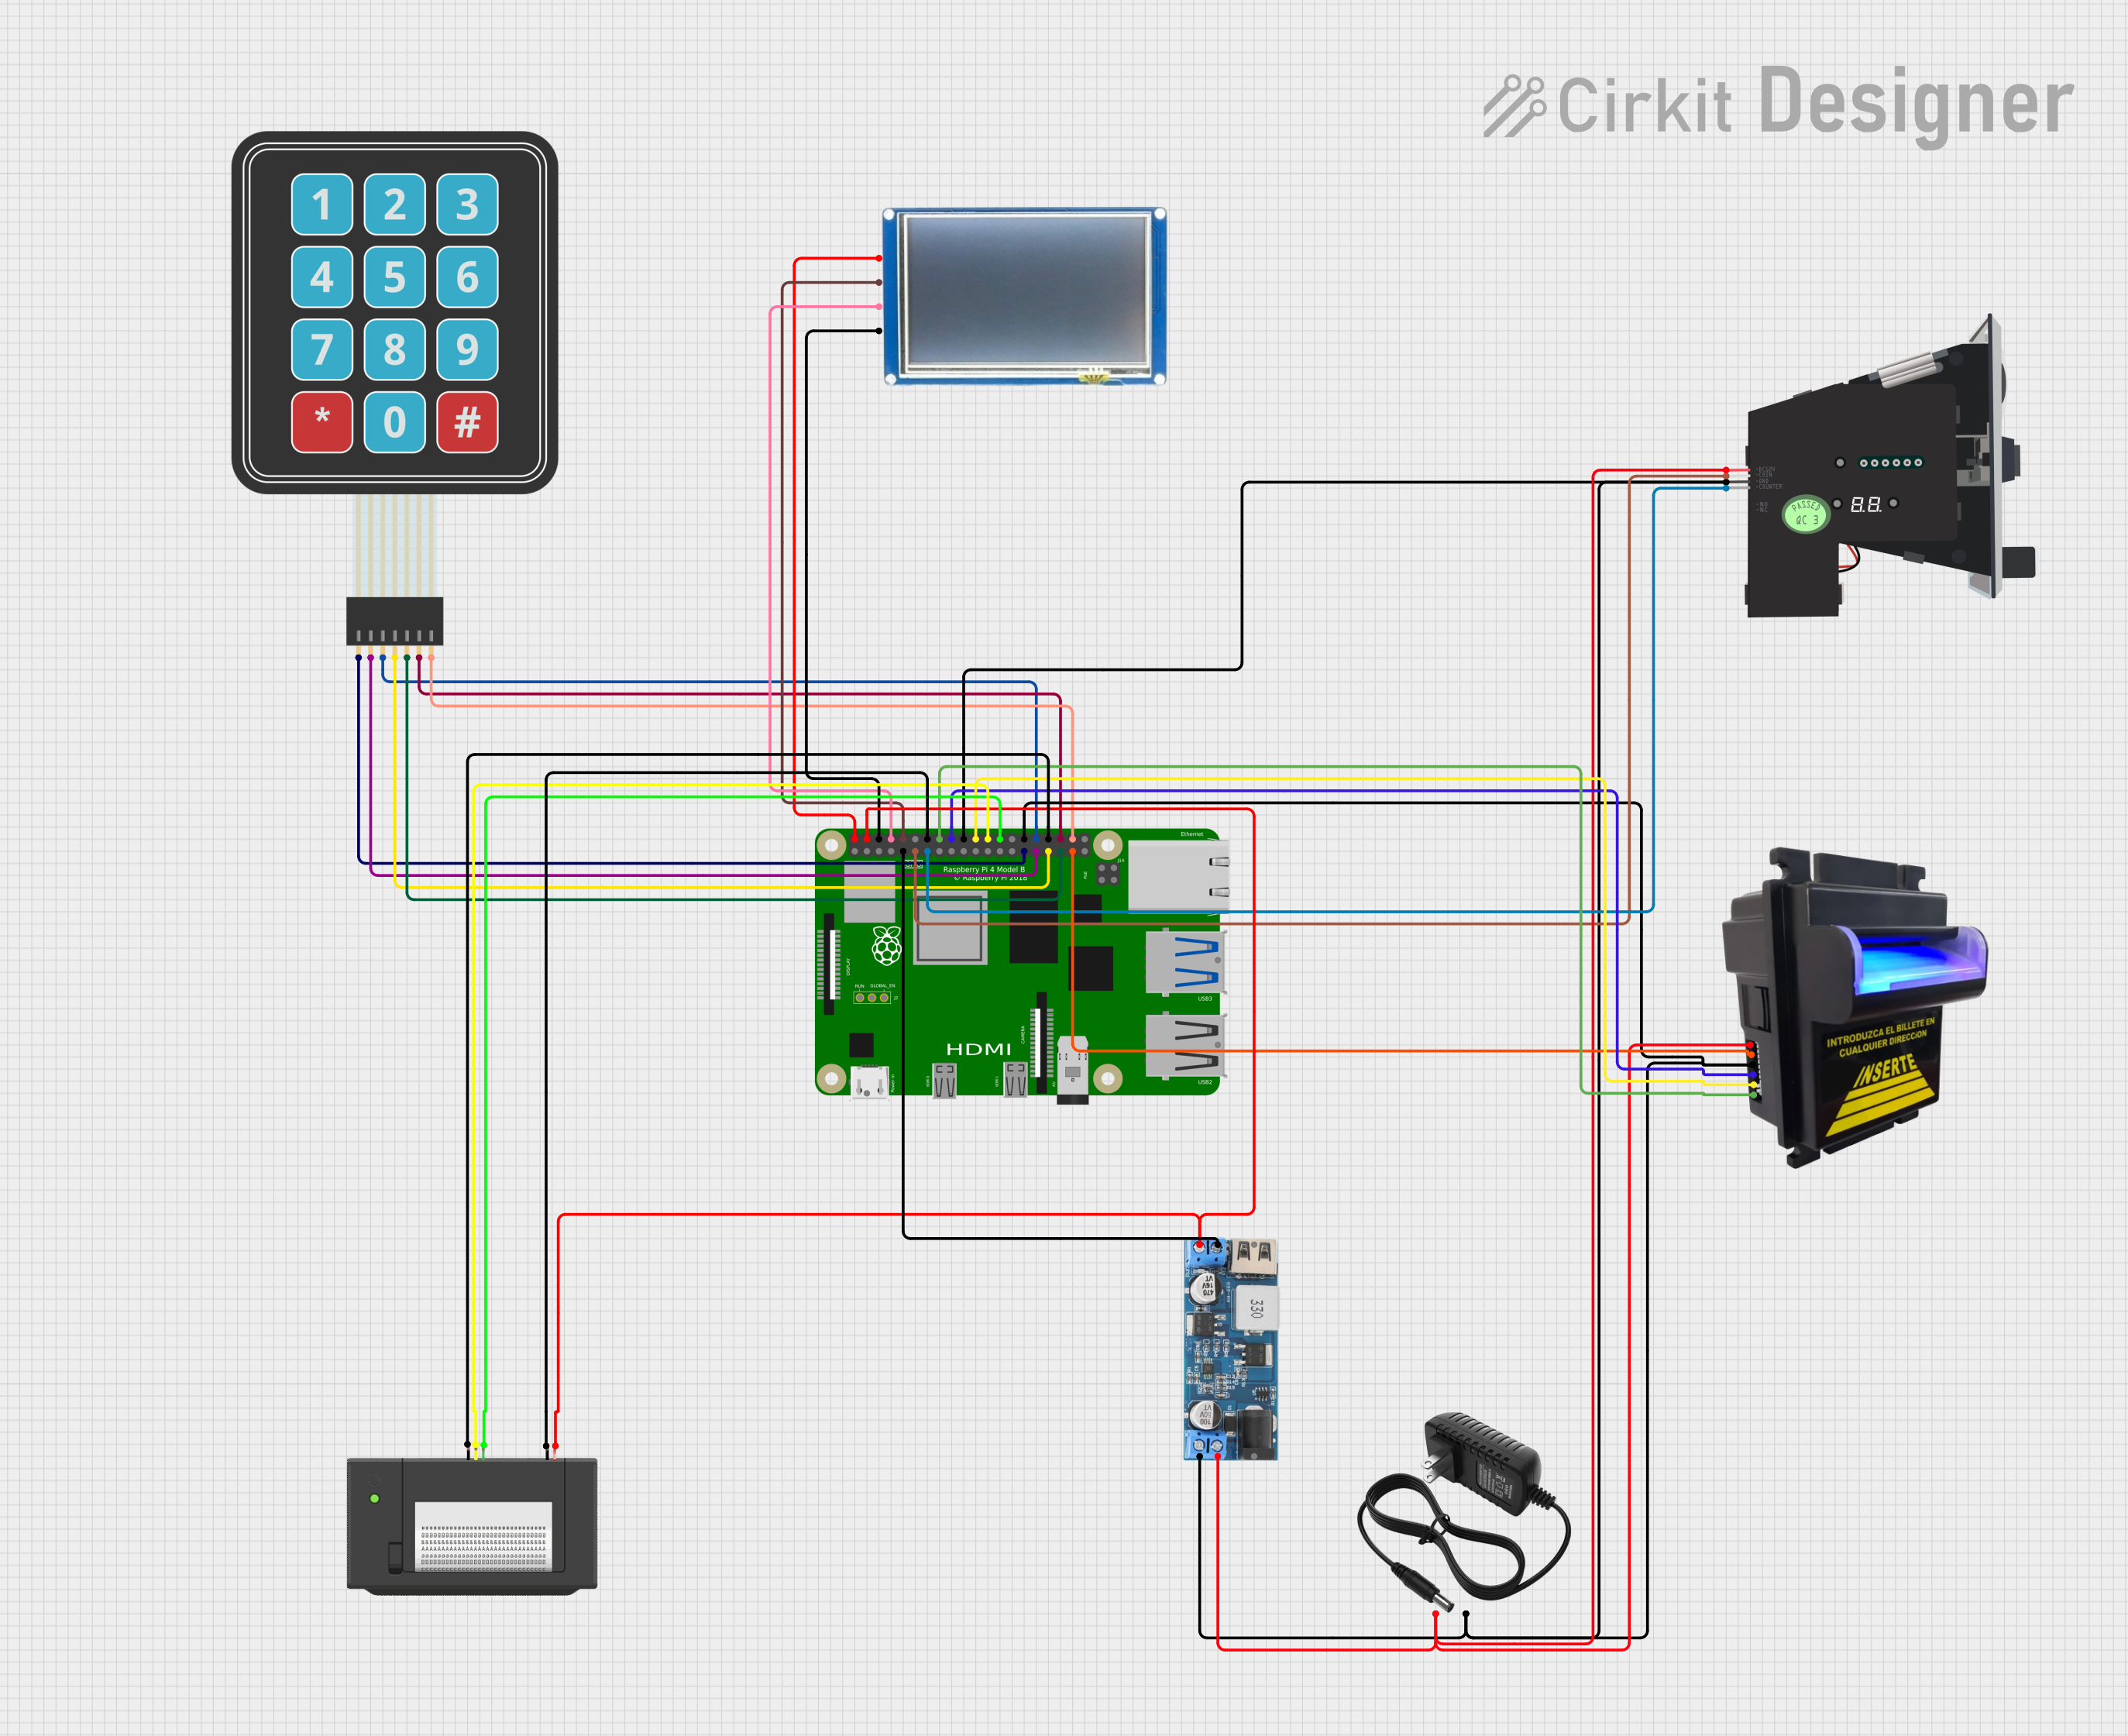
 Open Project in Cirkit Designer
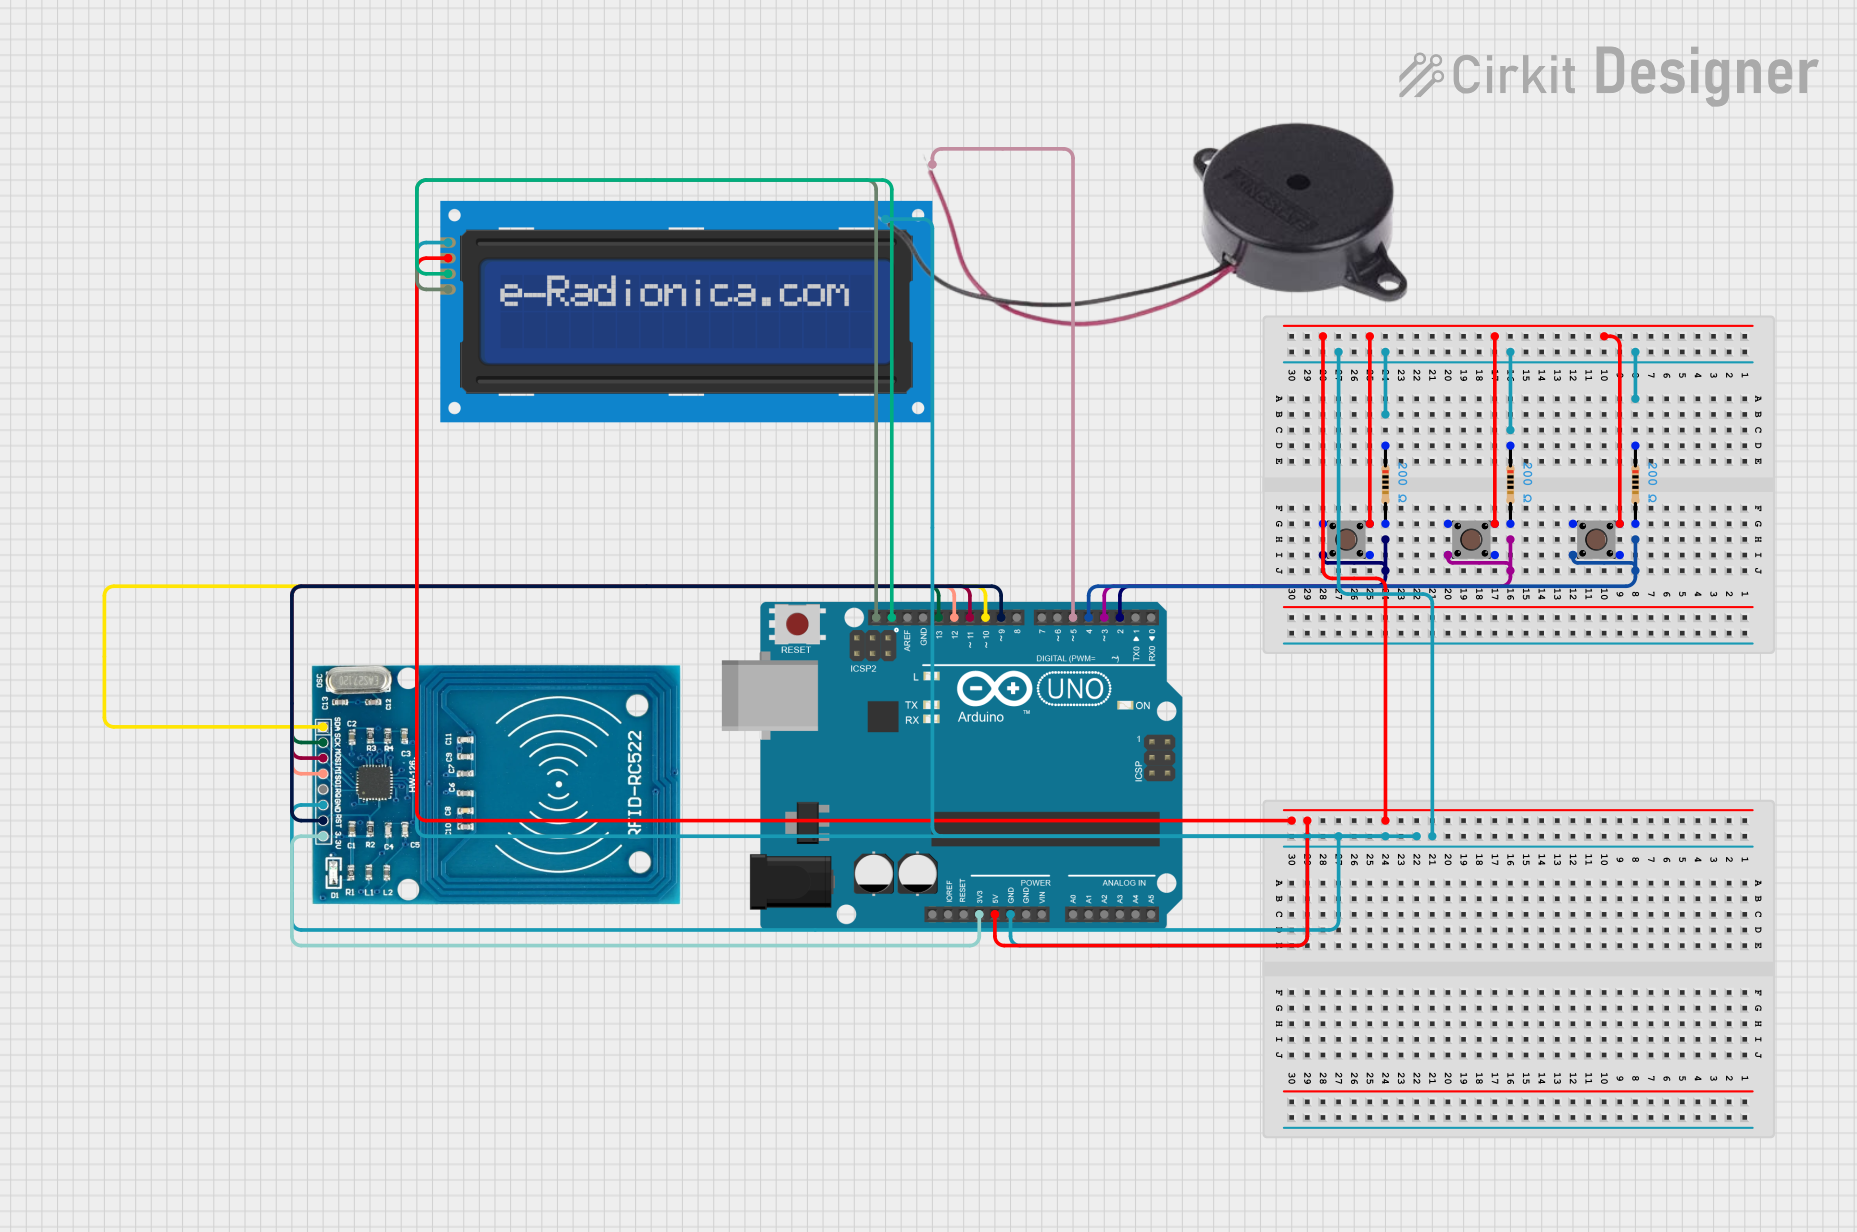
 Open Project in Cirkit Designer
 Open Project in Cirkit Designer
Explore Projects Built with Bill Acceptor TP70

 Open Project in Cirkit Designer
 Open Project in Cirkit Designer
 Open Project in Cirkit Designer
 Open Project in Cirkit Designer
Common Applications:
- Vending machines
- Self-service kiosks
- Gaming and amusement machines
- Parking payment systems
- Ticketing systems
Technical Specifications
Key Technical Details:
| Parameter | Specification |
|---|---|
| Accepted Currency | Configurable for multiple currencies |
| Bill Validation Speed | ~3 seconds per bill |
| Power Supply Voltage | 12V DC ± 10% |
| Power Consumption | 15W (typical) |
| Interface Options | RS232, USB, or Pulse |
| Bill Insertion Direction | Four-way (any orientation) |
| Dimensions | 100mm x 200mm x 150mm |
| Weight | 1.5 kg |
| Operating Temperature | 0°C to 50°C |
| Storage Temperature | -20°C to 70°C |
Pin Configuration and Descriptions:
RS232 Interface Pinout:
| Pin Number | Signal Name | Description |
|---|---|---|
| 1 | GND | Ground |
| 2 | TXD | Transmit Data (to host) |
| 3 | RXD | Receive Data (from host) |
| 4 | +12V | Power Supply (12V DC) |
| 5 | NC | Not Connected |
USB Interface Pinout:
| Pin Number | Signal Name | Description |
|---|---|---|
| 1 | VBUS | USB Power Supply (5V DC) |
| 2 | D- | USB Data Negative |
| 3 | D+ | USB Data Positive |
| 4 | GND | Ground |
Usage Instructions
How to Use the TP70 in a Circuit:
- Power Supply: Connect the TP70 to a stable 12V DC power source. Ensure the power supply can provide at least 15W to avoid underpowering the device.
- Interface Connection:
- For RS232: Connect the TXD and RXD pins to the corresponding pins on the host controller (e.g., microcontroller or PC). Ensure the baud rate matches the TP70's default setting (typically 9600 bps).
- For USB: Connect the USB interface to the host device. The TP70 will appear as a USB device.
- Bill Insertion: Insert banknotes in any orientation. The TP70 will validate the bill and send a signal to the host system indicating acceptance or rejection.
- Host Communication: Use the appropriate protocol (RS232, USB, or Pulse) to receive data from the TP70. This data includes bill denomination, validation status, and error codes.
Important Considerations:
- Counterfeit Detection: The TP70 uses advanced sensors to detect counterfeit bills. Ensure the device is configured for the correct currency and updated with the latest firmware for optimal performance.
- Mounting: Securely mount the TP70 in your system to prevent vibration or misalignment during operation.
- Firmware Updates: Periodically check for firmware updates from the manufacturer to ensure compatibility with new banknotes and improved performance.
Example: Connecting TP70 to an Arduino UNO (RS232 Interface)
Below is an example of how to connect and communicate with the TP70 using an Arduino UNO:
Circuit Connections:
- TP70 TXD → Arduino RX (Pin 0)
- TP70 RXD → Arduino TX (Pin 1)
- TP70 GND → Arduino GND
- TP70 +12V → External 12V Power Supply
Arduino Code:
// Example code to communicate with the TP70 Bill Acceptor via RS232
// Ensure the TP70 is connected to the Arduino's RX and TX pins

void setup() {
  Serial.begin(9600); // Initialize serial communication at 9600 bps
  Serial.println("TP70 Bill Acceptor Initialized");
}

void loop() {
  // Check if data is available from the TP70
  if (Serial.available() > 0) {
    char receivedData = Serial.read(); // Read data from TP70
    Serial.print("Received: ");
    Serial.println(receivedData); // Print received data to the Serial Monitor
  }

  // Example: Sending a command to the TP70
  // Replace '0xXX' with the appropriate command byte
  Serial.write(0x02); // Example command to request status
  delay(1000); // Wait for 1 second before sending the next command
}
Notes:
- Use a level shifter if the Arduino operates at 5V logic levels, as the TP70 may require 3.3V logic.
- Avoid using the Arduino's Serial Monitor while communicating with the TP70, as it shares the same RX/TX pins.
Troubleshooting and FAQs
Common Issues and Solutions:
Issue: The TP70 does not power on.
- Solution: Verify the power supply voltage is 12V DC and the connections are secure. Check for blown fuses or loose wires.
Issue: Bills are rejected frequently.
- Solution: Ensure the TP70 is configured for the correct currency. Clean the bill path and sensors using a soft, lint-free cloth.
Issue: No communication between the TP70 and the host system.
- Solution: Check the interface connections (RS232 or USB). Ensure the baud rate and communication settings match between the TP70 and the host.
Issue: The TP70 accepts counterfeit bills.
- Solution: Update the firmware to the latest version provided by the manufacturer. Verify the counterfeit detection settings.
FAQs:
Q: Can the TP70 handle multiple currencies simultaneously?
A: Yes, the TP70 can be configured to accept multiple currencies, but this requires proper setup and firmware support.Q: How do I clean the TP70?
A: Use a soft, lint-free cloth to clean the bill path and sensors. Avoid using abrasive materials or liquids.Q: What is the maximum bill size the TP70 can accept?
A: The TP70 can accept bills up to 85mm in width and 170mm in length.Q: Can the TP70 be used outdoors?
A: The TP70 is not weatherproof. If used outdoors, it must be installed in a weatherproof enclosure.
This documentation provides a comprehensive guide to using the Bill Acceptor TP70 effectively. For further assistance, refer to the manufacturer's user manual or contact technical support.