Cirkit Designer Logo
Cirkit Designer
Your all-in-one circuit design IDE
Home / 
Component Documentation

How to Use Power Supply: Examples, Pinouts, and Specs

Image of Power Supply
Cirkit Designer LogoDesign with Power Supply in Cirkit Designer

Introduction

A power supply is an essential electronic component that converts electrical energy from a source to the correct voltage, current, and frequency to power the load. It is a critical part of any electronic system, providing the necessary power to operate various devices and circuits. Common applications include computer systems, industrial machinery, consumer electronics, and DIY projects involving microcontrollers like the Arduino UNO.

Explore Projects Built with Power Supply

Use Cirkit Designer to design, explore, and prototype these projects online. Some projects support real-time simulation. Click "Open Project" to start designing instantly!
AC to DC Power Supply with Transformer and Bridge Rectifier
Image of BRIDGE RECTIFIER: A project utilizing Power Supply in a practical application
This circuit is a basic AC to DC power supply that steps down 220V AC to a lower voltage using a transformer, rectifies it to DC using a bridge rectifier made of diodes, and smooths the output with an electrolytic capacitor. A rocker switch is used to turn the power supply on and off.
Cirkit Designer LogoOpen Project in Cirkit Designer
USB-Powered DC Gear Motor with LED Indicator
Image of Hand Crank mobile charger : A project utilizing Power Supply in a practical application
This circuit appears to be a power supply unit with a bridge rectifier connected to a DC gear motor, indicating it is designed to convert AC to DC power for the motor. An electrolytic capacitor is used for smoothing the DC output, and a 7805 voltage regulator is included to provide a stable 5V output. Additionally, there is an LED with a series resistor, likely serving as a power indicator light.
Cirkit Designer LogoOpen Project in Cirkit Designer
Dual 5V Power Supply Distribution Circuit with Toggle Switch Control
Image of rfdriver: A project utilizing Power Supply in a practical application
This circuit consists of two 5V 5A power supplies connected to an AC wall plug point, providing DC output through a 12-way connector. The ground connections from both power supplies are interconnected and also connected to the ground pins of two toggle switches. The DC outputs from the power supplies are separately connected to different pins on the 12-way connector, with each power supply output being switchable via one of the toggle switches.
Cirkit Designer LogoOpen Project in Cirkit Designer
AC to DC Power Supply with Voltage Regulation and Overcurrent Protection
Image of PENGATUR VOLTAN: A project utilizing Power Supply in a practical application
This circuit appears to be a power supply unit with a transformer for stepping down voltage, a bridge rectifier for converting AC to DC, and a voltage regulator for stabilizing the output voltage. It includes a Zener diode for overvoltage protection, capacitors for smoothing out ripples in the DC supply, and a fuse for overcurrent protection. A toggle switch and a rocker switch are used to control the power flow, and there is an LED indicator connected through resistors, likely for power-on indication.
Cirkit Designer LogoOpen Project in Cirkit Designer

Explore Projects Built with Power Supply

Use Cirkit Designer to design, explore, and prototype these projects online. Some projects support real-time simulation. Click "Open Project" to start designing instantly!
Image of BRIDGE RECTIFIER: A project utilizing Power Supply in a practical application
AC to DC Power Supply with Transformer and Bridge Rectifier
This circuit is a basic AC to DC power supply that steps down 220V AC to a lower voltage using a transformer, rectifies it to DC using a bridge rectifier made of diodes, and smooths the output with an electrolytic capacitor. A rocker switch is used to turn the power supply on and off.
Cirkit Designer LogoOpen Project in Cirkit Designer
Image of Hand Crank mobile charger : A project utilizing Power Supply in a practical application
USB-Powered DC Gear Motor with LED Indicator
This circuit appears to be a power supply unit with a bridge rectifier connected to a DC gear motor, indicating it is designed to convert AC to DC power for the motor. An electrolytic capacitor is used for smoothing the DC output, and a 7805 voltage regulator is included to provide a stable 5V output. Additionally, there is an LED with a series resistor, likely serving as a power indicator light.
Cirkit Designer LogoOpen Project in Cirkit Designer
Image of rfdriver: A project utilizing Power Supply in a practical application
Dual 5V Power Supply Distribution Circuit with Toggle Switch Control
This circuit consists of two 5V 5A power supplies connected to an AC wall plug point, providing DC output through a 12-way connector. The ground connections from both power supplies are interconnected and also connected to the ground pins of two toggle switches. The DC outputs from the power supplies are separately connected to different pins on the 12-way connector, with each power supply output being switchable via one of the toggle switches.
Cirkit Designer LogoOpen Project in Cirkit Designer
Image of PENGATUR VOLTAN: A project utilizing Power Supply in a practical application
AC to DC Power Supply with Voltage Regulation and Overcurrent Protection
This circuit appears to be a power supply unit with a transformer for stepping down voltage, a bridge rectifier for converting AC to DC, and a voltage regulator for stabilizing the output voltage. It includes a Zener diode for overvoltage protection, capacitors for smoothing out ripples in the DC supply, and a fuse for overcurrent protection. A toggle switch and a rocker switch are used to control the power flow, and there is an LED indicator connected through resistors, likely for power-on indication.
Cirkit Designer LogoOpen Project in Cirkit Designer

Technical Specifications

Key Technical Details

  • Input Voltage Range: This is the range of voltages the power supply can accept.
  • Output Voltage Range: The range of voltages the power supply can deliver to the load.
  • Current Rating: Maximum current the power supply can provide.
  • Power Rating: The total amount of power the supply can deliver, typically in watts.
  • Efficiency: A measure of how well the power supply converts input power to output power.
  • Regulation: The ability of the power supply to maintain a constant output voltage under varying load conditions.
  • Ripple and Noise: The amount of unwanted variation and spikes in the output voltage.

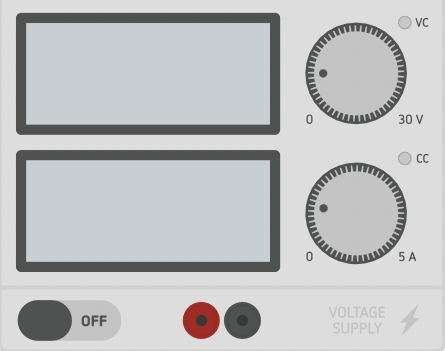
Pin Configuration and Descriptions

Pin Number Name Description
1 AC_IN Input pin for AC voltage
2 GND_IN Ground reference for input
3 DC_OUT Regulated DC output voltage
4 GND_OUT Ground reference for output

Usage Instructions

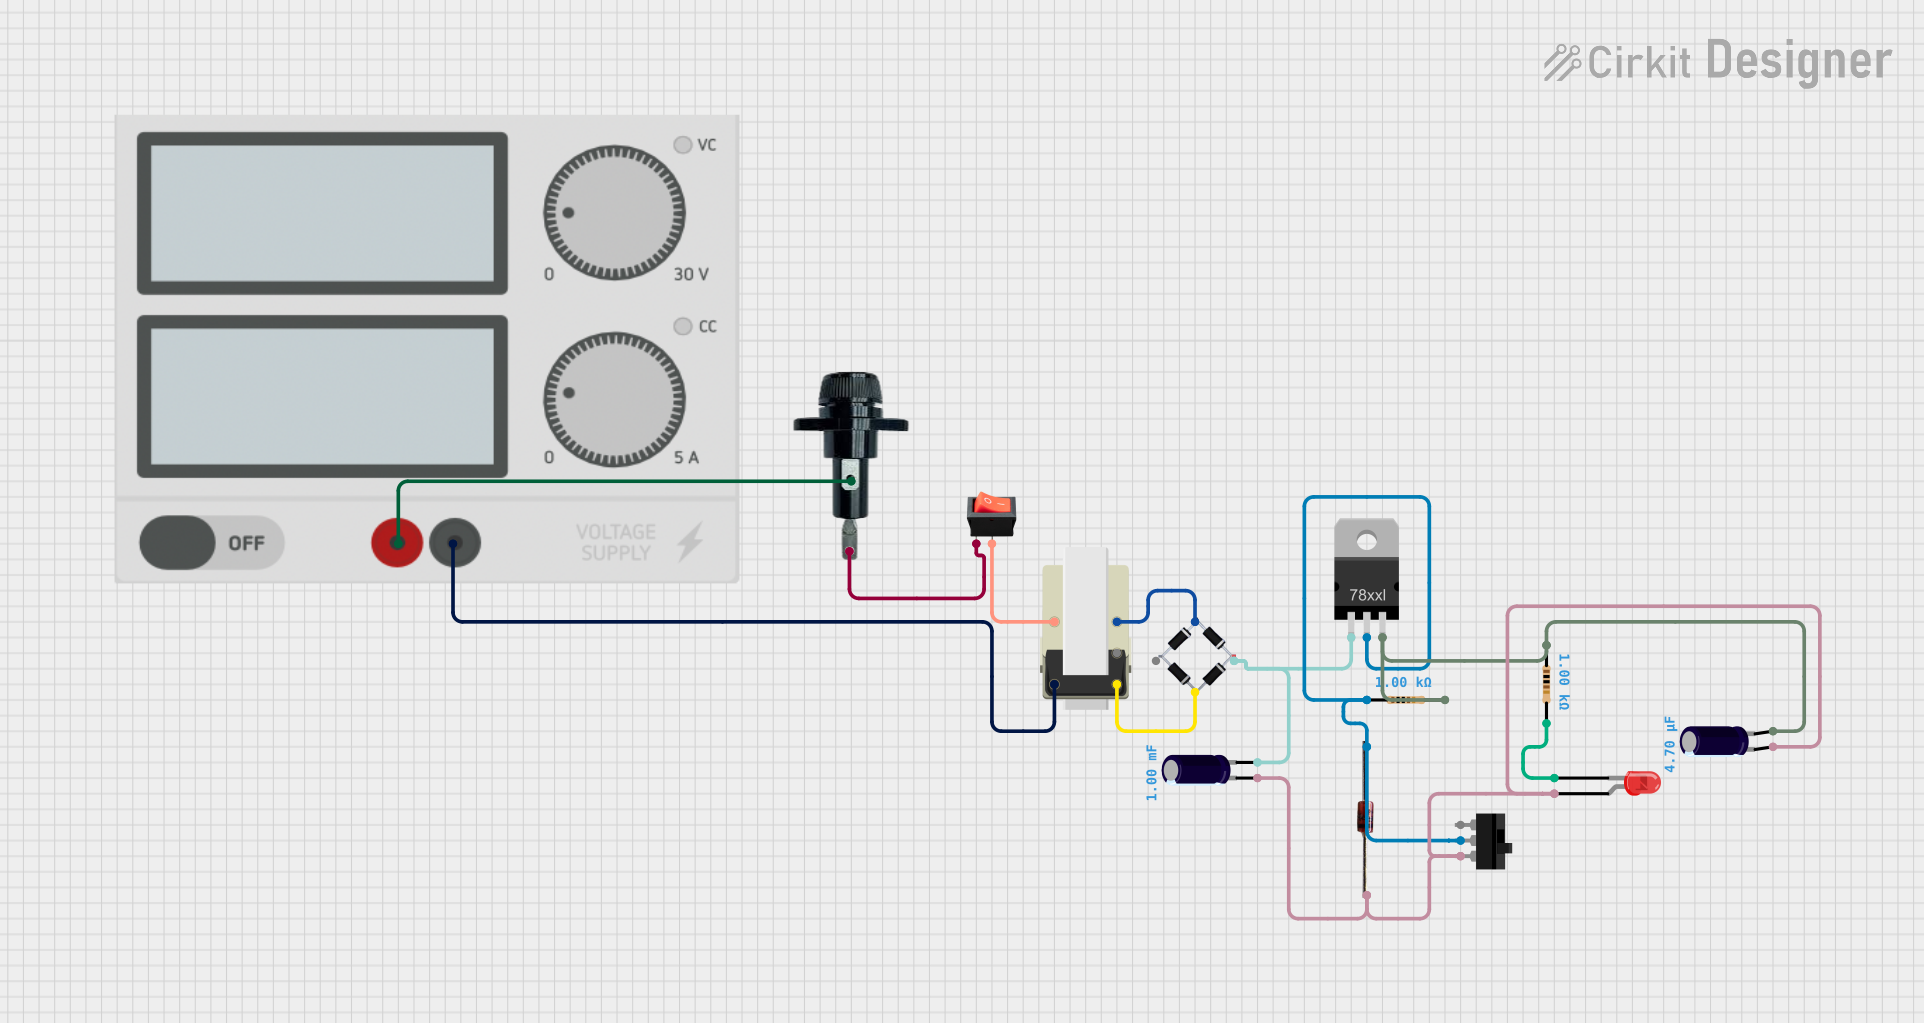
Integrating with a Circuit

  1. Connecting Input Power: Connect the AC_IN and GND_IN to your AC power source. Ensure the input voltage matches the specifications of the power supply.
  2. Connecting to Load: Attach the load to the DC_OUT and GND_OUT pins. Ensure the load does not exceed the power supply's current and power ratings.
  3. Powering an Arduino UNO: To power an Arduino UNO, connect the DC_OUT to the VIN pin and GND_OUT to one of the GND pins on the Arduino.

Important Considerations and Best Practices

  • Voltage Matching: Always verify that the output voltage matches the requirements of your load.
  • Current Limitations: Do not exceed the current rating of the power supply to avoid damage.
  • Heat Dissipation: Ensure adequate ventilation around the power supply to prevent overheating.
  • Short Circuit Protection: Use fuses or circuit breakers to protect against short circuits.

Troubleshooting and FAQs

Common Issues

  • Insufficient Power Output: Check if the load exceeds the power supply's ratings.
  • Overheating: Ensure proper ventilation and check if the load is too high.
  • Voltage Fluctuations: Verify if the power supply's regulation is adequate for the load.

Solutions and Tips

  • Reducing Load: Decrease the load to within the power supply's specifications.
  • Improving Ventilation: Increase airflow or add additional cooling mechanisms.
  • Using a Voltage Regulator: If the output voltage fluctuates, consider using an external voltage regulator for more stability.

FAQs

Q: Can I use this power supply with a 12V motor? A: Yes, as long as the motor's current and power requirements do not exceed the power supply's ratings.

Q: What happens if I connect a load with higher current than the power supply can provide? A: The power supply may overheat, shut down, or get damaged. Always use a load within the specified current limit.

Q: How can I tell if the power supply is not working properly? A: Check the output voltage with a multimeter. If it's outside the specified range, the power supply may be faulty.

Remember, safety first! Always follow electrical standards and regulations when working with power supplies.