
How to Use RTV LEAK TEST: Examples, Pinouts, and Specs
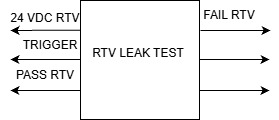
 Design with RTV LEAK TEST in Cirkit Designer
Introduction
The RTV Leak Test is a diagnostic method used to detect leaks in systems or enclosures. It involves the application of Room Temperature Vulcanizing (RTV) silicone sealants to create airtight seals, ensuring that the system under test is properly isolated. This test is commonly employed in industries such as electronics, automotive, and HVAC to verify the integrity of sealed systems and prevent issues caused by air or fluid leaks.
Explore Projects Built with RTV LEAK TEST
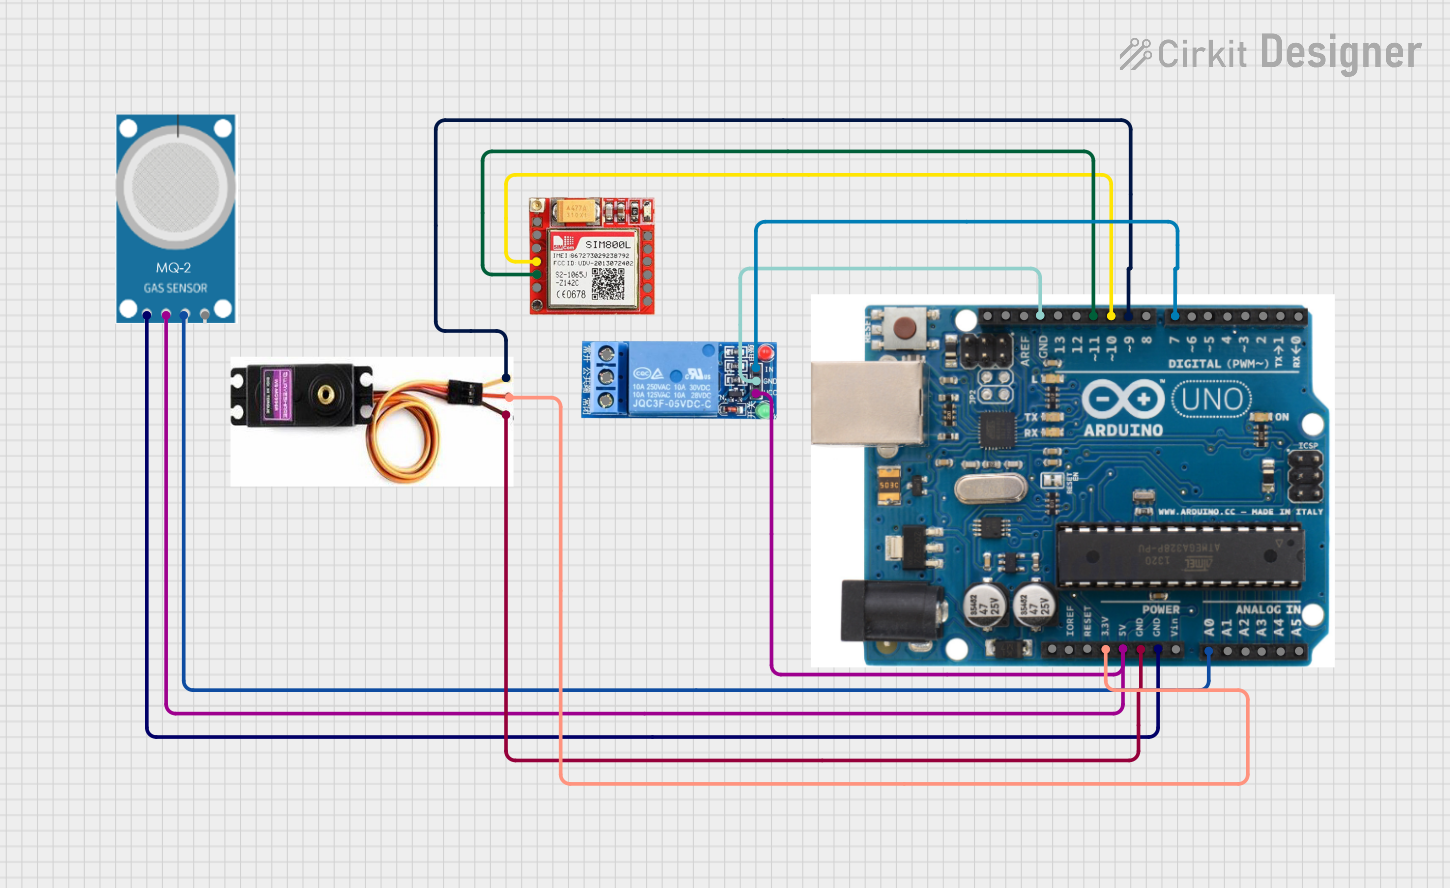 Open Project in Cirkit Designer
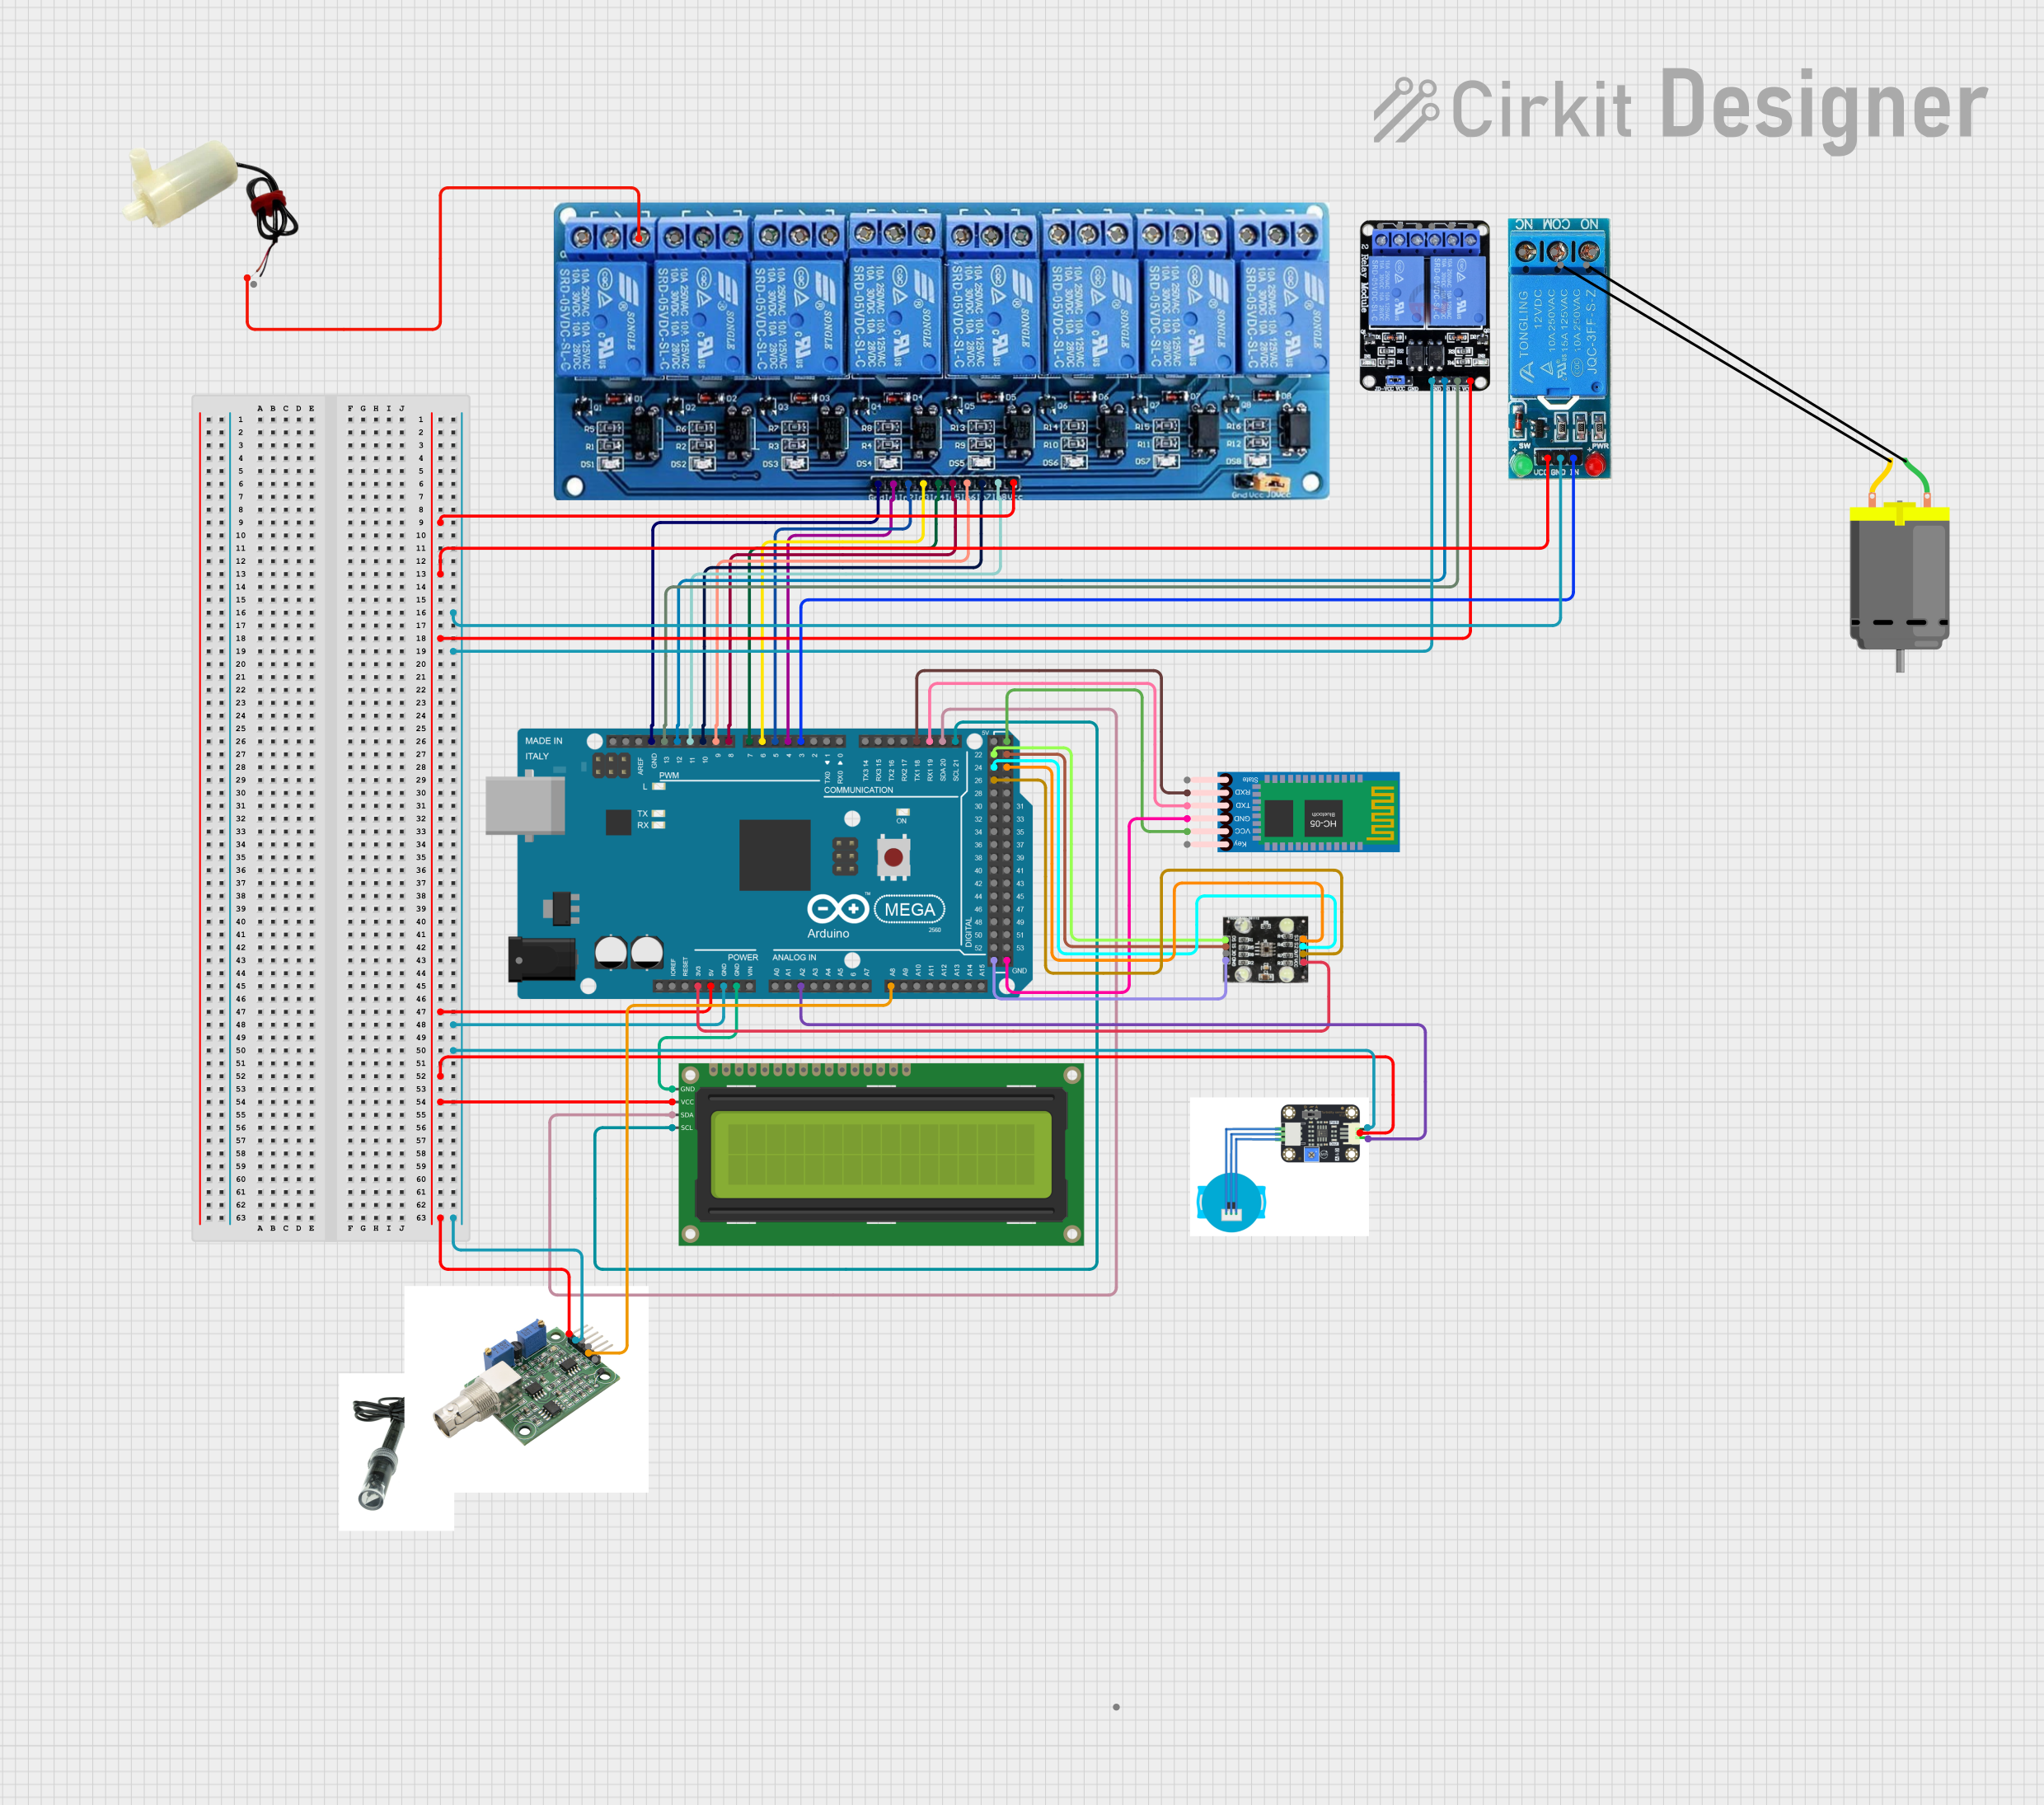 Open Project in Cirkit Designer
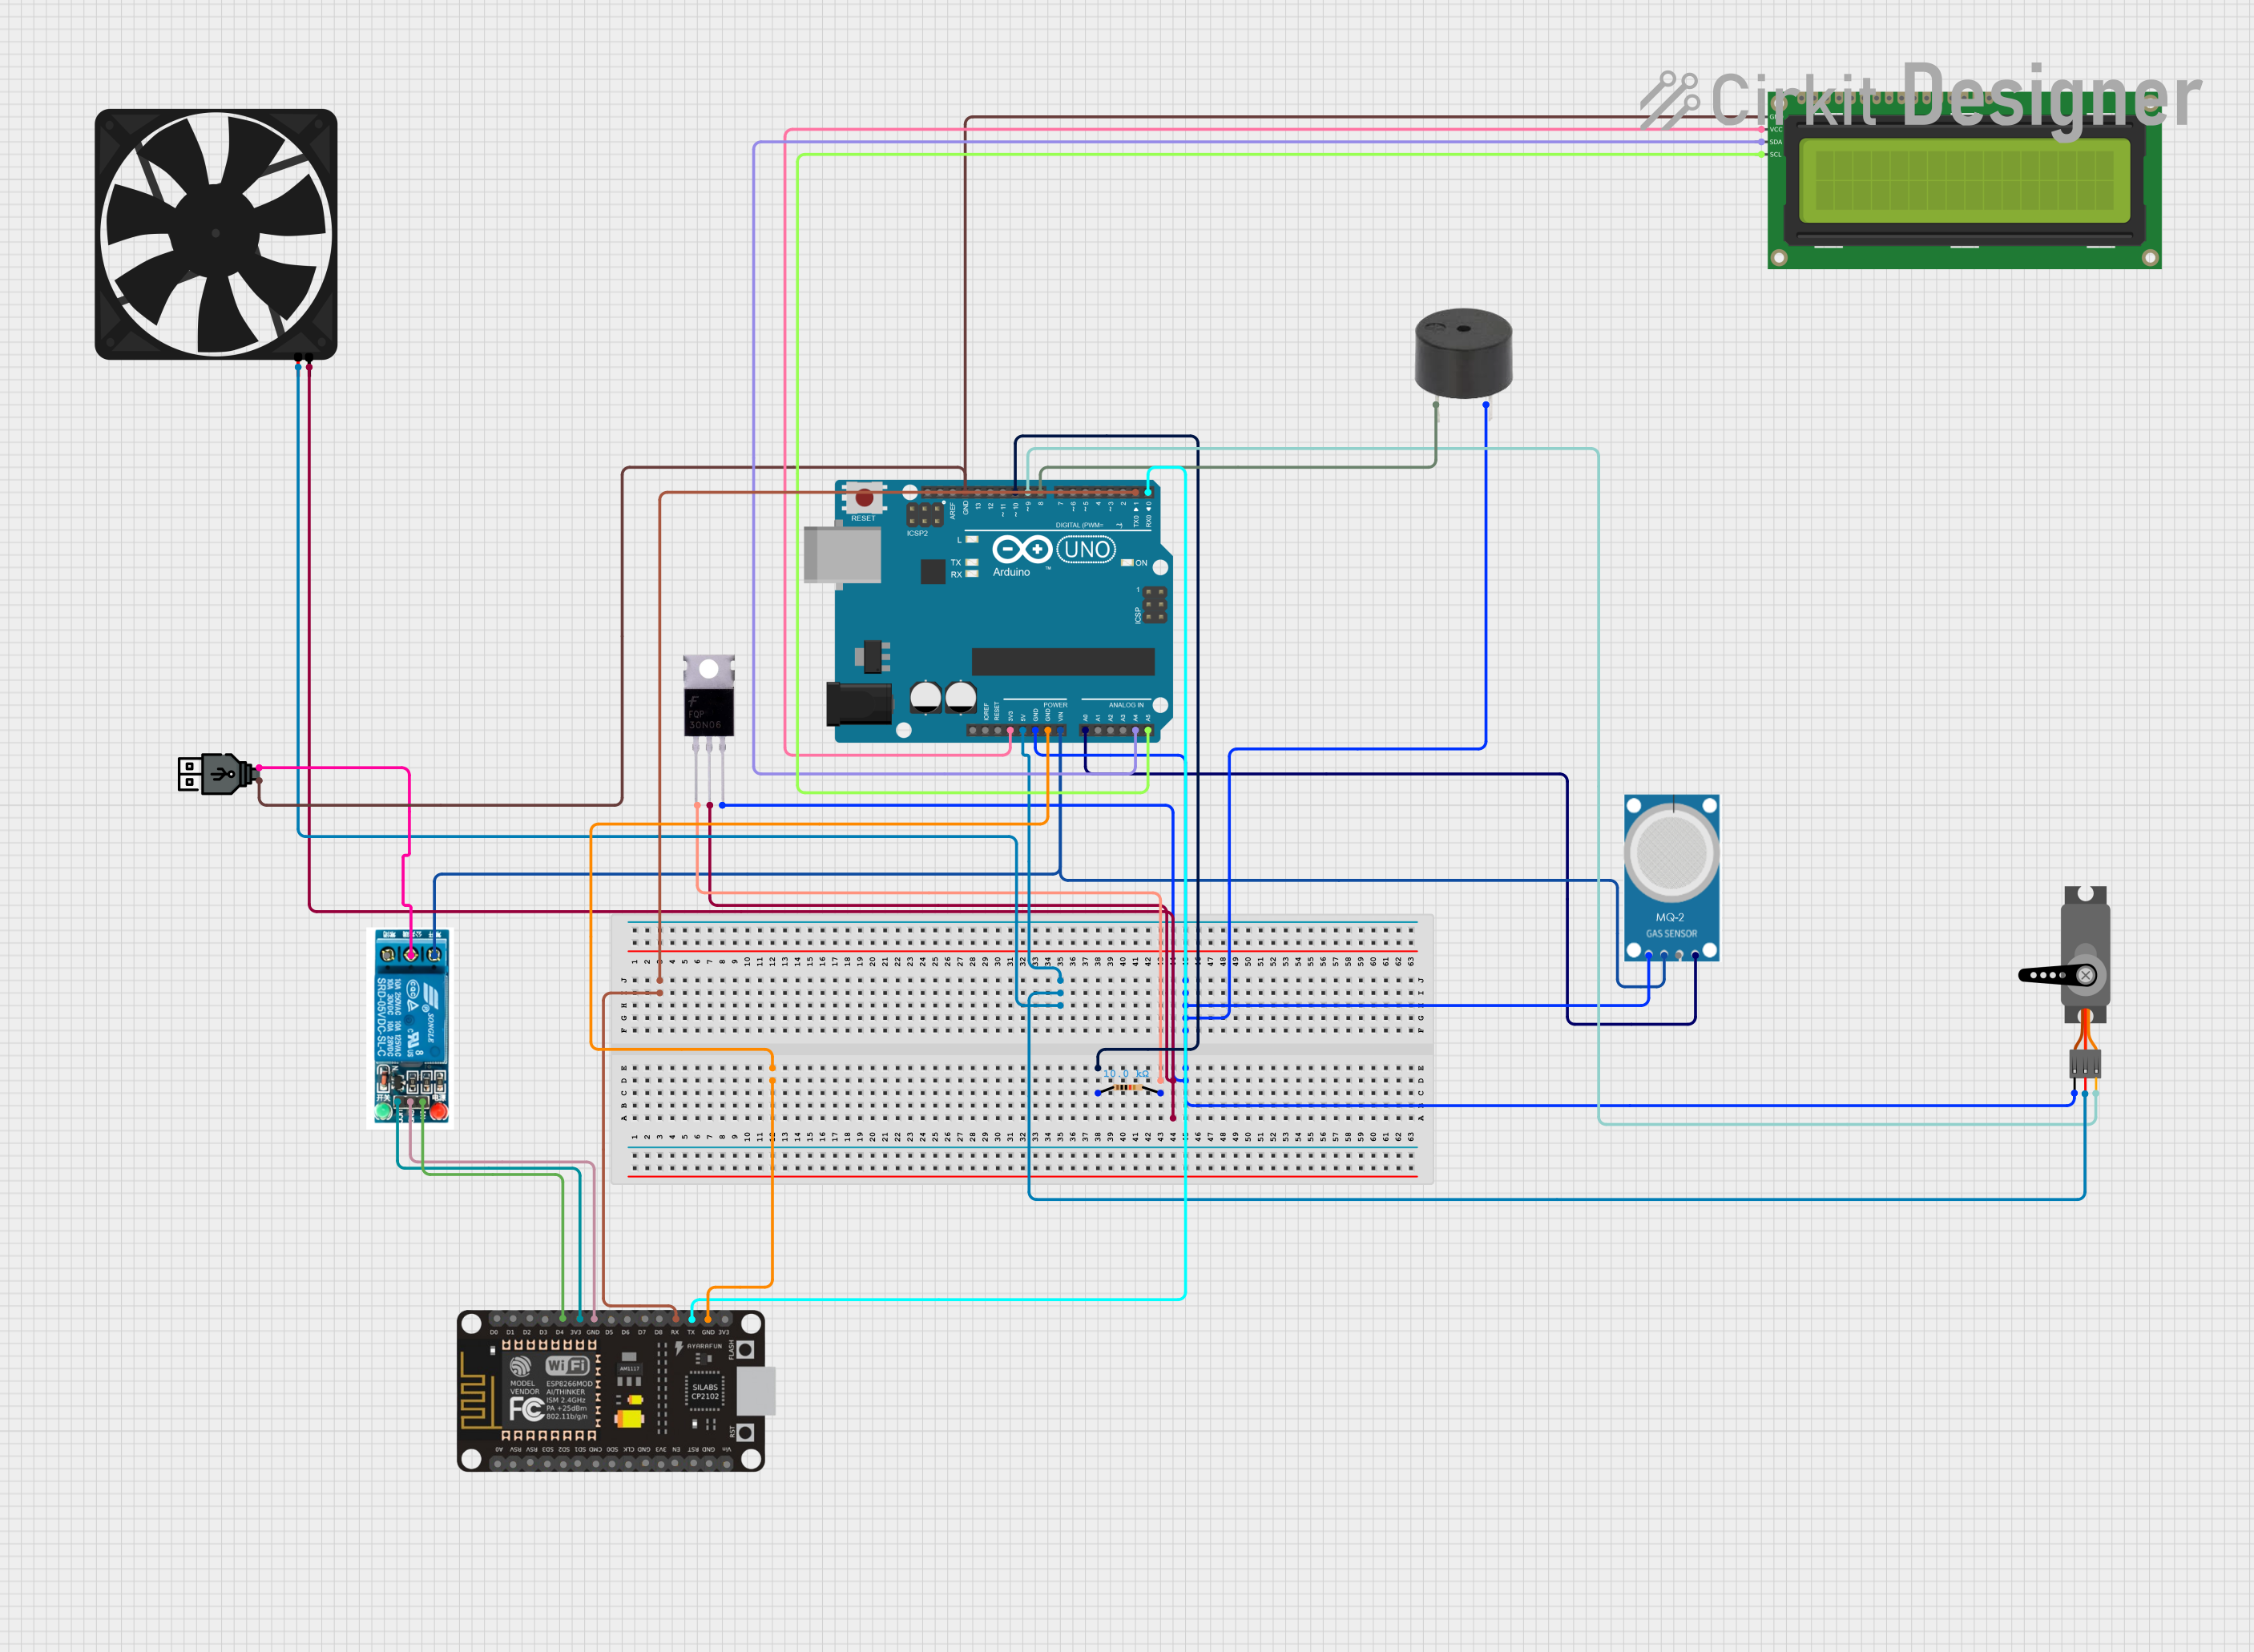 Open Project in Cirkit Designer
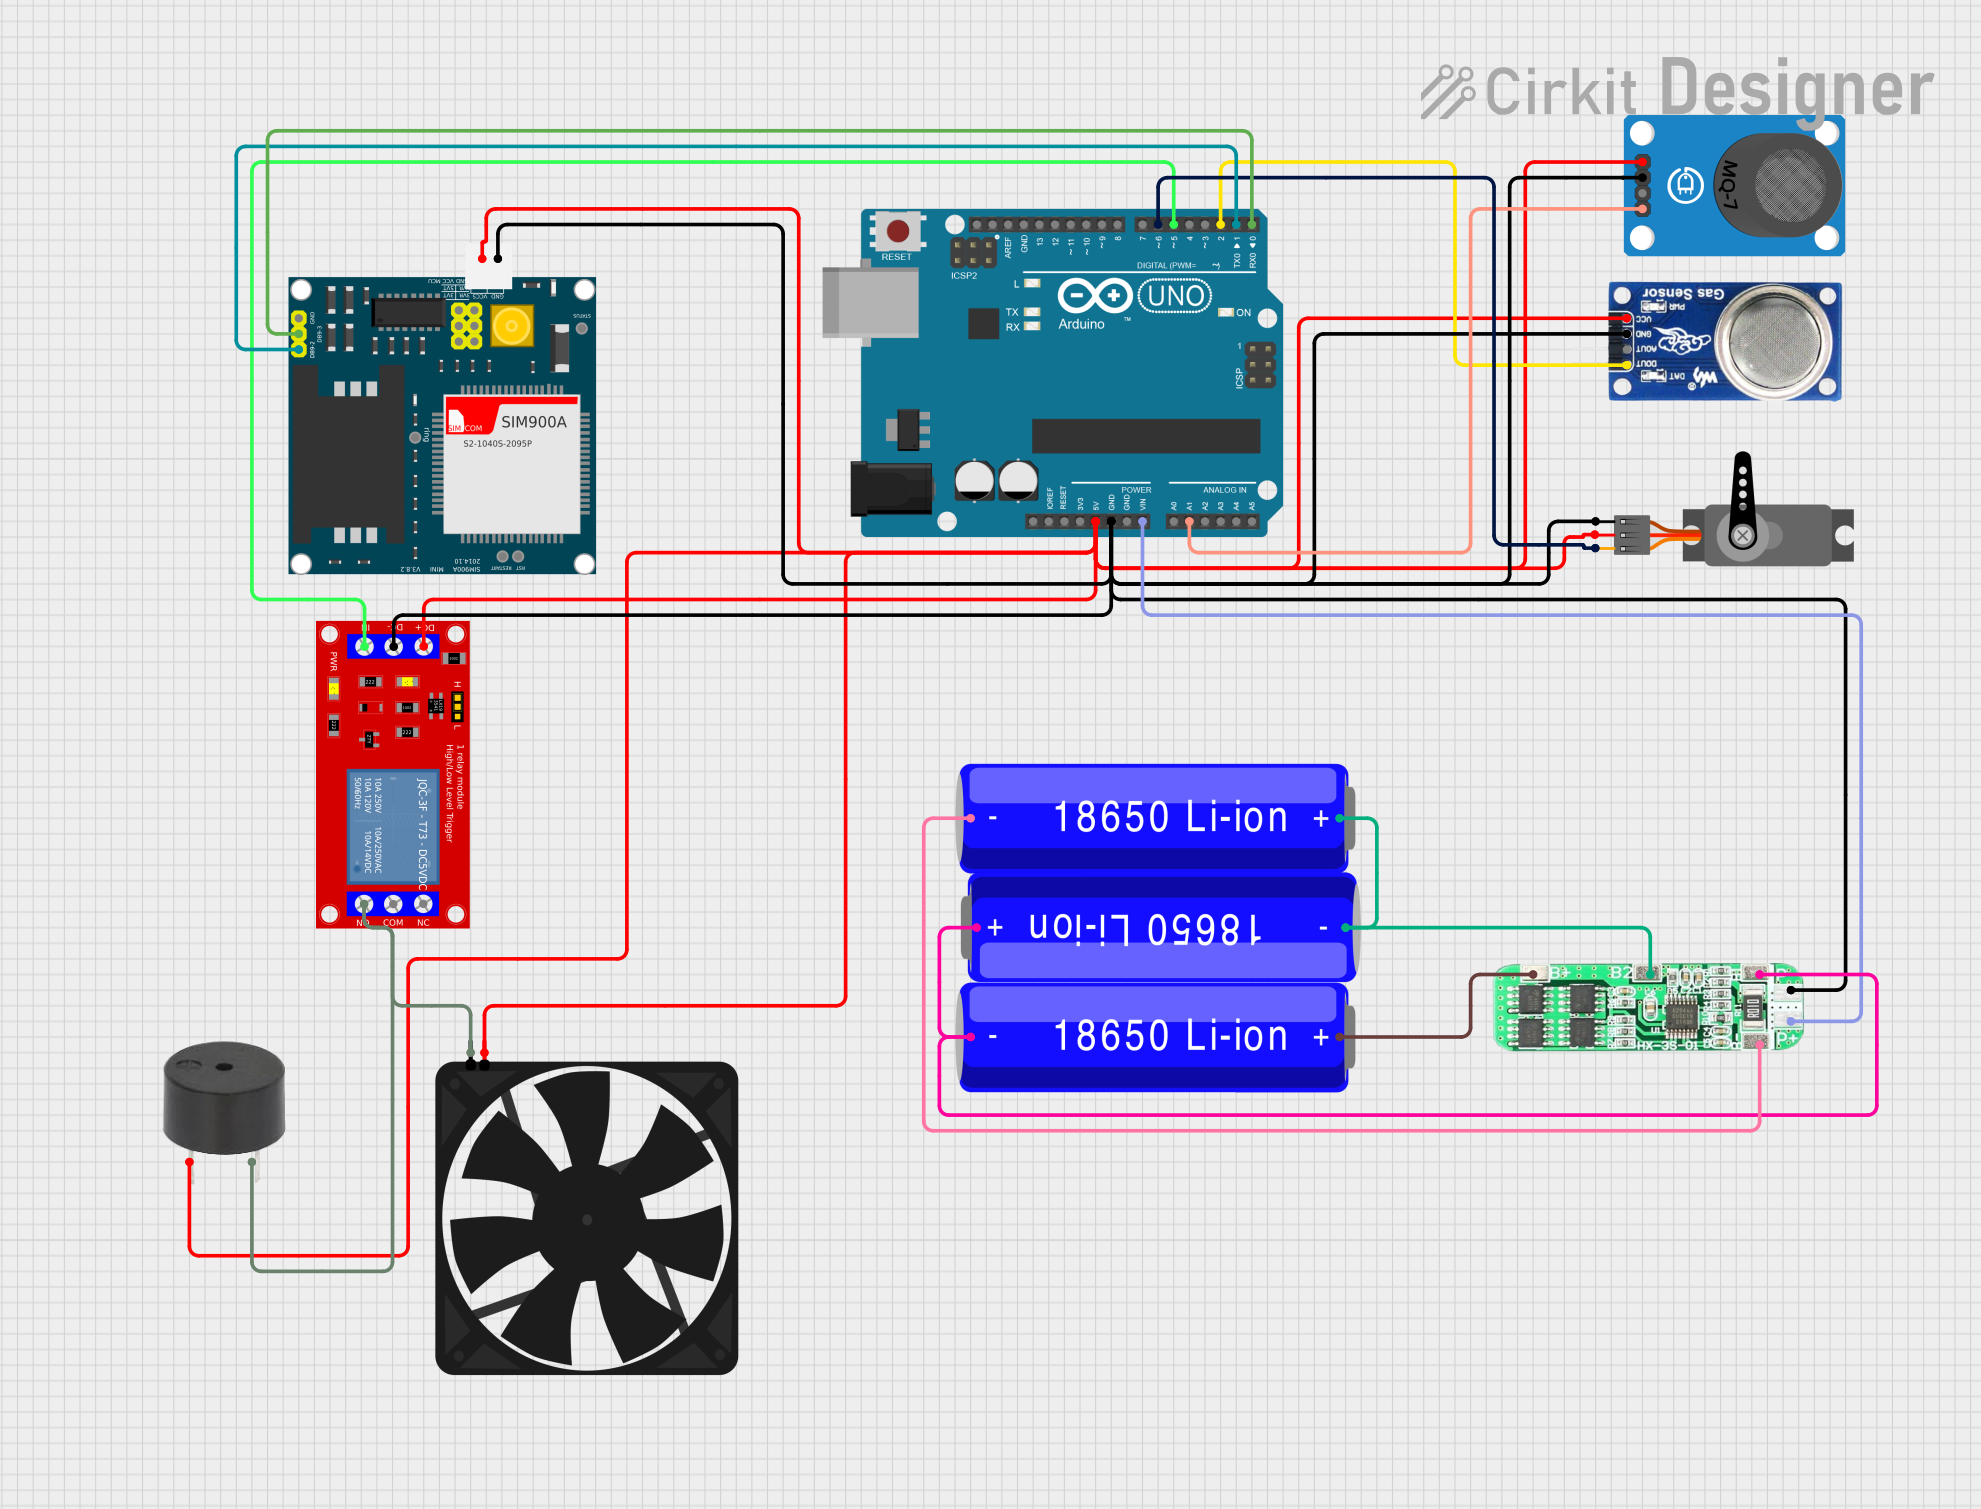 Open Project in Cirkit Designer
Explore Projects Built with RTV LEAK TEST
Open Project in Cirkit DesignerOpen Project in Cirkit DesignerOpen Project in Cirkit DesignerOpen Project in Cirkit DesignerCommon Applications and Use Cases
- Electronics Enclosures: Ensuring that casings are sealed to prevent moisture or dust ingress.
- Automotive Systems: Testing for leaks in fuel tanks, air conditioning systems, or engine components.
- HVAC Systems: Verifying the integrity of ductwork and sealed units.
- Medical Devices: Ensuring airtight seals in critical components like pumps or valves.
- Aerospace: Testing pressurized systems for leaks to maintain safety and performance.
Technical Specifications
The RTV Leak Test does not involve a single electronic component but rather a process that may include various tools and equipment. Below are the key technical details and considerations for the RTV sealant and testing process:
RTV Sealant Specifications
| Property | Specification |
|---|---|
| Curing Time | 24-48 hours (varies by product and environmental conditions) |
| Operating Temperature | -60°C to 200°C (typical range for most RTV silicone sealants) |
| Adhesion | Excellent adhesion to metals, plastics, ceramics, and glass |
| Elasticity | High flexibility to accommodate thermal expansion and contraction |
| Chemical Resistance | Resistant to water, oils, and many chemicals |
Leak Testing Equipment Specifications
| Equipment | Specification |
|---|---|
| Pressure Range | 0-100 psi (varies depending on the system being tested) |
| Detection Method | Pressure decay, vacuum testing, or bubble testing |
| Accuracy | ±0.1 psi (typical for pressure sensors used in leak testing) |
| Sealant Application | Manual or automated dispensing systems |
Usage Instructions
How to Use the RTV Leak Test in a Circuit or System
Prepare the Surface:
- Clean the surface to remove any dirt, grease, or debris.
- Ensure the surface is dry before applying the RTV sealant.
Apply RTV Sealant:
- Dispense the RTV silicone sealant evenly along the joint or seam to be sealed.
- Use a smooth, continuous motion to avoid gaps or bubbles in the sealant.
Allow Curing:
- Let the sealant cure for the recommended time (typically 24-48 hours).
- Avoid disturbing the seal during the curing process.
Perform the Leak Test:
- Pressure Decay Test: Pressurize the system and monitor for pressure drops over time.
- Vacuum Test: Create a vacuum in the system and check for loss of vacuum.
- Bubble Test: Apply a soapy water solution to the sealed area and look for bubbles indicating leaks.
Inspect the Results:
- If leaks are detected, reapply the RTV sealant and repeat the test.
- Ensure the system is completely sealed before putting it into operation.
Important Considerations and Best Practices
- Sealant Selection: Choose an RTV sealant compatible with the materials and operating conditions of your system.
- Application Environment: Apply the sealant in a clean, dry, and well-ventilated area.
- Testing Pressure: Do not exceed the maximum pressure rating of the system during testing.
- Safety Precautions: Wear gloves and safety goggles when handling RTV sealants and testing equipment.
Example: Using an Arduino UNO for Leak Detection
An Arduino UNO can be used to monitor pressure sensors during a leak test. Below is an example code snippet for reading pressure data:
// Include necessary libraries
#include <Wire.h>
#include <Adafruit_Sensor.h>
#include <Adafruit_BMP280.h>

// Create an instance of the BMP280 pressure sensor
Adafruit_BMP280 bmp;

// Setup function to initialize the sensor
void setup() {
  Serial.begin(9600); // Start serial communication at 9600 baud
  if (!bmp.begin(0x76)) { // Initialize BMP280 sensor at I2C address 0x76
    Serial.println("Could not find a valid BMP280 sensor, check wiring!");
    while (1); // Halt execution if sensor initialization fails
  }
  Serial.println("BMP280 initialized successfully.");
}

// Loop function to continuously read and display pressure data
void loop() {
  float pressure = bmp.readPressure(); // Read pressure in Pascals
  Serial.print("Pressure: ");
  Serial.print(pressure / 100.0); // Convert to hPa for readability
  Serial.println(" hPa");

  delay(1000); // Wait 1 second before the next reading
}
Troubleshooting and FAQs
Common Issues and Solutions
Sealant Does Not Cure:
- Cause: High humidity or incorrect sealant type.
- Solution: Ensure proper environmental conditions and use the correct RTV sealant.
Leaks Detected After Testing:
- Cause: Incomplete or uneven application of sealant.
- Solution: Reapply the sealant, ensuring a continuous and even layer.
Pressure Sensor Readings Are Inaccurate:
- Cause: Faulty sensor or incorrect wiring.
- Solution: Verify sensor connections and replace the sensor if necessary.
Bubbles Form During Bubble Test:
- Cause: Poor adhesion or gaps in the sealant.
- Solution: Clean the surface and reapply the sealant.
FAQs
Q: Can RTV sealant be removed after curing?
- A: Yes, cured RTV sealant can be removed using a scraper or specialized RTV remover.
Q: How long does the RTV Leak Test take?
- A: The test duration depends on the curing time of the sealant and the testing method, typically 24-48 hours.
Q: Is RTV sealant safe for electronics?
- A: Yes, RTV sealants are commonly used in electronics, but ensure the sealant is non-corrosive and safe for your application.
Q: Can I use an alternative to RTV sealant for leak testing?
- A: Alternatives like epoxy or polyurethane sealants may be used, but RTV is preferred for its flexibility and ease of use.