How to Use ArcBtnR: Examples, Pinouts, and Specs

Introduction
The ArcBtnR is an advanced Arc Fault Circuit Interrupter (AFCI) designed to enhance electrical safety in residential and commercial environments. This specialized circuit breaker is engineered to detect a wide range of arc faults caused by damaged wires, cords, or faulty electrical devices. Upon detection of an arc fault, the ArcBtnR interrupts the power supply to the affected circuit, thereby mitigating the risk of electrical fires.
Explore Projects Built with ArcBtnR
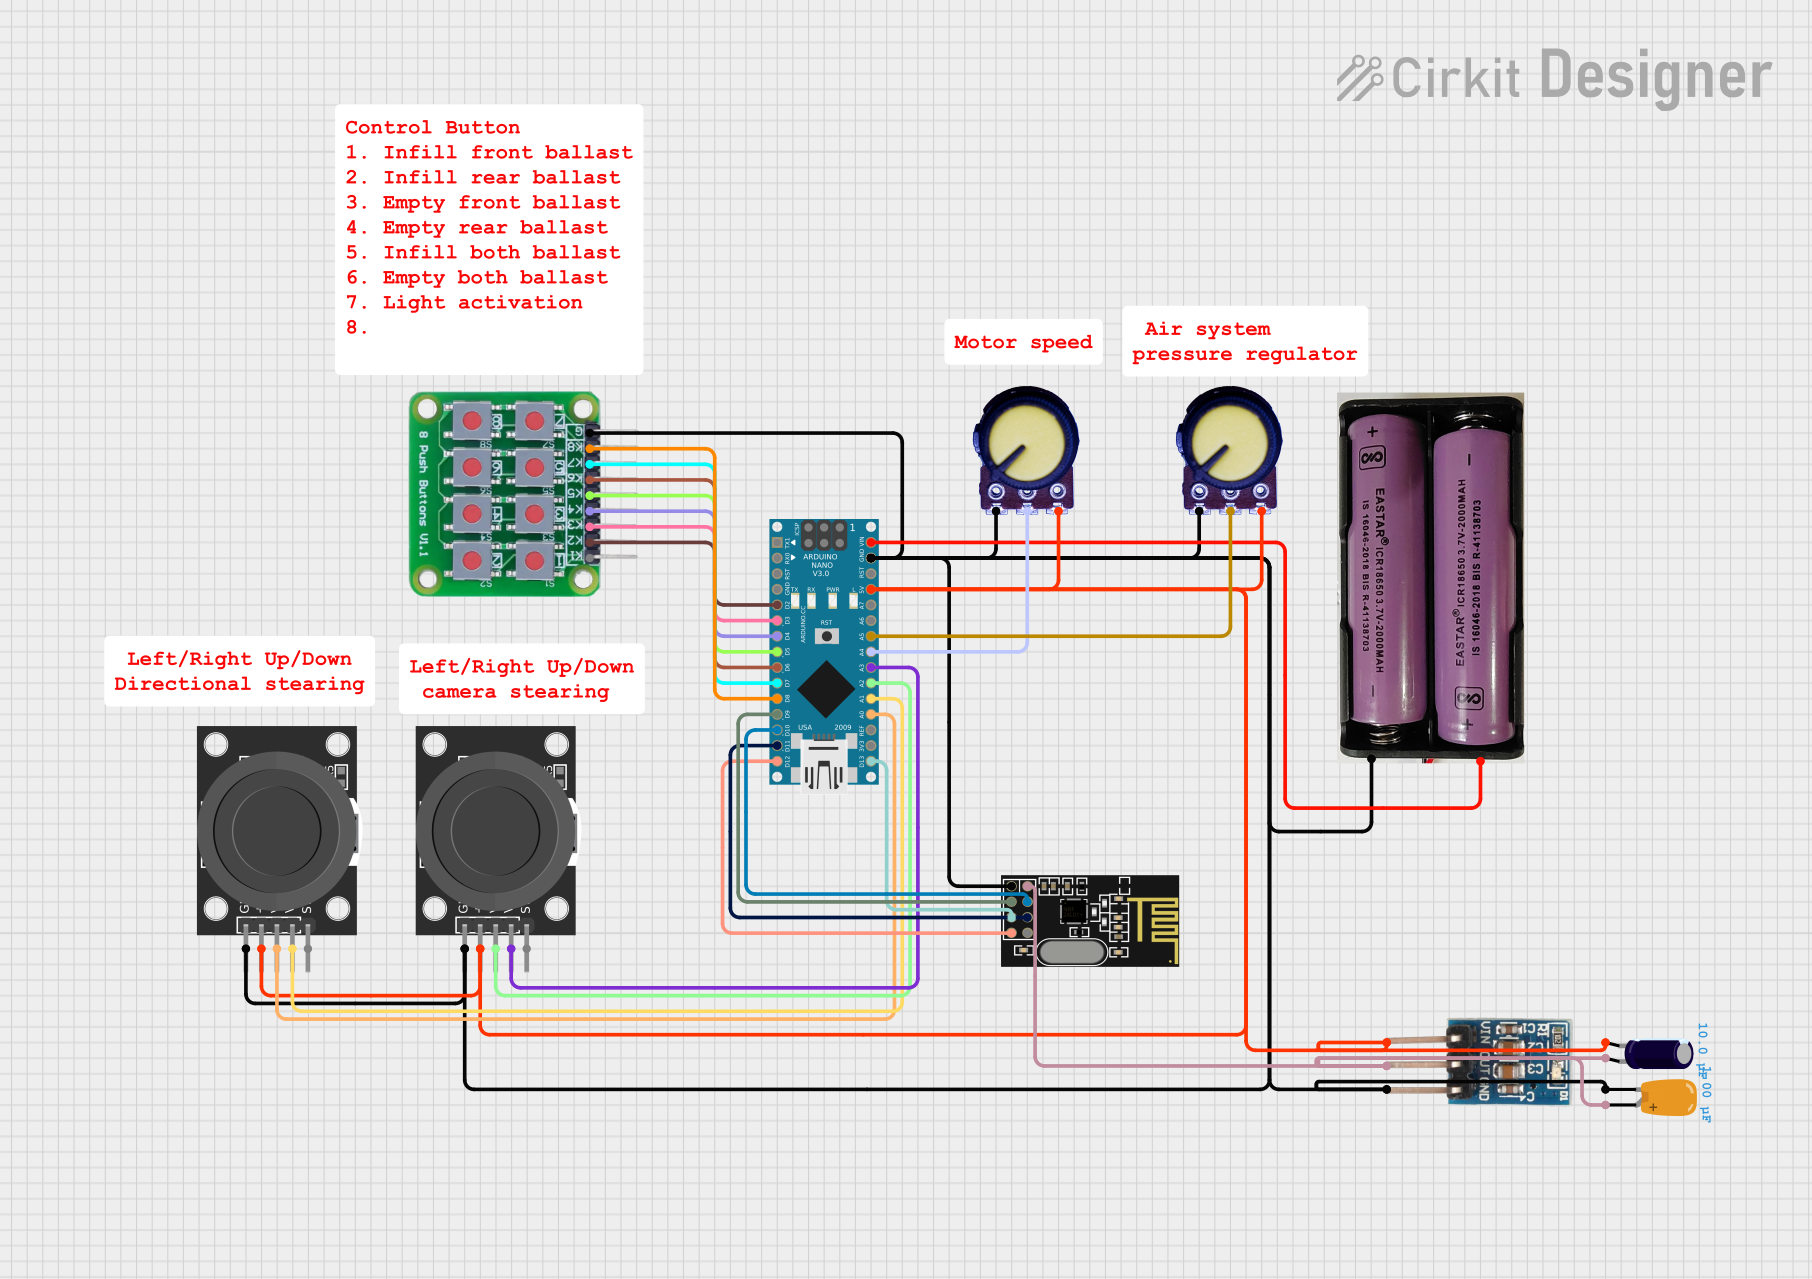
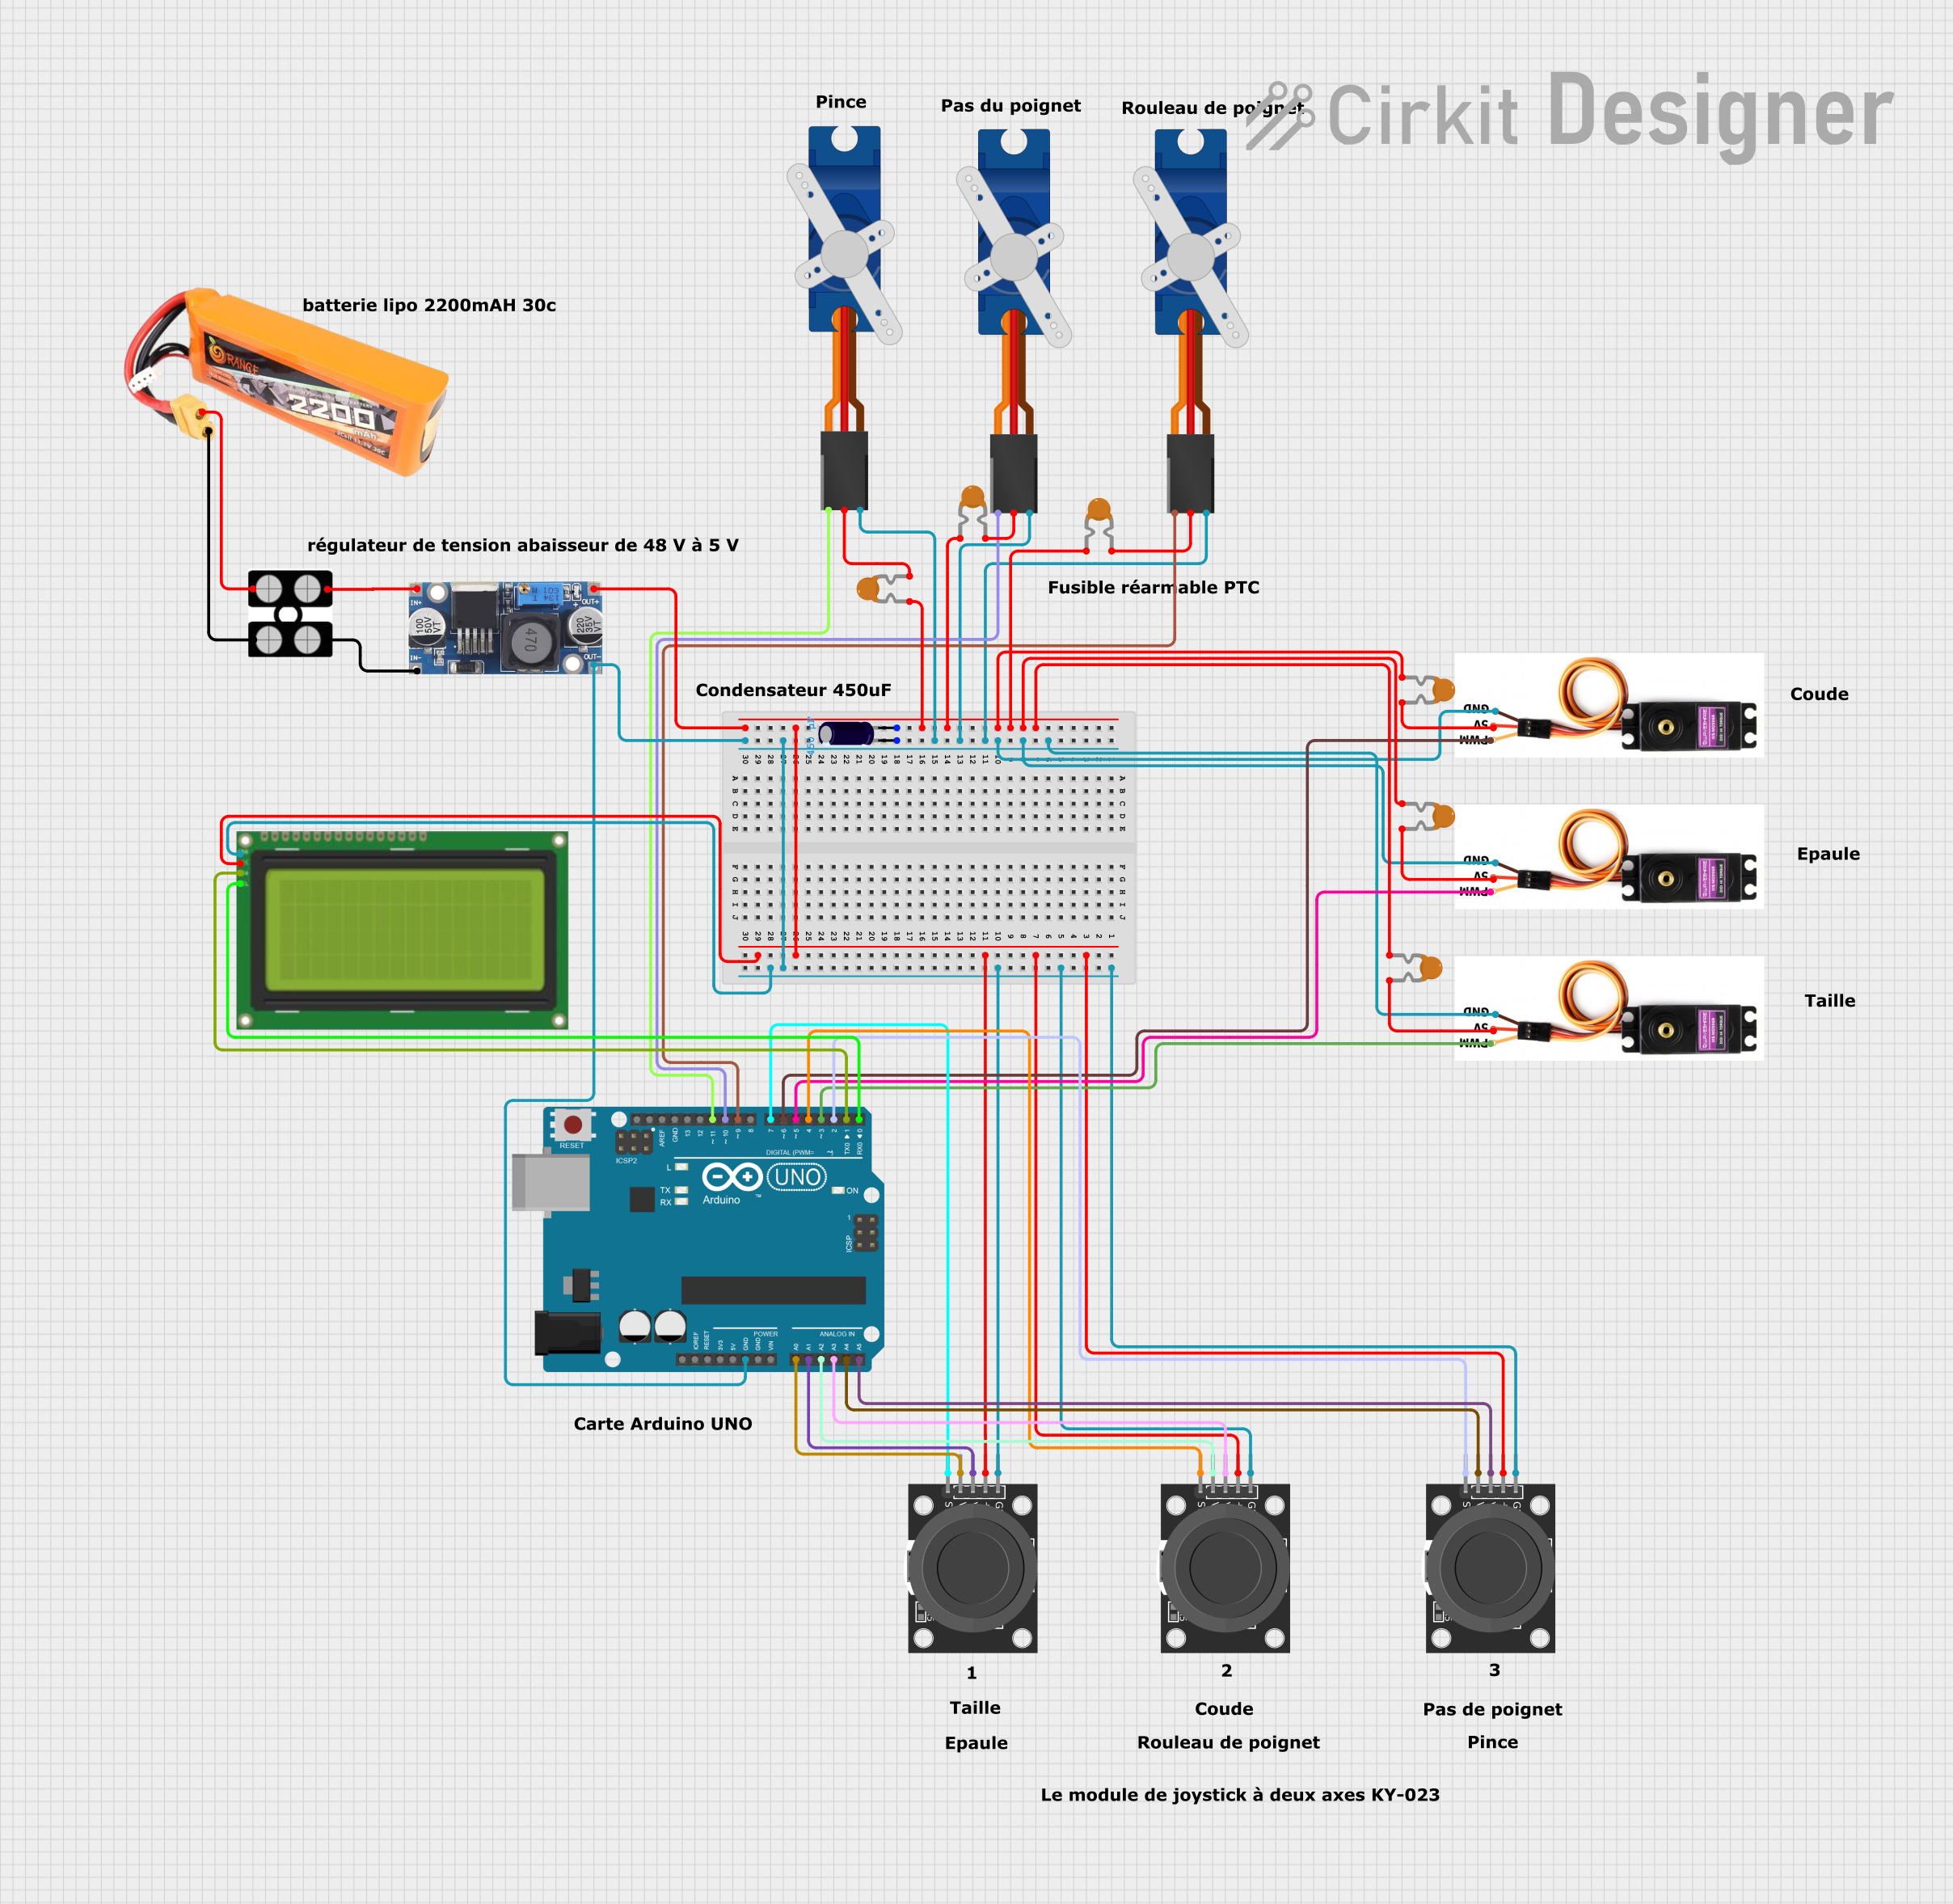


Explore Projects Built with ArcBtnR
Common Applications and Use Cases
- Residential electrical panels to protect indoor wiring
- Commercial buildings for safeguarding office equipment and lighting circuits
- Renovation projects to upgrade existing electrical systems to current safety standards
- Electrical outlets and extension systems prone to wear and tear
Technical Specifications
Key Technical Details
| Specification | Value | Description |
|---|---|---|
| Rated Voltage | 120/240V AC | Compatible with standard residential power supply |
| Rated Current | 20A | Maximum current capacity |
| Interrupting Rating | 10 kAIC | Maximum breaking capacity |
| Frequency | 60 Hz | Operating frequency |
| Wire Size | #14-#8 AWG | Compatible wire gauge for connections |
Pin Configuration and Descriptions
The ArcBtnR is designed to fit into a standard electrical panel and does not have a pin configuration in the traditional sense. Instead, it connects to the panel and the circuit wiring. Below is a description of the connection points:
| Connection Point | Description |
|---|---|
| Line Terminal | Connects to the incoming power supply line |
| Load Terminal | Connects to the outgoing circuit line |
| Neutral Terminal | Connects to the neutral bar in the panel |
| Panel Mount | Secures the breaker to the electrical panel |
Usage Instructions
How to Use the Component in a Circuit
- Power Off: Ensure that the main power supply to the electrical panel is turned off before installation.
- Installation: Mount the ArcBtnR in the designated slot on the electrical panel.
- Wiring: Connect the incoming power supply line to the line terminal and the outgoing circuit line to the load terminal. Attach the neutral wire from the circuit to the neutral terminal on the breaker.
- Testing: Once installed, turn on the main power and use the test button on the ArcBtnR to verify proper operation.
Important Considerations and Best Practices
- Always follow local electrical codes and standards during installation.
- Use the correct wire gauge to ensure a secure and safe connection.
- Periodically test the AFCI breaker using the built-in test button to ensure functionality.
- Label the breaker clearly to identify the protected circuit.
Troubleshooting and FAQs
Common Issues
- Breaker Tripping Frequently: This may indicate persistent arc faults in the circuit or an overly sensitive breaker.
- Breaker Won't Reset: If the breaker does not reset, there may be a continuous fault in the circuit or the breaker itself may be damaged.
Solutions and Tips for Troubleshooting
- Persistent Tripping: Inspect the circuit for damaged wires or faulty devices and repair or replace as necessary.
- Unable to Reset: Disconnect all devices from the circuit and attempt to reset the breaker. If it resets, reconnect devices one at a time to identify the fault source.
FAQs
Q: Can the ArcBtnR be used in older homes? A: Yes, the ArcBtnR can be installed in older homes, but it may require an electrical panel upgrade to accommodate the AFCI breaker.
Q: How often should the ArcBtnR be tested? A: It is recommended to test the AFCI breaker monthly to ensure proper operation.
Q: Is the ArcBtnR compatible with GFCI protection? A: Yes, the ArcBtnR can be used in conjunction with GFCI protection for enhanced safety.
Q: What should I do if the ArcBtnR does not trip during a test? A: If the breaker does not trip when tested, it may be defective and should be replaced.
Please note that the ArcBtnR is not a component commonly connected to an Arduino UNO or similar microcontroller platforms, as it is a high-power device intended for use in electrical distribution panels. Therefore, no Arduino-related code is applicable for this component.