
How to Use Adafruit Metro M4 AirLift Lite: Examples, Pinouts, and Specs
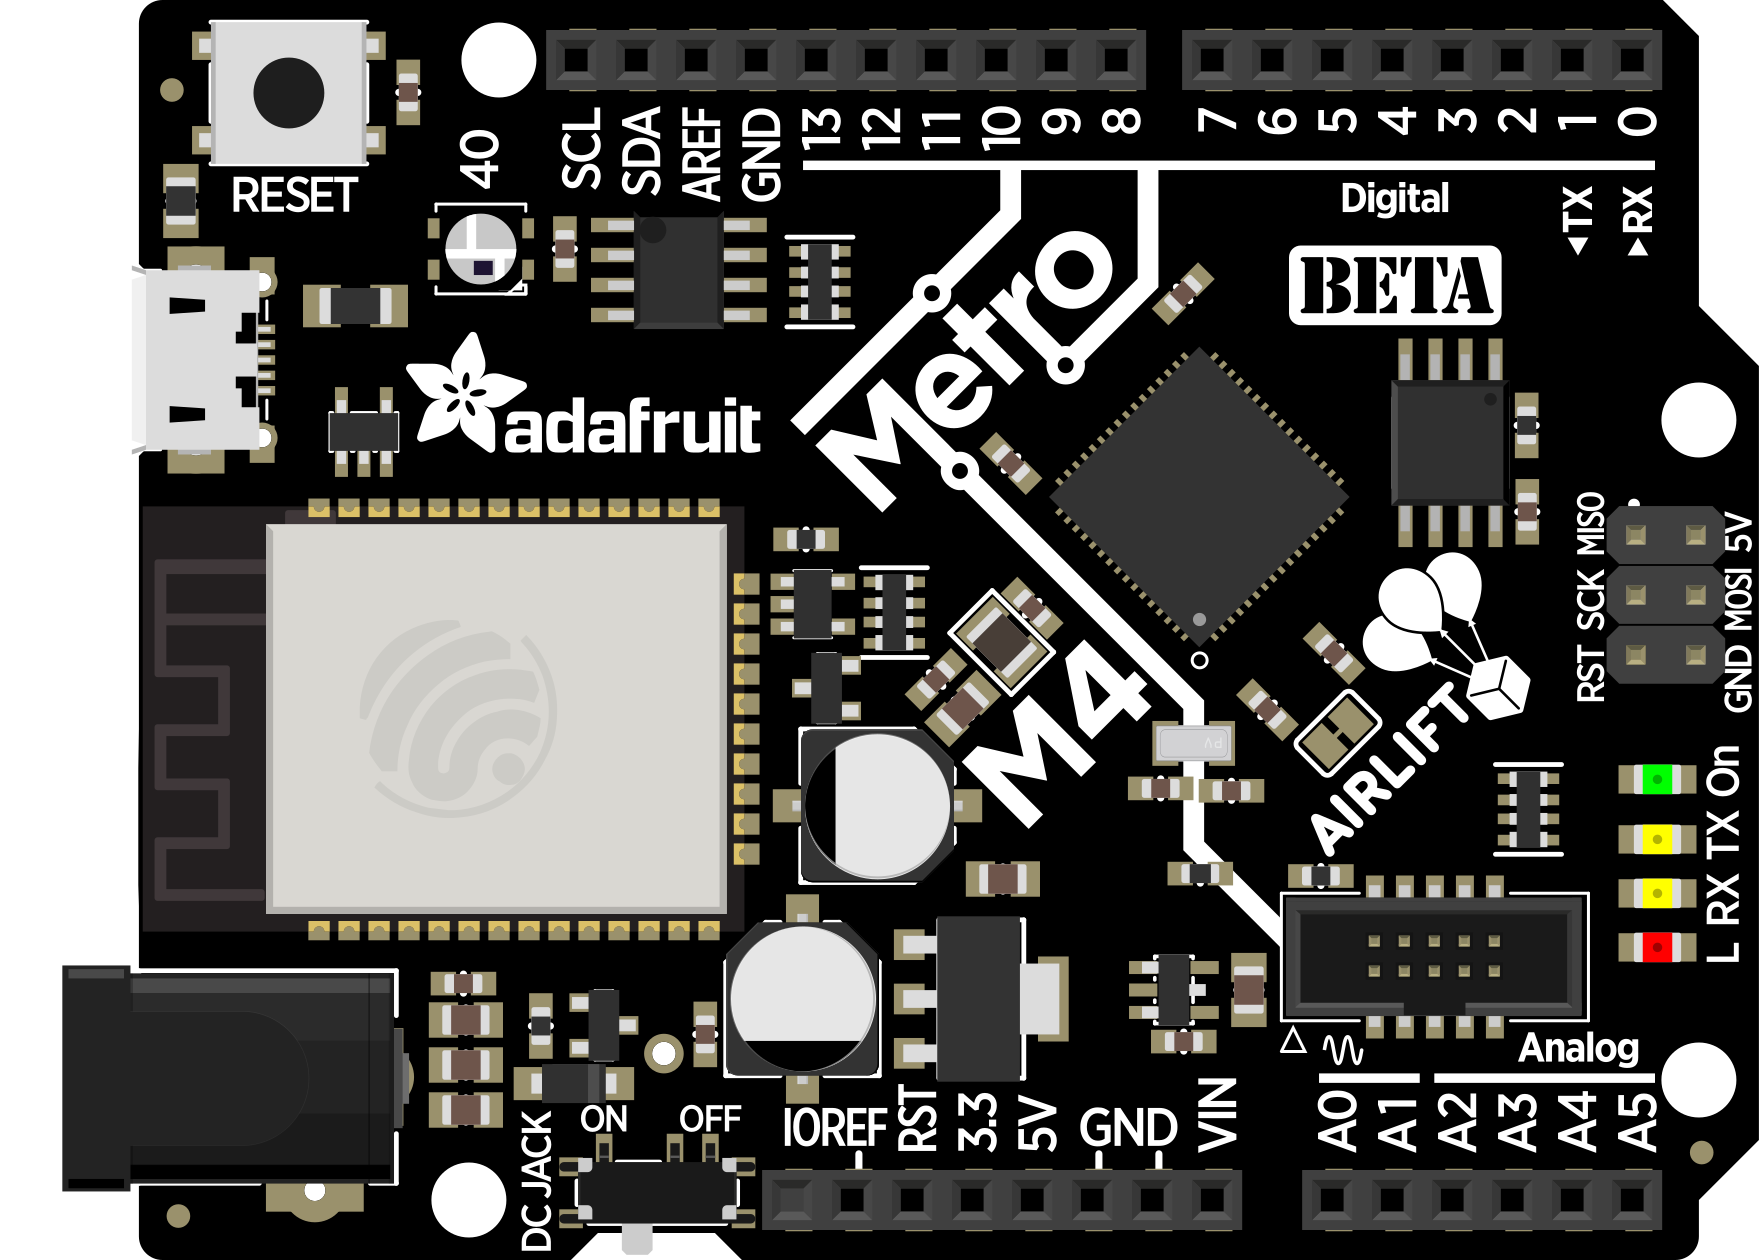
 Design with Adafruit Metro M4 AirLift Lite in Cirkit Designer
Introduction
The Adafruit Metro M4 AirLift Lite (Manufacturer Part ID: 4000) is a powerful microcontroller board designed for IoT projects and prototyping. It is based on the Atmel SAMD51 microcontroller, which features a 32-bit ARM Cortex-M4 core running at 120 MHz. The board includes an integrated AirLift module for Wi-Fi connectivity, making it an excellent choice for applications requiring wireless communication.
Explore Projects Built with Adafruit Metro M4 AirLift Lite
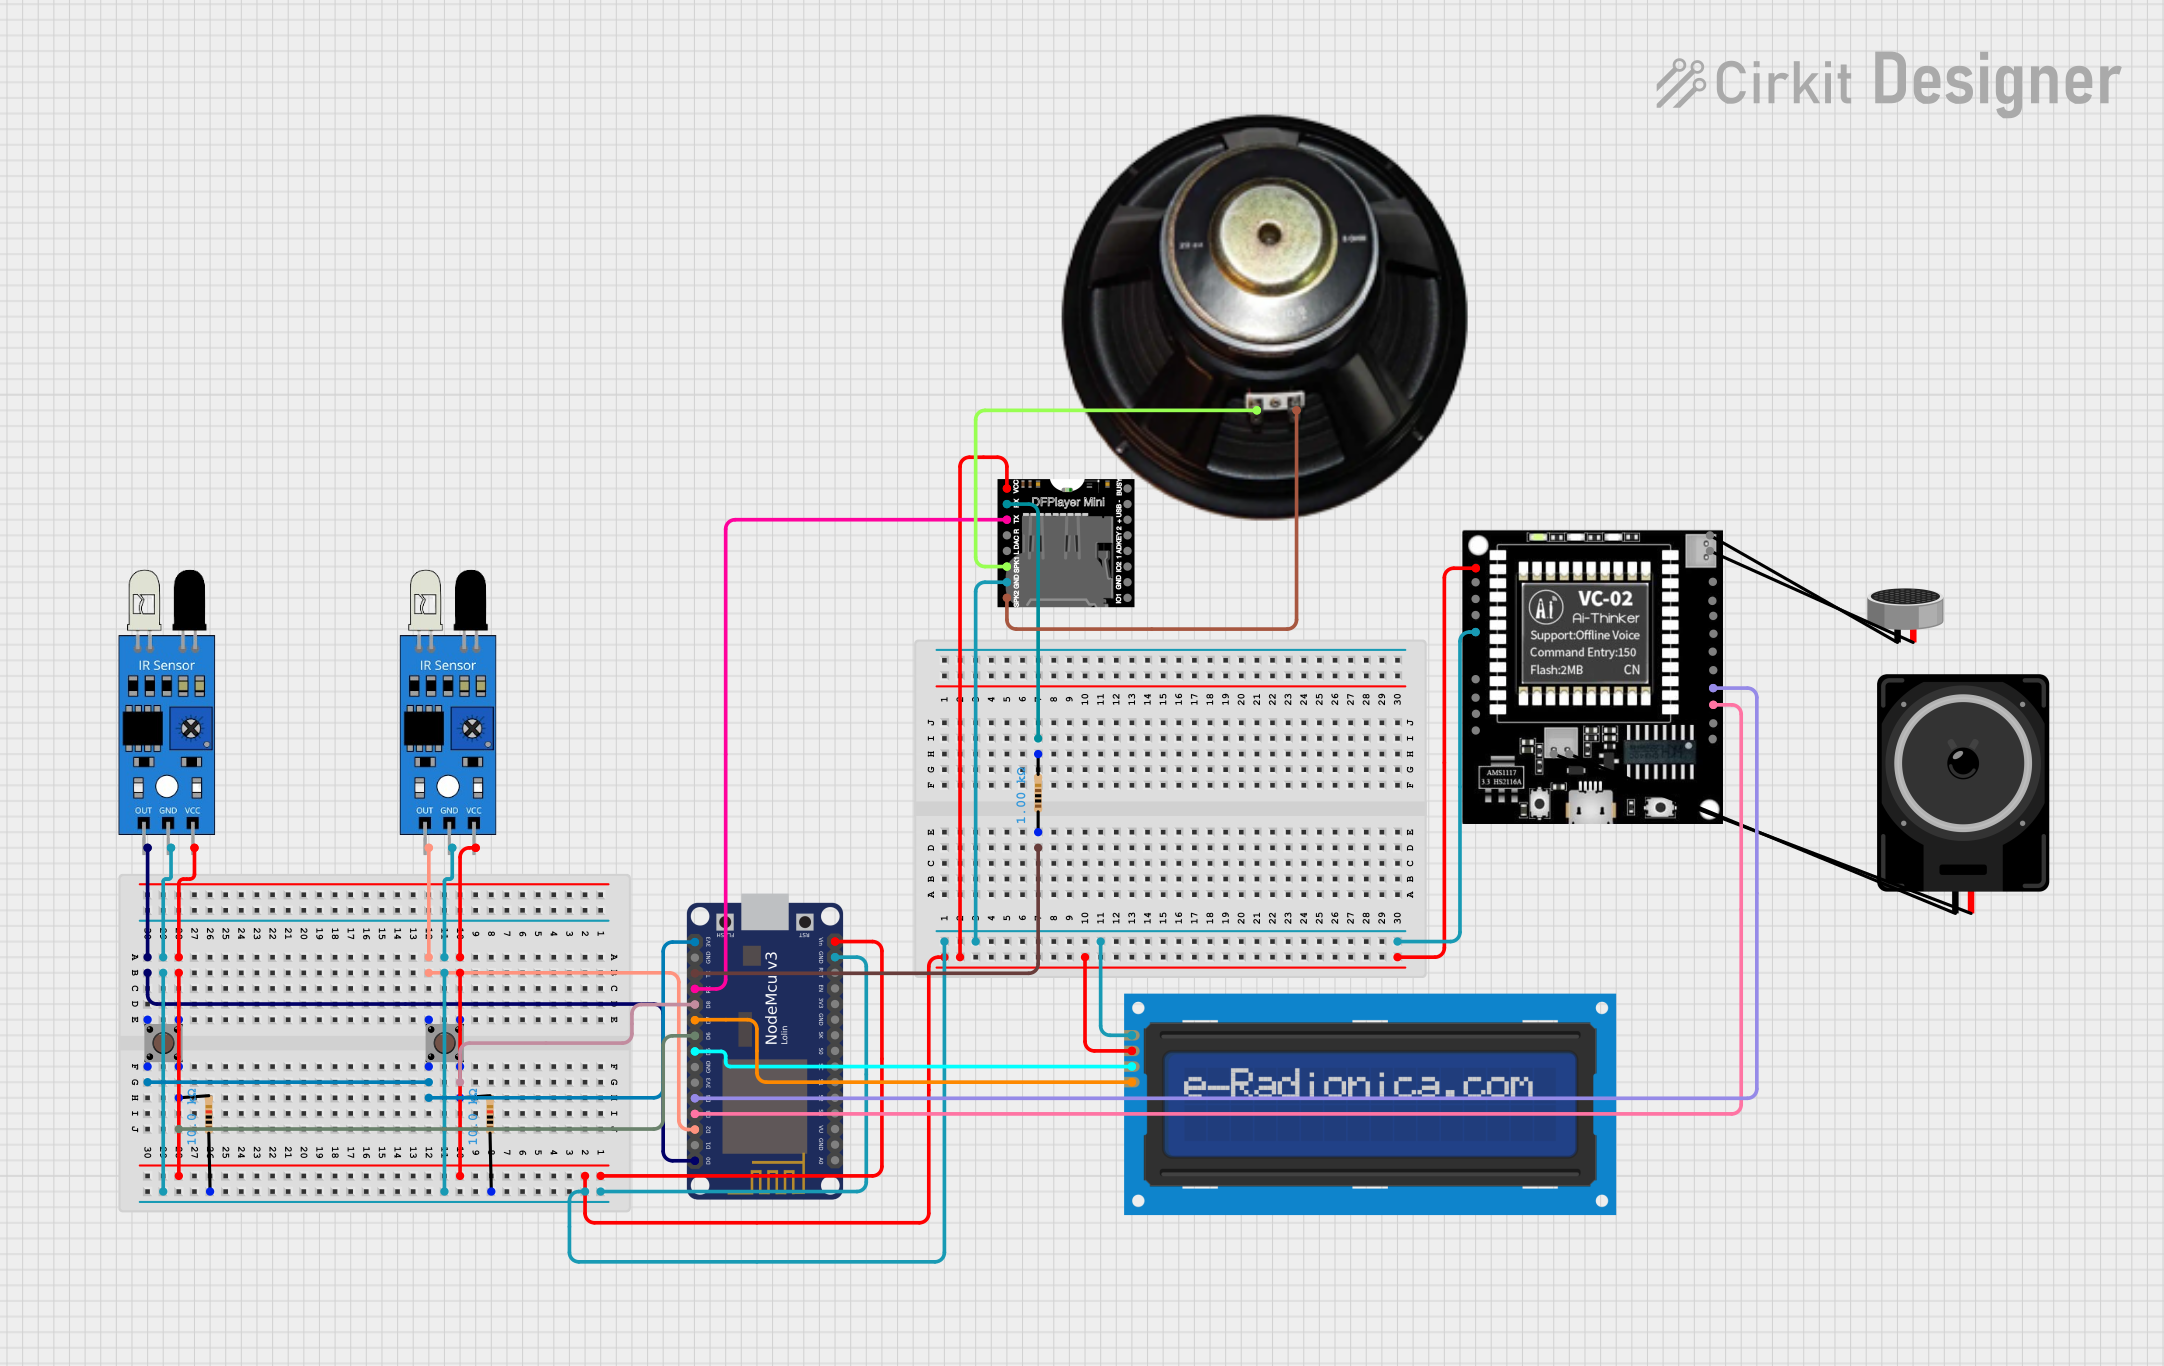 Open Project in Cirkit Designer
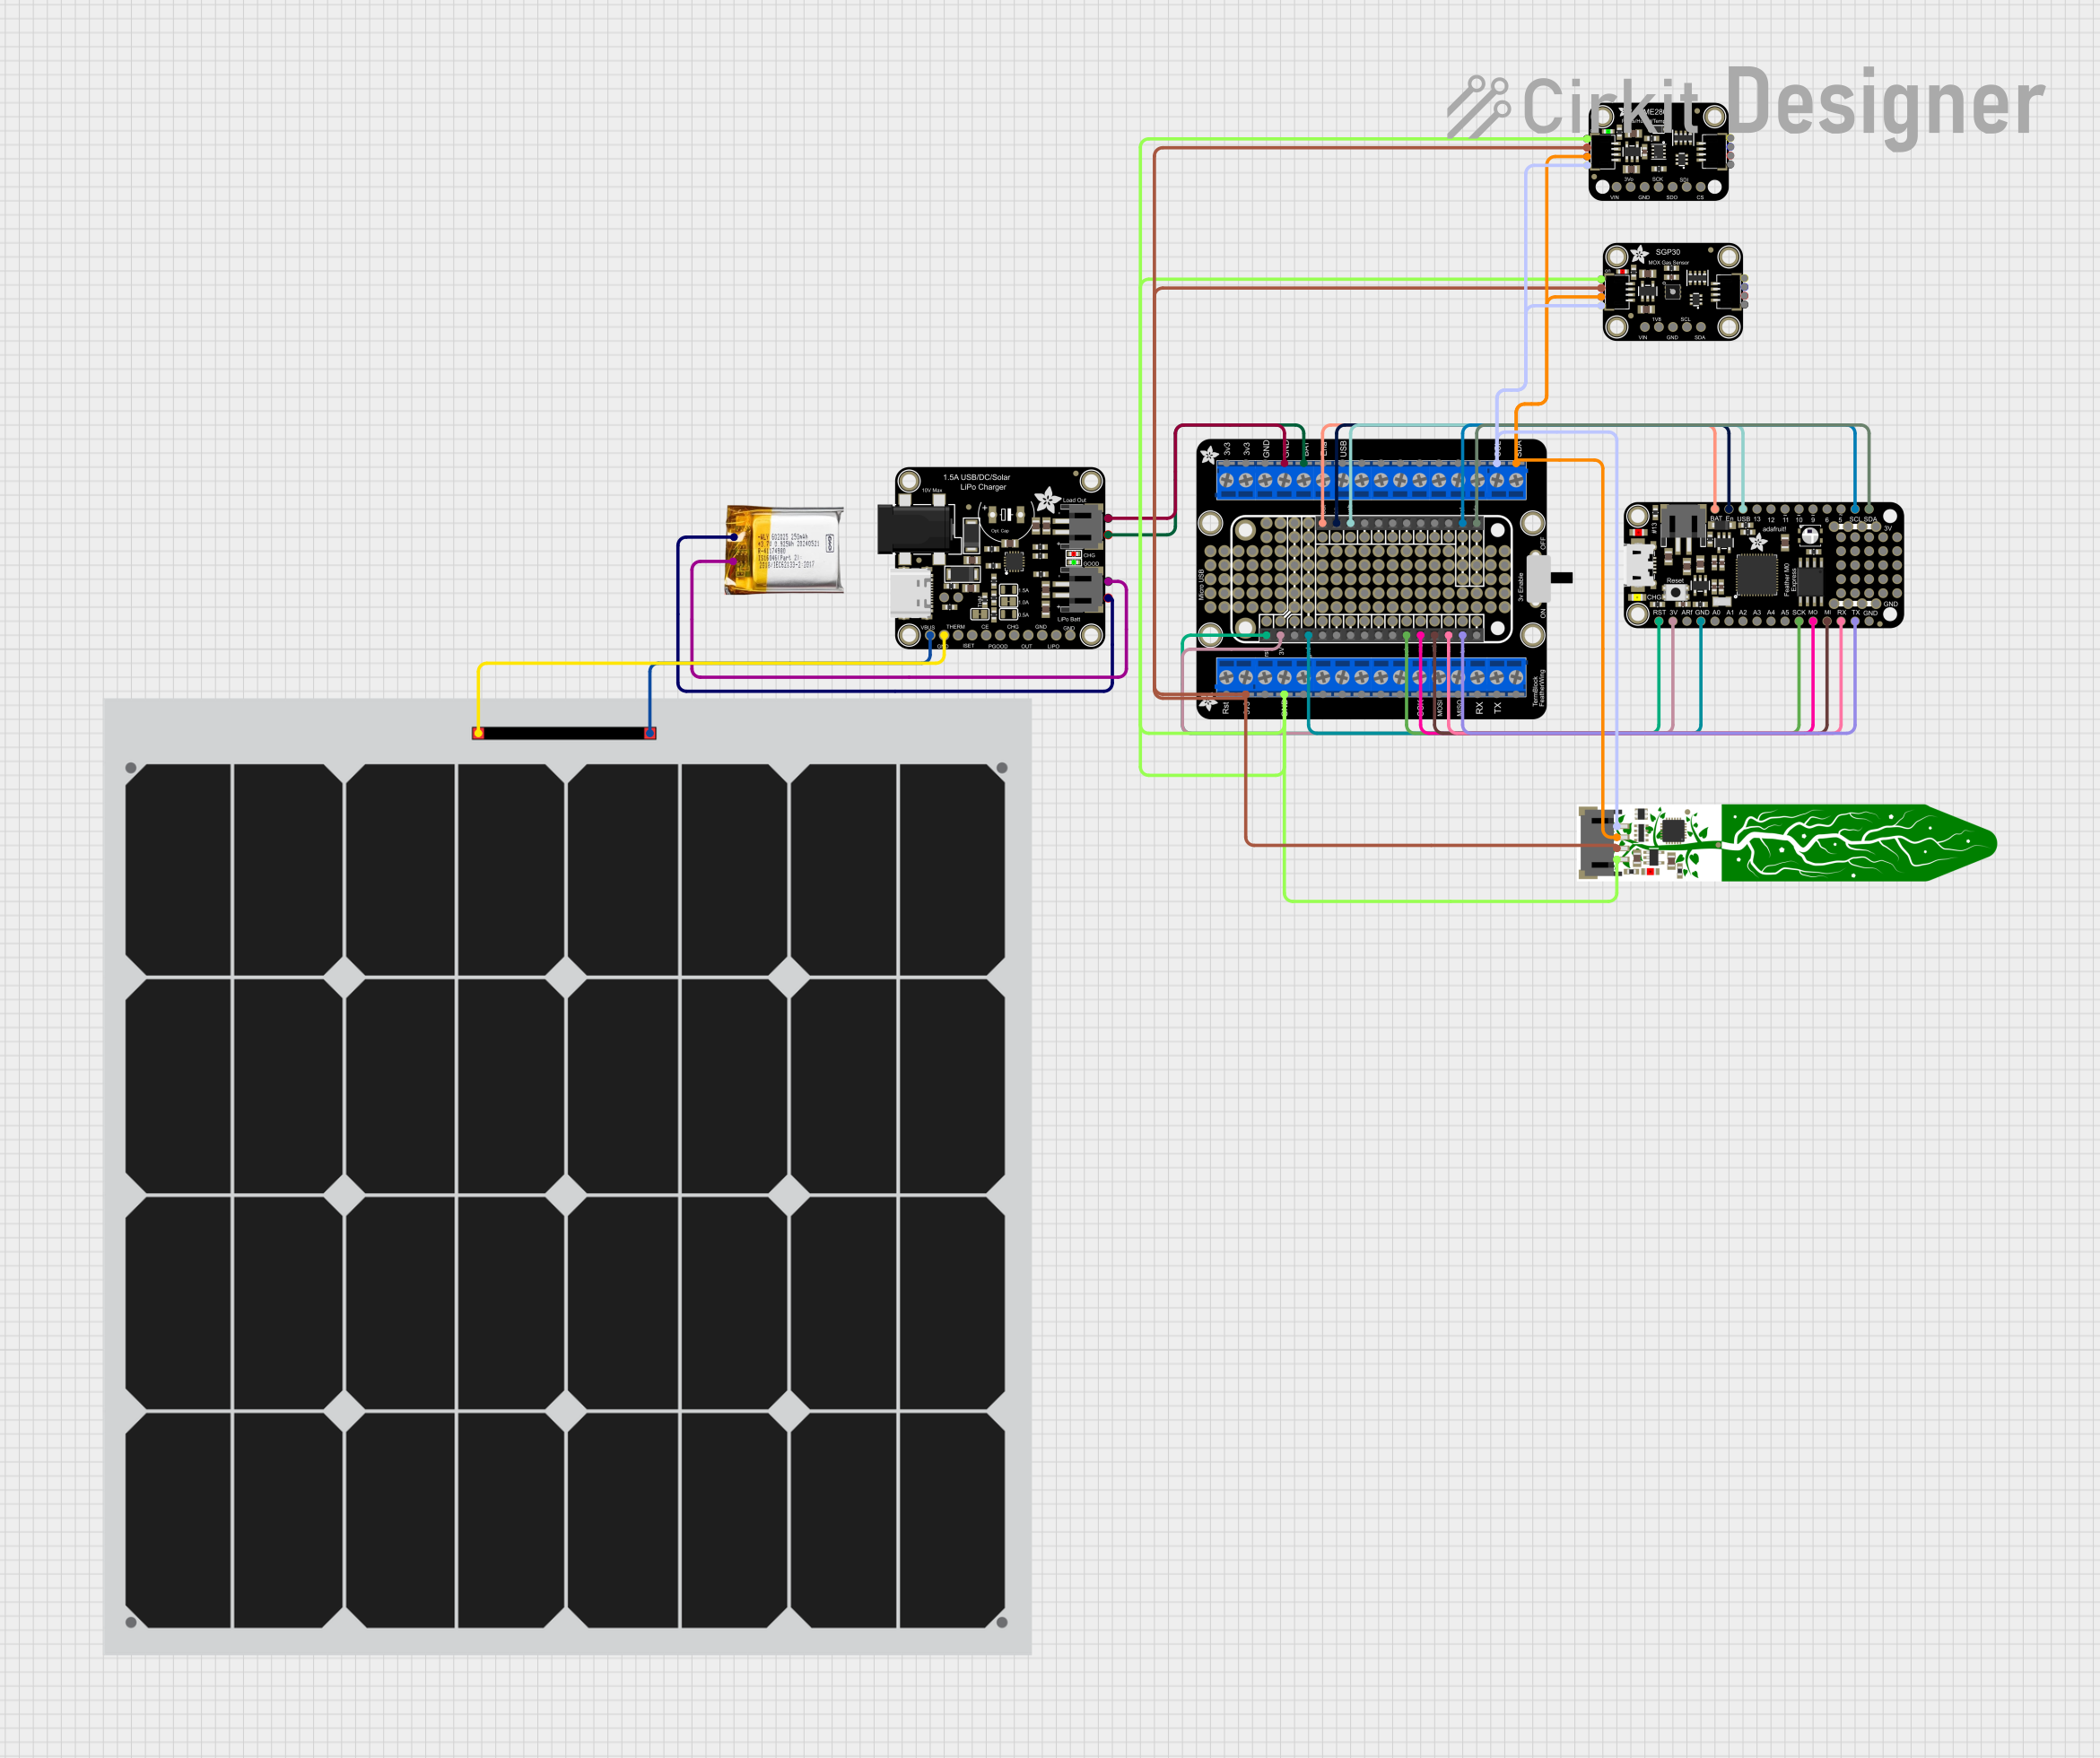 Open Project in Cirkit Designer
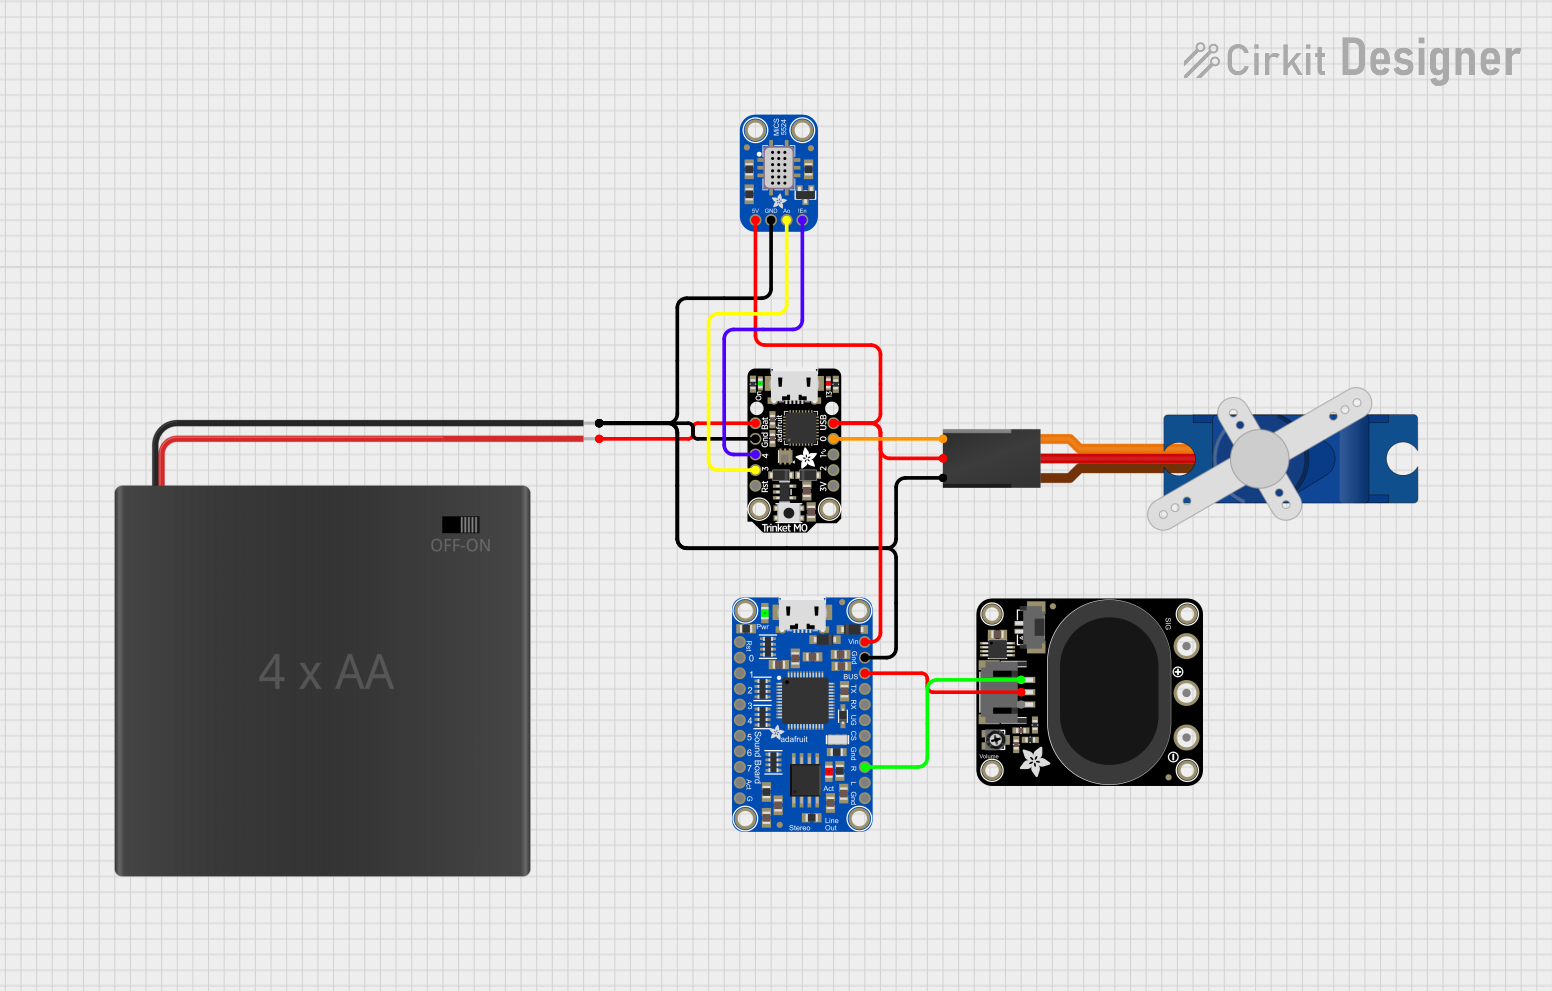 Open Project in Cirkit Designer
 Open Project in Cirkit Designer
Explore Projects Built with Adafruit Metro M4 AirLift Lite
Open Project in Cirkit DesignerOpen Project in Cirkit DesignerOpen Project in Cirkit DesignerOpen Project in Cirkit DesignerCommon Applications and Use Cases
- IoT (Internet of Things) devices and prototypes
- Wireless data logging and monitoring
- Smart home automation systems
- Educational projects and STEM learning
- Web-enabled sensors and actuators
Technical Specifications
Key Technical Details
| Specification | Value |
|---|---|
| Microcontroller | Atmel SAMD51 (ARM Cortex-M4, 32-bit) |
| Clock Speed | 120 MHz |
| Flash Memory | 512 KB |
| SRAM | 192 KB |
| Wi-Fi Module | ESP32-based AirLift module |
| Operating Voltage | 3.3V |
| Input Voltage (via USB) | 5V |
| Input Voltage (via VIN pin) | 6-12V |
| Digital I/O Pins | 25 (with 12 PWM outputs) |
| Analog Input Pins | 6 |
| Analog Output Pins | 1 (DAC) |
| Communication Interfaces | UART, I2C, SPI, CAN, USB-C |
| USB Interface | USB-C (supports programming and power) |
| Dimensions | 71.1 mm x 53.4 mm |
Pin Configuration and Descriptions
| Pin Name | Description |
|---|---|
| VIN | Input voltage pin (6-12V) for powering the board externally. |
| 3.3V | Regulated 3.3V output pin. |
| GND | Ground pin. |
| Digital Pins | 0-13: General-purpose digital I/O pins. |
| Analog Pins | A0-A5: Analog input pins (12-bit ADC). |
| DAC | Analog output pin (10-bit DAC). |
| I2C Pins | SDA (A4), SCL (A5): I2C communication pins. |
| SPI Pins | SCK, MISO, MOSI: SPI communication pins. |
| UART Pins | RX, TX: Serial communication pins. |
| Wi-Fi Control | Pins connected to the AirLift module for Wi-Fi communication. |
| USB-C | USB interface for programming, debugging, and power. |
| Reset (RST) | Resets the microcontroller. |
Usage Instructions
How to Use the Component in a Circuit
Powering the Board:
- Connect the board to your computer via the USB-C port for power and programming.
- Alternatively, supply 6-12V to the VIN pin for external power.
Programming the Board:
- Install the latest version of the Arduino IDE.
- Add the Adafruit SAMD Boards package via the Arduino Board Manager.
- Select "Adafruit Metro M4 AirLift Lite" from the Tools > Board menu.
- Connect the board via USB-C and upload your code.
Wi-Fi Connectivity:
- Use the AirLift module to connect to Wi-Fi networks.
- Install the Adafruit WiFiNINA library in the Arduino IDE for Wi-Fi functionality.
- Refer to the example code below for connecting to a Wi-Fi network.
Example Code: Connecting to Wi-Fi
#include <SPI.h>
#include <WiFiNINA.h>

// Replace with your network credentials
const char* ssid = "YourNetworkSSID";  // Your Wi-Fi network name
const char* password = "YourPassword"; // Your Wi-Fi network password

void setup() {
  Serial.begin(115200); // Initialize serial communication
  while (!Serial);      // Wait for the serial monitor to open

  Serial.println("Connecting to Wi-Fi...");

  // Attempt to connect to Wi-Fi
  if (WiFi.begin(ssid, password) != WL_CONNECTED) {
    Serial.println("Failed to connect to Wi-Fi");
    while (true); // Halt execution if connection fails
  }

  Serial.println("Connected to Wi-Fi!");
  Serial.print("IP Address: ");
  Serial.println(WiFi.localIP()); // Print the assigned IP address
}

void loop() {
  // Add your main code here
}
Important Considerations and Best Practices
- Ensure the board is powered with the correct voltage (3.3V logic level).
- Avoid connecting 5V signals directly to the I/O pins to prevent damage.
- Use the latest version of the Adafruit libraries for compatibility.
- When using the AirLift module, ensure no conflicting pins are used in your circuit.
- For stable Wi-Fi performance, ensure a strong and reliable network signal.
Troubleshooting and FAQs
Common Issues and Solutions
Board Not Recognized by the Computer:
- Ensure the USB-C cable is data-capable (not just for charging).
- Check that the correct board and port are selected in the Arduino IDE.
- Try reinstalling the Adafruit SAMD Boards package.
Wi-Fi Connection Fails:
- Double-check the SSID and password for your network.
- Ensure the Wi-Fi network is 2.4 GHz, as the AirLift module does not support 5 GHz.
- Move closer to the router to improve signal strength.
Code Upload Fails:
- Press the reset button twice quickly to enter bootloader mode.
- Ensure no other programs are using the COM port.
AirLift Module Not Responding:
- Verify that the required pins for the AirLift module are not being used elsewhere.
- Update the WiFiNINA firmware using the Adafruit firmware updater tool.
FAQs
Q: Can I use the Metro M4 AirLift Lite with CircuitPython?
A: Yes, the board is fully compatible with CircuitPython. You can install CircuitPython firmware and use it for rapid prototyping.
Q: What is the maximum Wi-Fi range of the AirLift module?
A: The range depends on environmental factors but typically covers 30-50 meters indoors.
Q: Can I power the board with a LiPo battery?
A: No, the Metro M4 AirLift Lite does not have a built-in LiPo battery connector. Use an external power source via VIN or USB-C.
Q: Is the board compatible with 5V sensors?
A: The board operates at 3.3V logic. Use a level shifter to interface with 5V sensors.
Q: How do I update the AirLift firmware?
A: Use the Adafruit WiFiNINA firmware updater tool in the Arduino IDE to update the firmware. Follow the instructions provided in the Adafruit guide.
This concludes the documentation for the Adafruit Metro M4 AirLift Lite. For further assistance, refer to the official Adafruit website or community forums.