How to Use RSD-60: Examples, Pinouts, and Specs
Introduction
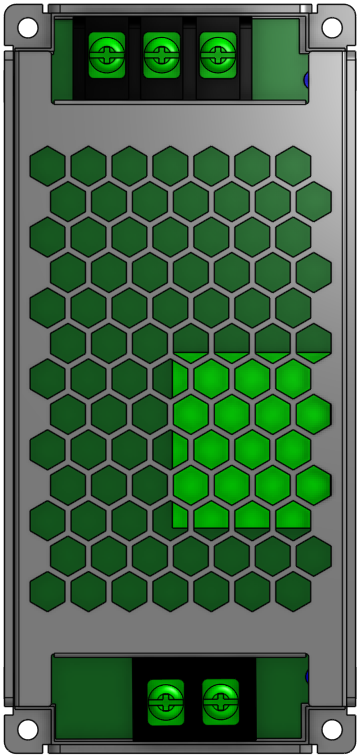
The RSD-60, manufactured by MEANWELL, is a compact, high-efficiency DC-DC converter designed to provide stable output voltage and current regulation. It is widely used in industrial, automotive, and railway applications due to its robust design and reliable performance. The RSD-60 is particularly suited for environments requiring high durability and consistent power delivery.
Explore Projects Built with RSD-60

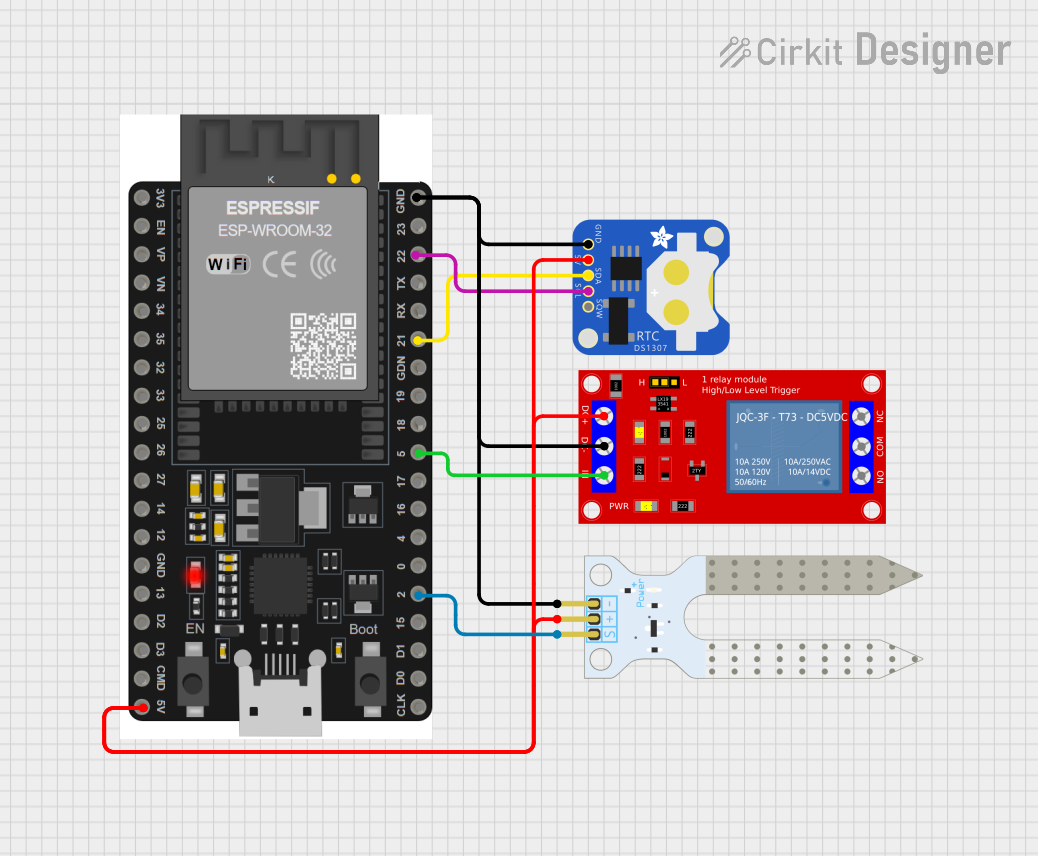

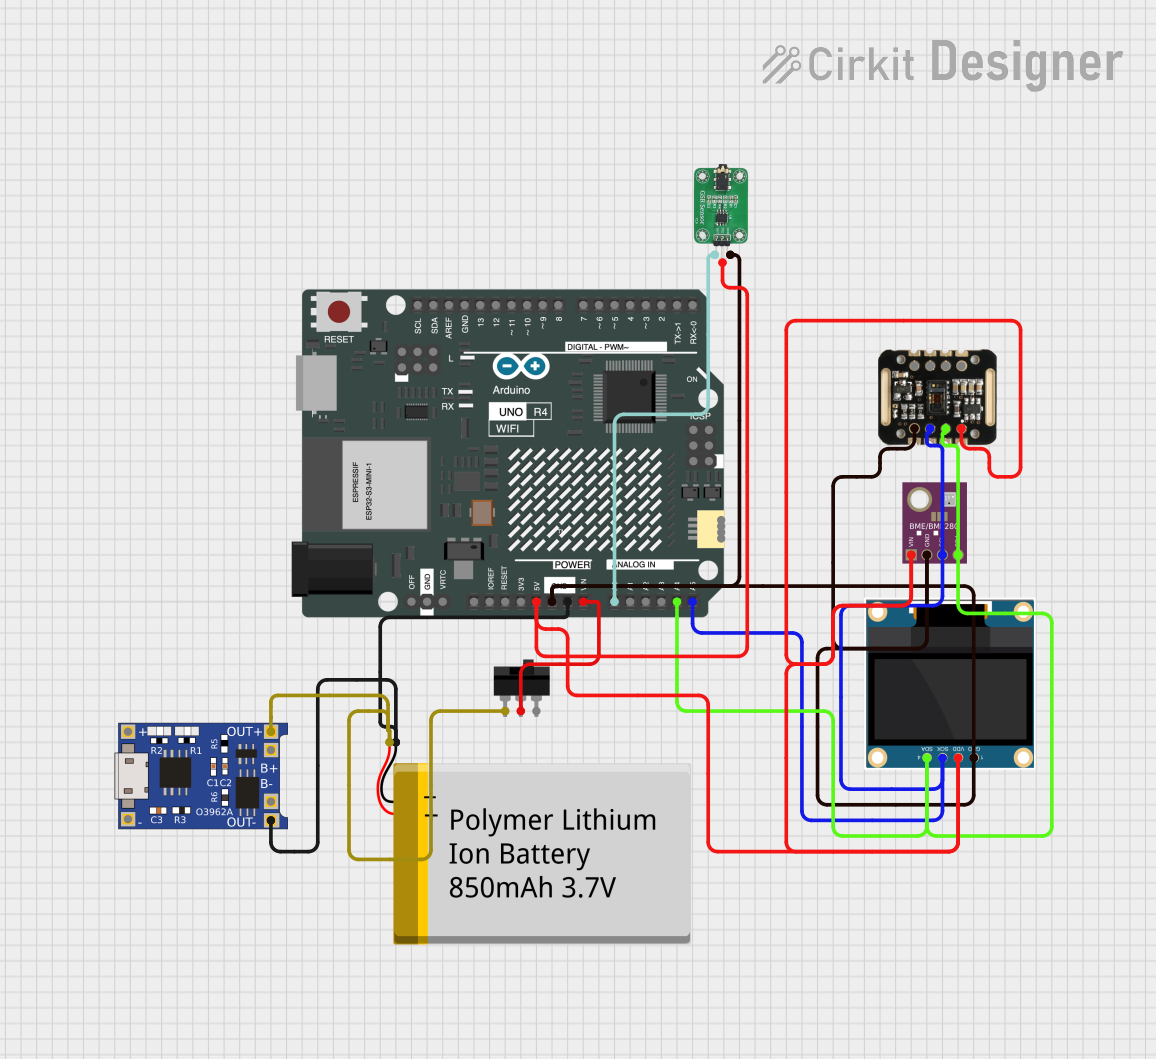
Explore Projects Built with RSD-60
Common Applications and Use Cases
- Industrial automation systems
- Railway and transportation electronics
- Battery-powered systems
- Renewable energy systems
- Telecommunications equipment
Technical Specifications
The RSD-60 is designed to meet stringent performance and safety standards. Below are its key technical details:
General Specifications
| Parameter | Value |
|---|---|
| Input Voltage Range | 9V - 36V DC (for 24V models) |
| Output Voltage Options | 5V, 12V, 24V, 48V DC |
| Output Power | 60W |
| Efficiency | Up to 92% |
| Operating Temperature | -40°C to +70°C (with derating) |
| Cooling Method | Convection-cooled |
| Dimensions | 111 x 78 x 38 mm |
| Weight | 0.4 kg |
| Protection Features | Overload, Overvoltage, |
| Short Circuit, Overtemperature |
Pin Configuration and Descriptions
The RSD-60 features a terminal block for input and output connections. Below is the pin configuration:
| Pin Number | Label | Description |
|---|---|---|
| 1 | +Vin | Positive DC input voltage |
| 2 | -Vin | Negative DC input voltage (ground) |
| 3 | +Vout | Positive DC output voltage |
| 4 | -Vout | Negative DC output voltage (ground) |
| 5 | Remote ON/OFF | Remote control for enabling/disabling the output |
Usage Instructions
How to Use the RSD-60 in a Circuit
- Input Voltage Connection: Connect the input voltage source to the
+Vinand-Vinterminals. Ensure the input voltage is within the specified range (e.g., 9V - 36V DC for 24V models). - Output Voltage Connection: Connect the load to the
+Voutand-Voutterminals. Verify that the load does not exceed the maximum output power of 60W. - Remote ON/OFF Control: Use the
Remote ON/OFFpin to enable or disable the output. This can be controlled via an external switch or microcontroller. - Mounting: Secure the RSD-60 in a well-ventilated area to ensure proper heat dissipation. Avoid placing it near heat-sensitive components.
Important Considerations and Best Practices
- Input Voltage Range: Always ensure the input voltage is within the specified range to avoid damage to the converter.
- Load Requirements: Do not exceed the maximum output power or current rating to maintain stable operation.
- Heat Management: Operate the RSD-60 in an environment with adequate airflow to prevent overheating.
- Wiring: Use appropriately rated wires for input and output connections to handle the required current safely.
- Remote Control: If using the
Remote ON/OFFfeature, ensure the control signal is compatible with the RSD-60's specifications.
Example: Connecting the RSD-60 to an Arduino UNO
The RSD-60 can be used to power an Arduino UNO by providing a stable 5V output. Below is an example of how to connect the RSD-60 to an Arduino UNO:
- Set the RSD-60 output voltage to 5V (if adjustable).
- Connect the
+Voutterminal of the RSD-60 to the Arduino's5Vpin. - Connect the
-Voutterminal of the RSD-60 to the Arduino'sGNDpin.
Sample Arduino Code for Remote ON/OFF Control
The following code demonstrates how to use an Arduino UNO to control the Remote ON/OFF pin of the RSD-60:
// Define the pin connected to the Remote ON/OFF terminal
const int remoteControlPin = 7;

void setup() {
  // Set the remote control pin as an output
  pinMode(remoteControlPin, OUTPUT);

  // Turn on the RSD-60 output by setting the pin HIGH
  digitalWrite(remoteControlPin, HIGH);
}

void loop() {
  // Example: Toggle the RSD-60 output every 5 seconds

  // Turn off the RSD-60 output
  digitalWrite(remoteControlPin, LOW);
  delay(5000); // Wait for 5 seconds

  // Turn on the RSD-60 output
  digitalWrite(remoteControlPin, HIGH);
  delay(5000); // Wait for 5 seconds
}
Troubleshooting and FAQs
Common Issues and Solutions
No Output Voltage
- Cause: Input voltage is outside the specified range.
- Solution: Verify the input voltage and ensure it is within the acceptable range.
Overheating
- Cause: Insufficient ventilation or excessive load.
- Solution: Ensure proper airflow around the RSD-60 and reduce the load if necessary.
Remote ON/OFF Not Working
- Cause: Incorrect control signal or wiring.
- Solution: Check the control signal voltage and ensure proper wiring to the
Remote ON/OFFpin.
Output Voltage Fluctuations
- Cause: Load exceeds the maximum power rating or unstable input voltage.
- Solution: Reduce the load or stabilize the input voltage source.
FAQs
Can the RSD-60 be used in outdoor environments?
- Yes, but it must be housed in a weatherproof enclosure to protect it from moisture and dust.
Is the output voltage adjustable?
- Some models of the RSD-60 offer adjustable output voltage. Refer to the specific model's datasheet for details.
What is the maximum cable length for input and output connections?
- The cable length depends on the current and wire gauge. Use thicker wires for longer distances to minimize voltage drop.
Can the RSD-60 operate without a load?
- Yes, the RSD-60 can operate without a load, but it is recommended to have a minimum load for optimal performance.
By following this documentation, users can effectively integrate the RSD-60 into their projects and ensure reliable operation.