How to Use Portenta H7: Examples, Pinouts, and Specs
Introduction
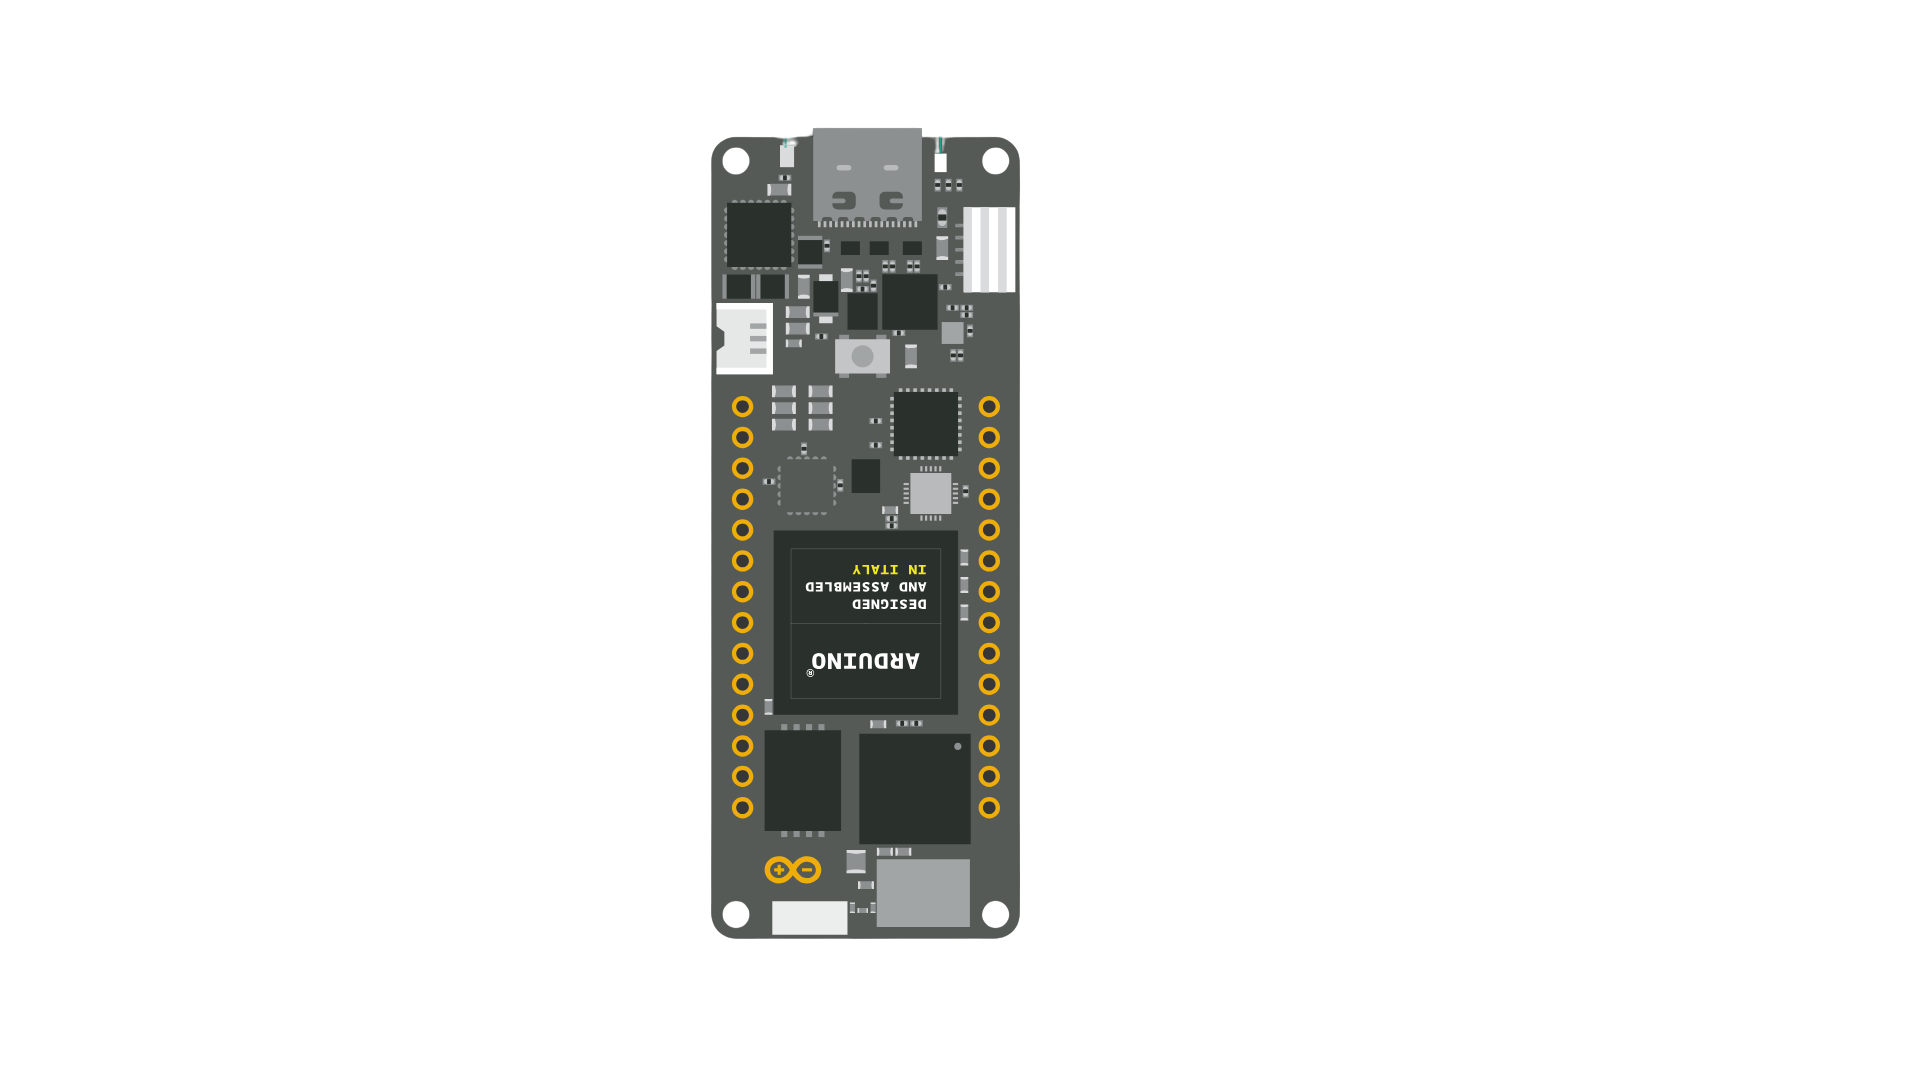
The Portenta H7, manufactured by Arduino, is a high-performance microcontroller board designed for advanced applications. It features dual-core processing capabilities with an ARM Cortex-M7 running at 480 MHz and a Cortex-M4 running at 240 MHz. This board is ideal for applications requiring real-time processing, machine learning, IoT connectivity, and industrial-grade performance.
Common applications and use cases include:
- Machine learning and AI-based projects
- IoT (Internet of Things) devices and edge computing
- Industrial automation and robotics
- High-performance data processing
- Prototyping for smart devices and wearables
Explore Projects Built with Portenta H7


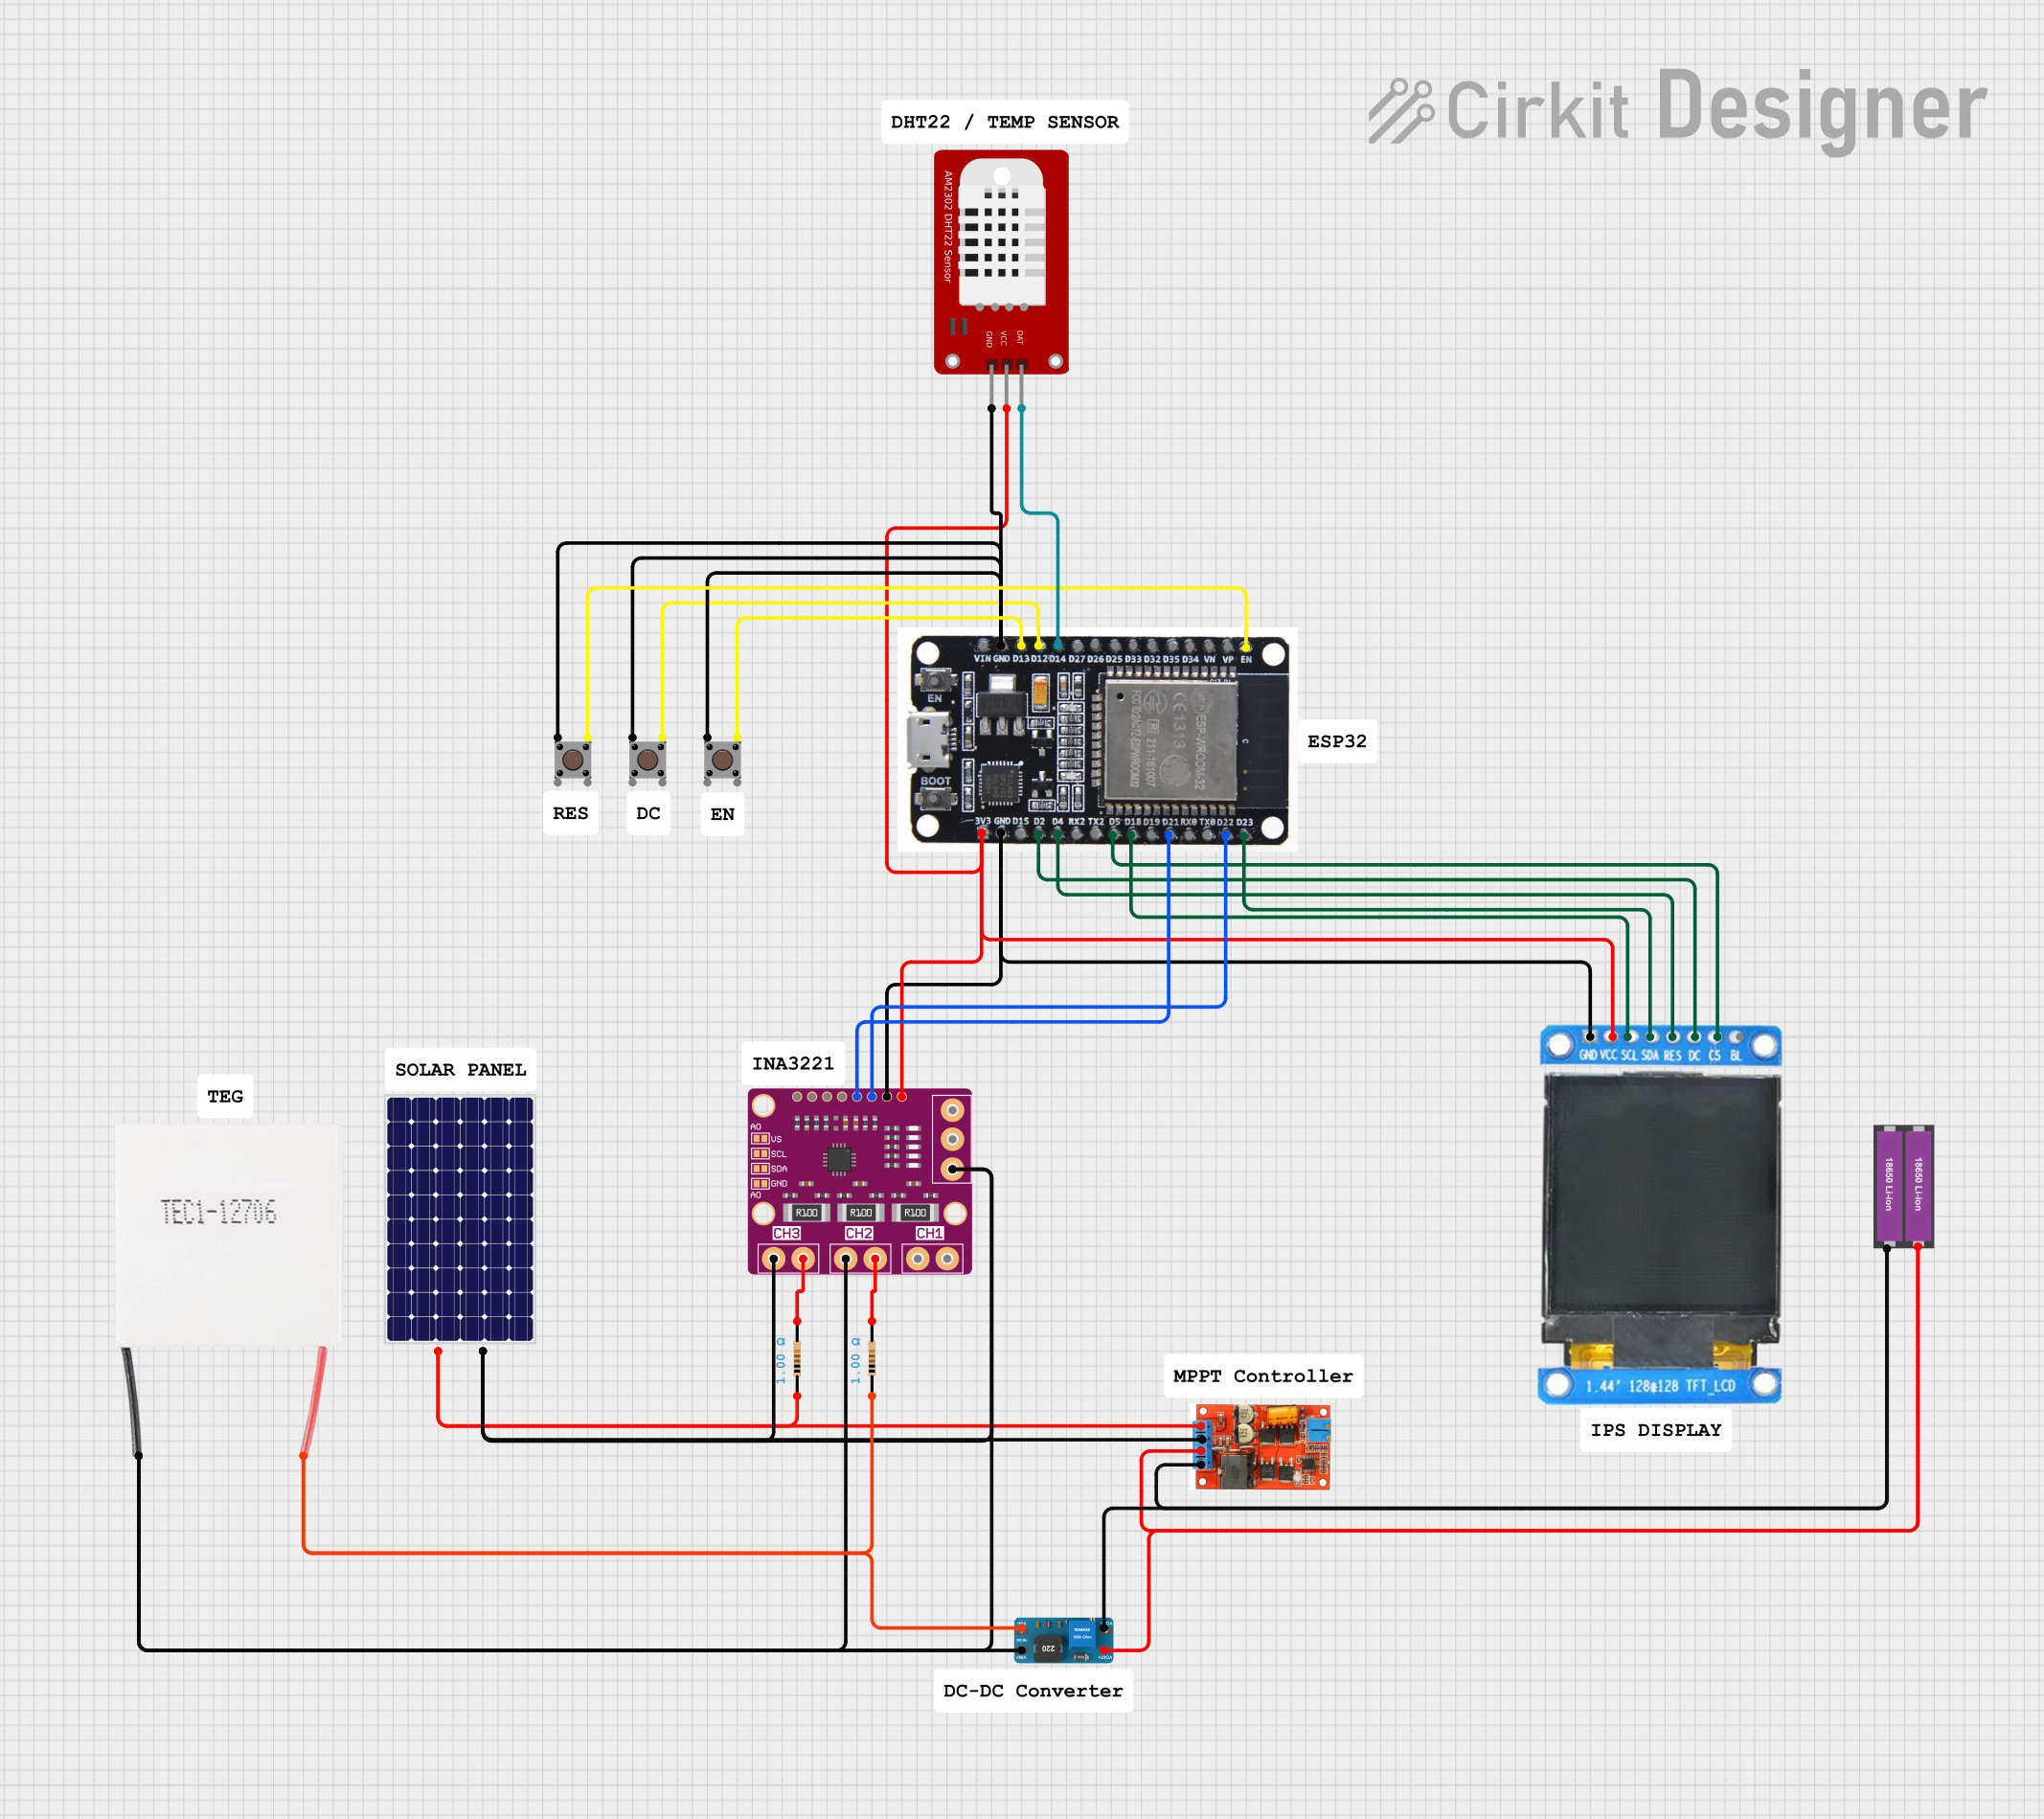
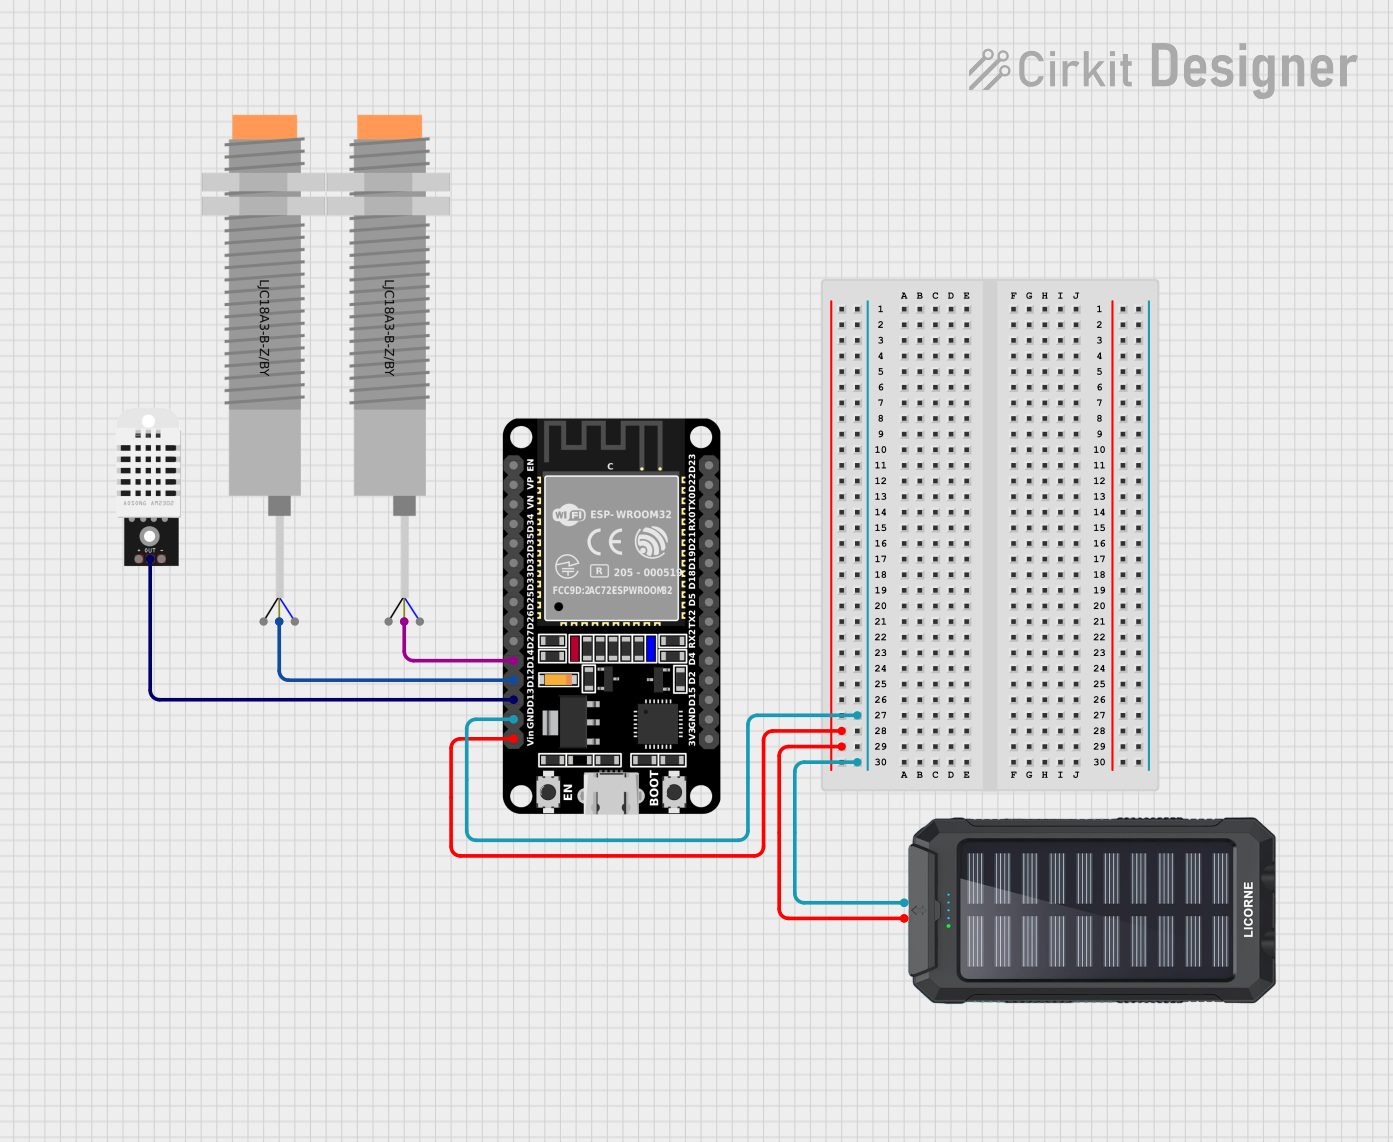
Explore Projects Built with Portenta H7
Technical Specifications
The Portenta H7 is packed with advanced features and capabilities. Below are its key technical specifications:
General Specifications
| Feature | Specification |
|---|---|
| Processor | Dual-core ARM Cortex-M7 (480 MHz) and Cortex-M4 (240 MHz) |
| Memory | 8 MB SDRAM, 16 MB NOR Flash |
| Connectivity | Wi-Fi 802.11 b/g/n, Bluetooth 5.1 |
| Operating Voltage | 3.3V |
| Input Voltage Range | 5V to 16V |
| Interfaces | USB-C, UART, SPI, I2C, CAN, GPIO |
| Dimensions | 102 x 25 mm |
Pin Configuration and Descriptions
The Portenta H7 features a high-density connector with 80 pins. Below is a summary of the key pin configurations:
Power Pins
| Pin Name | Description |
|---|---|
| VIN | Input voltage (5V to 16V) |
| 3.3V | Regulated 3.3V output |
| GND | Ground |
Communication Pins
| Pin Name | Description |
|---|---|
| TX/RX | UART communication pins |
| SCL/SDA | I2C clock and data lines |
| MISO | SPI Master In Slave Out |
| MOSI | SPI Master Out Slave In |
| SCK | SPI clock |
GPIO Pins
| Pin Name | Description |
|---|---|
| D0-D13 | Digital I/O pins |
| A0-A6 | Analog input pins |
Special Function Pins
| Pin Name | Description |
|---|---|
| RESET | Reset the board |
| BOOT0 | Bootloader mode selection |
Usage Instructions
The Portenta H7 is versatile and can be used in a wide range of applications. Below are the steps to get started and important considerations:
Getting Started
- Power the Board: Connect the Portenta H7 to a power source using the USB-C port or VIN pin.
- Install Arduino IDE: Download and install the latest version of the Arduino IDE from the Arduino website.
- Add Portenta H7 Board: In the Arduino IDE, go to
Tools > Board > Boards Manager, search for "Portenta H7," and install the board package. - Connect the Board: Use a USB-C cable to connect the Portenta H7 to your computer.
- Select the Board and Port: In the Arduino IDE, go to
Tools > Boardand select "Arduino Portenta H7." Then, select the appropriate port underTools > Port.
Example: Blinking an LED
The following example demonstrates how to blink an LED connected to pin D13:
// This example blinks the onboard LED on pin D13 of the Portenta H7.
// The LED will turn on for 1 second and off for 1 second in a loop.

void setup() {
  pinMode(LED_BUILTIN, OUTPUT); // Set the onboard LED pin as an output
}

void loop() {
  digitalWrite(LED_BUILTIN, HIGH); // Turn the LED on
  delay(1000);                     // Wait for 1 second
  digitalWrite(LED_BUILTIN, LOW);  // Turn the LED off
  delay(1000);                     // Wait for 1 second
}
Important Considerations
- Power Supply: Ensure the input voltage is within the range of 5V to 16V to avoid damaging the board.
- Pin Voltage Levels: The GPIO pins operate at 3.3V logic levels. Avoid applying 5V to these pins.
- Wi-Fi and Bluetooth: Use the onboard connectivity features for IoT applications. Libraries like
WiFiandBluetoothare available in the Arduino IDE.
Troubleshooting and FAQs
Common Issues
Board Not Detected in Arduino IDE:
- Ensure the correct board and port are selected in the
Toolsmenu. - Check the USB-C cable for data transfer capability (some cables are power-only).
- Ensure the correct board and port are selected in the
Program Upload Fails:
- Press the RESET button on the board and try uploading again.
- Ensure the correct COM port is selected.
Wi-Fi or Bluetooth Not Working:
- Verify that the appropriate libraries are installed and included in your sketch.
- Check your network credentials for Wi-Fi connections.
FAQs
Q: Can I use the Portenta H7 with external sensors?
A: Yes, the board supports a wide range of sensors via I2C, SPI, and UART interfaces.
Q: What is the maximum current output of the 3.3V pin?
A: The 3.3V pin can supply up to 500 mA, depending on the input power source.
Q: How do I reset the board to factory settings?
A: Hold the RESET button for 10 seconds to restore the board to its default state.
Q: Can I run machine learning models on the Portenta H7?
A: Yes, the dual-core architecture and onboard memory make it suitable for running TensorFlow Lite models.
By following this documentation, you can effectively utilize the Arduino Portenta H7 for your advanced projects.