How to Use 1060 Brushed ESC: Examples, Pinouts, and Specs

Introduction
The HobbyWing 1060 Brushed Electronic Speed Controller (ESC) is a versatile and reliable ESC designed for controlling brushed DC motors in remote-controlled (RC) vehicles, drones, and other hobbyist applications. It provides smooth acceleration, precise braking, and efficient motor control, making it an essential component for RC enthusiasts and robotics projects.
Explore Projects Built with 1060 Brushed ESC

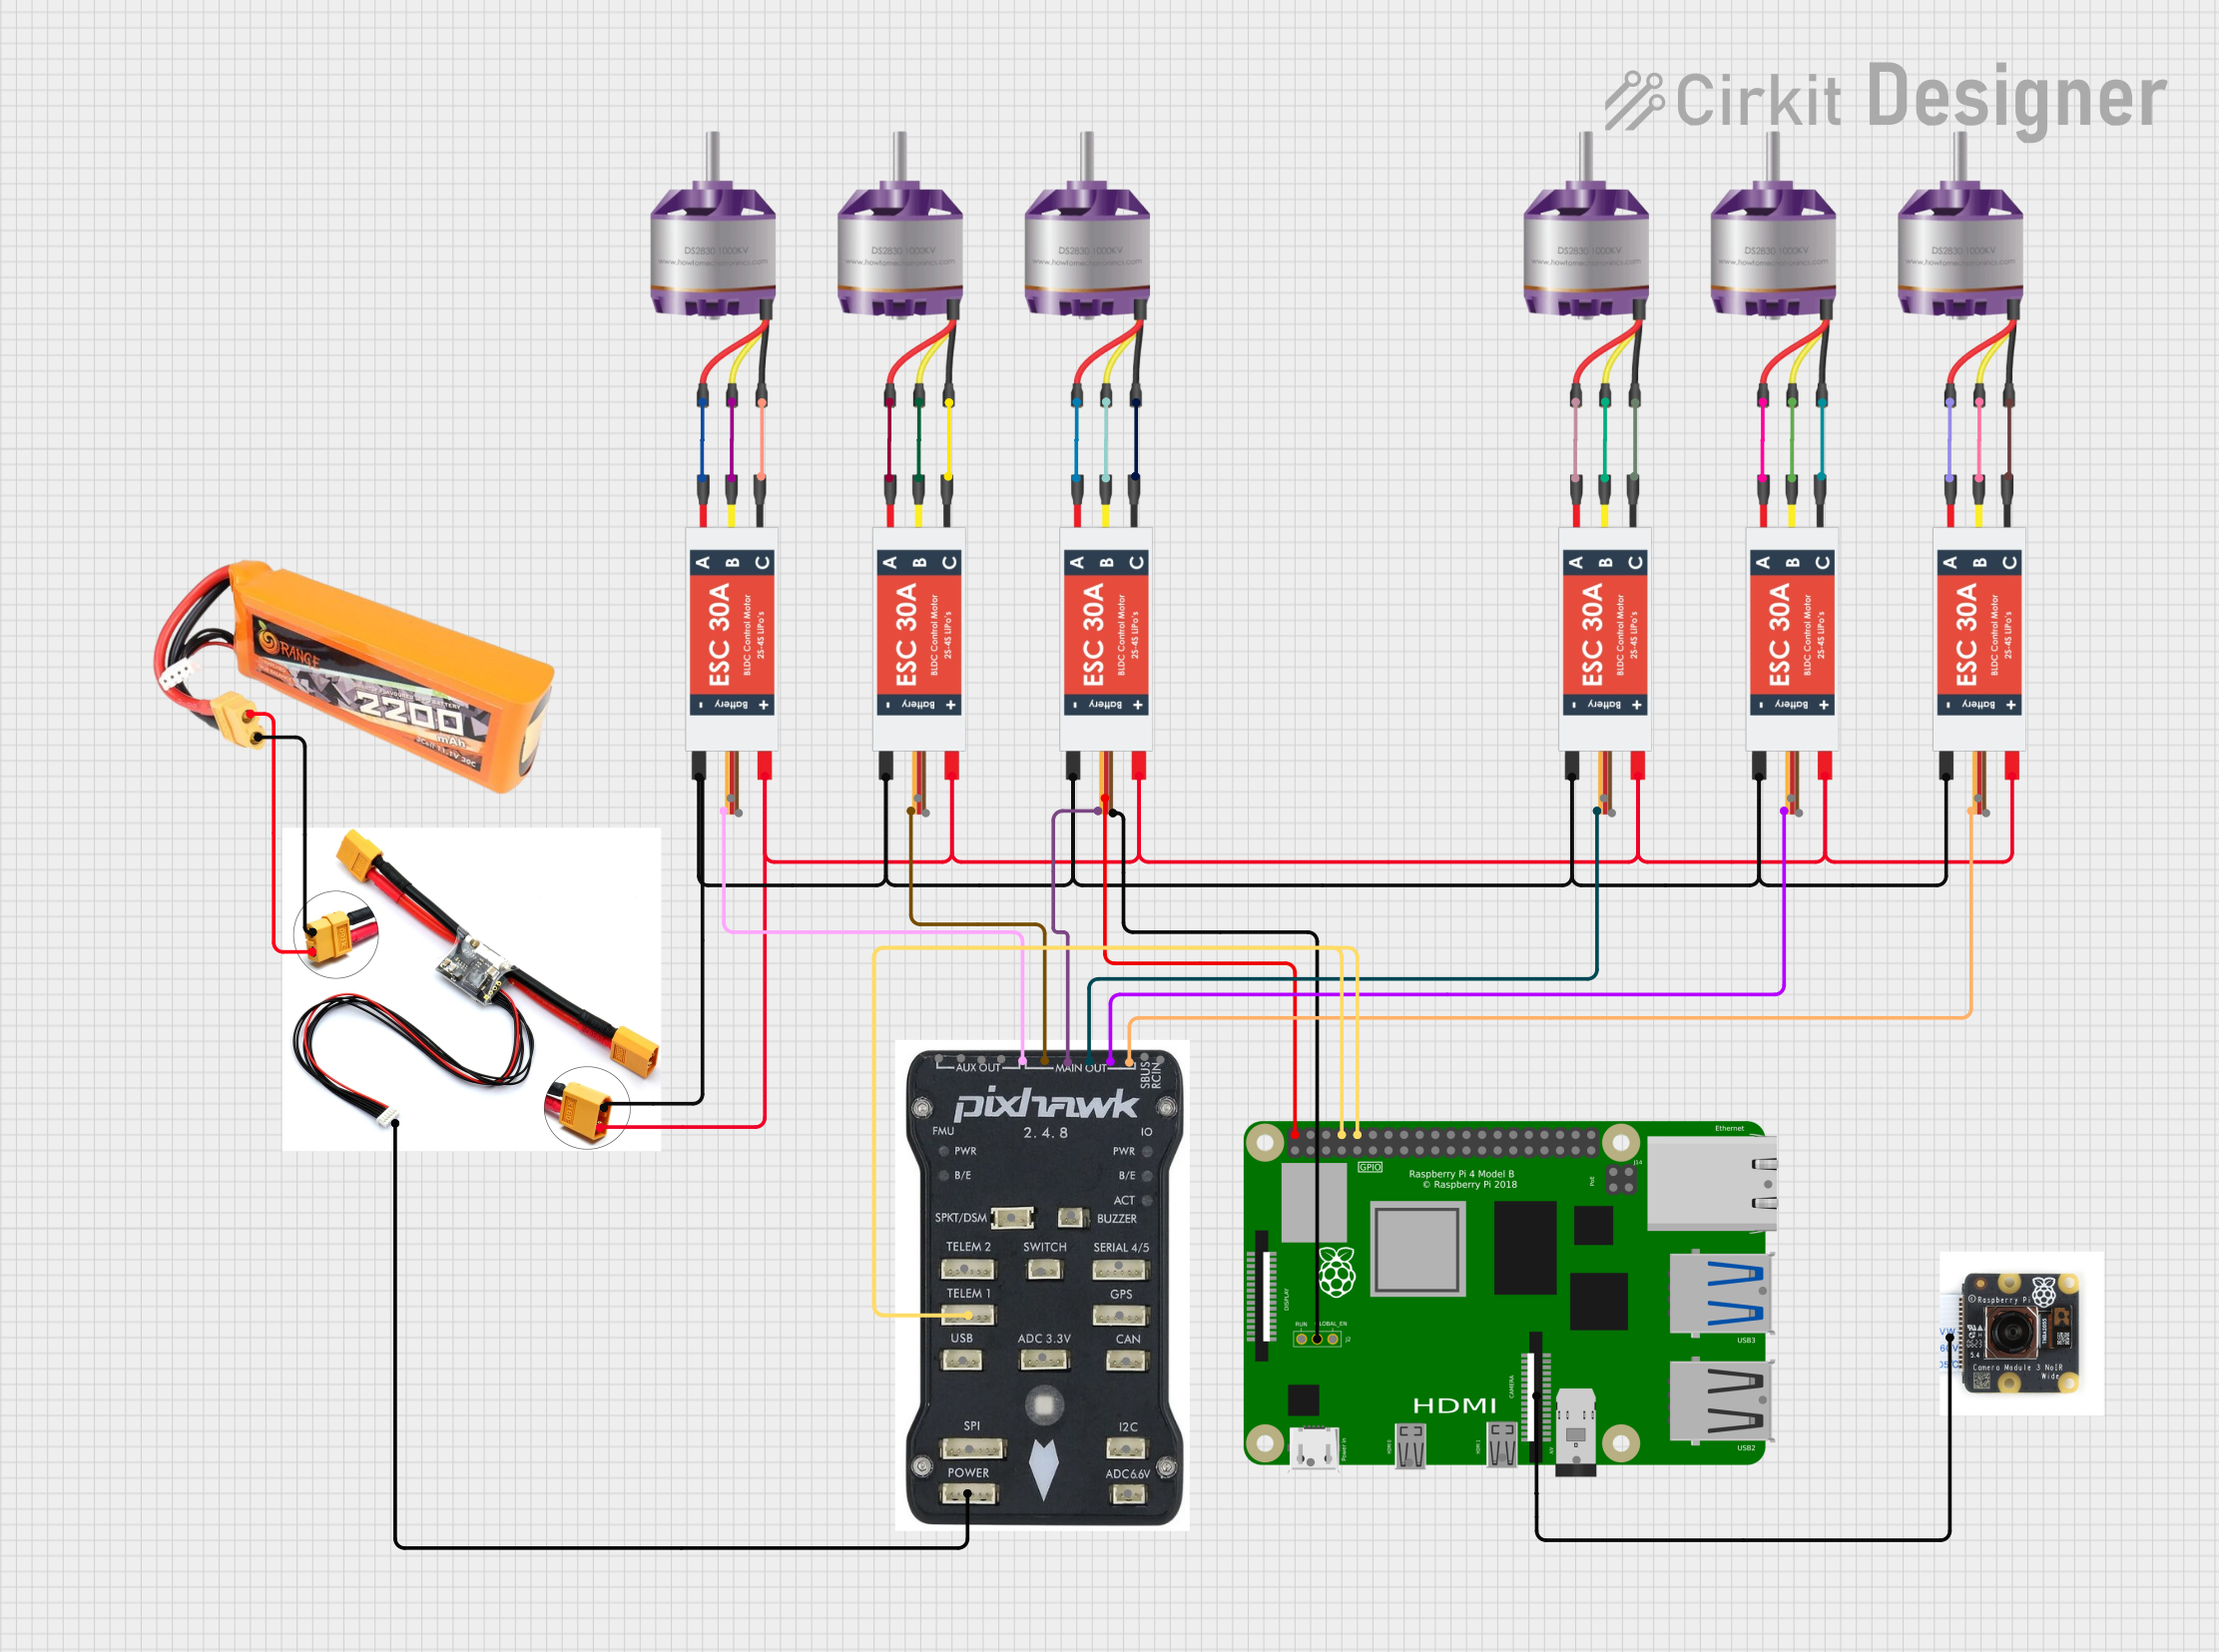

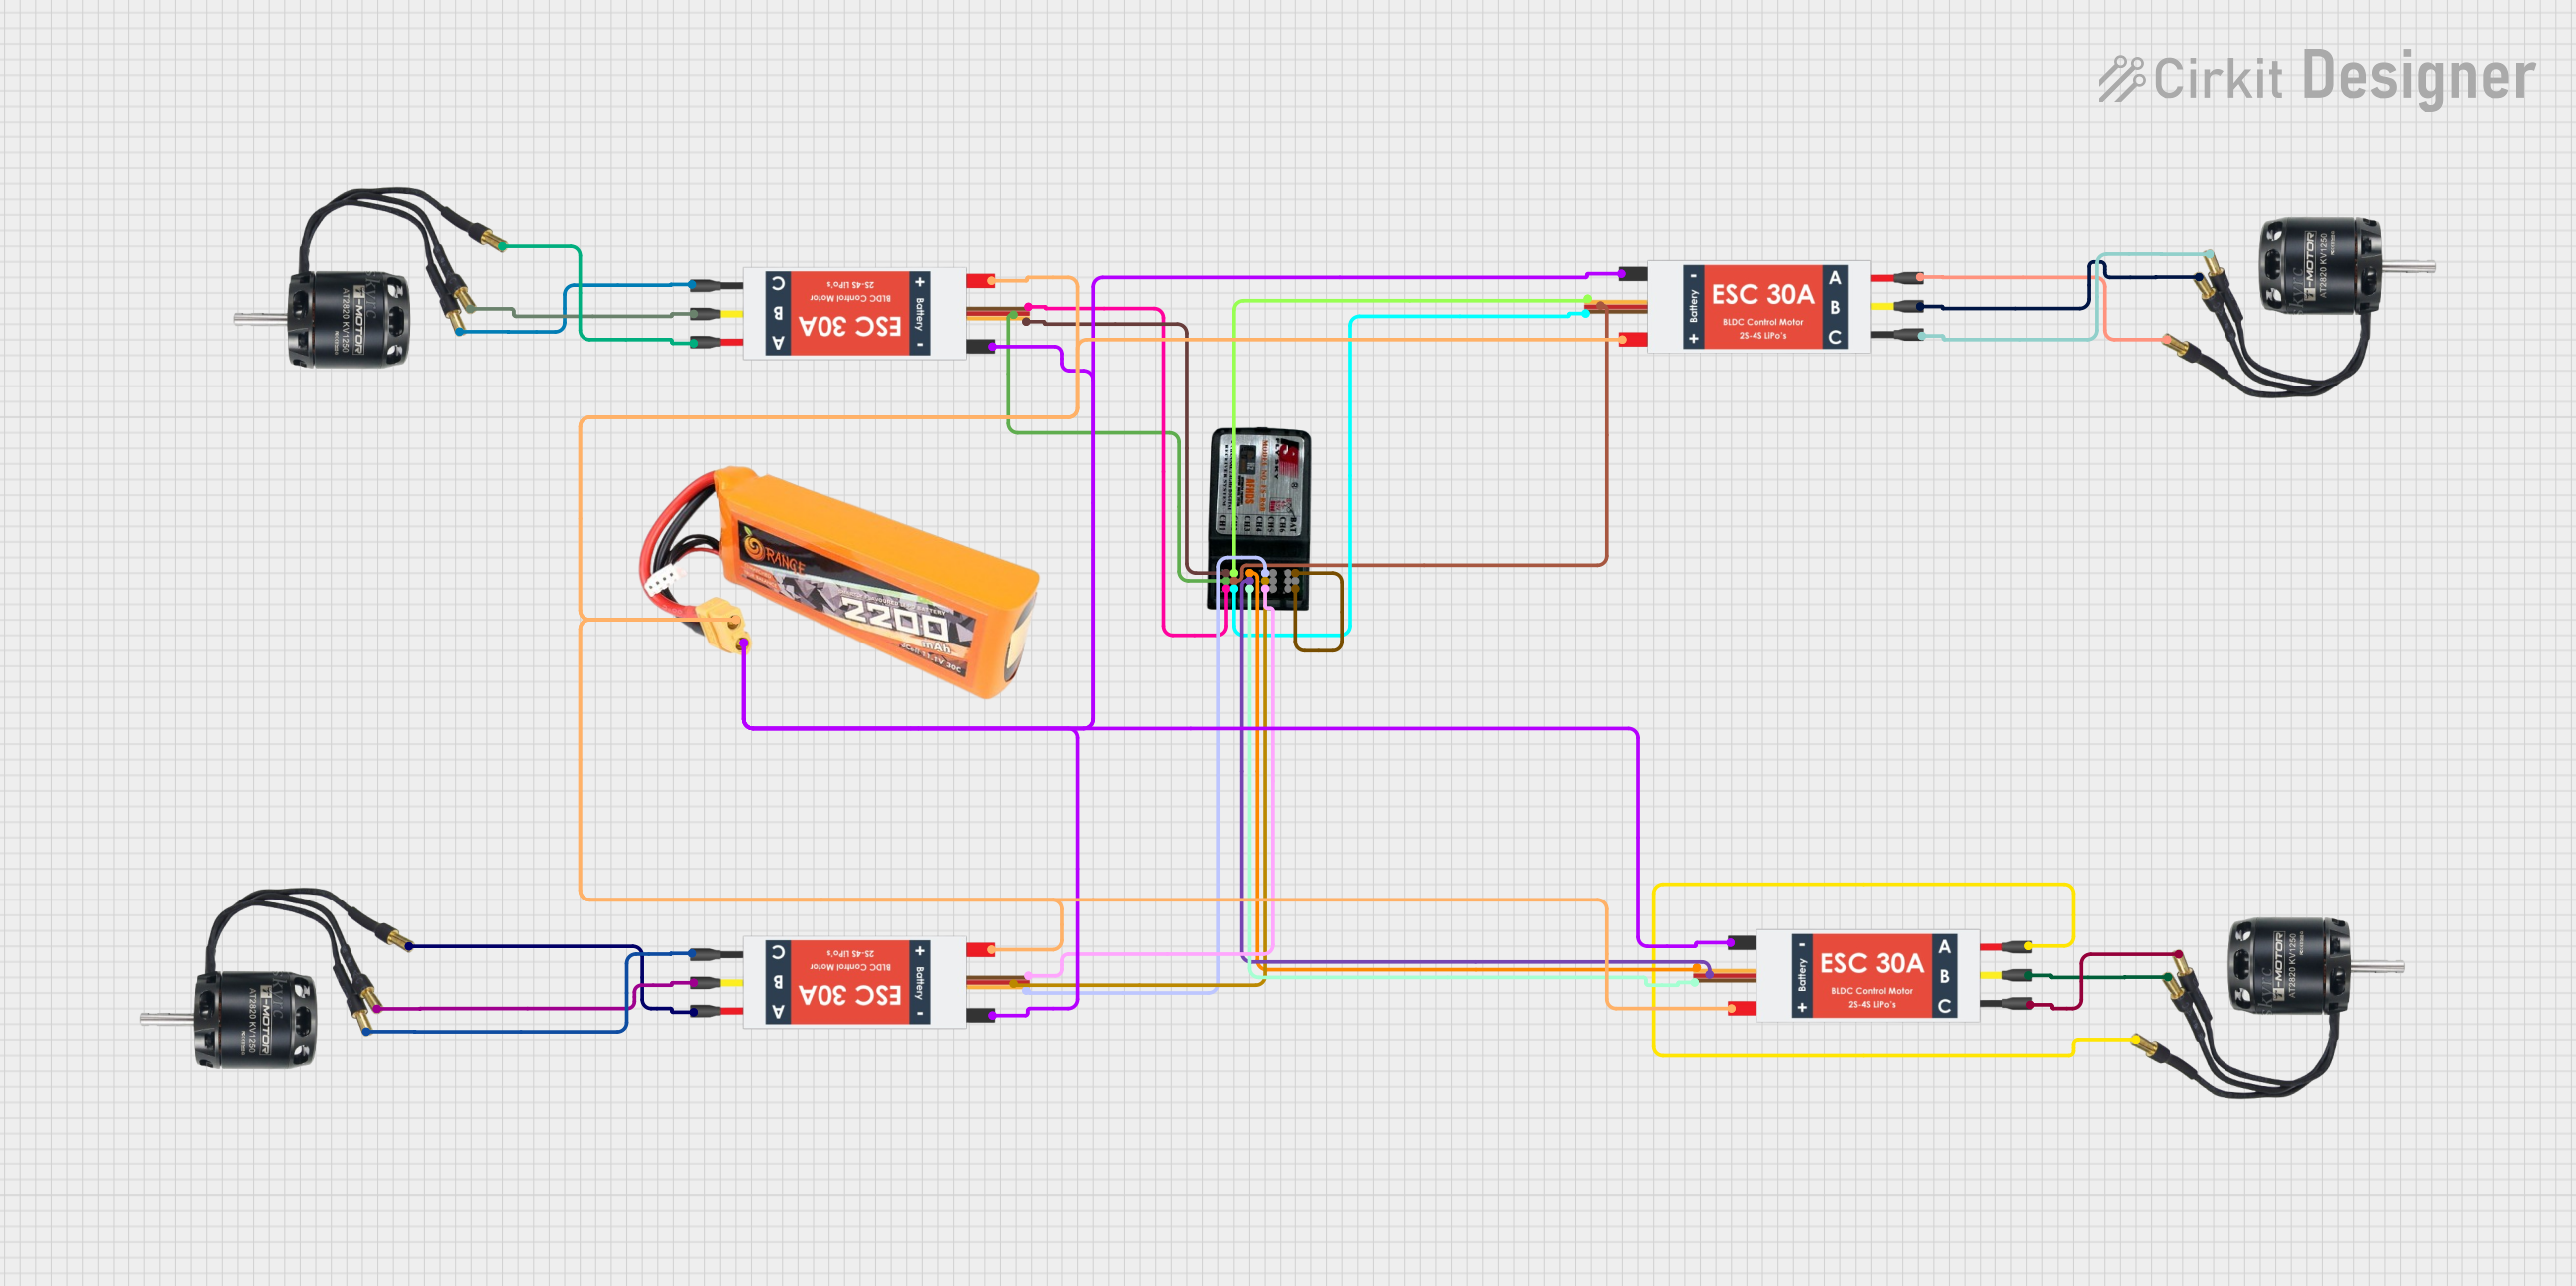
Explore Projects Built with 1060 Brushed ESC
Common Applications and Use Cases
- RC cars, trucks, and buggies
- RC boats (non-submersible)
- Robotics projects requiring brushed DC motor control
- DIY drones with brushed motors
- Educational and hobbyist electronics projects
Technical Specifications
The following table outlines the key technical details of the HobbyWing 1060 Brushed ESC:
| Parameter | Specification |
|---|---|
| Input Voltage Range | 2S–3S LiPo (6.6V–11.1V) or 5–9 NiMH |
| Continuous Current | 60A |
| Peak Current | 360A |
| Motor Type Supported | Brushed DC motors |
| BEC Output | 6V/3A (Switch Mode) |
| Operating Modes | Forward/Reverse, Forward/Brake |
| Dimensions | 36.5mm x 32mm x 18mm |
| Weight | 39g |
| Waterproof Rating | Fully waterproof |
Pin Configuration and Descriptions
The HobbyWing 1060 Brushed ESC has several key connectors and wires for proper operation. The table below describes each connection:
| Wire/Connector | Description |
|---|---|
| Red and Black Input Wires | Connect to the battery (Red: Positive, Black: Negative) |
| Yellow and Blue Output Wires | Connect to the brushed DC motor terminals (Yellow: Positive, Blue: Negative) |
| Receiver Connector | 3-pin connector to connect to the RC receiver (Throttle channel) |
| On/Off Switch | Toggle to power the ESC on or off |
Usage Instructions
How to Use the 1060 Brushed ESC in a Circuit
- Connect the Battery: Attach the red and black input wires to the positive and negative terminals of your battery pack. Ensure the voltage matches the ESC's input voltage range (2S–3S LiPo or 5–9 NiMH).
- Connect the Motor: Connect the yellow and blue output wires to the terminals of your brushed DC motor. If the motor spins in the wrong direction, swap the yellow and blue wires.
- Connect to the Receiver: Plug the 3-pin receiver connector into the throttle channel of your RC receiver.
- Power On: Use the on/off switch to power the ESC. Ensure the transmitter is turned on before powering the ESC to avoid erratic motor behavior.
- Calibrate the Throttle: Follow the ESC's calibration procedure to synchronize it with your transmitter's throttle range. Typically, this involves setting the throttle to full, powering on the ESC, and following the beeping signals.
Important Considerations and Best Practices
- Battery Compatibility: Ensure the battery voltage is within the ESC's supported range to avoid damage.
- Cooling: Although the ESC is waterproof, avoid prolonged operation at maximum current to prevent overheating.
- Wiring Polarity: Double-check all connections to ensure correct polarity, as reversing the input wires can damage the ESC.
- Mode Selection: Use the included jumper caps to select the desired operating mode (Forward/Reverse or Forward/Brake).
Example: Using the 1060 Brushed ESC with an Arduino UNO
The 1060 Brushed ESC can be controlled using an Arduino UNO by sending PWM signals to the ESC's receiver connector. Below is an example code snippet:
#include <Servo.h> // Include the Servo library to control the ESC

Servo esc; // Create a Servo object to represent the ESC

void setup() {
  esc.attach(9); // Attach the ESC signal wire to pin 9 on the Arduino
  esc.writeMicroseconds(1000); // Send a low signal to arm the ESC
  delay(2000); // Wait for 2 seconds to ensure the ESC is armed
}

void loop() {
  esc.writeMicroseconds(1500); // Send a neutral signal (motor stops)
  delay(2000); // Wait for 2 seconds

  esc.writeMicroseconds(1700); // Send a forward signal (motor runs forward)
  delay(2000); // Wait for 2 seconds

  esc.writeMicroseconds(1300); // Send a reverse signal (motor runs backward)
  delay(2000); // Wait for 2 seconds
}
Note: Ensure the ESC is properly calibrated before using it with the Arduino. The
writeMicroseconds()function sends PWM signals, where 1000µs represents full reverse, 1500µs is neutral, and 2000µs is full forward.
Troubleshooting and FAQs
Common Issues and Solutions
Motor Does Not Spin
- Cause: Incorrect wiring or throttle calibration.
- Solution: Verify all connections and recalibrate the throttle range.
ESC Overheats
- Cause: Prolonged operation at high current or insufficient cooling.
- Solution: Reduce the load on the motor or allow the ESC to cool between uses.
Erratic Motor Behavior
- Cause: Signal interference or incorrect receiver connection.
- Solution: Ensure the receiver is properly connected and the transmitter is powered on before the ESC.
No Power to the ESC
- Cause: Faulty battery connection or damaged ESC.
- Solution: Check the battery voltage and connections. Replace the ESC if necessary.
FAQs
Q: Can the 1060 Brushed ESC be used with a 4S LiPo battery?
A: No, the ESC supports a maximum of 3S LiPo (11.1V). Using a 4S LiPo may damage the ESC.
Q: Is the ESC waterproof?
A: Yes, the HobbyWing 1060 Brushed ESC is fully waterproof, making it suitable for wet and muddy conditions.
Q: How do I select the operating mode?
A: Use the included jumper caps to set the ESC to Forward/Reverse or Forward/Brake mode. Refer to the user manual for detailed instructions.
Q: Can I use this ESC for a brushless motor?
A: No, the 1060 Brushed ESC is designed specifically for brushed DC motors and is not compatible with brushless motors.