How to Use Piezo Speaker: Examples, Pinouts, and Specs

 Design with Piezo Speaker in Cirkit Designer
Introduction
A piezo speaker is a type of loudspeaker that uses the piezoelectric effect to produce sound. It converts electrical energy into mechanical energy, creating sound waves through the vibration of a diaphragm. Piezo speakers are compact, lightweight, and energy-efficient, making them ideal for a wide range of applications.
Explore Projects Built with Piezo Speaker

 Open Project in Cirkit Designer
 Open Project in Cirkit Designer
 Open Project in Cirkit Designer
 Open Project in Cirkit Designer
Explore Projects Built with Piezo Speaker

 Open Project in Cirkit Designer
 Open Project in Cirkit Designer
 Open Project in Cirkit Designer
 Open Project in Cirkit Designer
Common Applications and Use Cases
- Alarm systems and buzzers
- Keypad feedback in electronic devices
- Toys and small gadgets
- Notification sounds in appliances
- Audio signaling in embedded systems
Technical Specifications
Below are the general technical specifications for a typical piezo speaker. Note that specific values may vary depending on the model.
| Parameter | Value |
|---|---|
| Operating Voltage | 3V to 12V |
| Operating Current | 5mA to 30mA |
| Resonant Frequency | 2 kHz to 4 kHz |
| Sound Pressure Level | 85 dB to 100 dB (at 10 cm) |
| Impedance | 1 kΩ to 10 kΩ |
| Dimensions | Varies (e.g., 20mm diameter) |
Pin Configuration and Descriptions
Piezo speakers typically have two pins:
| Pin | Description |
|---|---|
| Positive (+) | Connects to the positive terminal of the power source or signal output. |
| Negative (-) | Connects to the ground (GND) of the circuit. |
Usage Instructions
How to Use the Component in a Circuit
- Basic Connection: Connect the positive pin of the piezo speaker to the output signal (e.g., a microcontroller pin or an oscillator circuit). Connect the negative pin to the ground (GND).
- Driving the Speaker: Use a square wave signal to drive the piezo speaker. The frequency of the square wave determines the pitch of the sound produced.
- Resistor in Series: To limit current and protect the speaker, you may add a resistor (e.g., 1 kΩ) in series with the positive pin.
Example Circuit with Arduino UNO
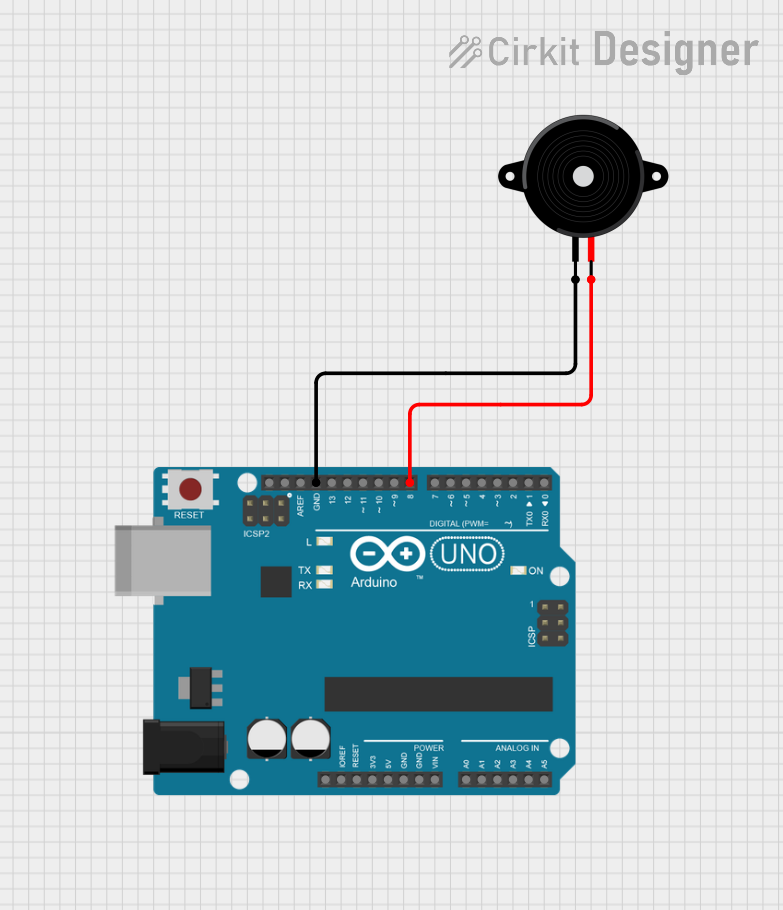
Below is an example of how to connect and use a piezo speaker with an Arduino UNO to generate a tone.
Circuit Diagram
- Connect the positive pin of the piezo speaker to Arduino pin 8.
- Connect the negative pin of the piezo speaker to the GND pin of the Arduino.
Arduino Code
// Piezo Speaker Example with Arduino UNO
// Generates a tone on pin 8 of the Arduino

const int piezoPin = 8; // Pin connected to the piezo speaker

void setup() {
  // No setup required for this example
}

void loop() {
  tone(piezoPin, 1000); // Generate a 1 kHz tone
  delay(500);           // Play the tone for 500 ms
  noTone(piezoPin);     // Stop the tone
  delay(500);           // Wait for 500 ms before repeating
}
Important Considerations and Best Practices
- Frequency Range: Ensure the driving frequency matches the resonant frequency of the piezo speaker for optimal sound output.
- Voltage Limits: Do not exceed the maximum operating voltage to avoid damaging the speaker.
- Mounting: Secure the piezo speaker properly to prevent unwanted vibrations or noise.
Troubleshooting and FAQs
Common Issues and Solutions
No Sound Output:
- Check the connections to ensure the positive and negative pins are correctly wired.
- Verify that the driving signal is within the operating voltage and frequency range.
Distorted Sound:
- Ensure the driving frequency matches the resonant frequency of the piezo speaker.
- Check for loose connections or improper mounting.
Low Volume:
- Increase the driving voltage, but ensure it does not exceed the maximum rating.
- Use a proper driving circuit to amplify the signal if needed.
FAQs
Q: Can I use a piezo speaker without a microcontroller?
A: Yes, you can use a simple oscillator circuit (e.g., a 555 timer) to drive the piezo speaker.
Q: What is the difference between a piezo speaker and a piezo buzzer?
A: A piezo speaker requires an external driving signal (e.g., a square wave), while a piezo buzzer has a built-in oscillator and only needs a DC voltage to operate.
Q: Can I use PWM to control the piezo speaker?
A: Yes, PWM (Pulse Width Modulation) can be used to generate tones by varying the frequency of the signal.
This concludes the documentation for the piezo speaker.