How to Use Jst1.25_2pin_male: Examples, Pinouts, and Specs
Introduction
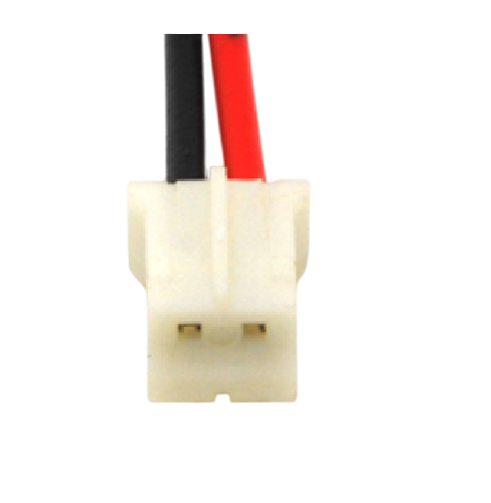
The Jst1.25_2pin_male connector, manufactured by Tdat, is a compact 2-pin male connector designed for reliable wire-to-board or wire-to-wire connections in electronic circuits. With a 1.25mm pitch, this connector is ideal for applications requiring small, lightweight, and space-saving designs. It is commonly used in consumer electronics, robotics, IoT devices, and other compact electronic systems.
Explore Projects Built with Jst1.25_2pin_male


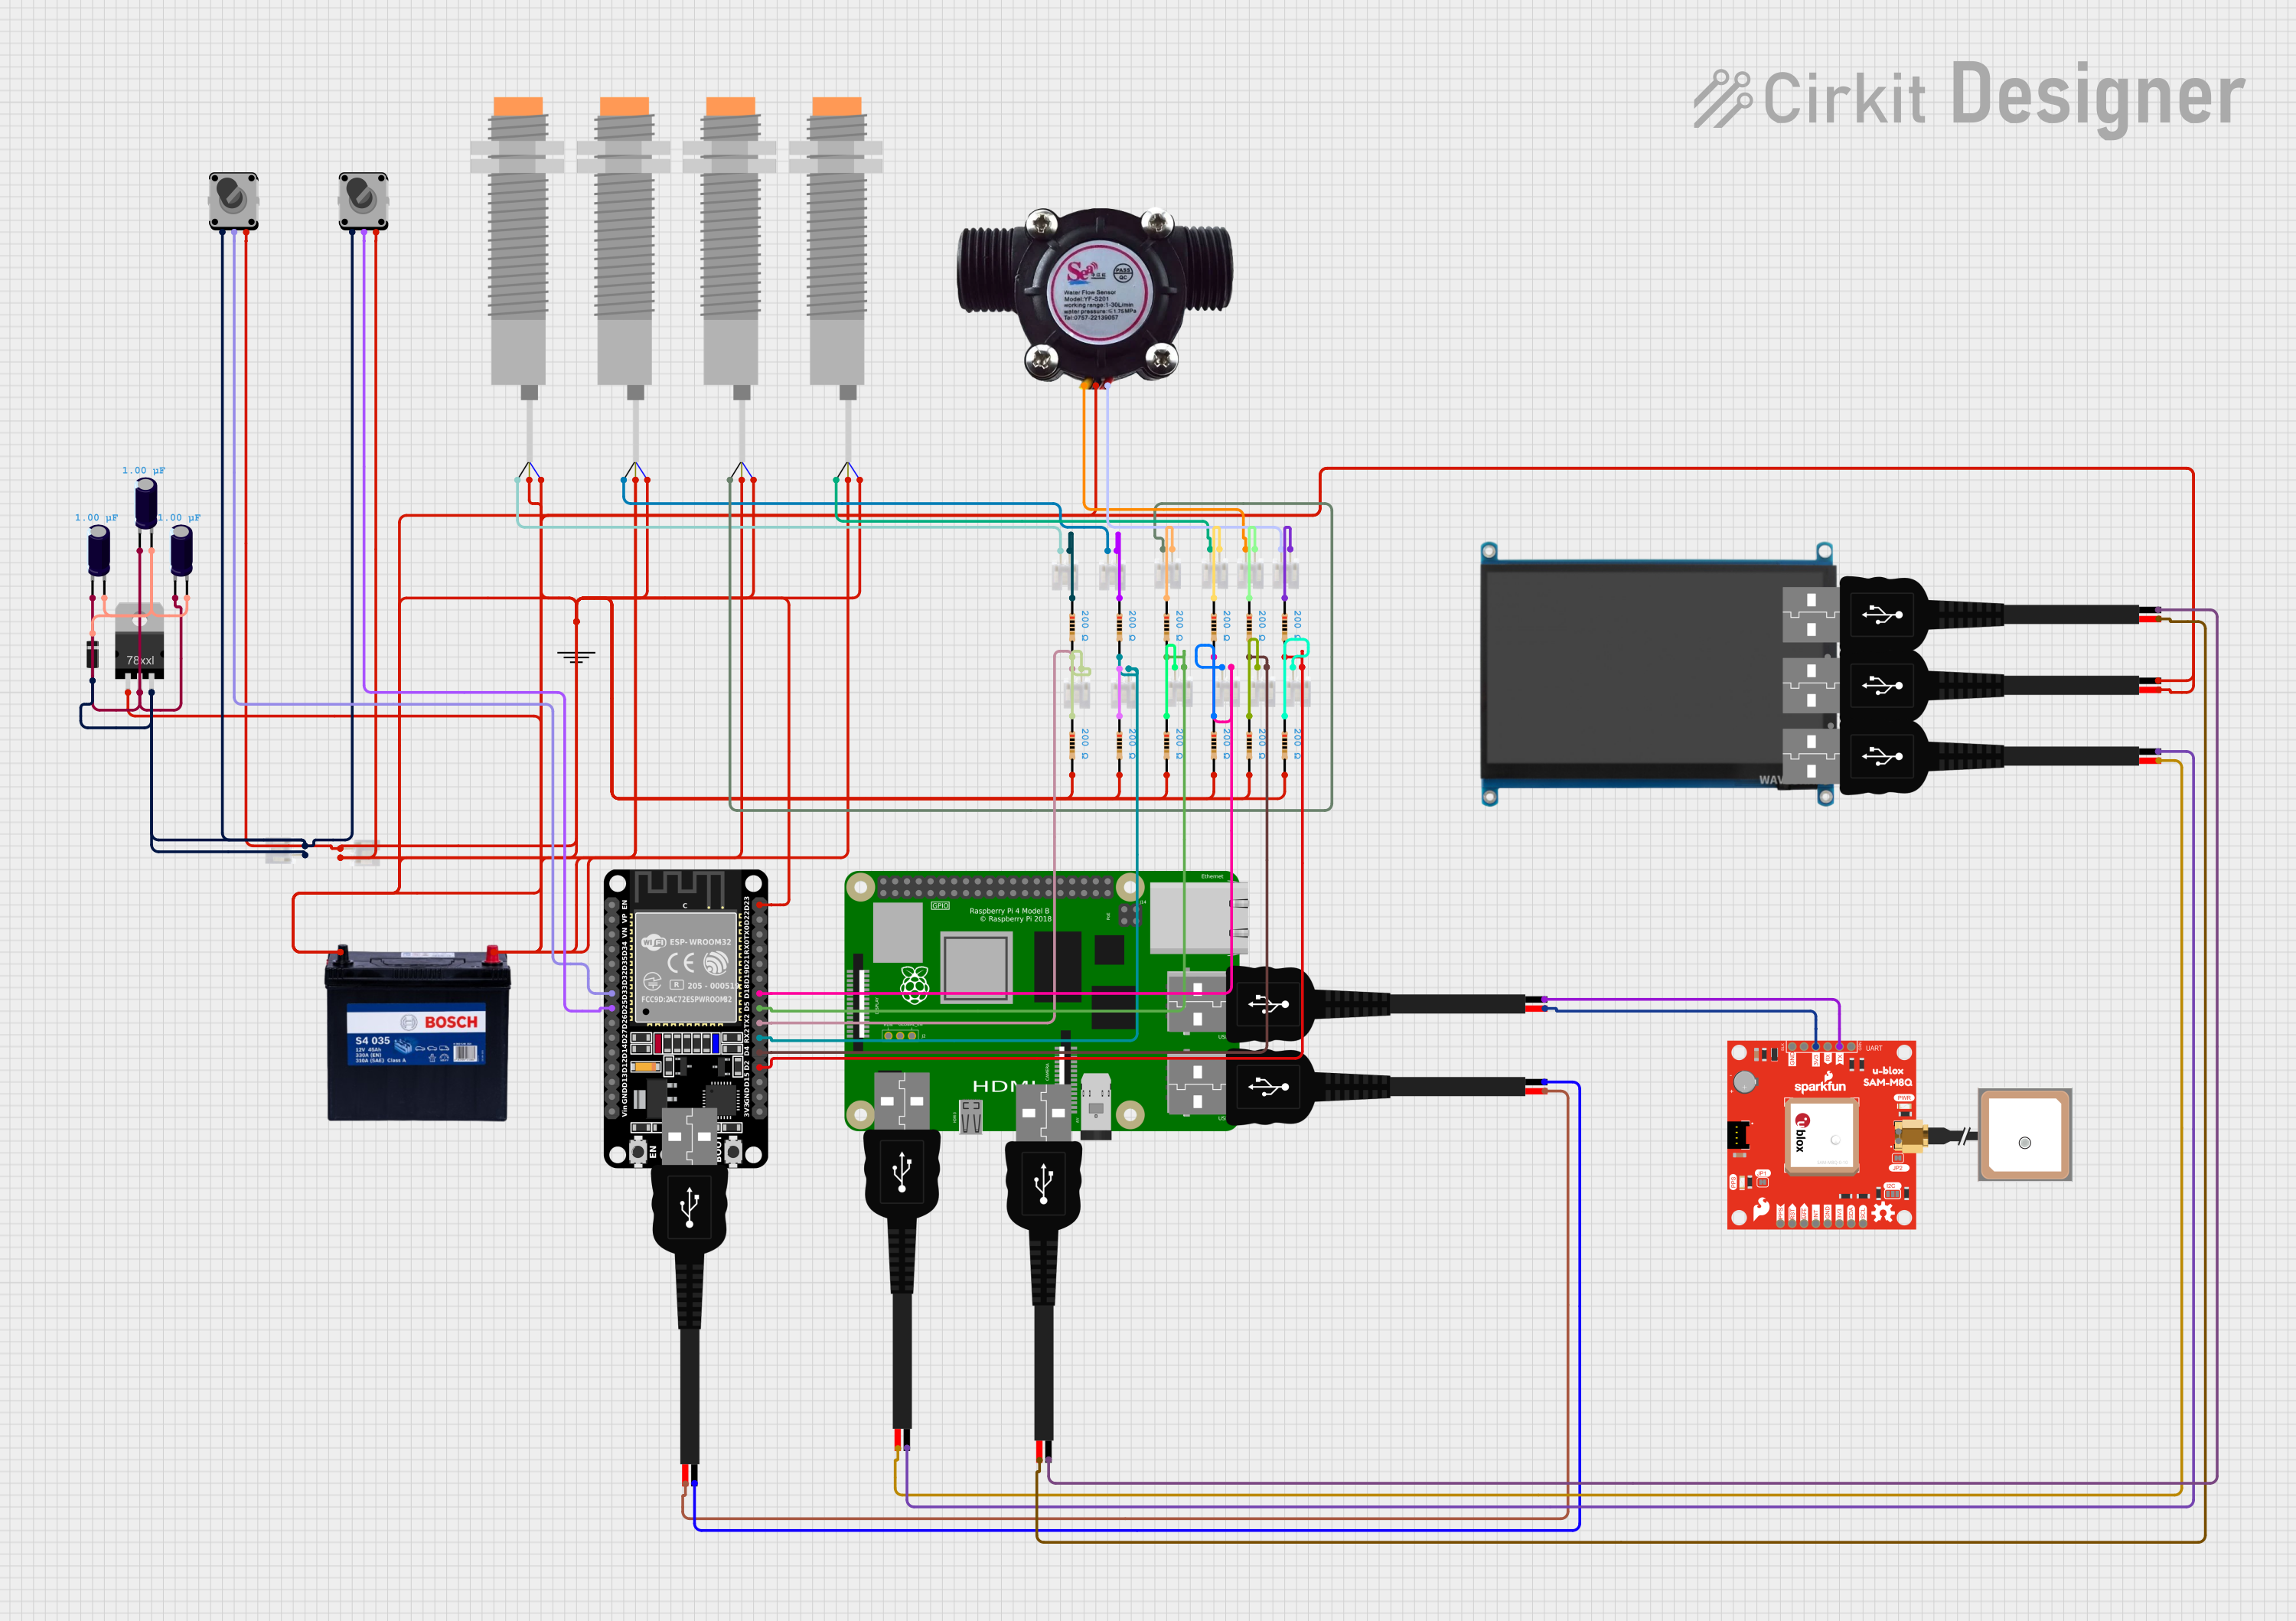

Explore Projects Built with Jst1.25_2pin_male
Common Applications
- Connecting sensors, modules, or peripherals in compact devices
- Power delivery in small electronic circuits
- Signal transmission in IoT and wearable devices
- Prototyping and development of compact electronic systems
Technical Specifications
Below are the key technical details for the Jst1.25_2pin_male connector:
| Parameter | Specification |
|---|---|
| Manufacturer | Tdat |
| Connector Type | Male |
| Number of Pins | 2 |
| Pitch (Pin Spacing) | 1.25mm |
| Rated Voltage | 50V DC |
| Rated Current | 1A |
| Contact Resistance | ≤ 20mΩ |
| Insulation Resistance | ≥ 100MΩ |
| Operating Temperature | -25°C to +85°C |
| Material (Housing) | Nylon 66, UL94V-0 flame retardant |
| Material (Contacts) | Phosphor bronze with tin plating |
Pin Configuration and Descriptions
The Jst1.25_2pin_male connector has two pins, which are typically used for power and ground or signal connections. The pin configuration is as follows:
| Pin Number | Description | Typical Use |
|---|---|---|
| 1 | VCC (Power) | Positive voltage input |
| 2 | GND (Ground) | Ground connection |
Usage Instructions
How to Use the Jst1.25_2pin_male Connector
- Soldering:
- Solder the connector pins to a PCB or use it with a compatible female connector.
- Ensure proper alignment to avoid misconnection.
- Wire Crimping:
- Use compatible crimp terminals and a crimping tool to attach wires securely.
- Insert the crimped wires into the corresponding female connector for a reliable connection.
- Connection:
- Match the male connector with a compatible 1.25mm pitch female connector.
- Ensure the polarity (VCC and GND) is correctly aligned to prevent damage to the circuit.
Important Considerations
- Current and Voltage Ratings: Do not exceed the rated current (1A) or voltage (50V DC) to avoid overheating or damage.
- Secure Connections: Ensure the connector is fully inserted into the female counterpart to maintain a stable connection.
- Environmental Conditions: Operate within the specified temperature range (-25°C to +85°C) to ensure reliability.
- Avoid Overstress: Do not apply excessive force when connecting or disconnecting to prevent damage to the pins or housing.
Example: Connecting to an Arduino UNO
The Jst1.25_2pin_male connector can be used to connect a sensor or module to an Arduino UNO. Below is an example of wiring and code for reading a sensor's analog signal:
Wiring
- Connect the VCC pin of the sensor to the 5V pin on the Arduino UNO.
- Connect the GND pin of the sensor to the GND pin on the Arduino UNO.
- Connect the sensor's signal output to an analog input pin (e.g., A0) on the Arduino UNO.
Arduino Code
// Example code for reading an analog signal from a sensor connected via
// the Jst1.25_2pin_male connector to an Arduino UNO.

const int sensorPin = A0; // Analog pin connected to the sensor's signal output
int sensorValue = 0;      // Variable to store the sensor reading

void setup() {
  Serial.begin(9600); // Initialize serial communication at 9600 baud
}

void loop() {
  sensorValue = analogRead(sensorPin); // Read the analog value from the sensor
  Serial.print("Sensor Value: ");      // Print a label for the sensor value
  Serial.println(sensorValue);        // Print the sensor value to the Serial Monitor
  delay(500);                         // Wait for 500ms before the next reading
}
Troubleshooting and FAQs
Common Issues
Loose Connections:
- Problem: The connector is not securely attached, causing intermittent signals.
- Solution: Ensure the connector is fully inserted and the wires are properly crimped.
Polarity Reversal:
- Problem: The VCC and GND pins are swapped, potentially damaging the circuit.
- Solution: Double-check the pin configuration before powering the circuit.
Overheating:
- Problem: The connector overheats during operation.
- Solution: Verify that the current and voltage do not exceed the rated limits.
Signal Noise:
- Problem: Unstable or noisy signals are observed.
- Solution: Use shorter wires and ensure proper grounding to minimize interference.
FAQs
Q1: Can the Jst1.25_2pin_male connector handle AC signals?
A1: While it is primarily designed for DC applications, it can handle low-frequency AC signals within the rated voltage and current limits.
Q2: Is this connector compatible with other JST connectors?
A2: The Jst1.25_2pin_male connector is compatible with female connectors of the same 1.25mm pitch. Ensure the mating connector matches the specifications.
Q3: What tools are recommended for crimping wires?
A3: Use a dedicated crimping tool designed for 1.25mm pitch connectors to ensure a secure and reliable connection.
Q4: Can this connector be used in outdoor applications?
A4: The connector is not waterproof. For outdoor use, additional protection such as a waterproof housing is recommended.