
How to Use Pilot Lamp Yellon: Examples, Pinouts, and Specs
 Design with Pilot Lamp Yellon in Cirkit Designer
Introduction
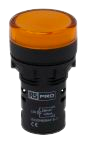
- The Pilot Lamp Yellon is a small indicator light designed to visually display the operational status of a device or circuit. It emits a yellow light, which is commonly associated with caution or warning conditions.
- This component is widely used in control panels, industrial equipment, and consumer electronics to provide a clear and immediate visual indication of system states such as power-on, fault conditions, or standby modes.
Explore Projects Built with Pilot Lamp Yellon
 Open Project in Cirkit Designer
 Open Project in Cirkit Designer
 Open Project in Cirkit Designer
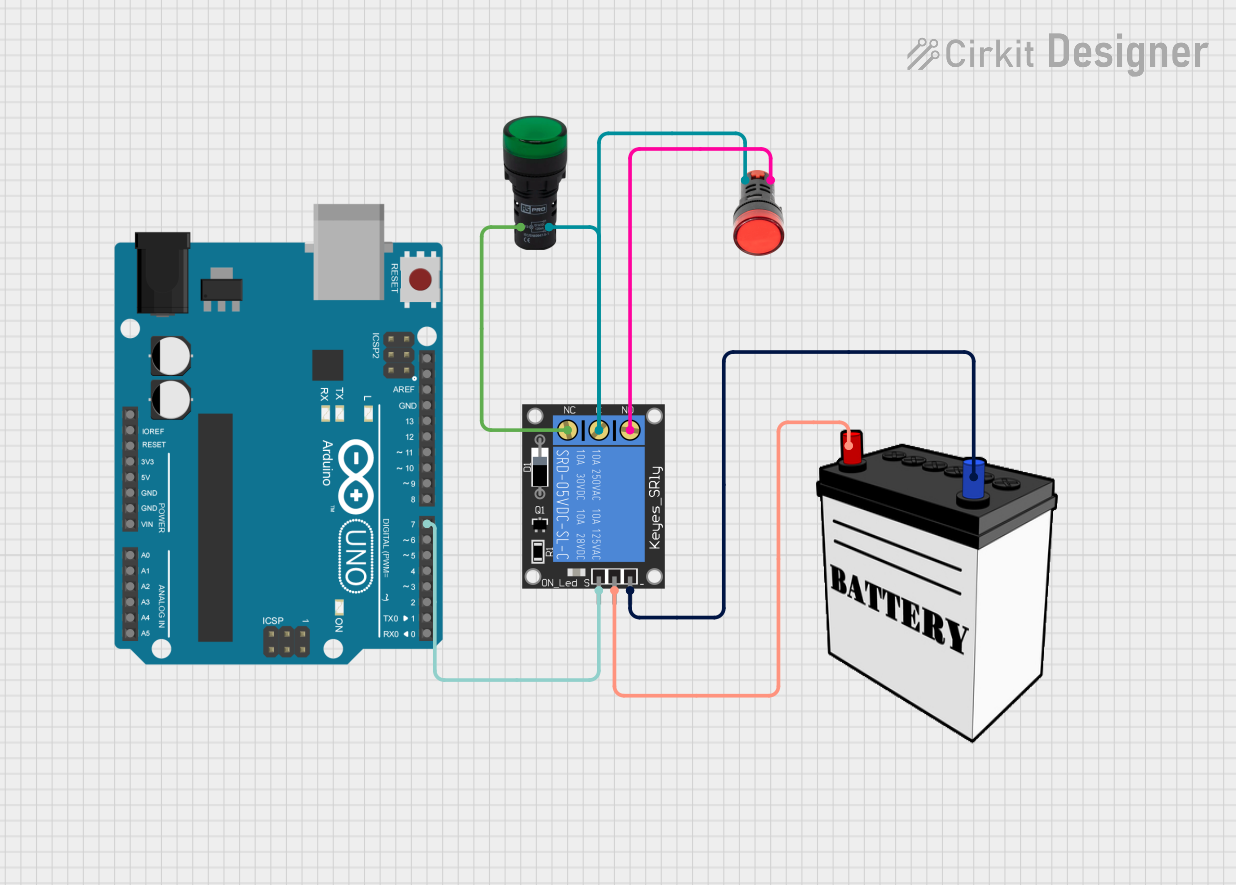 Open Project in Cirkit Designer
Explore Projects Built with Pilot Lamp Yellon
Open Project in Cirkit DesignerOpen Project in Cirkit DesignerOpen Project in Cirkit DesignerOpen Project in Cirkit DesignerTechnical Specifications
- Operating Voltage: 12V DC (typical), available in other voltage ratings (e.g., 24V, 110V AC/DC)
- Current Consumption: 10-20 mA (depending on voltage rating)
- Light Color: Yellow
- Mounting Type: Panel mount with threaded body
- Body Material: Plastic or metal (varies by model)
- Lens Material: Polycarbonate (yellow-tinted)
- Lifespan: Approximately 30,000 hours
- Operating Temperature: -20°C to +70°C
- Ingress Protection: IP65 (dust-tight and water-resistant)
Pin Configuration and Descriptions
The Pilot Lamp Yellon typically has two terminals for connection:
| Pin Number | Label | Description |
|---|---|---|
| 1 | Positive (+) | Connect to the positive terminal of the power supply. |
| 2 | Negative (-) | Connect to the negative terminal (ground). |
Usage Instructions
Wiring the Pilot Lamp Yellon:
- Identify the positive (+) and negative (-) terminals on the lamp.
- Connect the positive terminal to the positive output of your power source or circuit.
- Connect the negative terminal to the ground or negative output of your power source.
- Ensure the voltage rating of the lamp matches the supply voltage to avoid damage.
Mounting:
- Drill a hole in the panel or enclosure where the lamp will be installed. The hole diameter should match the lamp's threaded body size (e.g., 16mm or 22mm).
- Insert the lamp into the hole and secure it using the provided nut.
Important Considerations:
- Always verify the voltage and current ratings before connecting the lamp to a circuit.
- Use appropriate resistors or current-limiting devices if the lamp is connected to a higher voltage source.
- Ensure proper insulation and strain relief for the wiring to prevent accidental short circuits.
Example Circuit with Arduino UNO: The Pilot Lamp Yellon can be used with an Arduino UNO to indicate the status of a digital output pin. Below is an example:
// Example: Controlling a Pilot Lamp Yellon with Arduino UNO // Connect the positive terminal of the lamp to pin 9 via a 330-ohm resistor. // Connect the negative terminal of the lamp to the Arduino GND. const int lampPin = 9; // Define the pin connected to the lamp void setup() { pinMode(lampPin, OUTPUT); // Set the lamp pin as an output } void loop() { digitalWrite(lampPin, HIGH); // Turn the lamp ON delay(1000); // Wait for 1 second digitalWrite(lampPin, LOW); // Turn the lamp OFF delay(1000); // Wait for 1 second }- Note: The resistor value (330 ohms) is chosen to limit the current through the lamp. Adjust the resistor value based on the lamp's voltage and current ratings.
Troubleshooting and FAQs
Common Issues
Lamp Does Not Light Up:
- Cause: Incorrect wiring or insufficient voltage.
- Solution: Double-check the wiring and ensure the power supply matches the lamp's voltage rating.
Lamp Flickers:
- Cause: Unstable power supply or loose connections.
- Solution: Verify the power source and ensure all connections are secure.
Lamp Overheats:
- Cause: Excessive current or incorrect voltage.
- Solution: Use a current-limiting resistor or ensure the supply voltage matches the lamp's rating.
Short Circuit:
- Cause: Exposed wires or incorrect polarity.
- Solution: Inspect the wiring for damage and ensure proper polarity.
FAQs
Q: Can the Pilot Lamp Yellon be used with AC power?
A: Yes, but ensure the lamp is rated for AC operation and matches the supply voltage.Q: What resistor value should I use for a 12V DC supply?
A: For a 12V supply and a lamp rated at 20mA, use a resistor of approximately 330 ohms. Calculate the exact value using Ohm's Law: ( R = \frac{V}{I} ).Q: Is the lamp waterproof?
A: The Pilot Lamp Yellon has an IP65 rating, making it resistant to dust and water splashes. However, it is not suitable for full submersion.Q: Can I replace the bulb inside the lamp?
A: Most Pilot Lamp Yellon models use non-replaceable LEDs. If the lamp fails, the entire unit must be replaced.
By following this documentation, you can effectively integrate the Pilot Lamp Yellon into your projects and troubleshoot common issues with ease.